ZBrushCentral

Unified Skin question.

Hi, sorry if this question was posted already, I looked on the forum and couldn’t find anything similar.

I’ve been fooling around with zsketch (zshp2) and I’m trying to make a low rez mesh using the unified skin feature. I started doing a typical t-pose mesh and all looks really good except when I get to the fingers/toes. Every time I preview the mesh, the geo explodes around the finger and hand area like a balloon, while the rest of the model looks fine. I’ve been adding extra zspheres around the finger and hand but it seems to have no effect. Has anyone experienced anything similar like this?

Some pictures might help us understand better what you’re seeing. However, from what you’re describing, it sounds like your fingers may be too close together to for level of detail. A common fix is spread the fingers for generating the Unified Skin and then pulling them closer together after the skin is made with transpose tools.

-K

Thanks for the response! I’ll try that out. If that doesn’t work I’ll post up some pictures. (:slight_smile:

I guess that idea didn’t work. Are they not far enough apart? I’m still getting this weird inflation between the zspheres. I even increased the unified skin resolution prev but I ended up getting a “webbed” look instead. Worse case scenario, I’ll just export it into Maya and extrude some fingers and import it back. I’m sure this is an easy fix though, just can’t see it. >_>

Res:128
Smooth: 40

Attachments

before.JPG

after.JPG

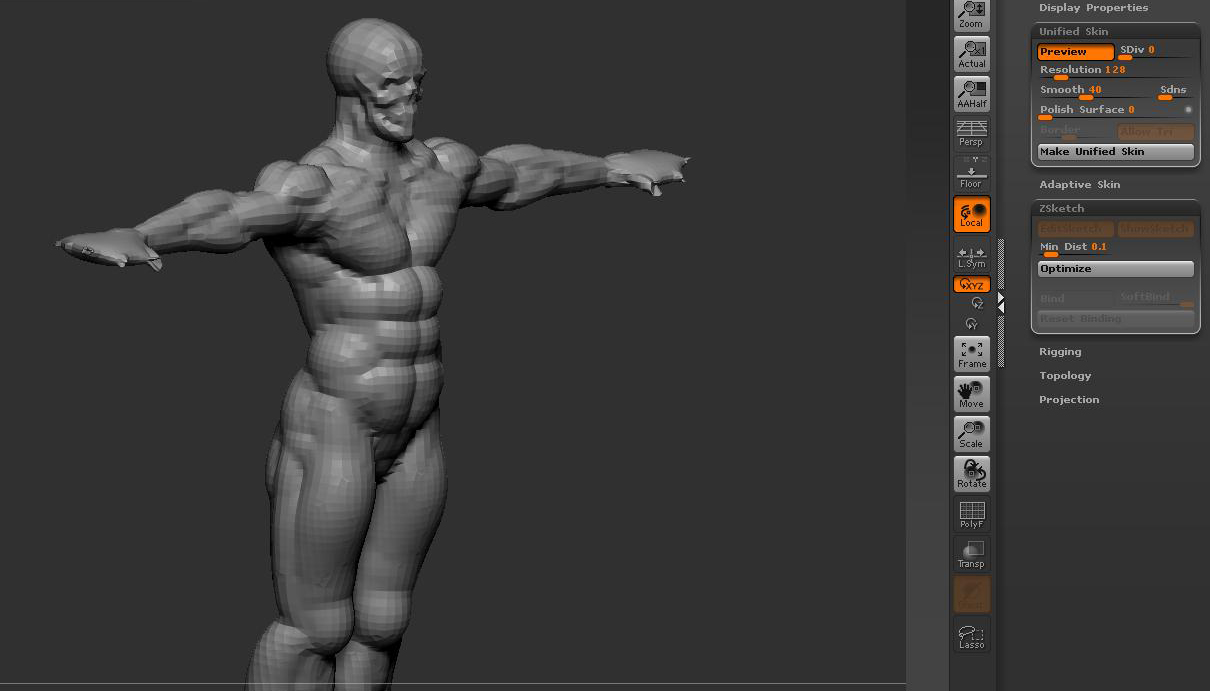
Not sure you’re making a unifed skin, but perhaps are getting an adaptive skin by mistake (see below.)

Try cranking res up 512 or 1024 and see what you get. If the density doesn’t change, then you’re probably not getting an unified skin.

Unified skins work by a space division algorithm which means that it keeps dividing “big cubes” into 4 smaller cubes starting with one big cube surrounding the object (the “universe cube”.) At 128, the smallest cubes probably aren’t small enough

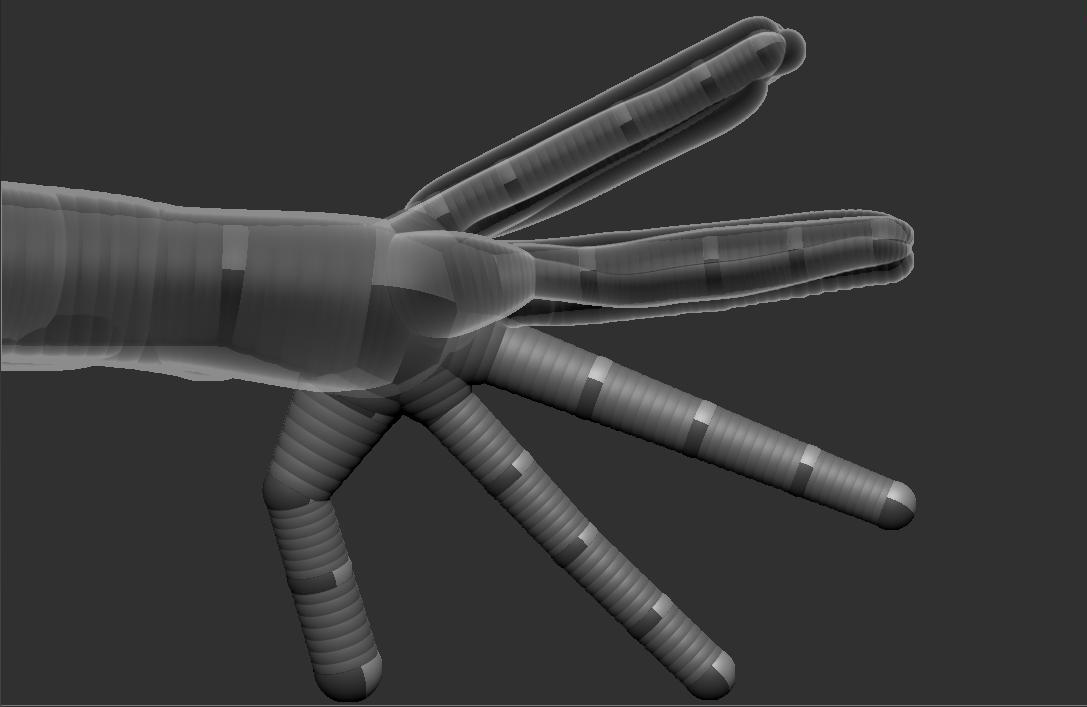
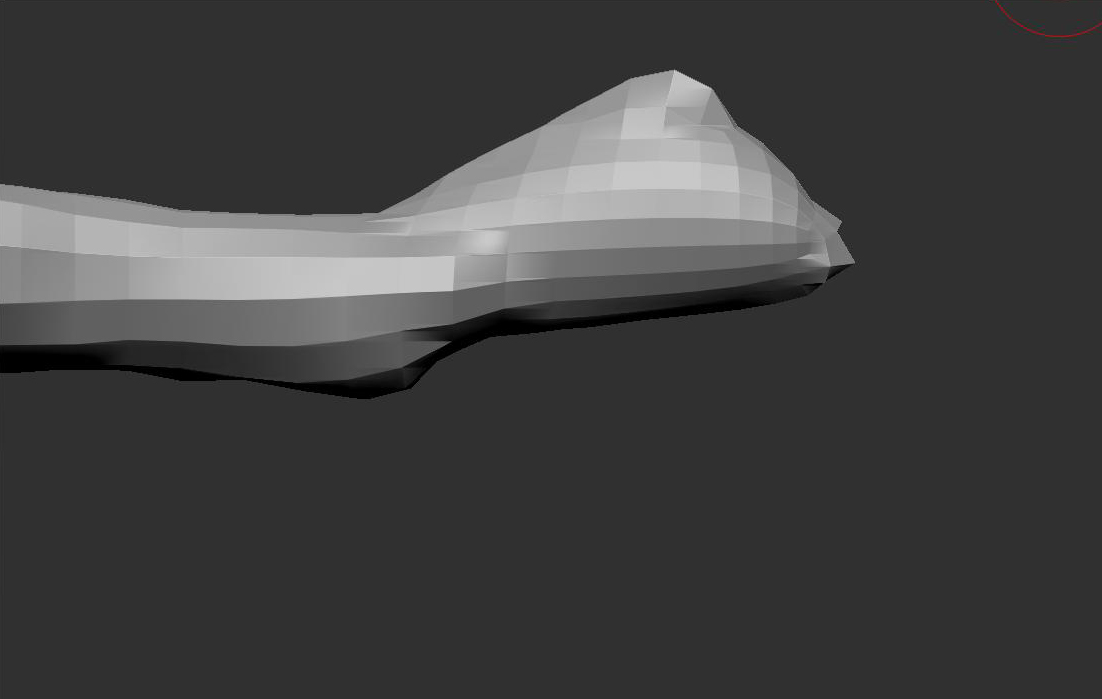
Also, is the second picture done by hitting “Make Unified Skin” on the pallet? If so, double check by creating your skins by that button, just be sure you’re not accidentally creating adaptive skins. (It hard for me to be sure from the picture–but looking at what you’re getting, it looks much too low resolution for unified skin at 128–it looks more like a projected adaptive skin, which tells me you’re not in zsketch mode when generating the skin and getting the default adaptive skin which would be lower in resolution.)

I’m not a fan of jumping topology between Zspheres and Zsketch. Make sure to put sketch spheres over all the zsphere skeleton and be sure to to reset your bindings (zsketch bind/reset binding buttons).

HTH,
-K

I’m 100% sure that it’s a unified mesh, adaptive skin doesn’t keep the integrity of the zspheres like unified skin does. The first image is just “show sketch” on the zsketch tab to show you the placement of zspheres.

For the 2nd image I posted was in “edit sketch” mode then hit “preview” under the unified skin options. Again, its at 128 resolution, as in my previous post I still get the webbing effect around the fingers if I increase the resolution. Keep in mind these are the fingers of the model so the zspheres are a lot smaller then the rest of the model. I wonder if this has any effect on the rest of the model (if the zshperes are different sizes). I’d like to keep the model as low as possible.

You only reset your bindings if you modify the actual zspheres, not the zsketch.

I could do this the old fashion way and just import an .obj but z sketch is very powerful with unified skin >_>

I’ve been practicing on using zsketch on this model. Maybe this might illustrate better where my problem exists. I can’t quiet seem to get 100% modeling with zspheres, fingers and toes are usually what stop me from finishing lol…

Attachments

after_2.JPG

12-30-2009 7-26-02 AM.jpg

Here’s what I get for a simple branching object. I’d make sure your zsketch has nice chains covering the fingers. Other than that, you’ve got me stumped.

-K

Attachments

12-30-2009 7-27-07 AM.jpg

Hmm, the chains look fine. I went in and made new zspheres but I get the same result. My geo only seems to work when I increase the resolution preview to at least 512 but it’s way too heavy then. It might be the distribution placement of zshperes or not enough. I’m just as stumped as you are. garbledablefrarplegsdfajksldhfaw! Gotta love 3d haha.

Not sure what I’m doing wrong here. The model I’m working on isn’t really all the complex.

Why too heavy? You can give the unified skin subdivisions. Set it to 4, and you’ll end up w/ 5 levels. Your lower level will be light. Since you’re sculpting, I assume you’ll want a heavy mesh to work with in the higher levels. :slight_smile:

Hey James (:slight_smile:

Thanks for the response. I already tried doing what you suggested. I don’t get enough resolution around the fingers and toes when I preview the unified skin, unless its at 512. If I make the resolution any lower I get the bloated effect (see my old post below). If I were to do what you suggested my first subdivison would be 169k polys. I’m planning on importing an obj file into maya, which is way too dense.

Kerwin’s image only works because there’s only 3 children connected to the one sphere. Based on the problems I’ve been having, it appears that the unified skin resolution distributes around the whole mesh, the more zspheres you have the higher resolution you’ll need. I’m probably wrong though.

I could just use Decimation master, except I end up with all those ugly tri’s.

Yeah, don’t use decimation master for a base mesh! That’s for later.

I’m on 3.2, so unified skin doesn’t have the subdivision option yet. However, because 3.5 does, you might be able to reconstruct the lower subdivisions.

Although I doubt it because unified skin uses triangles, but hey.

Hope you solve your problem :slight_smile:

.