Oh man, this is such an honor…
monstermaker, I love your creatures!
ministerart: yeah, it was wicked. Especially if you’ve seen the show as a child.
thanks Brett!
industripop: thanks for checking it out
nellement: thanks
mikala 
TrackZ: thank you
klisher haha, no… it was pretty straight forward.
Hi Calin! For the rendering I’ve used vray. I didn’t have much use for zapplink because the texturing was pretty basic. Didn’t have to do any image projection. Merci!
Pietas, thanks!
Hi Magdalena. I took a peak at your goblin for inspiration while I was working on him
sasquatchpoacher: thanks!
infamouskiller
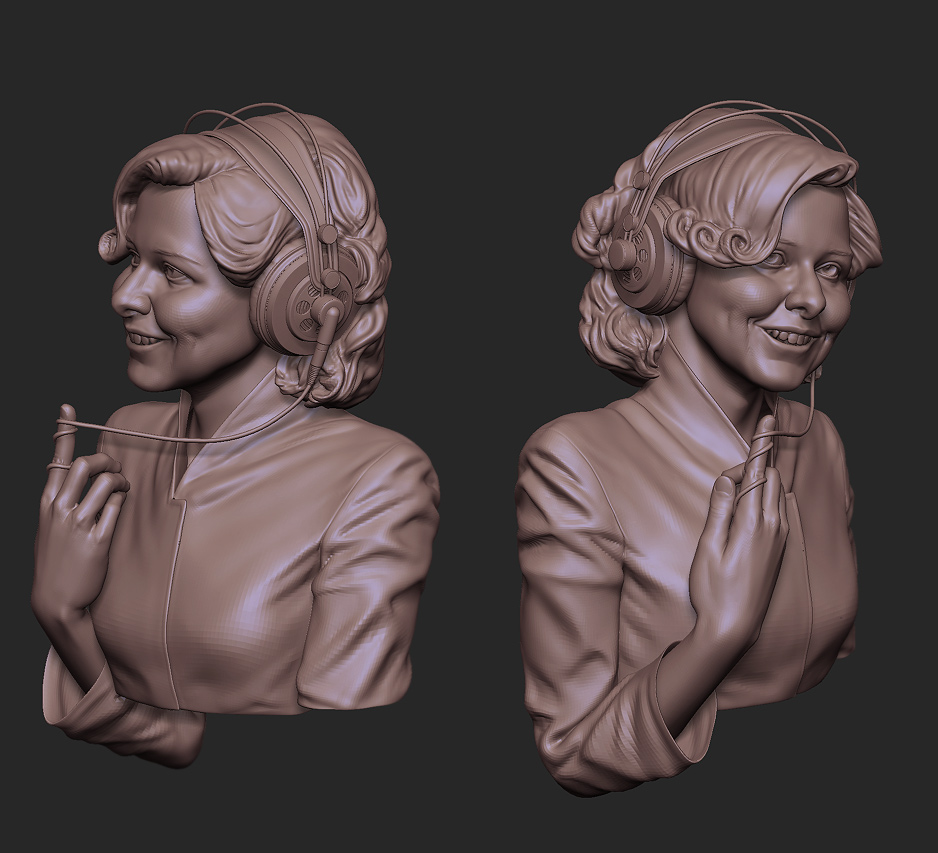
Point: Yeah , the pose is quite iconic. I thought about the drapes, but I chose to go with the diorama, because it would also work if I decide to print the model.
Frenchy Pilou
Doqpelgänger haha, sorry man, we must think very similarly
guillom thanks!
nightwoodwolf, thanks. Most of the models were made from very basic geometry and their wireframes aren’t very interesting. I’ll try to post them where the topology matters.
ahmed-jameel, thank you
Hey iatriki!
Dryn: thanks
bezoetdebie thanks man. I’m very glad about that!
JesseGraffam
qasimalikhan: thank you. I’ve only started studying anatomy in the recent years, and 3d, around 8 or 9 years… I’m trying to make the move since Zbrush revolutionized the 3d field.
Davy Jones: Your model is looking good. Specially for your first try in zb it’s great.
Thanks piz!
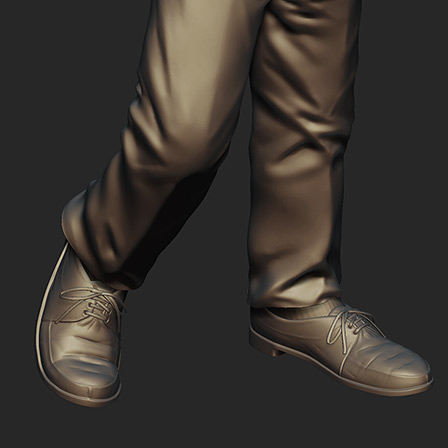
Korado3D: thanks! The shoes are no exactly symmetrical, but I do agree that the sides are not very different.
rodion vlasov: thanks man!
vedanta: I like that!
yazz: thanks, I’ll try. The model has about 3 mil polys.
Thanks Kupo! Talking about form, I often come to your models for inspiration.
Here are some details about the process on the last image:
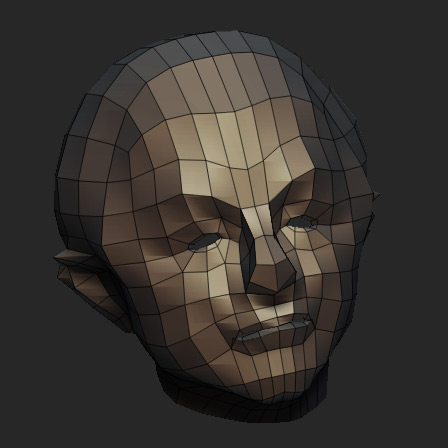
This was the topology for the head that I used from the beginning.
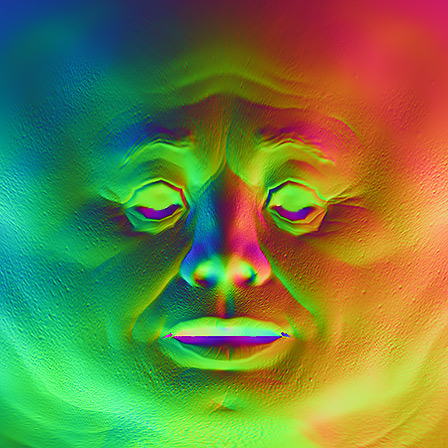
I did the high frequency details when I arrived at the texturing stage. I tried to paint directly a bump map inside ZB, but I wasn’t satisfied with the control and I decided to do it over again directly onto geometry
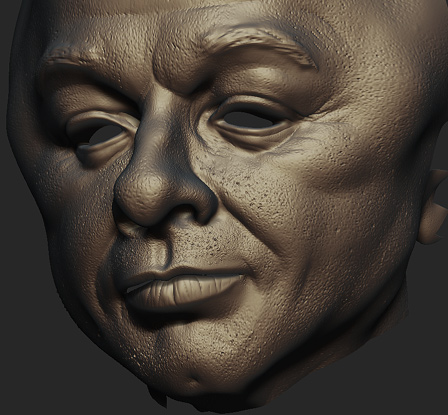
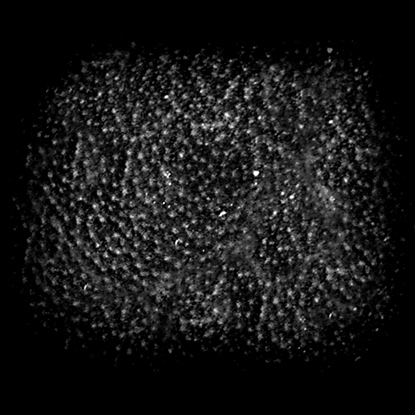
For the skin pores I used an alpha map made from a photo of an orange.
Since the model was static and it was for a still image, I decided to use a local space normal map to save me from other headaches. This way I could get the highest details without using displacement. This is not a solution if you are going to animate it.
For the body I used a zsphere model as a mockup, then I brought that into max and used it as a reference for the clothing. A shell modifier was used to give thickness.
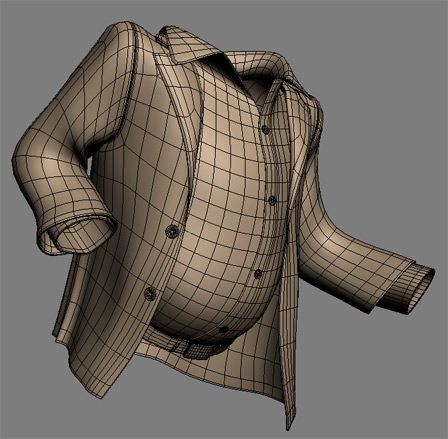
Then sculpted the folds in ZB
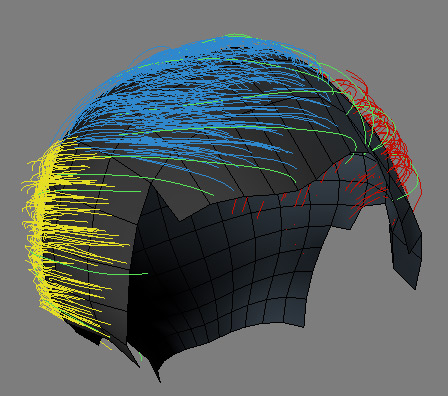
On the hair, I created some splines (green) ontop of the hair mesh sculpted in ZB, and I used those as guides for the Hair and Fur included in max. Also I painted a quick density map in ZB.
I chose to render the hair in mental ray as mr prim because the result was more crisp than the default one. The rest of the model was rendered in Vray and composed in Photoshop.
Cheers!!
Attachments