


introduce
Hello, I’m Mr. Zhu Feng. This course imitates the modeling work of the star Zhao Liying. At first, I collected a lot of photos of Zhao Liying. To tell you the truth, the star didn’t pay much attention to her movies and TV at first. Since it was recommended by friends, I started this work.
This star has a characteristic that there are no characteristics, if it is Yang Fang Dili Reba, it will do better to do something, because her characteristics are not obvious, so I have been doing for a long time is not very similar.
On Imitation
Imitating real people requires a strong understanding of facial expressions and perspective. If you compare one photo with another, you may find many mistakes. This requires you to distinguish which is the deformation of facial muscles, which is the real structure, and many of these pictures have been repaired, which brings about my work. Some difficulties.
Software
After about ten days, all the work is progressing smoothly, this time using 3DMAX and ZBrush instead of plug-ins. Unfold 3D is used in the UV part.
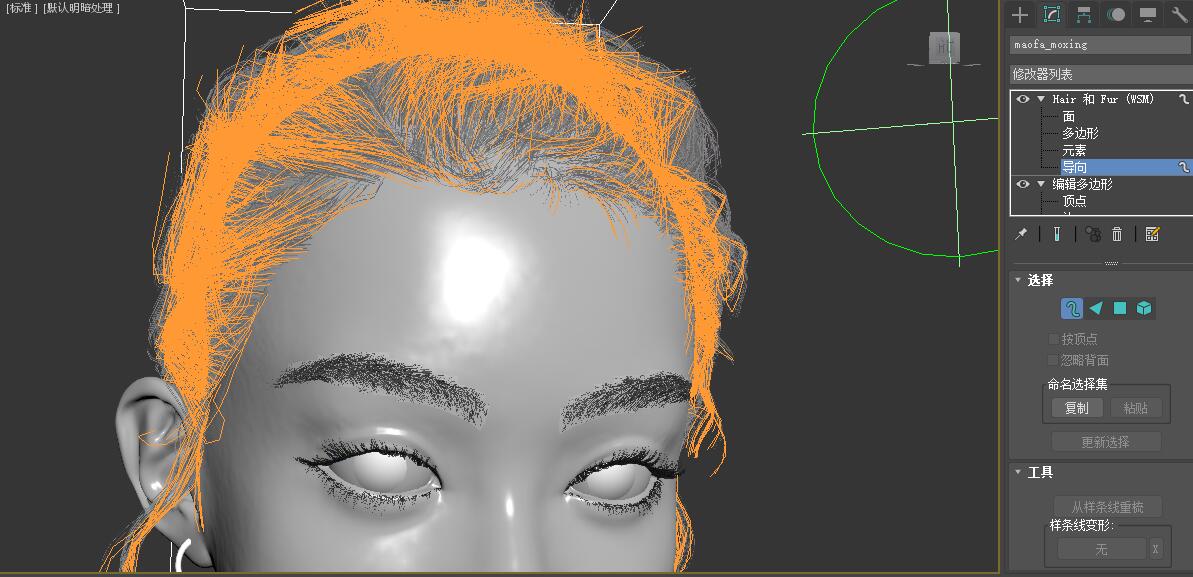
hair
For the hair part, we use the 3dsmax default hair modifier, which is not too backward compared with maya’s xgen, and is even more convenient to operate in some places. After understanding his function, it’s not difficult to make real hair. All we can control is length, density, shape, thickness, noise and so on. All these 3DMAX can be achieved. The most important thing is how much you know about hair grooming. These are explained in detail in the course.
accuracy
The final work achieves 4K accuracy. We have successive tutorials with this accuracy. There is nothing special about 4K accuracy. The requirement of 4K accuracy is that every point is meticulous, taking care of every pixel, and any perfunctory and careless work is exposed in 4K accuracy. If your work looks good at 1k, then it may break out at 4k, so accuracy determines the height of the work, which I hope everyone will understand.
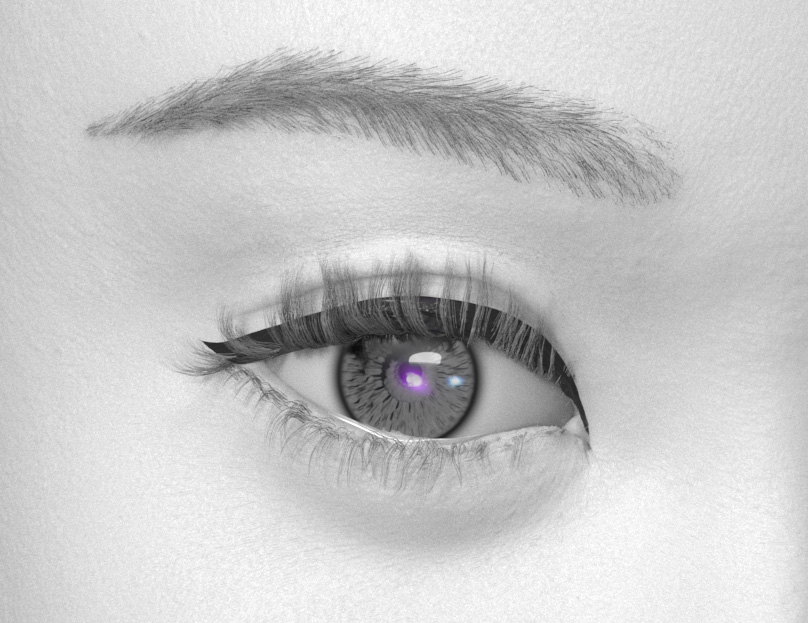
Eye
In the eye shaping, I spend the most effort, in fact, the real eye is what structure for most people who can draw do not necessarily know, in addition to the upper and lower eyelids, eyelids width, lacrimal gland shape, angle of the eye are worth studying, you may know what they are, but if a more real detail, you can really do it. This kind of imitation of real training, you will really experience the real magic. This is the right first step.
Eyeball
We use the previous technology to make the eyeball, but we have made some improvements in reflection. No matter how you light it, you can’t achieve the same high-light reflection as the reality. At this time, we need another way to do high-light reflection, that is, the reflection light seen above the eyeball. So I had to set up a separate reflector to control the eyeball reflex. This is really effective. I hope you will bring this workflow to your work after reading the tutorial.
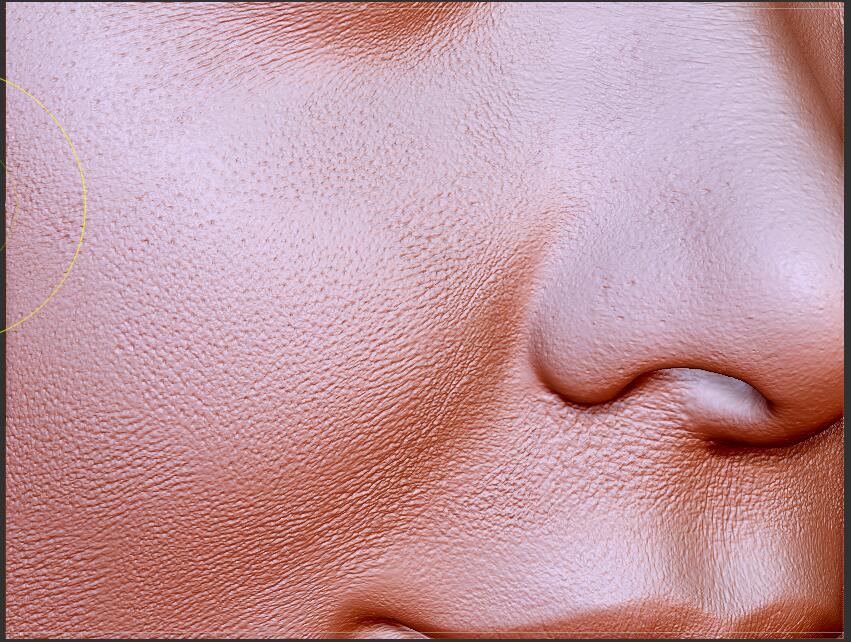
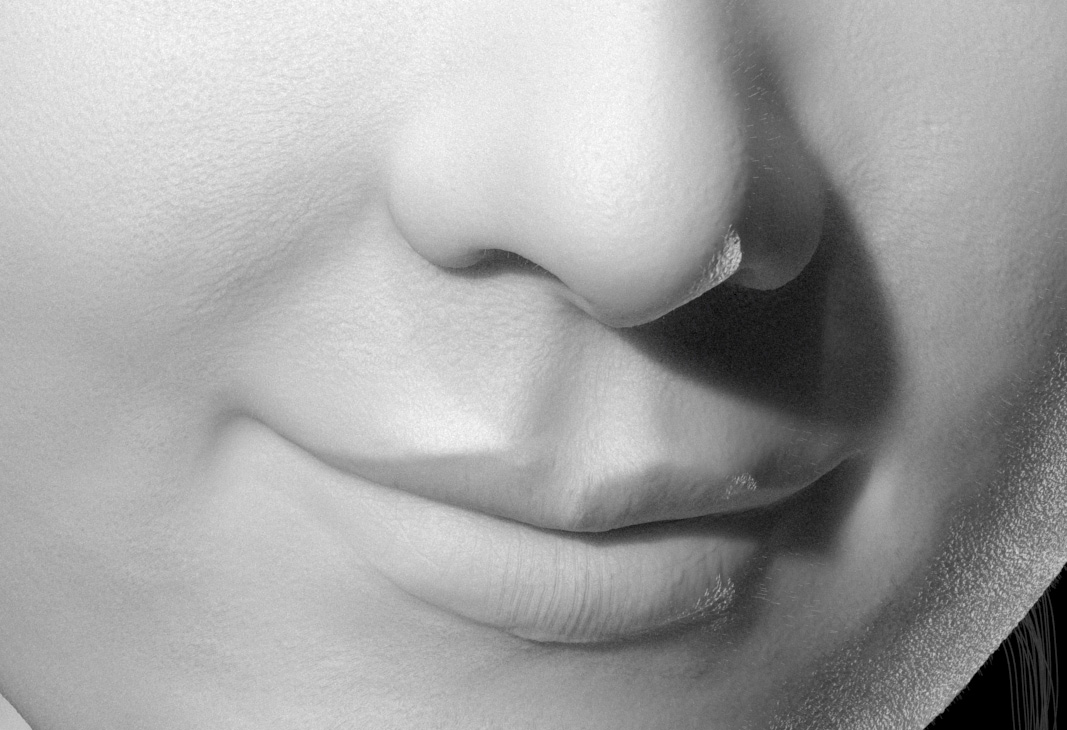
nose
In the area of nose modeling, my advice to you is that besides making the shape of the nose outside, the inside of the nose should also be made, and earnestly be true. Sometimes, where you don’t care, it often brings huge gaps. I’ve also modeled the inside of the nostril here. The advantage is that it brings the right light and shadow at every angle.
polygon
For the control of polygon, because of the rapid increase of computer speed and the rapid development of modeling technology, we may have two-level subdivision a few years ago, one-level subdivision, but now, what do we need to subdivide? How intuitive it is to manipulate high polygons directly. You might wonder if it would be difficult to manipulate so many points. The answer is that no subdivision is needed now. Use ZBrush for expression and adjustment, seamlessly output to 3dsmax deformer through layer, if there are better tools, why not use it? Don’t adjust the edge of the point any more. Let these tools remain for the last century.
topology
About Topology Work: In this course, I will tell you several ways of topology, what kind of manual topology, automatic topology, deformation pull topology and so on. Using the new generation of ZBrush topology tools, draw a few strokes, generate the topology, so I give you the suggestion that the topology should not exceed ten minutes.
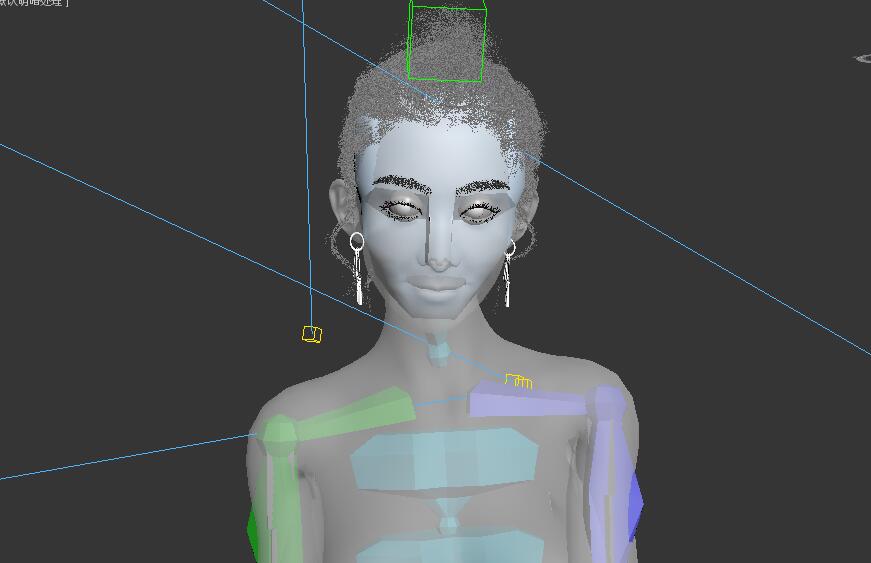
skin
Skin part: 3DMAX does not have a good skinning tool, this system has not been updated for many years, but enough, the latest technology is Houdini or Maya skinning. More automatic and intuitive.
On Rendering
Arnold has brought all his basic functions to 3dsmax, and some of them are not perfect. For example, hair material, which we adjust by default material, is better than hair material. This is not as good as Maya hair integration. But in real-time rendering, through comparison, I found that 3dsmax real-time rendering is much faster than maya, which may be the version of 2020. Optimization. Basic real-time adjustment of light and material, and ultimately rendering we improve the accuracy to 8, the effect is enough.
Last
Well, not to mention the work, there are still materials not done, I hope to further improve the quality of the material bar.