here… to help you out, in my user galary, its a bunch of WIPS and junk, but my medusa head post… look at it… right off the bat it looks VERY semetrical… and funny enough, it is one of the LEAST semetrical faces youll find on this sight. the Fact that it is unsemetrical is what makes you THINK its semetrical. the brain is Very funny that way. it is one of the strongest tricks a modeler learns. if they ever learn it.
Yeah, that Medusa head does look very symmetrical. Weird.
As for discouragement, that only hits me when I run into a technical bump. Such as this one. I made a head and tried attaching using GoZ. But everytime I try to bring the model back to ZBrush, points come out REALLY obscured. Anyone know a way around this? I want to attach a head without losing any details to the body. 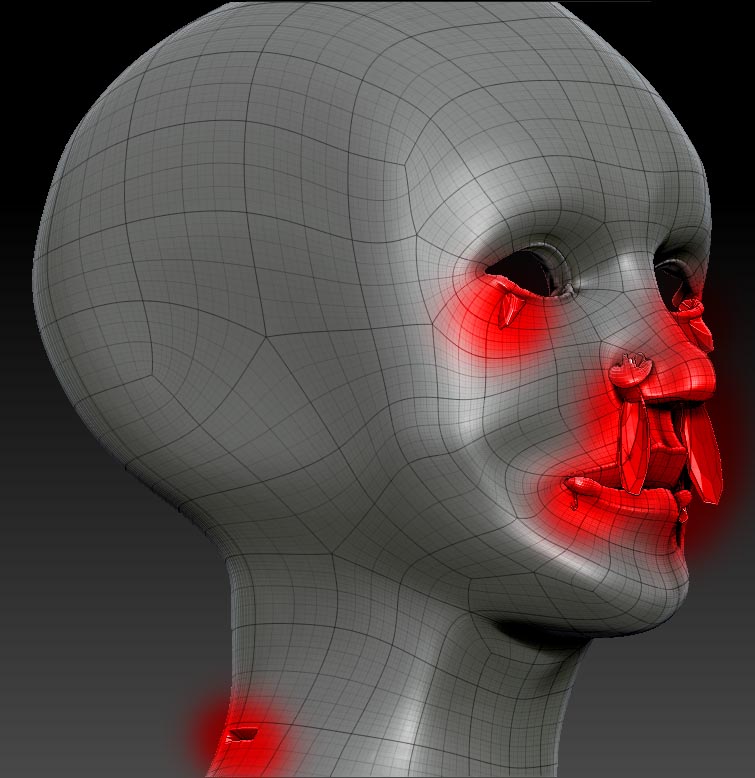
This occurs after the reprojection of the HDetails, so press NO when asked to apply the higher levels when importing the mesh.
I think this is the problem. I rarely bump on the same problem when modifying the mesh in XSI…
You dont seem to have important modeled details, so delete the high levels.
Thanks for the advice. Since I’m kind of a newbie and I haven’t retopologized yet, I didn’t want to sculpt in the detail I do have again. So, taking into account what you said, I just appened the entire body as a new subtool, divived it a few time, went back to the lowest level, masked the head, then started to reproject again. I hate doing thing over, so sometimes I’ll jump through hoops just to make sure I don’t have to restart :lol:
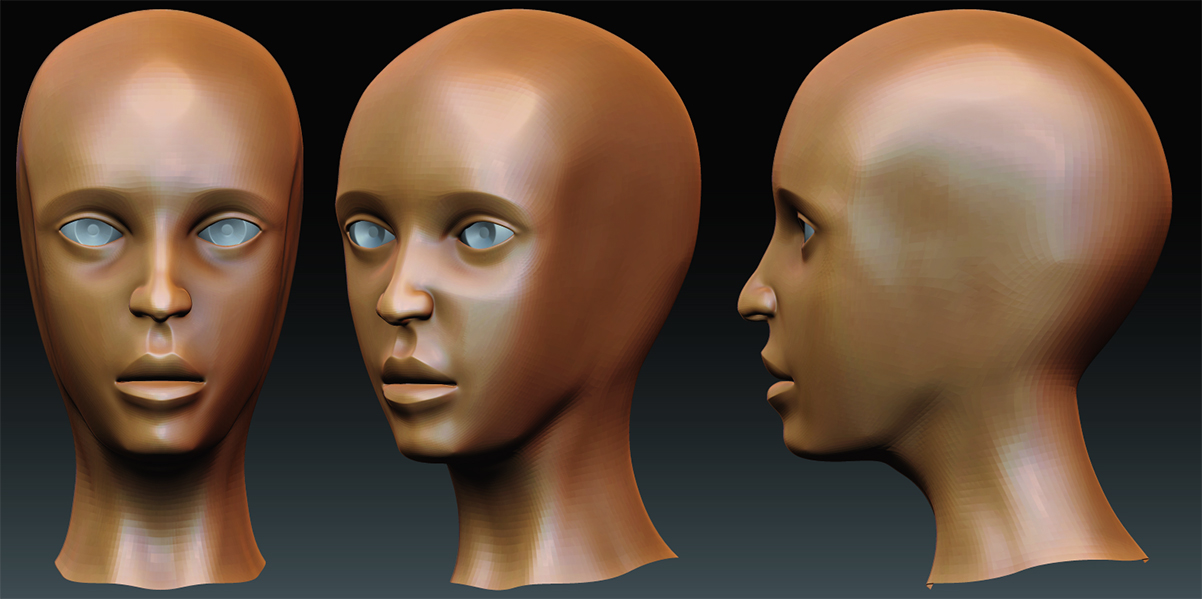
Manged to get the head shaped a little bit. I was trying to go for a Chiaki Kuriyama look, but failed along the way. I’m not going to worry about ears for this project, but would love to hear any suggestions on what I have so far.
Also, there are several points along the model that have alot of pinching since they’re 3 or 5 sided verts. Anyone know how to soften their appearance?
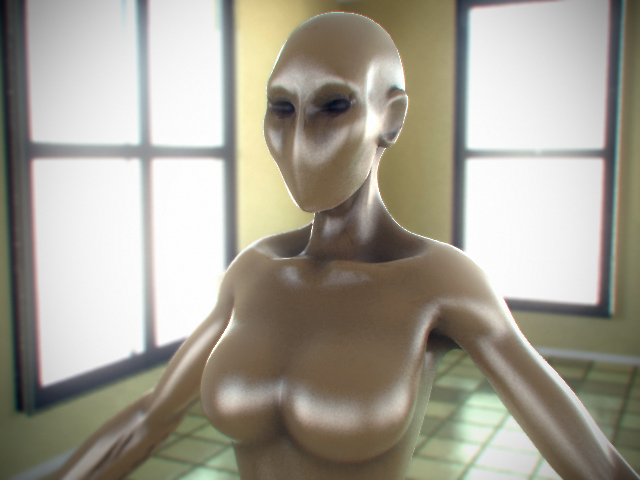
I’ve messed with the face quite a bit since last time. Now she has a jaw. I also gave her mid section some more thickness because it was looking a little too thin from the side. C&C always welcome.
Attachments
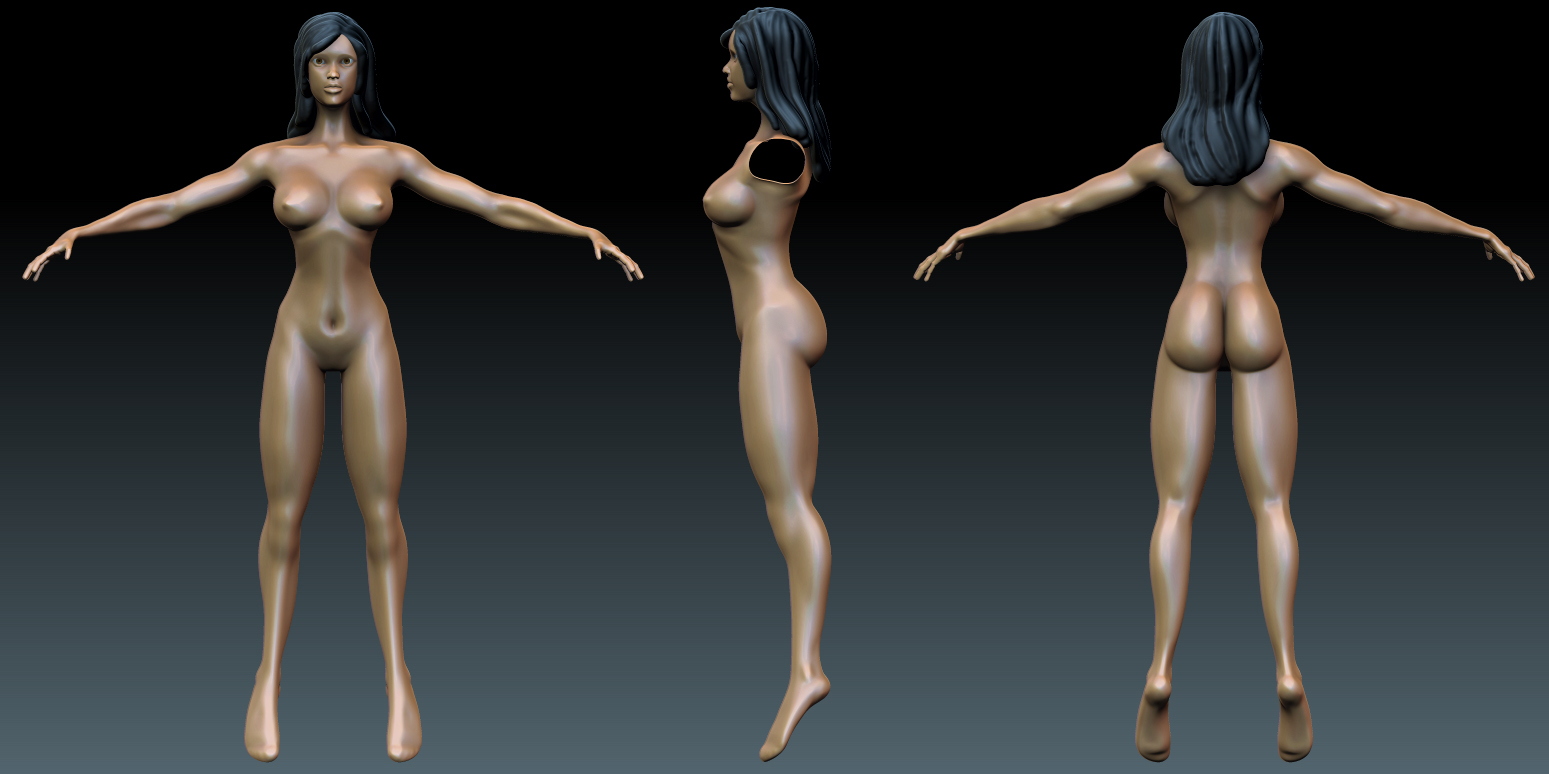
Nice progress … make sure you have some references : they make life so much easier … 
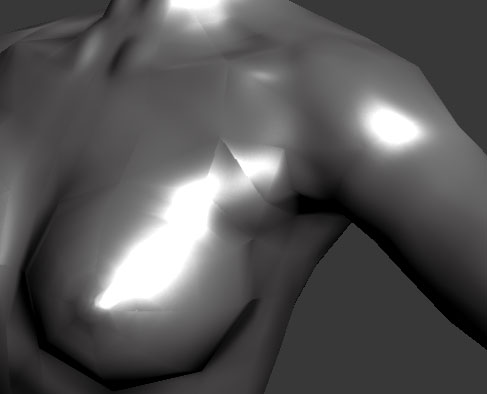
Yeah, reference has helped me big time. Question though, do the breast’s look weird to you?
I’ve hit a new problem. Everytime I try to export the normals from ZBrush, I get a nasty faceted look on my model. I’ve tried using GoZ and setting the model to one smoothing group, but nothing seems to work. Any ideas?
did you check to make sure the vertices are welded? If you used the zunwrap and exported back to another program the vertices arent welded.
have you tried softening the normals in maya, or whatever program your using? the breasts are pretty good… you just need to add some gravity to them and bring them out from under the arm so much. and remember the belly button is always in between the bottom 2 abdominals and the middle 2. so, it should be higher up on her belly. and you should widen her rib cage more and give her some lats. (latissimus dorsi) also… yeah her torso could use a little more mass. and her clavical could be less straight and long. bring it in a little and remember, its a curved bone insted of a perfectly straight one. just think about the way yours looks. the v upwards a touch too. and it might help if you bring your girls arms down more towards her waste. “t” poses are what they teach you in school… but in my opinion they suck to model with. its not a natural stance for any person. and it always screws up your design, cuz once you finally pose it it will give you issues. hope these tips help.
I’ve tried softening the normals and all the verts seem to be welded. I did use the Zunwrap though, so that may be the issue. 
yeah you uvs seems unlweded. there ight be an option, or maybe its during the export of you mesh, in the export tab, theres an option to weld vertices I think.
I just made new UVs in max and sent them back over, still getting those edges. I even set the entire model to one smoothing group.
I’m trying a few things right now, but another wierd thing that I notice is when I export object from Zbrush and bring them into Max the old way, they come in flipped on the YZ axis. Anyone know a way around that?
I think it might have to do with mirrored uv’s or flipped uv’s…
I have had similar issues… right now I have no idea how I solved it, but I tried several things I remember, and It finally solved itself with uv fixing, after i unwrapped I didnt mirror or flip any of my uv maps.
hope this helps, wish I knew more specific.
I didn’t mirror the UVs on this model. But it’s ok. I was trying to see if what changes I could make in my workflow. Since that won’t work, I think I’ll just try to decimates the hi poly and bake the normals and AO in Max or Xnormal. Only thing I REALLY wanted to keep from Zbrush was the cavity map, but it’s not a huge deal.
As for the model, I’ll make some little adjustments to her, but I need to stop looking at her for a little while. I was a great learning experience and I definitely did better than I thought I would. Thanks everyone for their help!
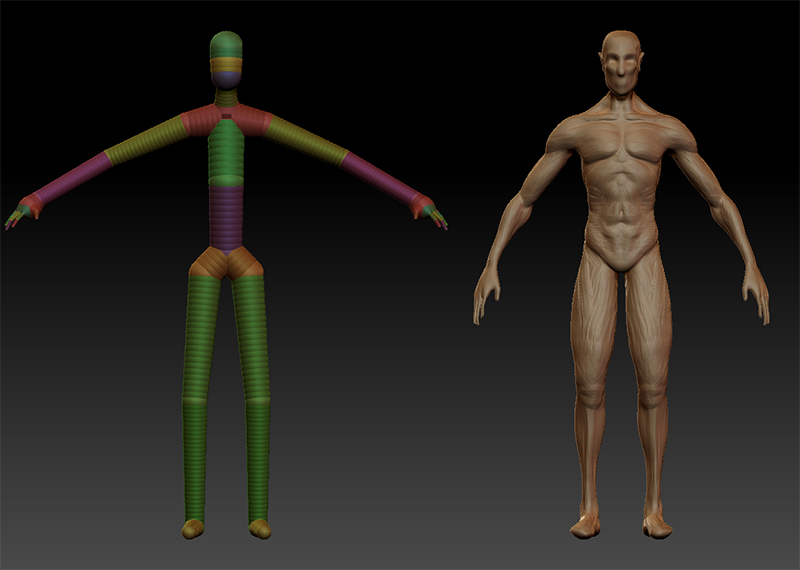
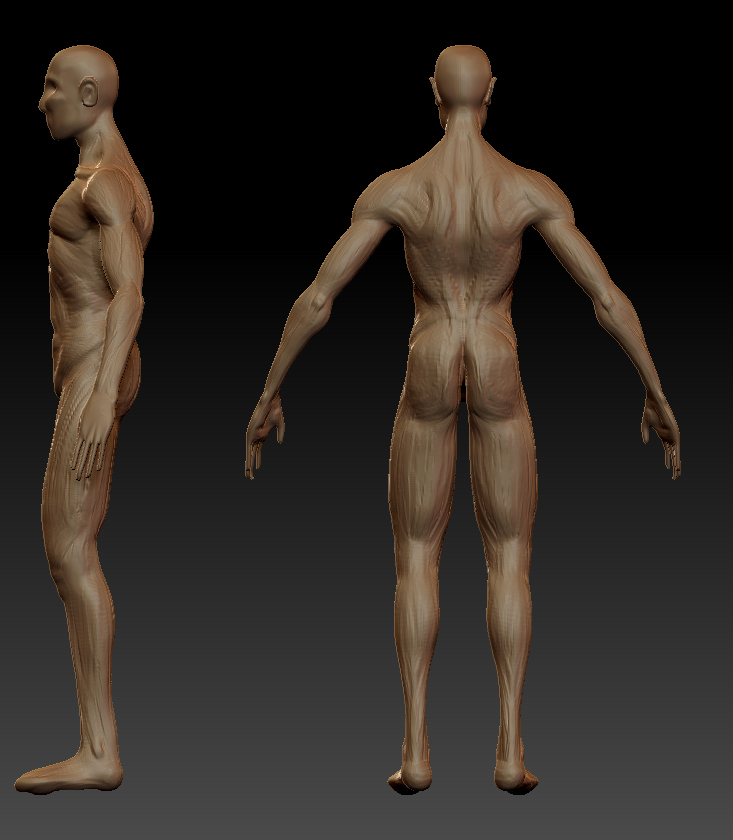
So after a lot of frustration and a few failed attempts, I started a male practice character. A lot of work to do of course, but this is what I have so far. Trying to get better with Zspheres as well. I feel like their full of potential, just tricky to get used to for me.
Attachments
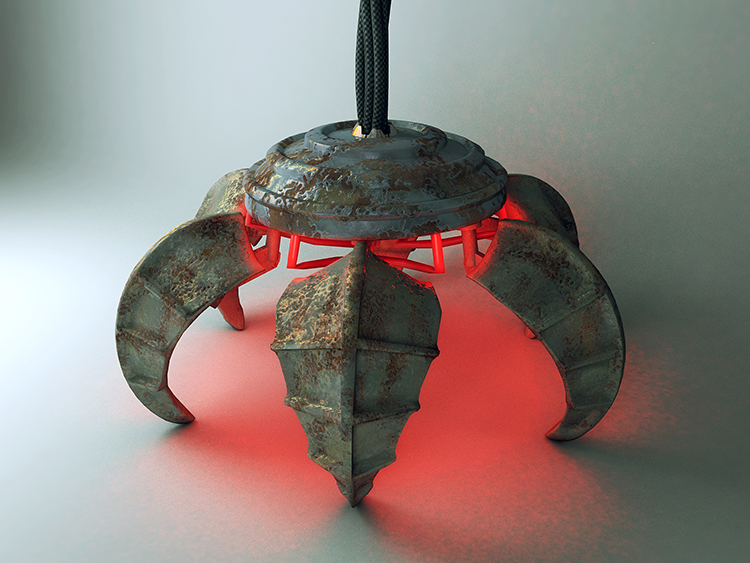
Something I did for a class. Most of the work was done in photoshop and 3ds max, bur I used Zbrush to Unwrap and decimate the claws.
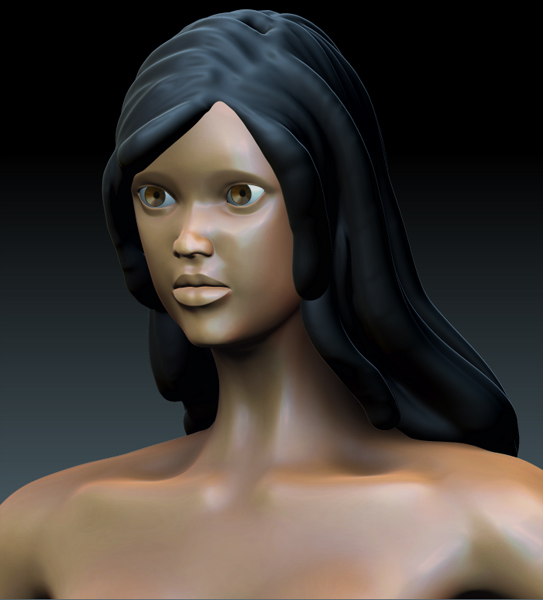
After taking some time off from doing some serious sculpting, I tried modelling another female. Here’s my progress so far. I’m not entirely sure where I’m going with the abdomen, but I’m kind of surprised how everything else turned out. I plan on adding hands and a topo correct head later. 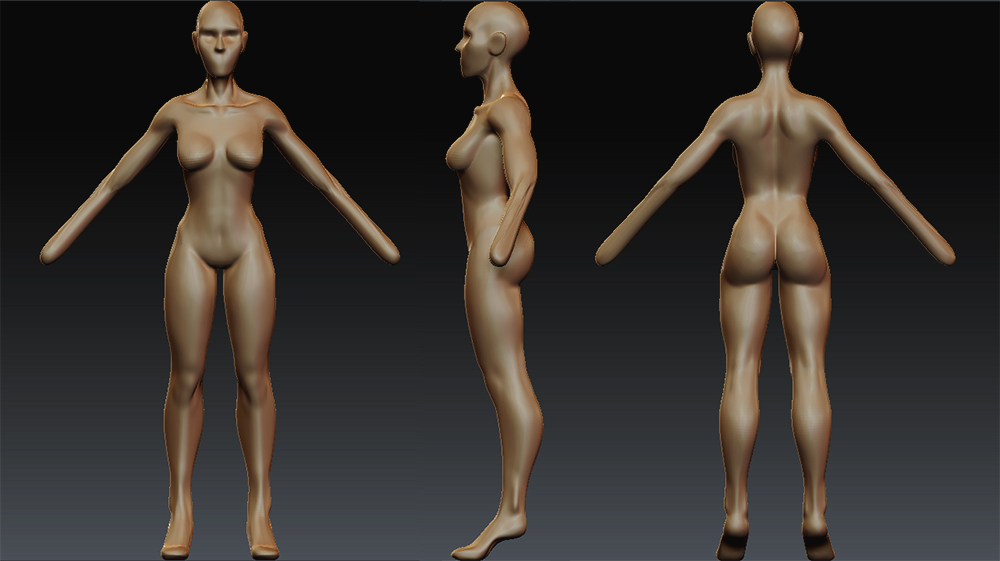
I haven’t been working on the model much. Been trying some new things as far as rendering and compositing goes. 3ds max render with an HDR image i made also using max.