ZBrushCentral

twisted faces on radial zspheres

Hi,

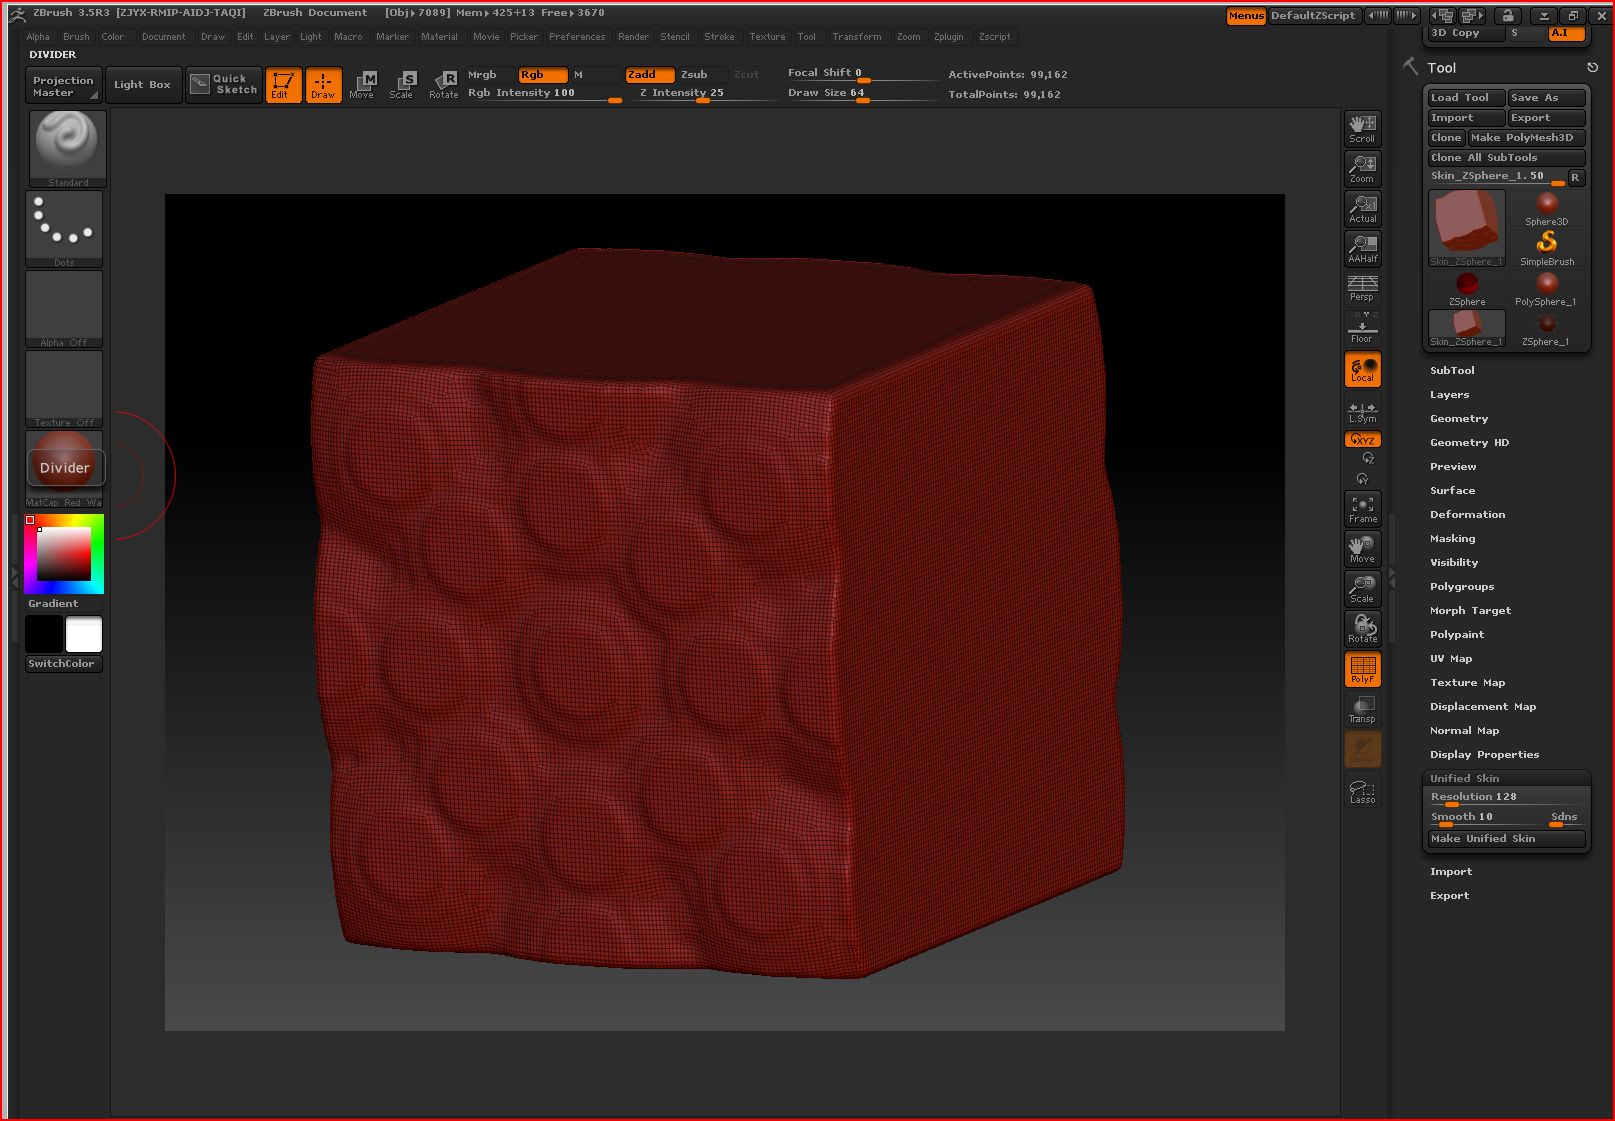
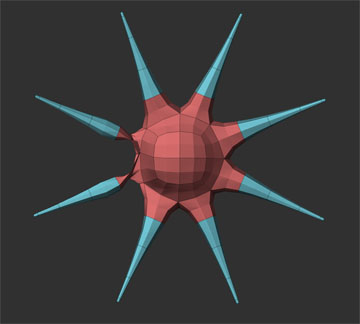
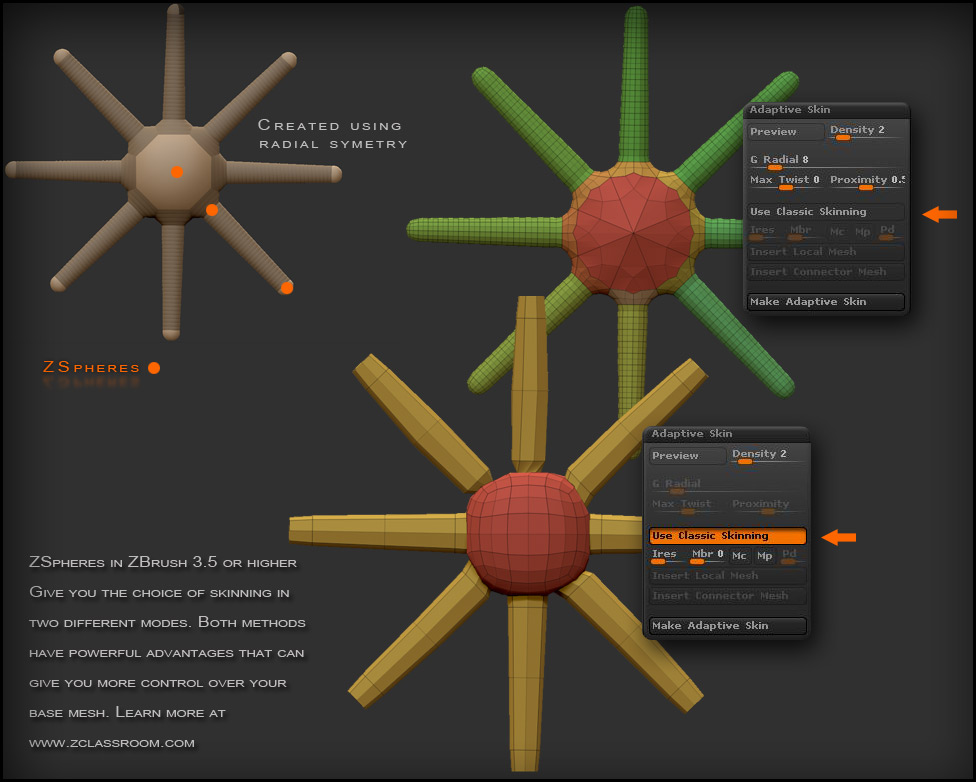
I’m trying to model something like the octopus in the zclassroom with Zspheres but right after I start the Spheres / faces of the model are twisted.

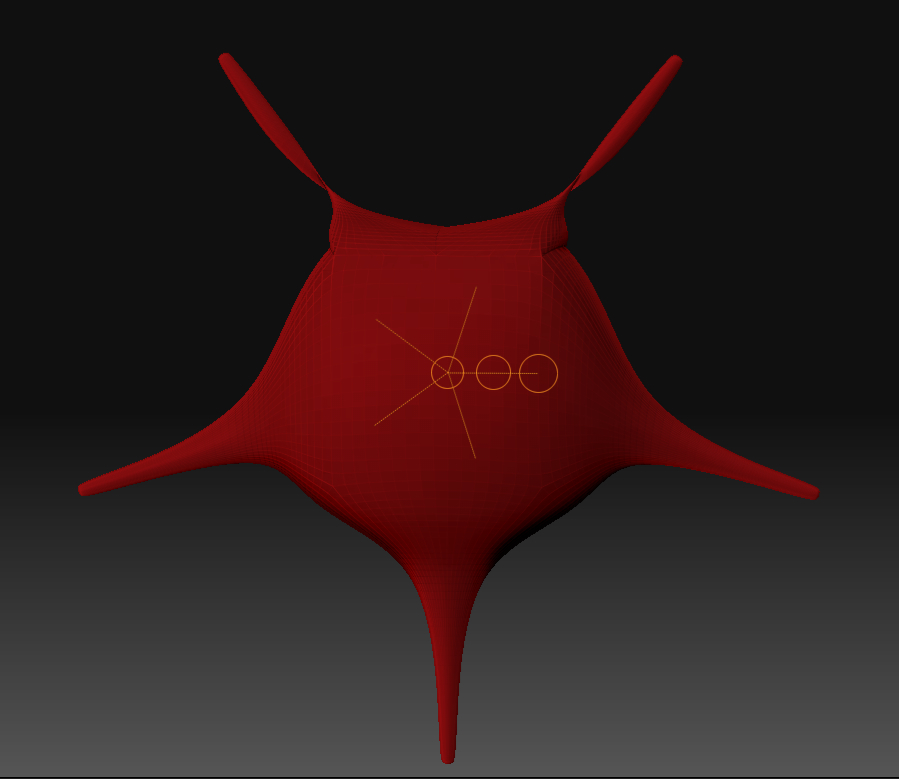
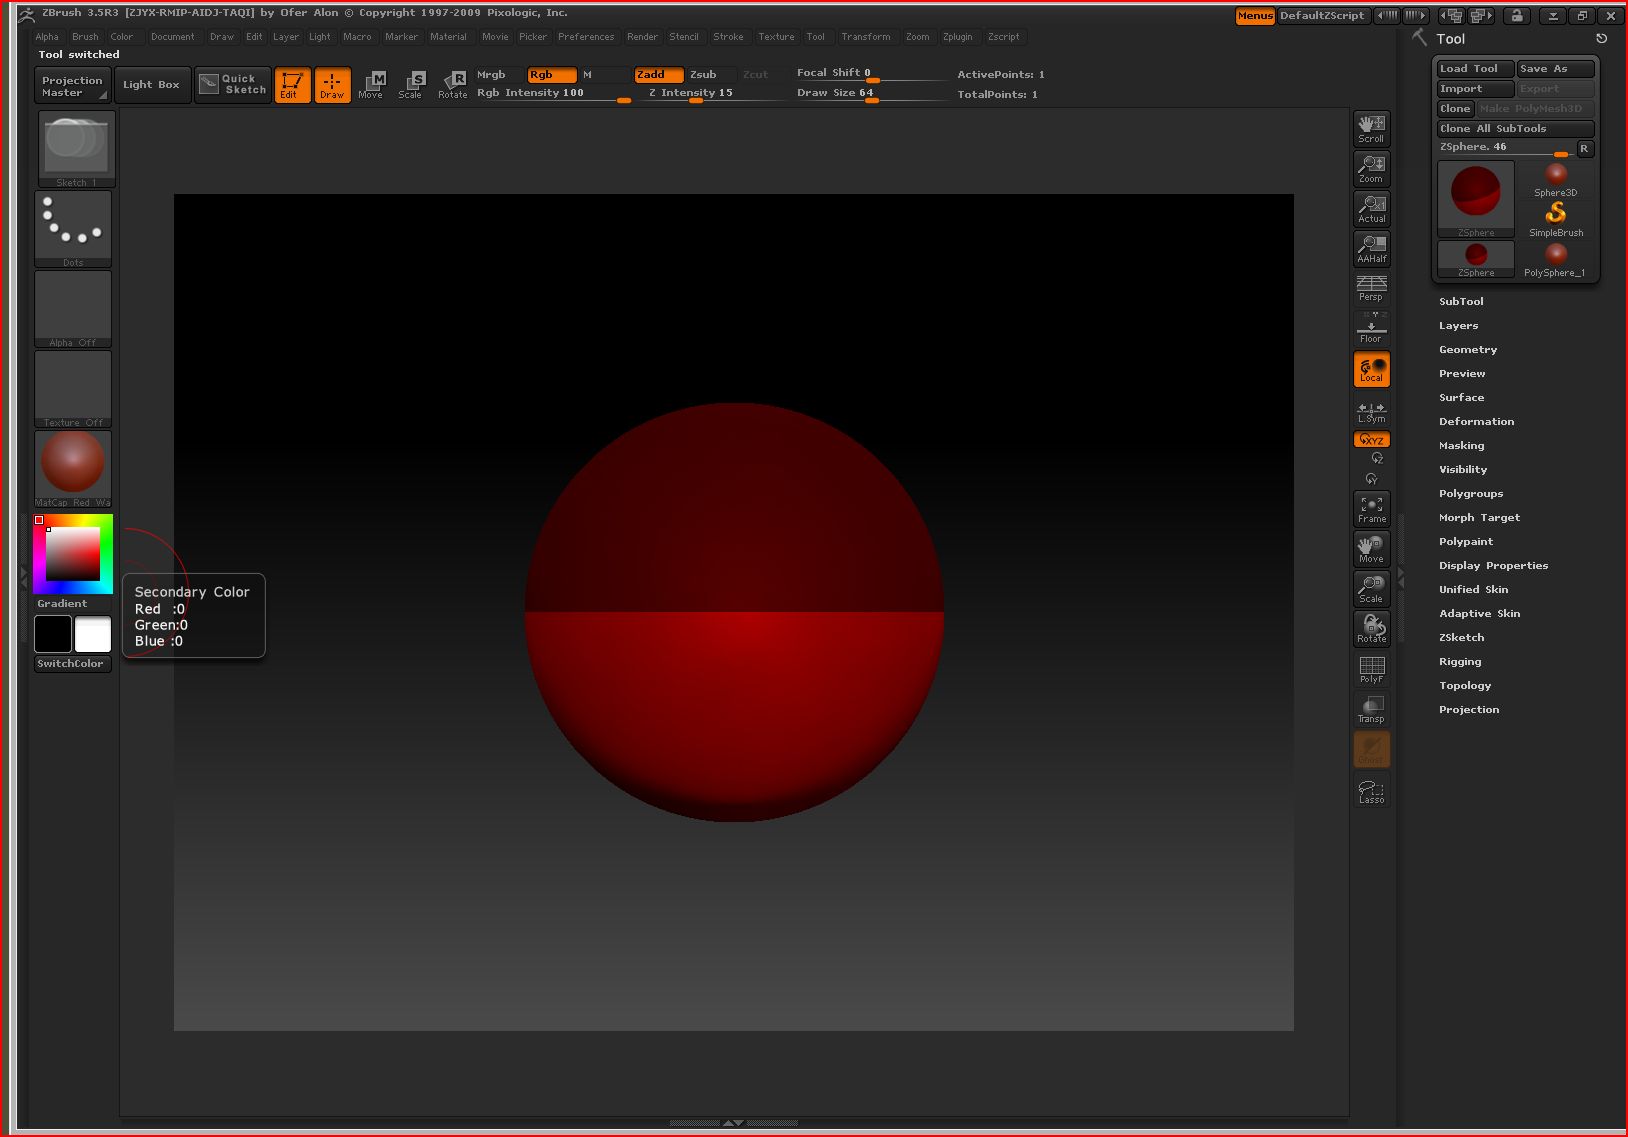
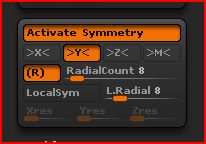
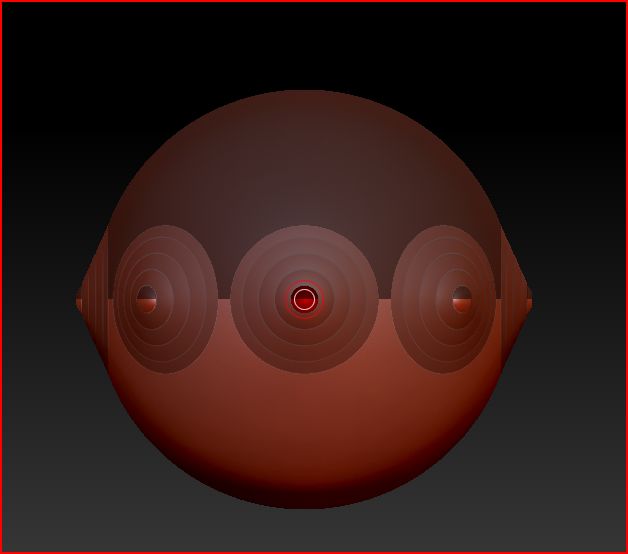
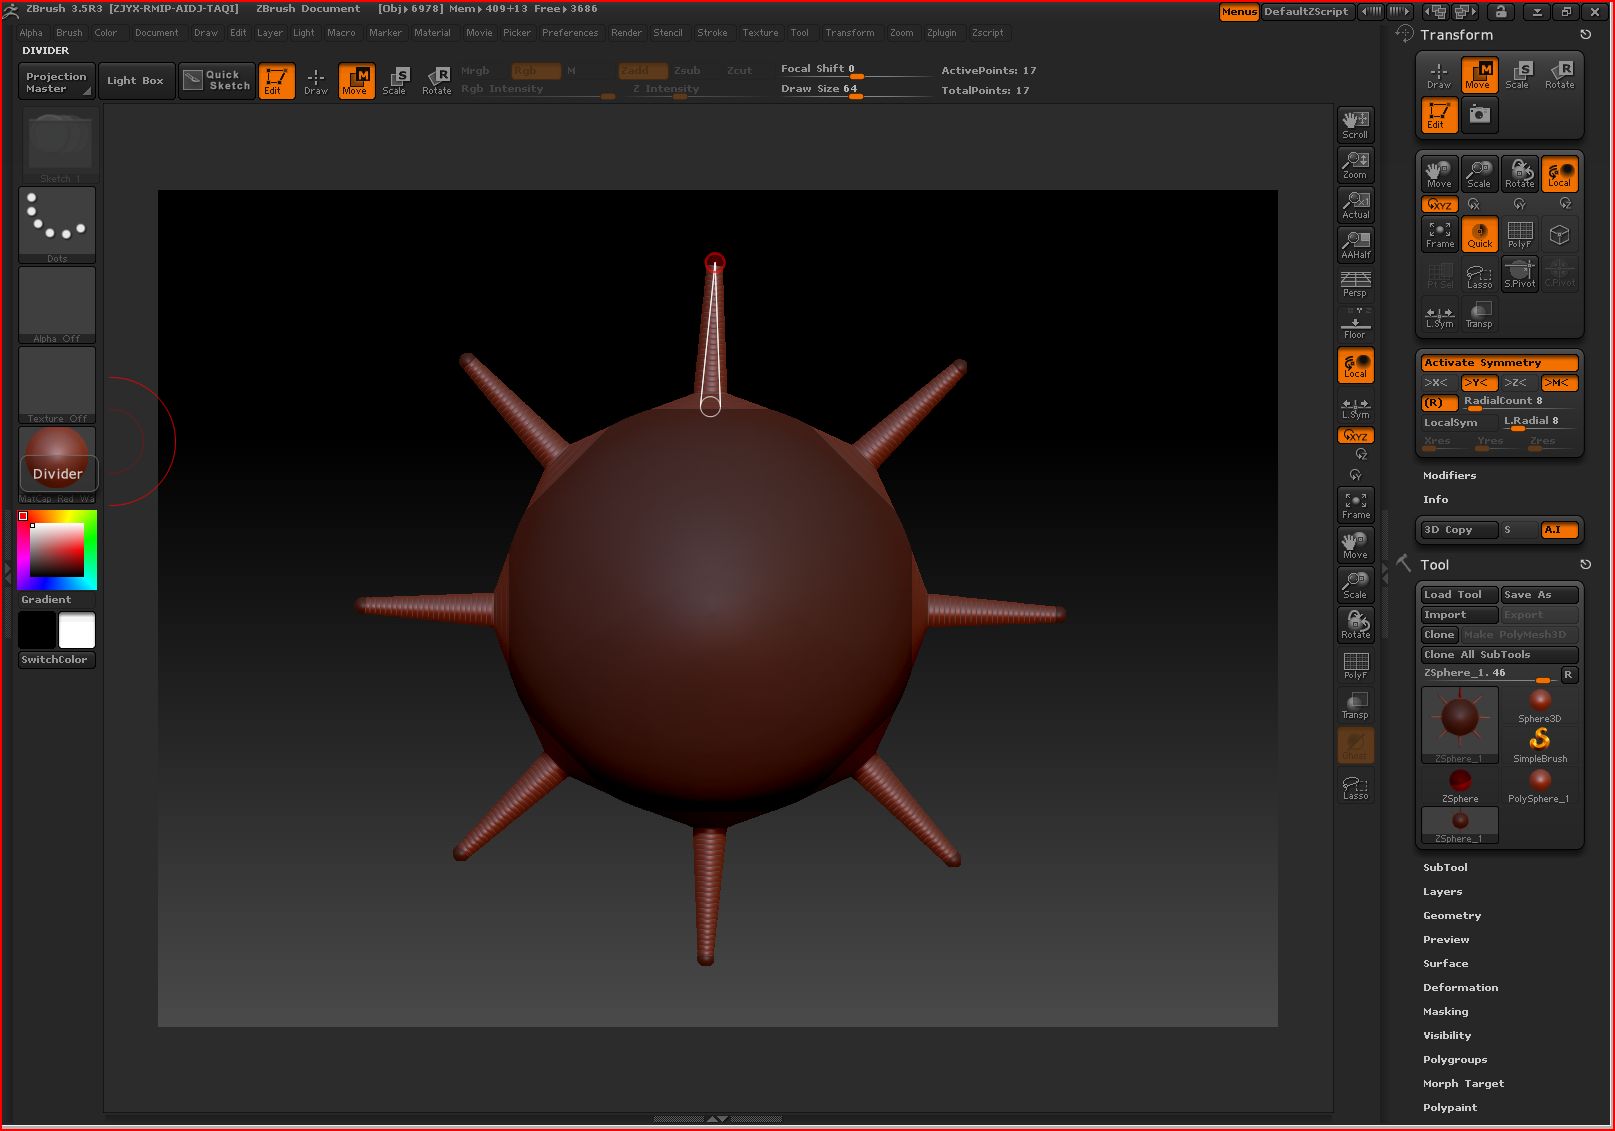
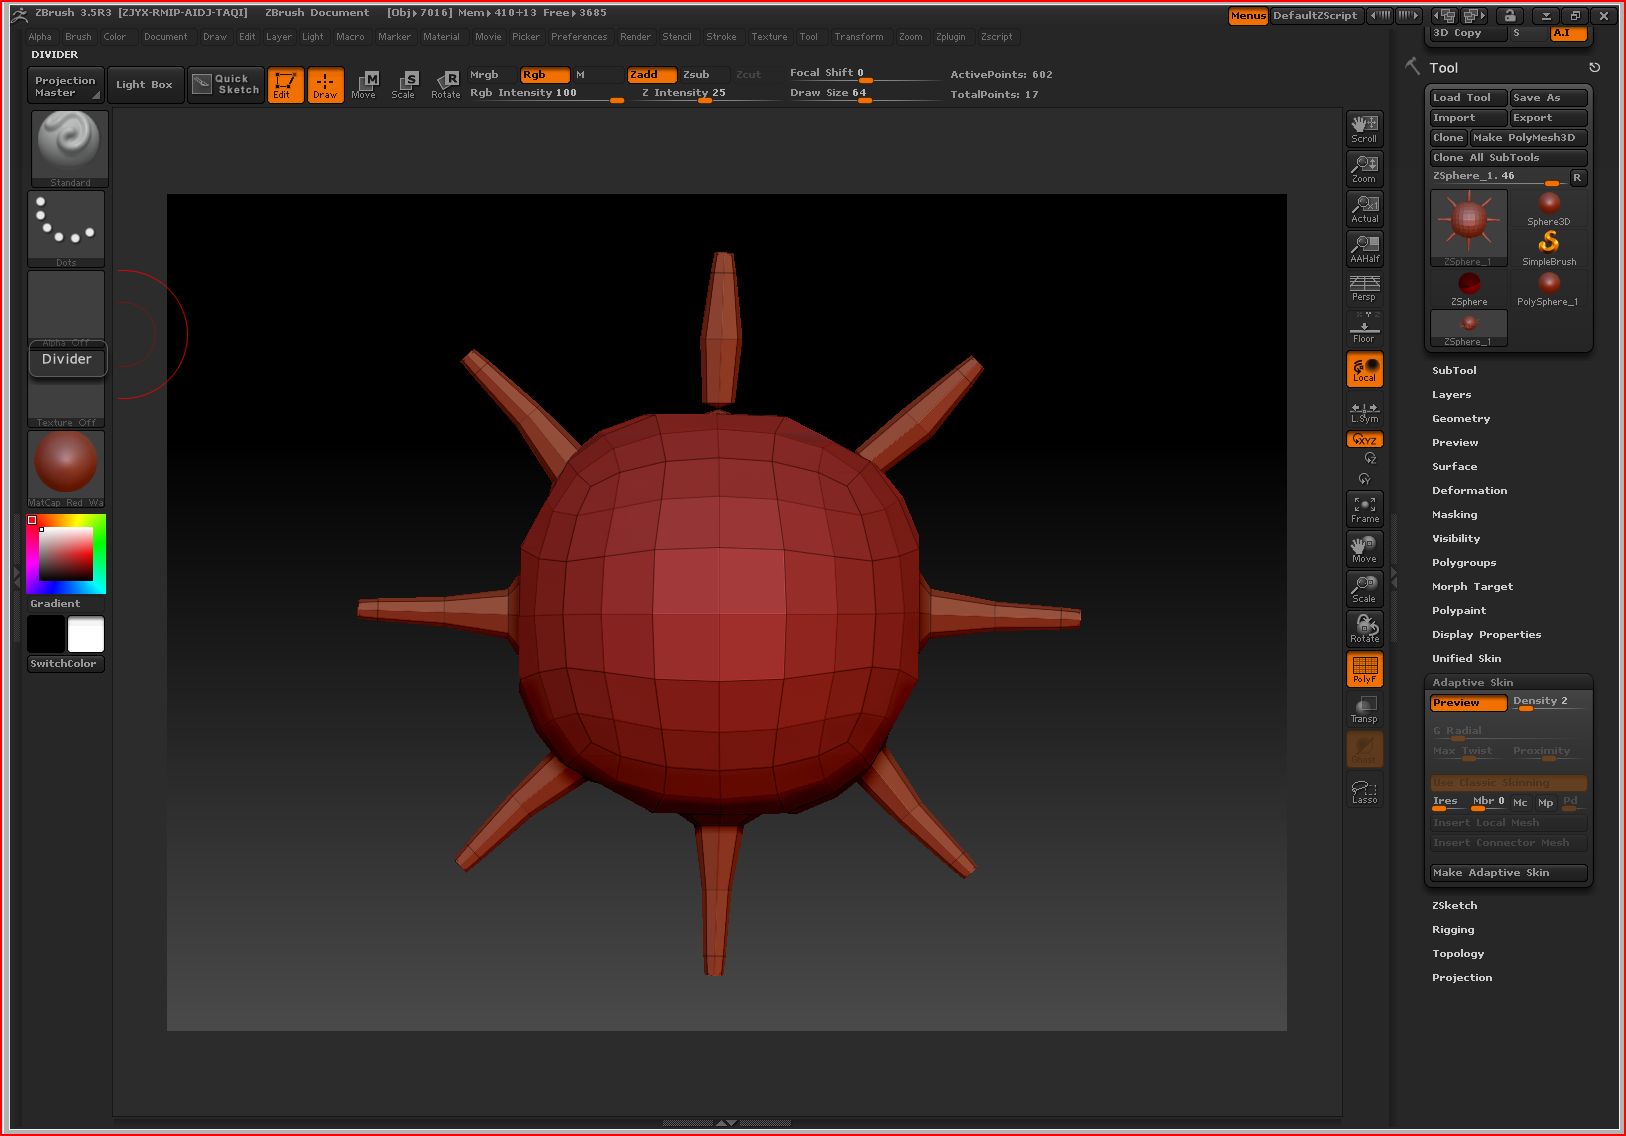
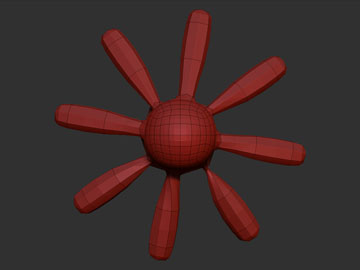
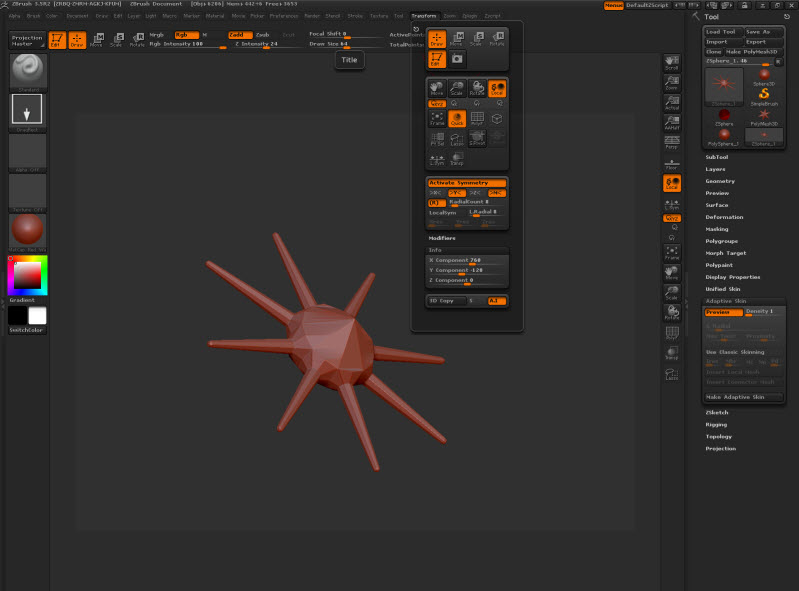
I draw a standard Zsphere set activate symmetry on , axis Y , radial on , radial count 8. then I simply draw my first 8 radial zpheres and press A. the result you can see in the picture below. can somebody tell me what I’m doing wrong?

1a.jpg

This has to do with mesh resolution. In order to support that many children, the parent ZSphere requires a higher resolution. The setting for that is found within the Transform palette. However, the root ZSphere’s resolution cannot be changed. So you would need to draw the root, adjust the resolution setting, add a child to the root which will become the center of the body, then add the children.

I wondered about that myself although I dont recall the person creating the tentacled headed guy on the videos having to go through that. Will watch it again to see what exactly he does.

Cheers

Mike R

Hi Aurick,

I tried many different resolution settings (with the resolution settings in the transform pallet as well the zsphere tweaks plugin) but I can´t get it symmetrical on all eight axis. the zspheres keep rotating on some points(see pictures). I can adjust it by rotating the zsphere one by one but then I think I loose my radial symmetry. whatever I do I don’t get the same results as the older octopustutorial.pdf or the tutorial from Simon Blanc in the zclassroom video.

Attachments

2.jpg

1b.jpg

I am also powerfully boggled by this. I have searched and searched and searched and searched and then searched some more. I have tried so many sample models of zspheres, and I am still getting the twisting. I dream about zspheres. Everything around me is made up of zspheres. Even these words I type.

I don’t see the setting in the transform palette that Aurick is talking about. I feel really frustrated with Zbrush. Please. Someone who really understands the basics of Zspheres post a tutorial and then hold my hand as we walk through it. :smiley: Please. I beg of you. Pretty please with a zsphere modeled cherry on top.
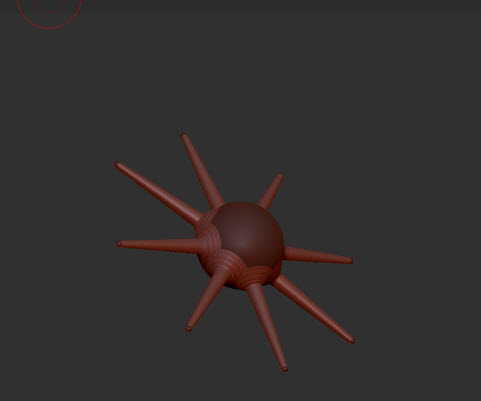
Thank You.

Sending many zsphere miracles your way today!
Christine

Hello? Anybody?

I am not excited about using Zbrush until I understand this. Please help me to understand this.
I will cry with joy when I do. Don’t you want to be responsible for making someone cry with joy?
If you know of links to information solving this problem, please post them.

Thank You so much!
Sending 7.38 billion microscopic miracles your way today…
Christine

What version are you using? Zspheres work a little differently in 3.5 vs. 3.1/3.2 . . . If you are using 3.5, and using the default (e.g. new Adaptive skinning) you shouldn’t need to mess with resolutions . . .

The steps I used:


  1. Start with a default Zsphere in the middle of the screen. (Be sure you’re in “Edit” mode and “Draw” is selected in the upper right.)
  2. Select a radial “®” symmetry from the Transform Pallet with a count of 8 on the “Y” axis.
  3. Draw a small Zsphere at the equator of the first zphere (be sure to keep it small). 8 Little Zspheres should be now be attached to the first zsphere.
  4. Center your brush on the first little zsphere you’ve drawn and draw another small one right on top of it. You should now have a big zsphere and 8 pairs of little spheres around its equator.
  5. Switch to move, and drag the last zsphere away from the center of the big zsphere to form 8 legs.
Pictures attached.

If you want to fiddle with the older style of adaptive skinning, click the “Use Classic Skinning” button on the Adaptive Skin subpallet.

A technique that very common in working with zspheres is to attach the next zsphere and then immediately switch to move to drag it out. Also, when attaching a limb or tentacle it’s often best to attach two zspheres, one after the other representing the “shoulder” and the “hand” The first, “shoulder” acts as an anchor of the zsphere chain to the “body” and the second can then be stretched out to make the arm/tentacle. Once it’s stretched out, clicking on the chain of zspheres while in draw mode will add additional zsphere nodes to make an “elbow” and allow you to shape your chain of zspheres making up the limb.

-K

Attachments

zspheres8.jpg

Askin8.jpg

[zsmodes.jpg]

ZSphere in ZBrush 3.5 now have two methods for skinning.

Defualt: Which handles multiple intersections better.
And
Classic: Which gives you all the controls you used in ZBrush versions earlier then 3.5.

I have a mac and Zbrush 3.2. I followed the tutorial exactly and the zspheres looked good, but the mesh was twisted where it joins the base.

Attachments

twisted.jpg

I became very frustrated with this and have not been on the forums for awhile. I also did not know that I received replies. I have it set up to notify me, but, it did not. Thank You for the replies Martin and Kerwin! I tried this again and had a lot of weird results.

So, I simply broke it down into insanely simple steps to illustrate here. I thought, maybe you could get enough information from these images to help me understand the twisting.

The only thing I did that you can’t see, is I turned ON mirror symmetry (M) at step four in order to move the tentacles out.

I did not do anything else except for what you see here.

Thank You!
Christine

Attachments

Step_1_ZSphere.JPG

Step_2_Symmetry_Settings.JPG

Step_3_Draw_Zspheres.JPG

Step_4_Move_Zspheres.JPG

Step_5_Adaptive_Skin.JPG

Step_6_Unified_Skin.JPG