@mix_mash: The process can be done with any normal cameras. I didn’t use any special settings I just took a camera and started walking in a circle taking pictures. As long as the camera produces EXIF data it will work.
A minimum of 2 pictures are required to generate the 3d effect (same process that was used in the old viewmasters back in the day, and the current 3D craze with TV’s.) You just need to take enough pictures for the program to stitch together the subject you want to capture (if you have a camera that does panoramic mode that would help in making sure you don’t miss any areas.)
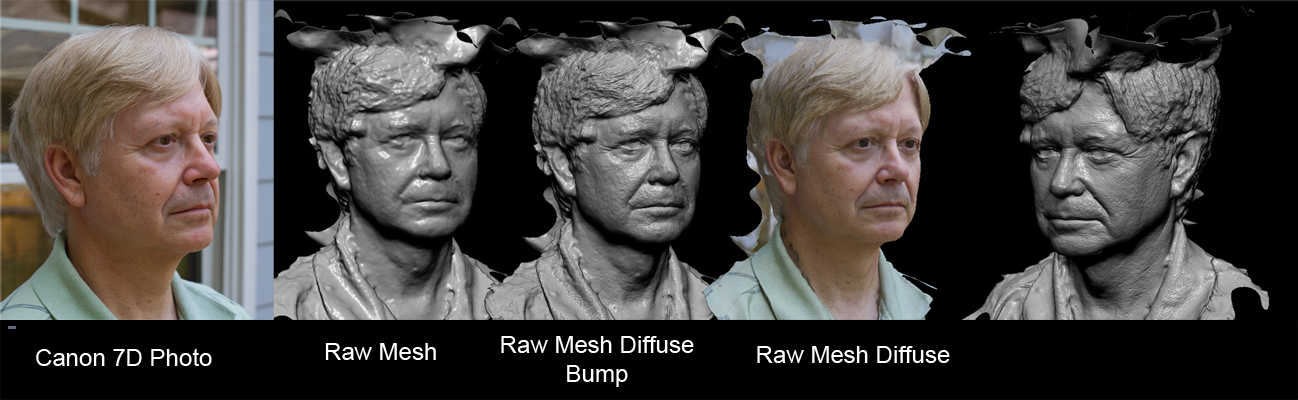
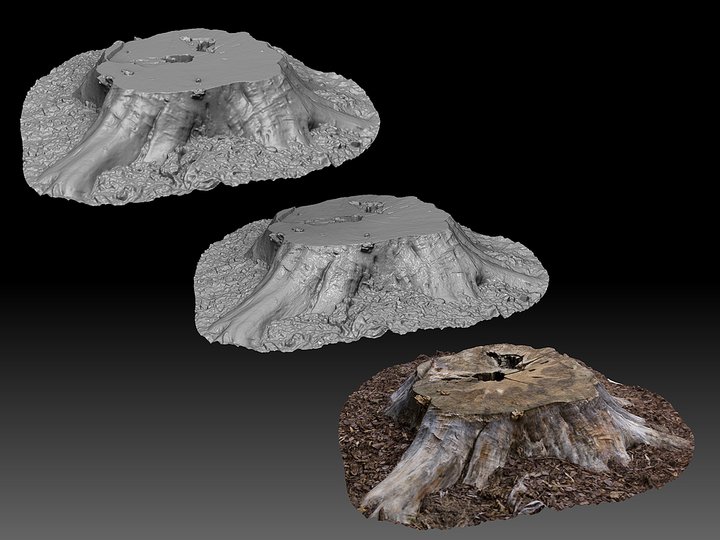
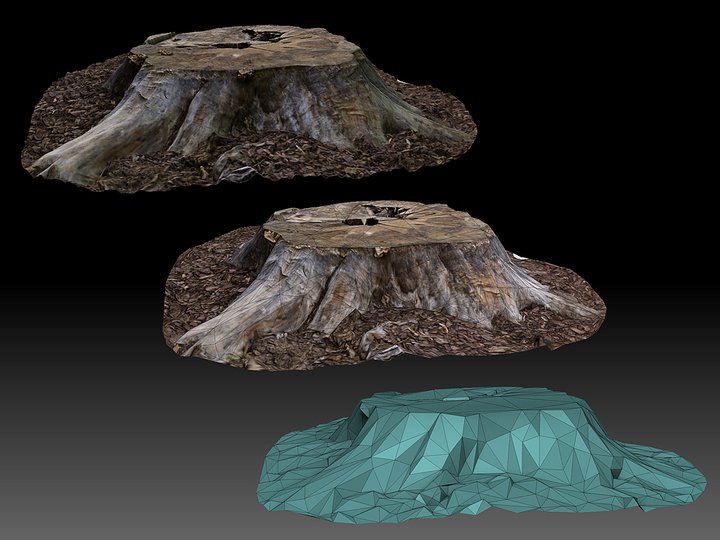
@Grfx: The stump took longer to capture then the face. The face was captured in the shade so that the lighting was even. Then I just rotated around the subject exactly like the stump and took 11 pictures (tests I have done are never exact in the amount of pictures. For a head it’s turned out to be 11-12 photos, it all depends on how many steps I take around the subject.)
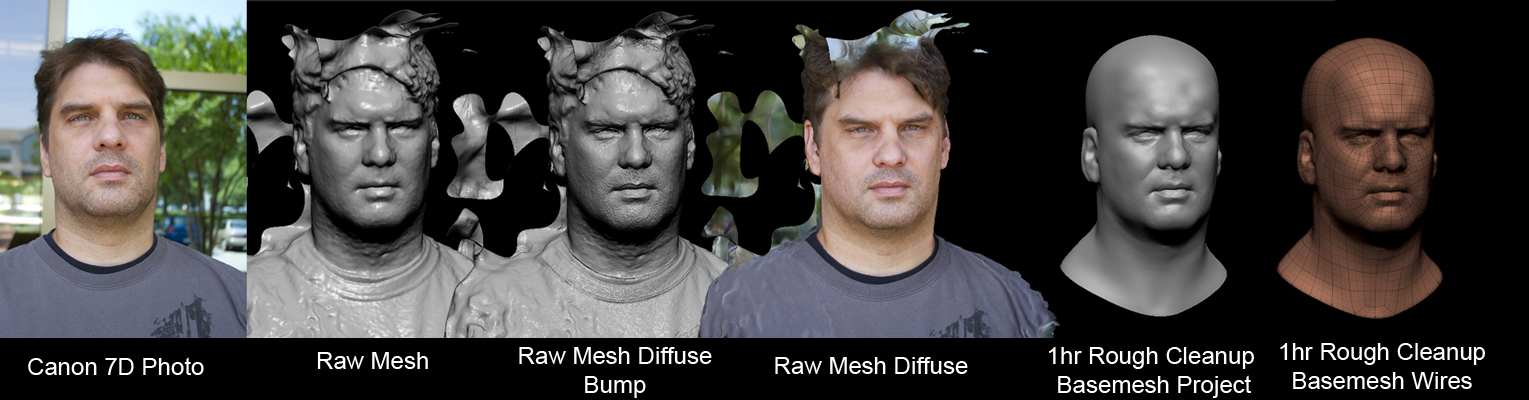
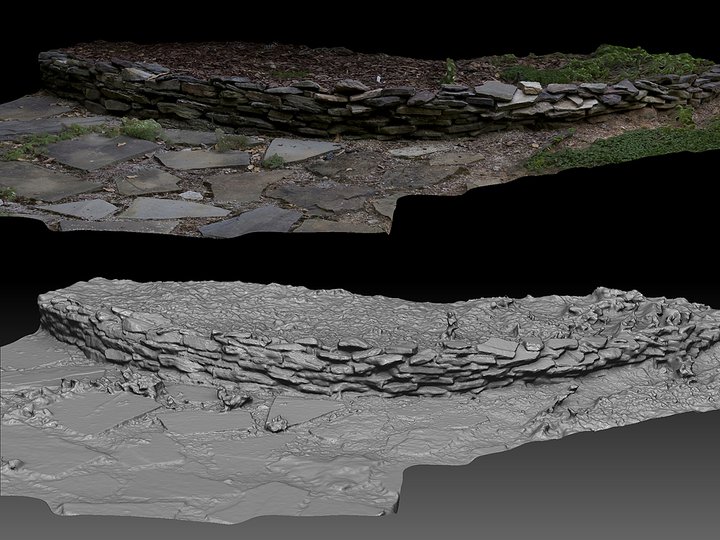
After it is captured you should get a mesh that is decent (first raw model in the image) and a excellent diffuse texture. Applying the diffuse as a bump will help increase the quality of the raw model (I have been quickly dumping the diffuse to photoshop equalizing the channels then seperating the blue channel to use as a bump.) The rest of the process was just quick Zbrush sorcery using masking, retopology, projections, and simple sculpting. Creating a tutorial to cover the head process I use is on my list of to do’s.
Another quick example of a head 12 pictures with a Canon 7D were used. (just the raw data from photofly)
[ ]
]
-Joseph
 ]
]
 small_orange_diamond
 thank you so much
