ZBrushCentral

Transpose master to unwrap multiple subtools?

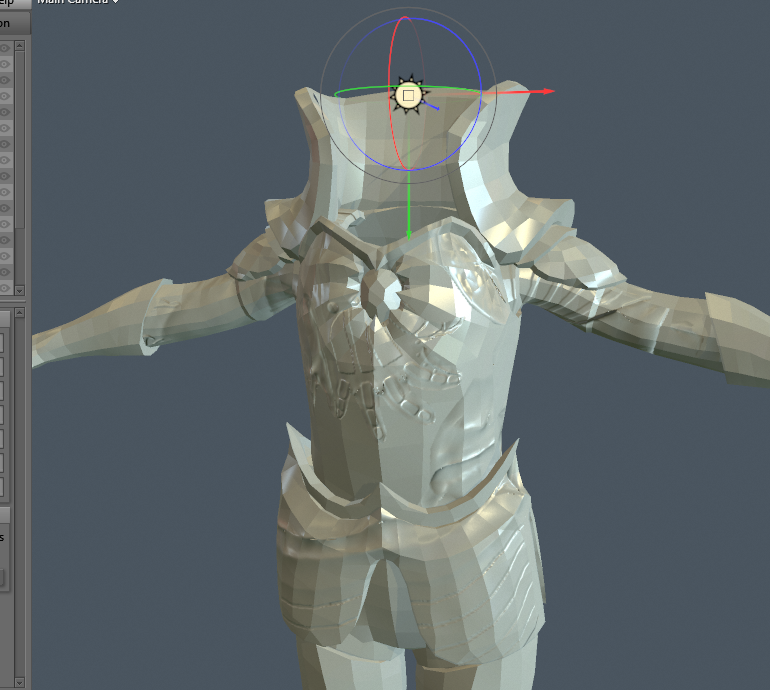
I have got an armor of maybe 10 subtools and I wish to unwrap them in zbrush onto one uv. All of the subtools have higher subdivision levels, is there really no way to unwrap all of the subtools onto one uv map. Because I did try to transpose all visible subtools. (Armor) And I did unwrap it and when I flattened it, it looked nice but the Uvs for the subtools did not seem to transfer back to each individual subtool which really is aggrivating.

The only thing I can think of doing is unwrapping each subtool inside zbrush, export all the 10 models to blender. Combine all the objects, edit the uvs. Divide all the models into individual models again, export them. Reimport them one by one into zbrush again and project back the detail on each of the subtools.

Not only that, then I would have to bake out the diffuse, occlusion and normal map from each of the ten subtools plus the models. Then combine all the normal maps into one normal map, combine all the diffuse maps into one diffuse map and same with the occlusion map in photoshop.

Another way might be to make a copy of each subtool, delete all the higher subdivisions and keep the lowest one, combine all the low res models from each subtool, unwrap them, split them again inside zbrush. Reproject back the detail on each model then bake out the maps.

It makes my head spin just thinking of what a mess this is, imagine how easy it would be if you could just unwrap all of the subtools at once, bake out one map of all the subtools at once and end up with one diffuse map, one normal map and one occlusion map.

Is there really no way to skip having to spend 4 hours messing around with all this stuff, who knows there’ll probably be some issues too if you would export it to blender. I can imagine when you import back the parts that they might not end up in the same locations as they were inside zbrush. This is really grinding my gears and discourages me from attempting to texture the model. Such a time sink that easily better could be spent trying to make better looking sculptures, any help appreciated.

Thanks :smiley:

Have you tried to merge them, use UV master and then split them?
They will keep the relative positions UVs, even with subdivisions, when are being split.
The merged subtools need to have the same number of subdivisions or they will be created automatically. When splitting do it in the higher subdivision level or the subdivisions will be lost.

Can you split a subdivived subtool into parts by polygroups? I thought you could only split a model if it has no subdivisions. Or do you think I should work on one subtool for all of the model and just hide/show polygroups of the model?

If all of the model was one subtool and the parts were divided into polygroups you could unwrap and even manage the uv islands completely inside zbrush and even end up with a normal map, diffuse map and occlusion map and now have to merge them afterwards.

The only problem would be that you might have to subdivide a subtool or two to make the model have similar amonut of subdivision levels. And say subdividing a one million polygon mesh into a 5 or 6 million polygon mesh sure would make things lag a bit. But yes this could be a solution, I’ll try it.

It works. Not sure if it is practical depending of the stage of your model. If merging gives you a 50 million mesh is certainly no practical.

Another thing that works is to use transpose master, it will make one subtool at minimum subdivision. Use UV master and then split the subtool to the needed parts. Then use UV master to copy the UVs to the original ones with subdivisions. This would avoid the overhead of handling large subtools. Notice that I did the split to unique islands subtools and not subtools with several polygon islands, but I guess it would work anyway.

If you are going to do tests better use first low simple models.

I have yet to try it but I think that second method is better than merging all the subtools, so in this order right.

  1. Clone the tool.
  2. Transpose the subtool into one subtool.
  3. Unwrap the subtool and then move the uv islands around to fit perfectly the uv map.
  4. Split the model into parts by polygroups.
  5. Copy every uv from each subtool to the corresponding subtool in the cloned tool.

Now each subtool will be unwrapped correctly without being merged.

  1. Now you want to export all the maps for all the subtools, open the multi map exporter then check SubTools and merge maps.
  2. Make the settings correct for normal and occlusion maps.
  3. Now you’ll end up with three maps, one diffuse map, one normal map and one ambient occlusion map, from all the subtools.
  4. Export each lowest subdivision of each subtool.

And voila, all are unwrapped correctly and the normal maps are exported, import the models into blender and start working at the normal, spec and diffuse maps.

Last question, as someone who hasn’t done any serious texturing before. Is there a program that would preview the textures better than blender. I guess Marmorset toolbag or any program that can render out images quickly if it’s say for a movie and not a game?

Marmoset uses a real time game engine, similar to Unreal, and the quality is excellent, better than some not real time render engines. It can render dense polygons apart of normal game assets (it will accept a few millions depending of your 3d card) .

Keep in mind that that uses typical game maps based in game engines, as metalicity, glossiness, specular etc, where you get more quality but Zbrush won’t generate automatically. You can make them manually or simply don’t use them if your shaders are simply don’t use them if you model is simple and you are mostly based in normal and diffuse.

I might as well post here instead of signing up at some other forum somewhere, in marmorset toolbag anyone know why when I import my model and put the normal map on it I end up with this?iu.png

I have double checked and the models I’ve imported are unwrapped properly but the normal map inside marmorset is scrambled. Also I haven’t found an option to get rid of he hard edges at every face in the model. A smooth option, I read somewhere that there is supposed to be a smoothing option under the mesh menu but I see no such option there. Anything obvious I’m missing here? :stuck_out_tongue:

After looking around I found this

You need to smooth your mesh normals (set your model to 1 smoothing group in max terms). Make sure when exporting out of max via OBJ that you have mesh normals included in the mesh export settings. This should fix your problem.

If you want to load a high poly mesh from zbrush, you can actually just load it in directly. Toolbag can handle millions of polygons (performance depends on exact video card though).

Basically you’ve got to import all the models into max or blender and smooth the hard surfaces before exporting the model, or that’s how I interpet it.

EDIT: Unfortunately the normal maps are still scrambled and I have no idea why. :frowning:

Export and import maps between applications is a nightmare. Mainly because you need how each one is set in each application. Normal map is the more complex as each channels can be in different settings.
Then the only option is to know how each individual application needs the settings and how this relate to the application that you want to send. No universal settings.

In the case of smooth normals (not the same than normal maps) OBJ can not do it. But FBX exporter in the plugin section of Zbrush can. Simple activate the snormals in the FBX exportimport plugin. It will do a smooth based in angle, that sadly you can not customize changing the angle or differentiating different objects.

The case of the normal maps is different. You need to match Zbrush output with what Marmoset wants. These settings are in the normal map creation of Zbrush. But these are partially duplicated also in the preference menu. This can be a source of problems as you can correct twice the same map doing exactly the contrary of the expected if you activate similar options in both menus. Most of the times the error consist if the green channel is inverted or not. You can correct this in Zbrush with flip G. If uncorrected makes the effect that the light comes from the bottom.
To make things more complex you can change the behavior of marmoset with the normal map in preferences. If it is set as tangent space 3d studio Max then it needs G flipped in Zbrush.

I took the model into blender and tried to see what could be wrong and after some tinkering it turns out I had to rotate the normal map twice then flip it vertically to have it line up correctly. Never seen any such thing happen, usually it’s just either flipping the y or x axis, any idea why this happens. So 180 degree rotation on the texture then flip it vertically. Makes no sense to me but now it lines up correctly.

Thanks for the help Altea.
OZgb8Cq.png