Hi there, My names Alex and I’m a video game artist from Canada. Here’s a silly illustration I made almost entirely with Zbrush that I thought you might find interesting.
In this scene we have a band of thieves, known as the Greenbloods who are trying to raid this underground dungeon of sorts. They are met with an ageless sorceress, the wycked mystic, who takes this intrusion as an opportunity to light up the place! Two of the Greenbloods take a nasty spill but it looks as if the brains of the operation might just make it out with something to show for it!

To speak on my process a bit. The first step for me always is to sculpt and pose the Figures. I like to poly paint a texture as I go, using the mask by cavity and surface noise patterns to generate my masks.

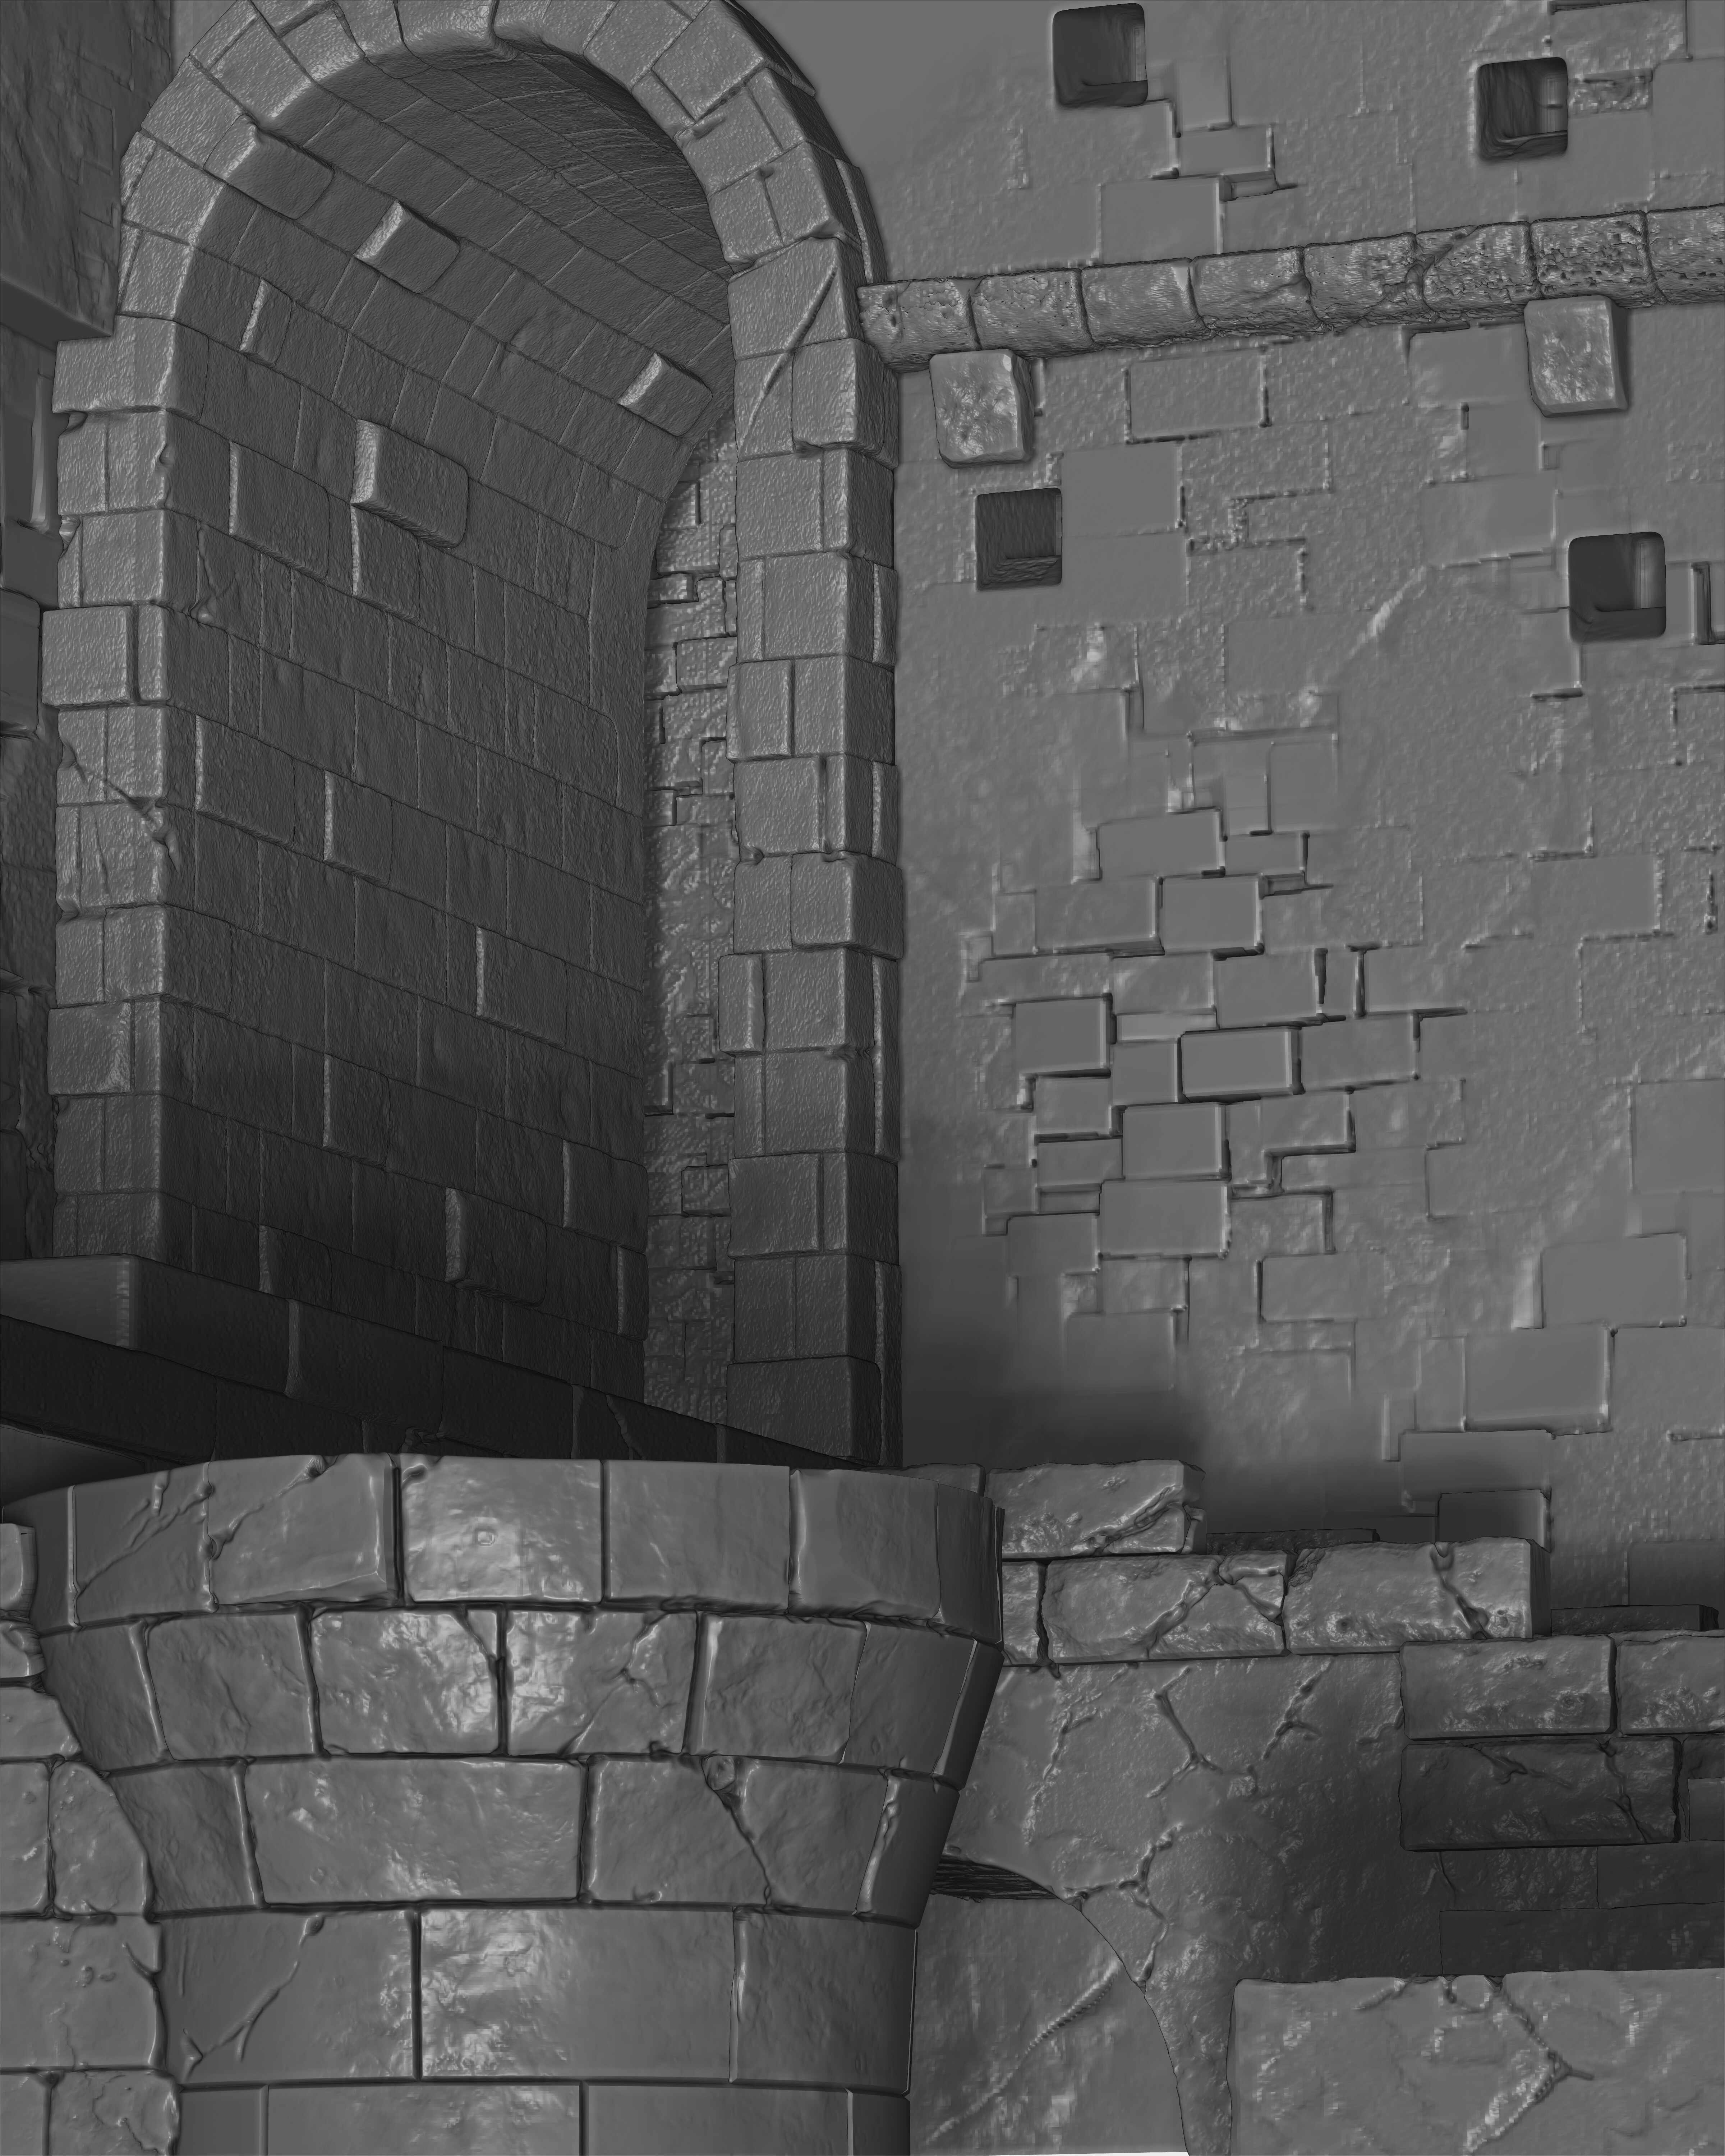
The same goes for the environment, which I sculpt to a camera angle. Using the zapplink tab under the document drop-down is crucial to storing your views for the eventual illustration. Use Cust1 and Cust2 to compare your shots and save your views. Remember your dimensions and perspective setting so you know you can open the scene later with the exact same framing. I usually take note of these settings when naming my views file. Try to make the scene as large as possible, everything looks better high res ya know! I usually try to illustrate at 4000 pixels or greater. My pc is kinda old so 6000 is where it kinda taps out with regard to bpr captures.
At this point, I usually have well over 100 million points to juggle across multiple zbrush scenes!  In order to render bpr layers I usually make some decimated proxies of the characters to use as placeholders in my environment BPR captures. Conversely, I’ll do the same for the characters’ scene, paste in a decimated environment so the framing and masks can all be generated.

I try to capture every matcap and bpr layer that might be useful in the comp later. I often take a few different lighting passes at this point as well. To do this, just turn your textures off with the paint button in your subtool list and play with the lighting tab with no ambient lights and bpr away. This will give you back and white lighting passes to use later on. I find it super handy to render the scene with the normal map mat cap! You never know when you’ll need a sidelight to make some detail pop in the comp pass. Fake anything you need to.

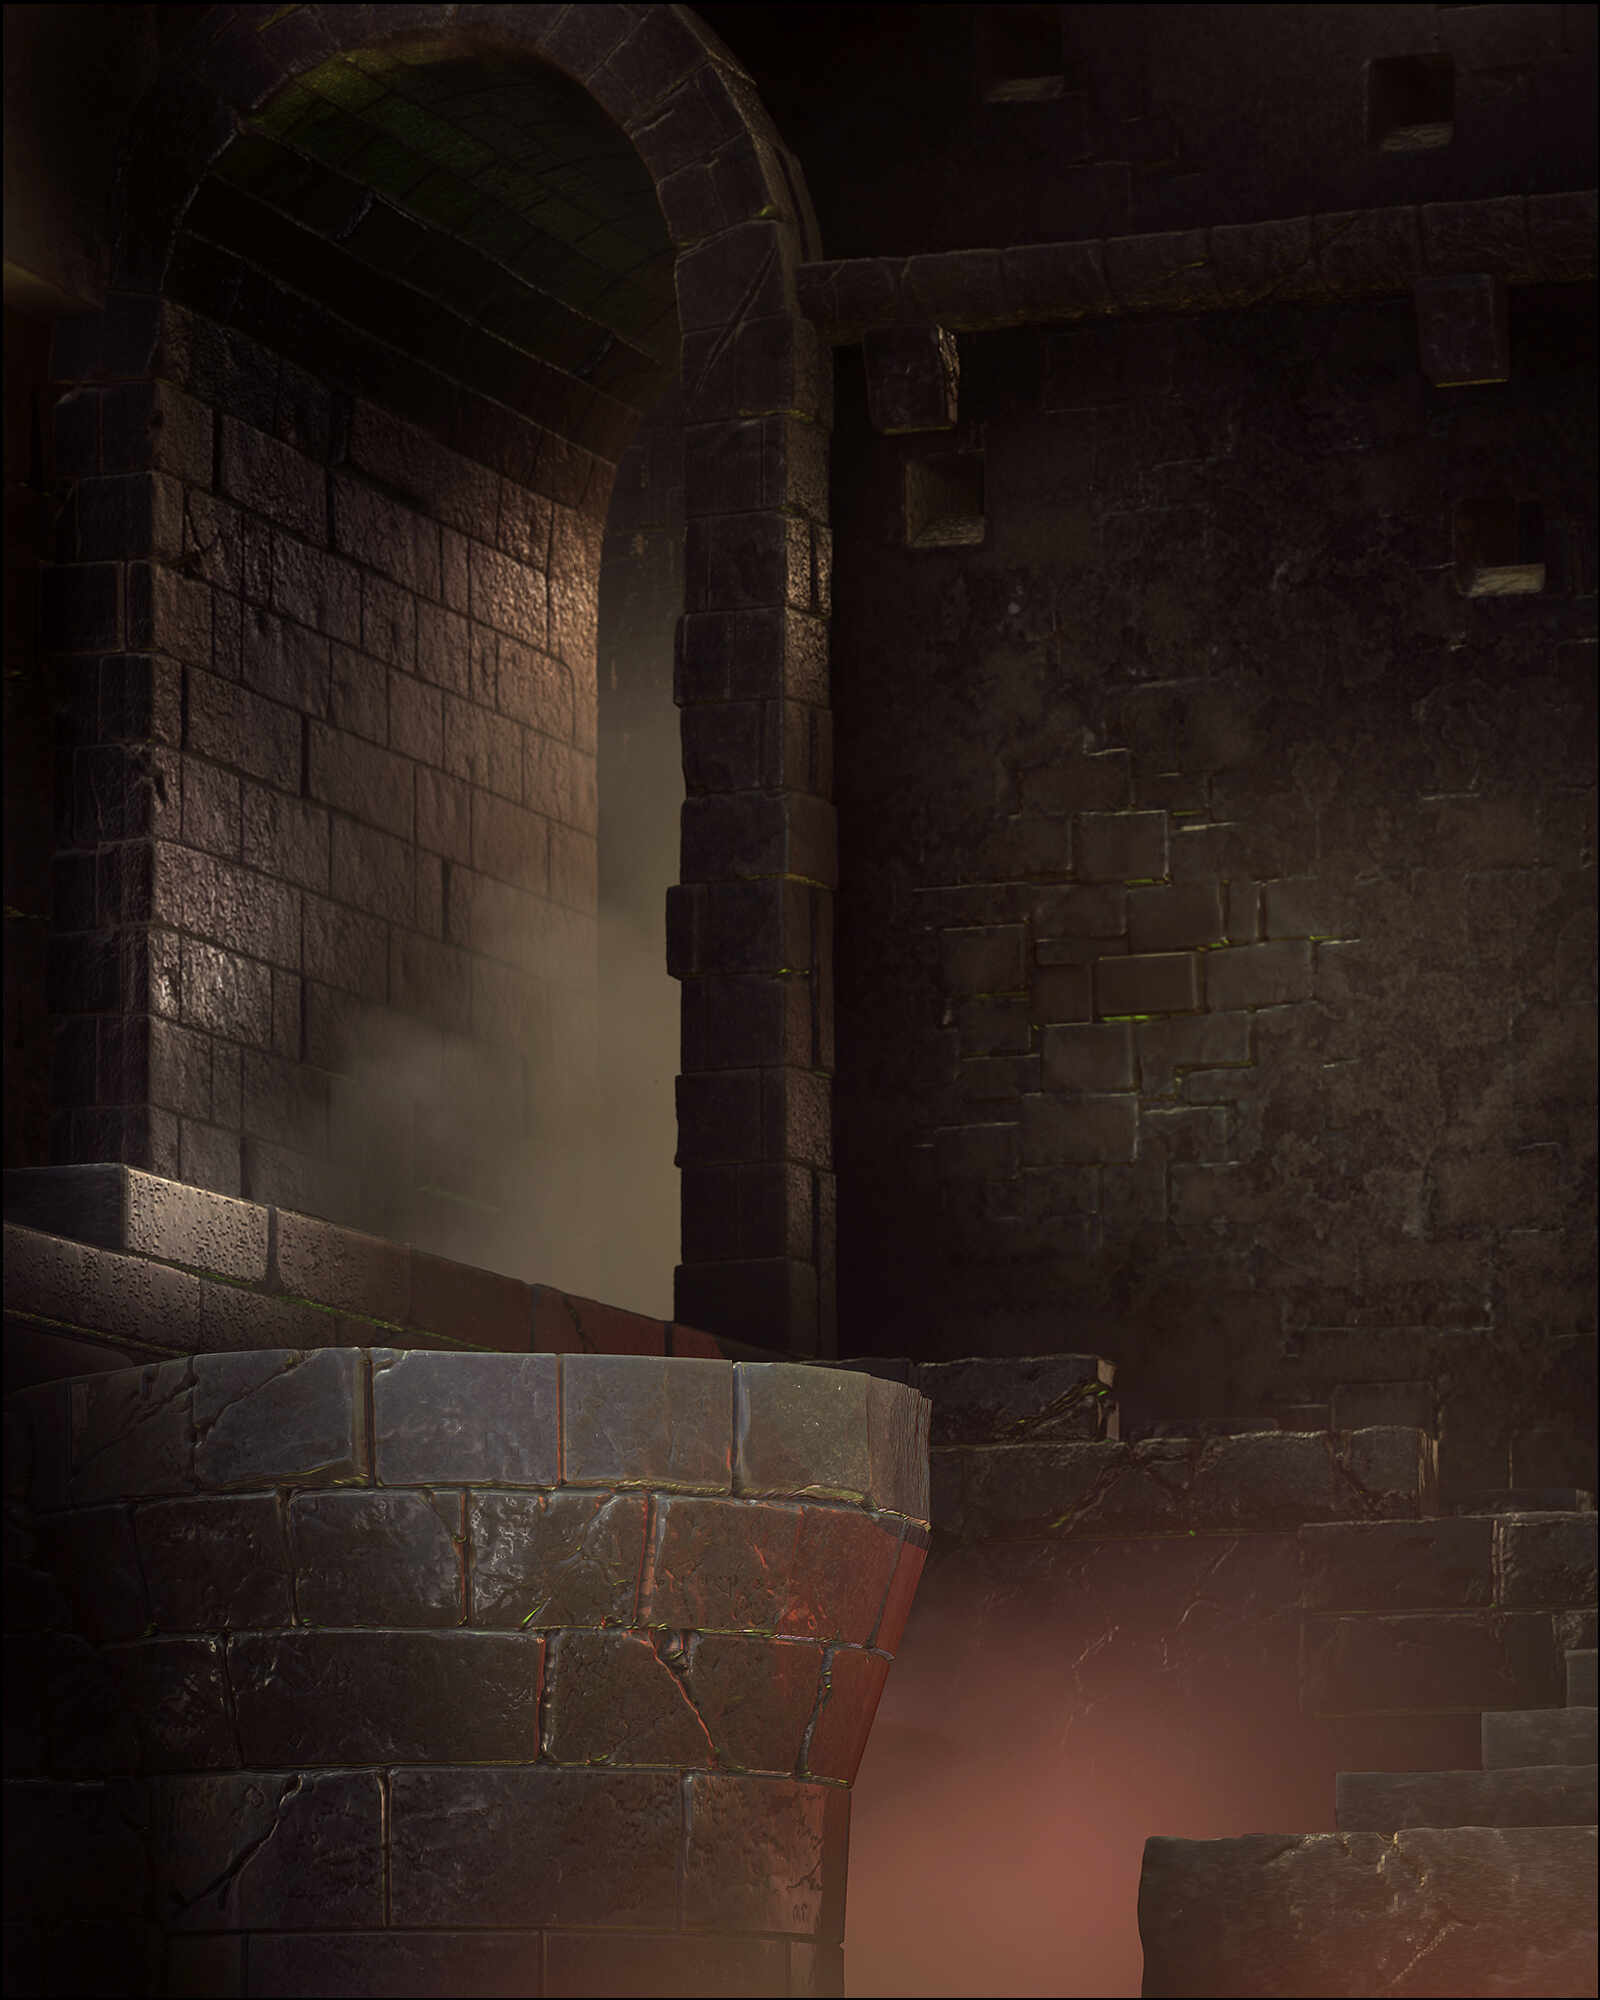
It’s hard to pin down any hard and fast rules during the photoshop comp because I do it a little different every time but I can say that largely it helps me to build the background up until it is believably lit and use that to color correct your characters into the scene and work from there.

That’s it! I am not sure how helpful this might be from a production perspective but it sure is a heck of a lot of fun to put scenes together with the characters you’ve sculpted and iterate as much of the process in zbrush as possible!
If you’d like to see more images from this project or more of my other illustration work, pop over to my Art Station page here,
https://www.artstation.com/artwork/d8qR0J
Cheers!
Alex