ZBrushCentral

The thinking old man

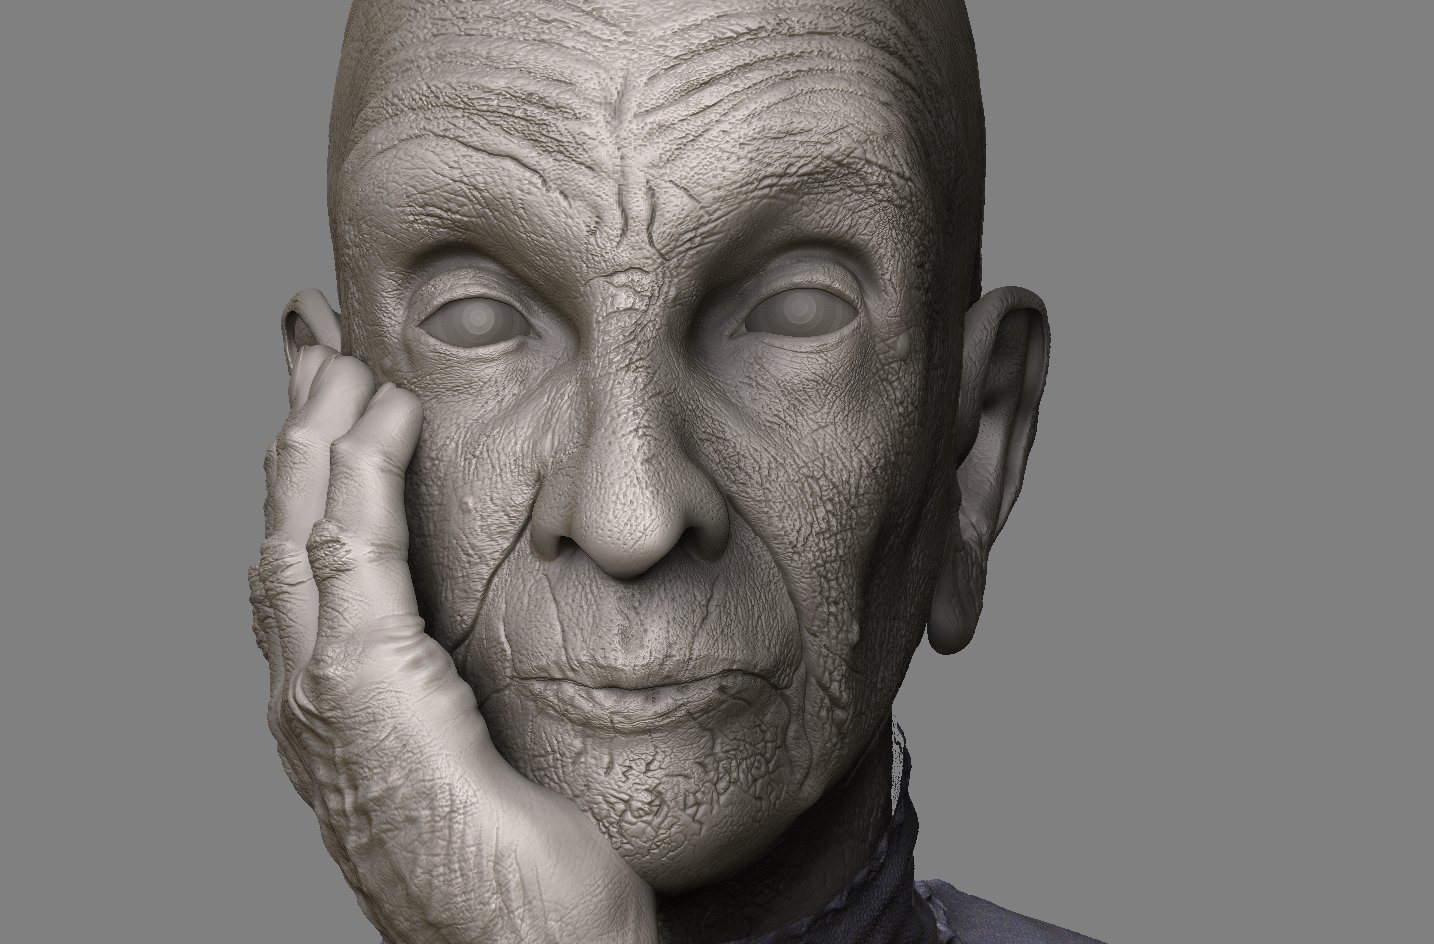
I’m just on the finishing touches of this new model:

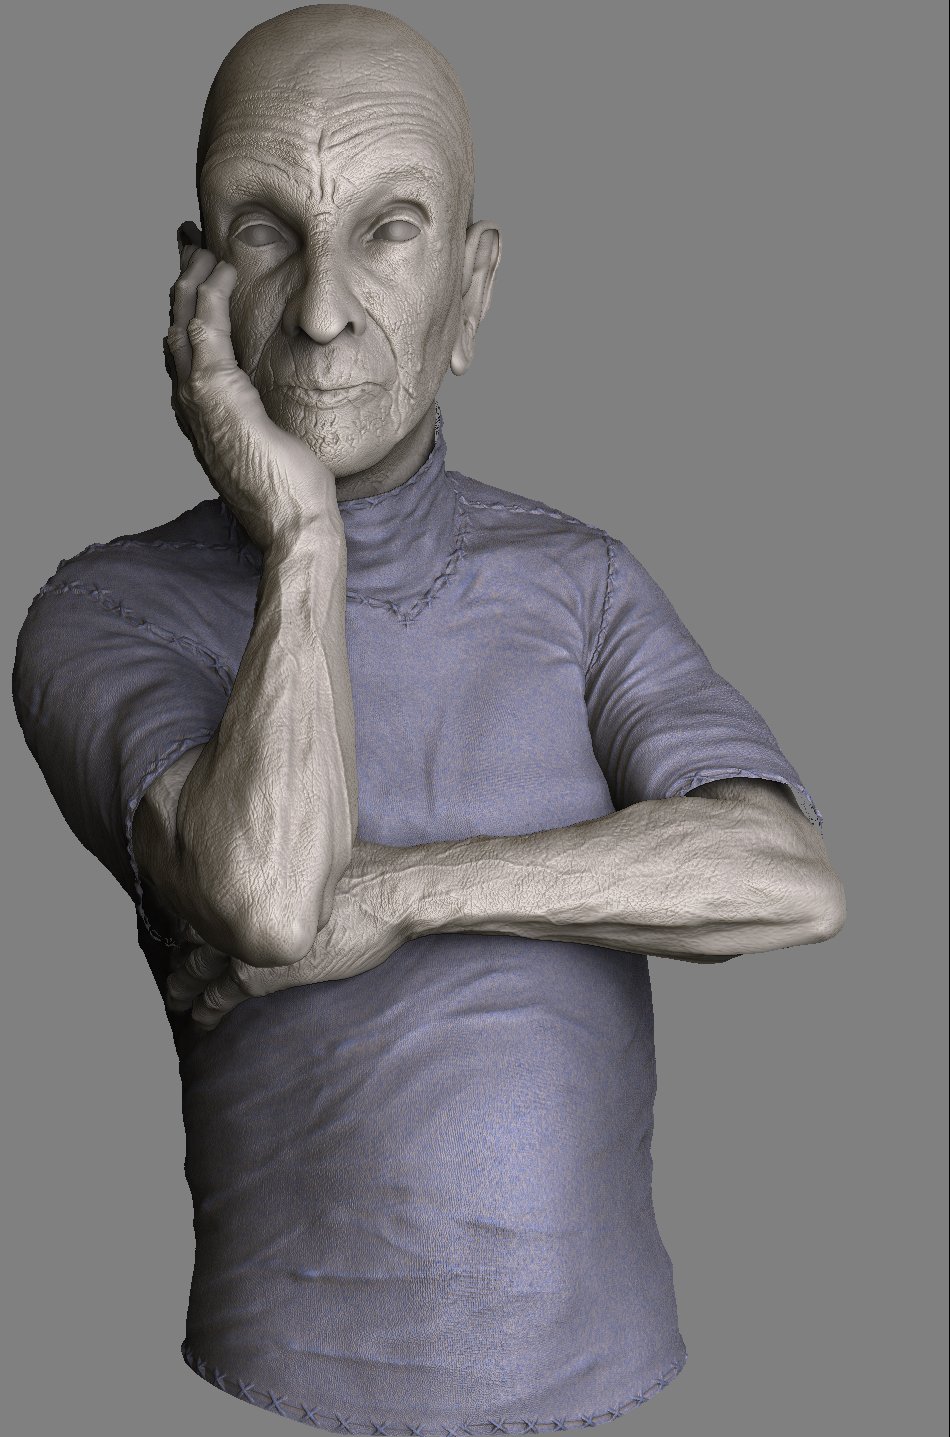
‘The thinking old man’

The model will be a full textured and rendered project.
Next will be the texturing and the first displacement-test-renders in C4d with FinalRender or/and Vray.
I decided to post this now to hopefully get some feedback, equal if it is liked or not, and to see if someone finds something serious that should be corrected before doing all the maps and render-work.

So, C & C is always wellcome.

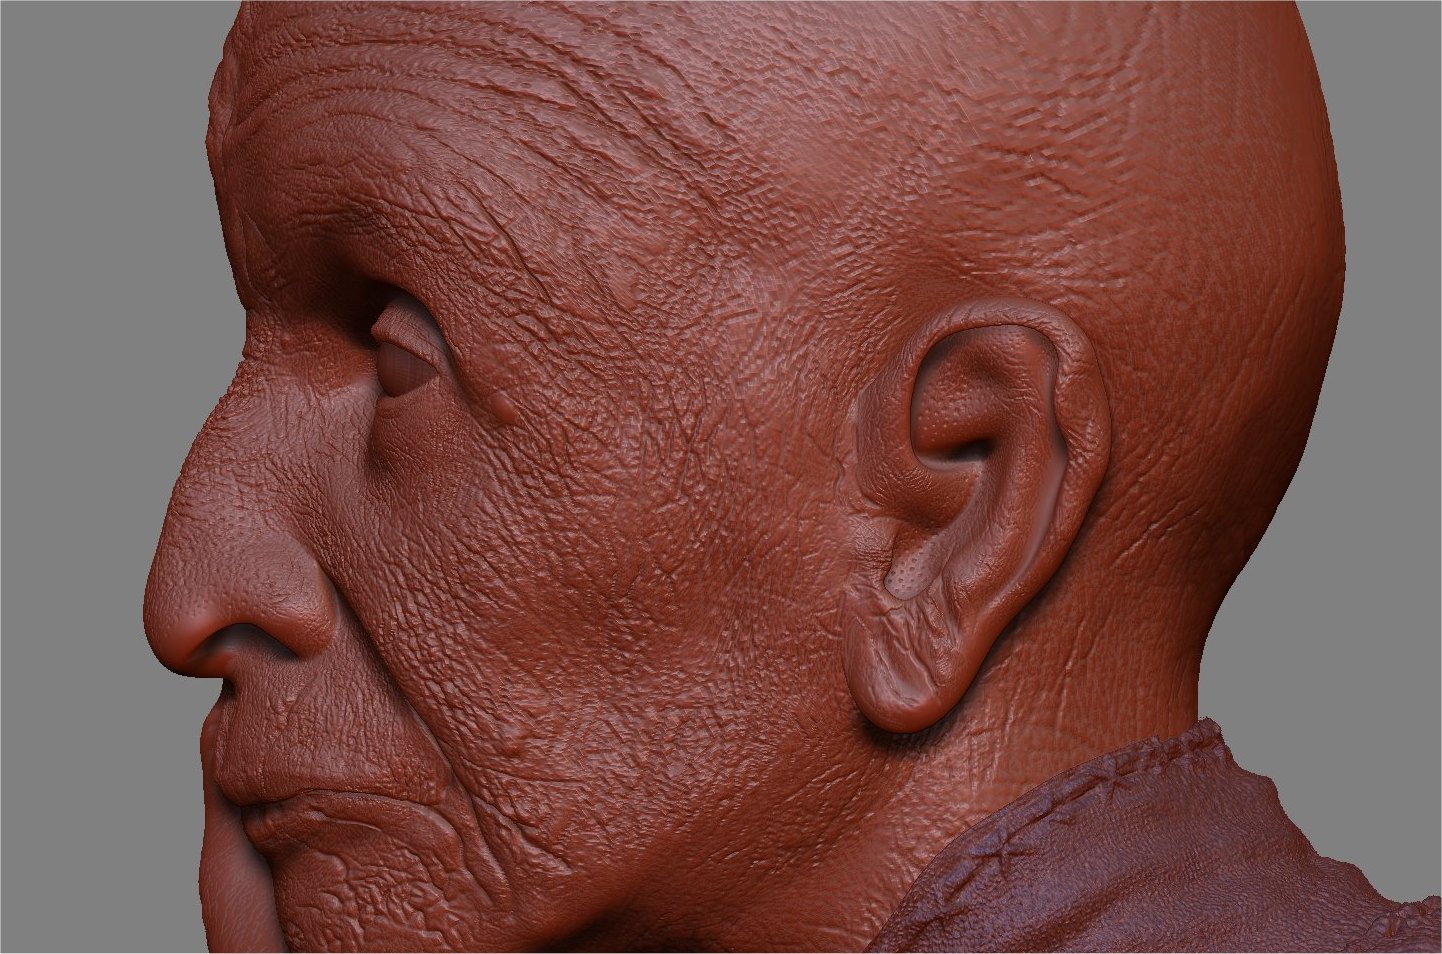
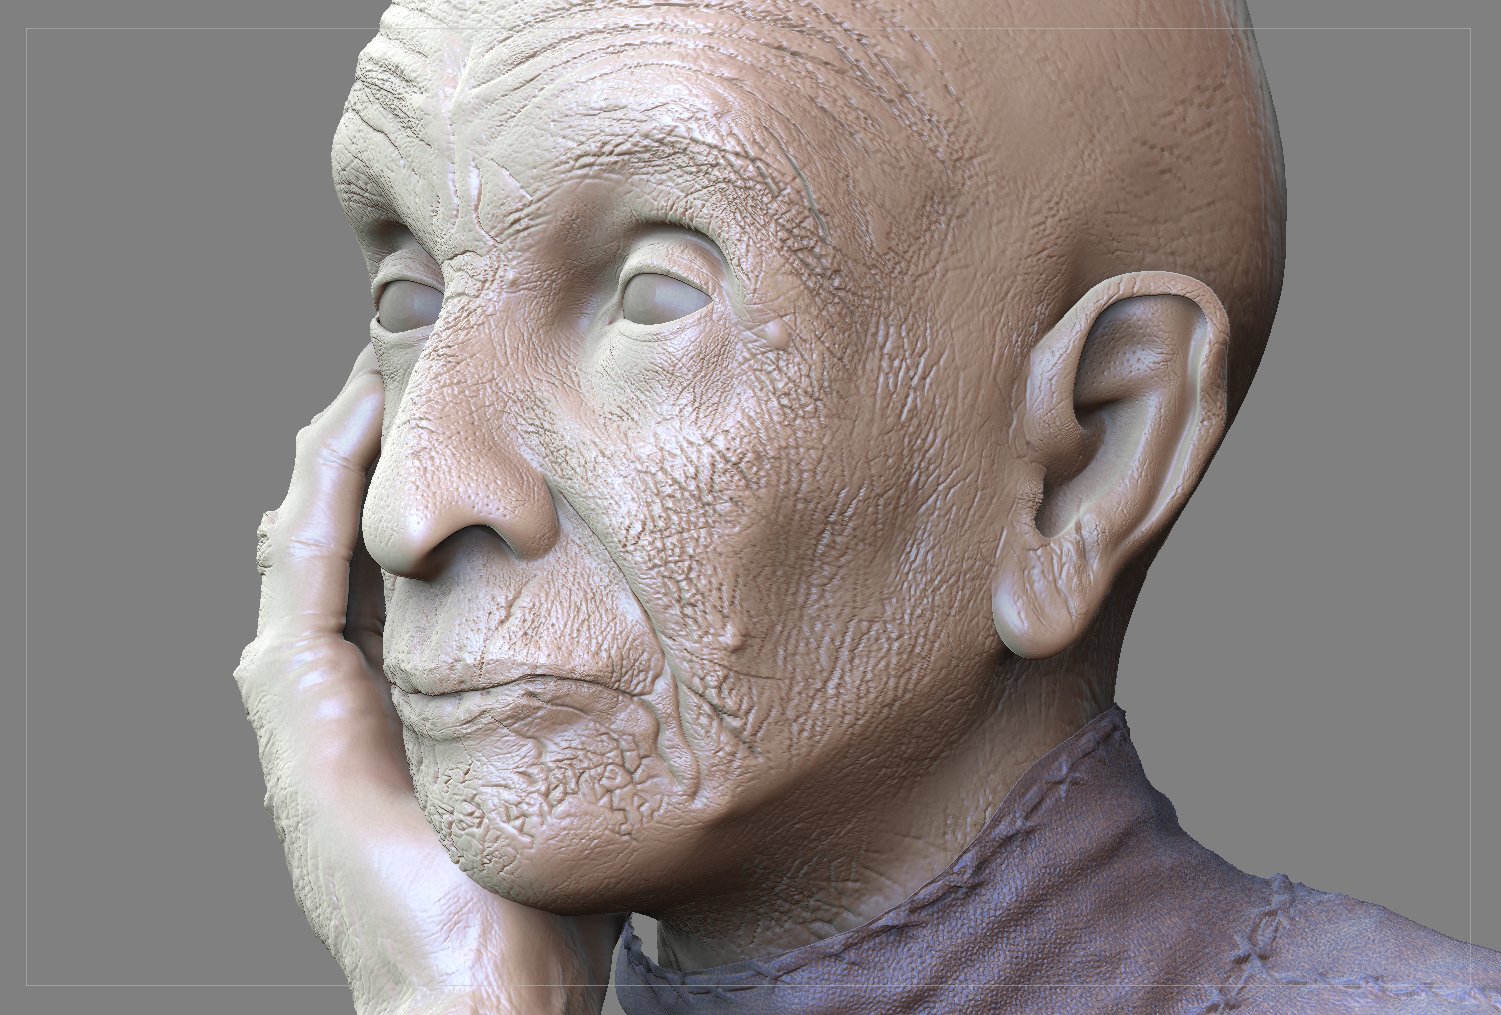
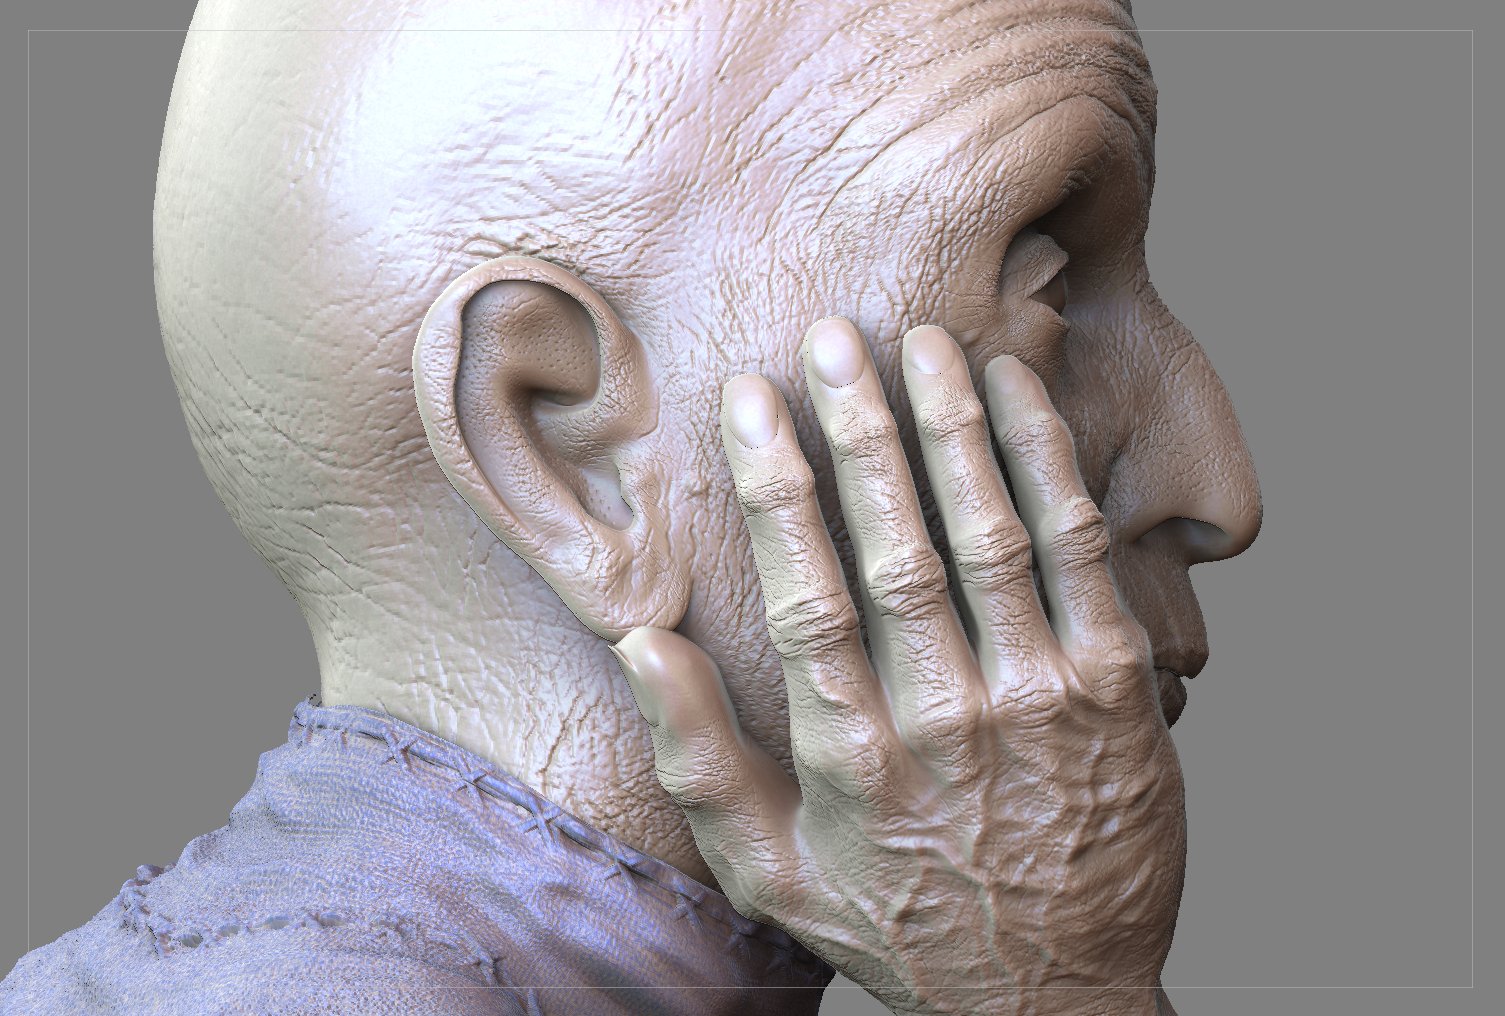
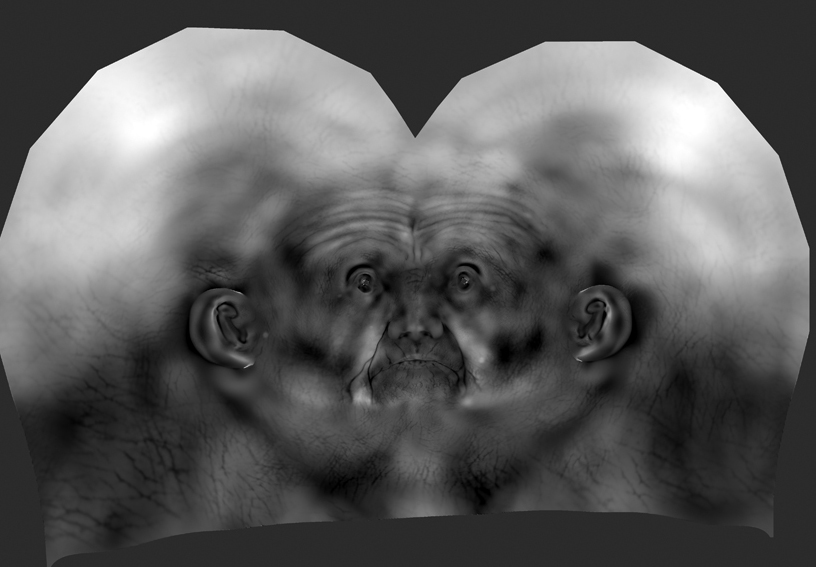
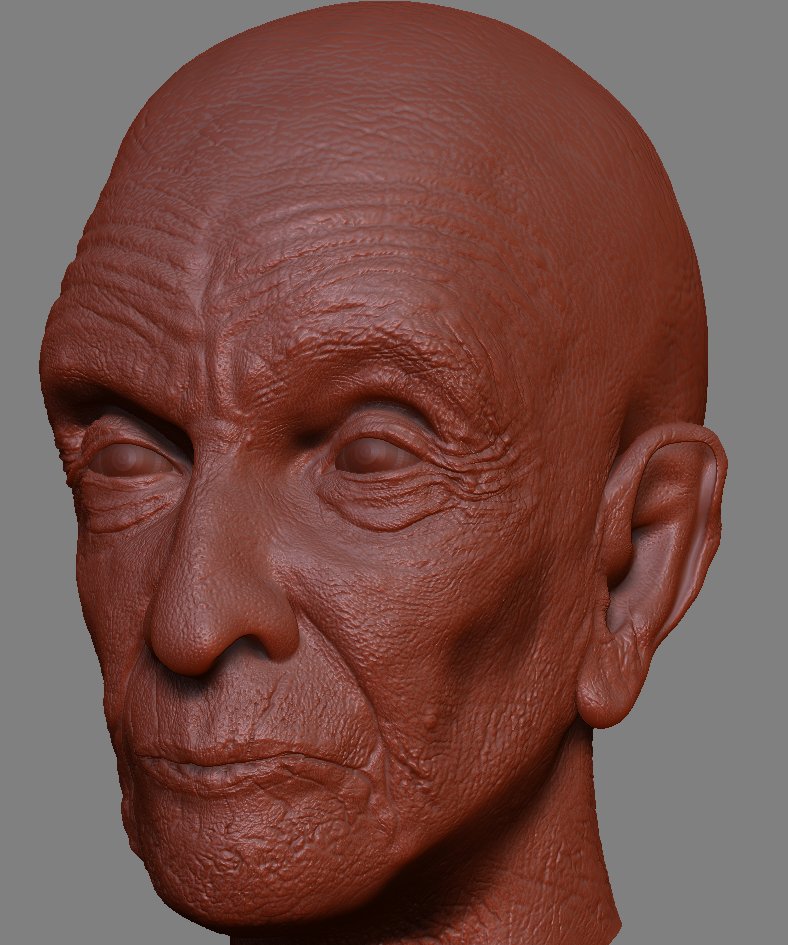
All these first renders are made in ZBrush to check the details.

Detail-Shots of the head:
Disp_Detail_Kopf_frontal_3.jpg

[attach=94521]Disp_Detail_rechts_3.jpg[/attach]

[attach=94513]Disp_Detail_Kopf_li.jpg[/attach]

[attach=94514]Disp_Detail_links_6.jpg[/attach]
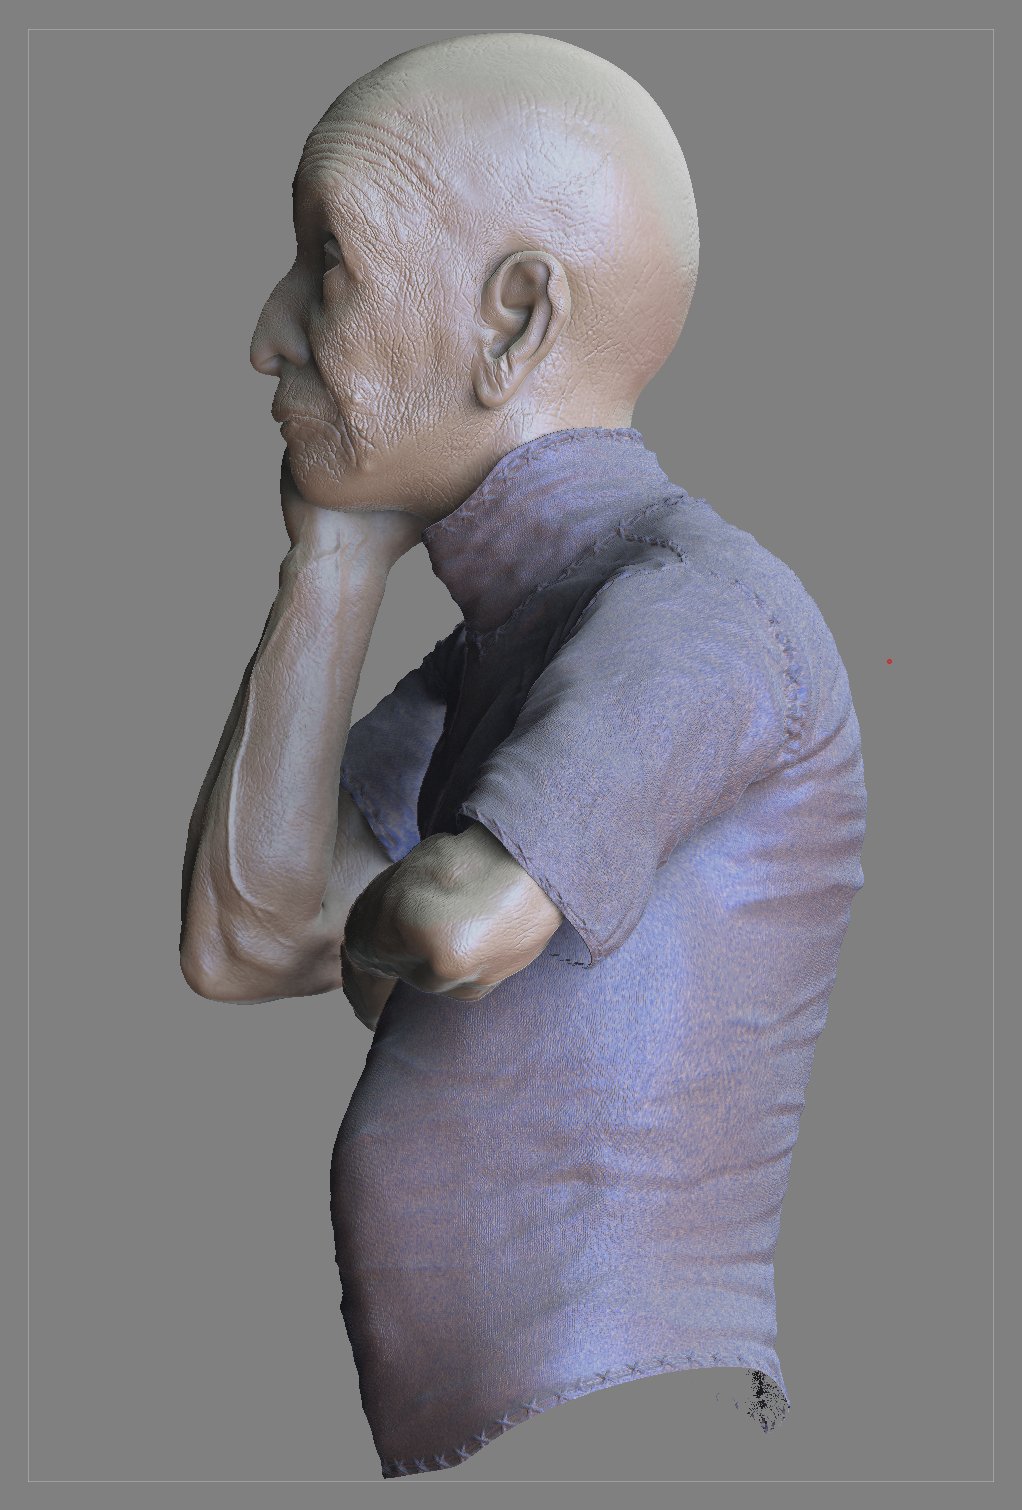
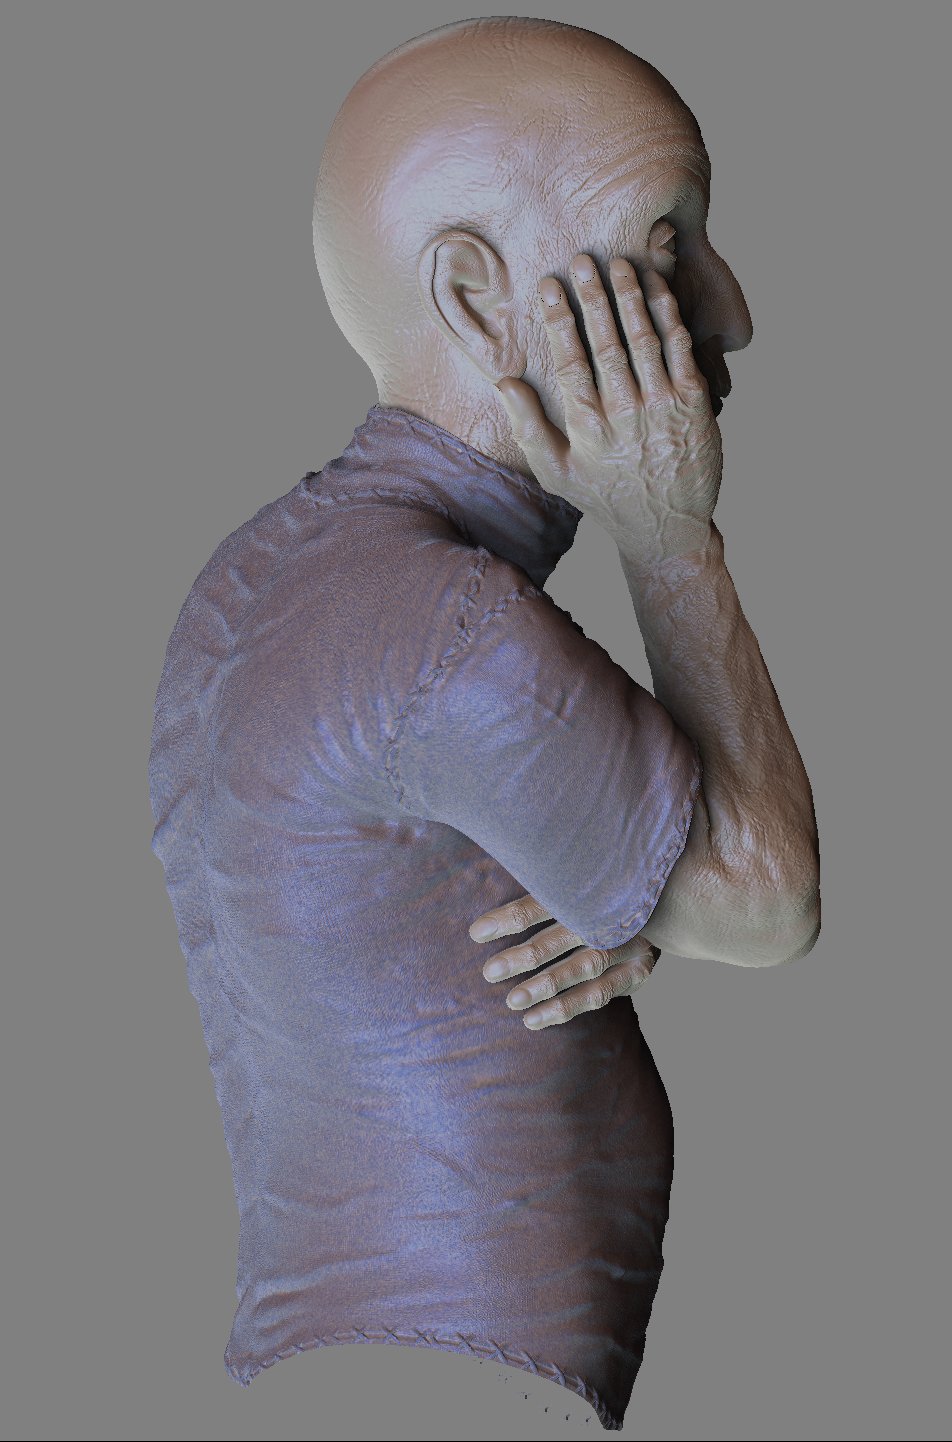
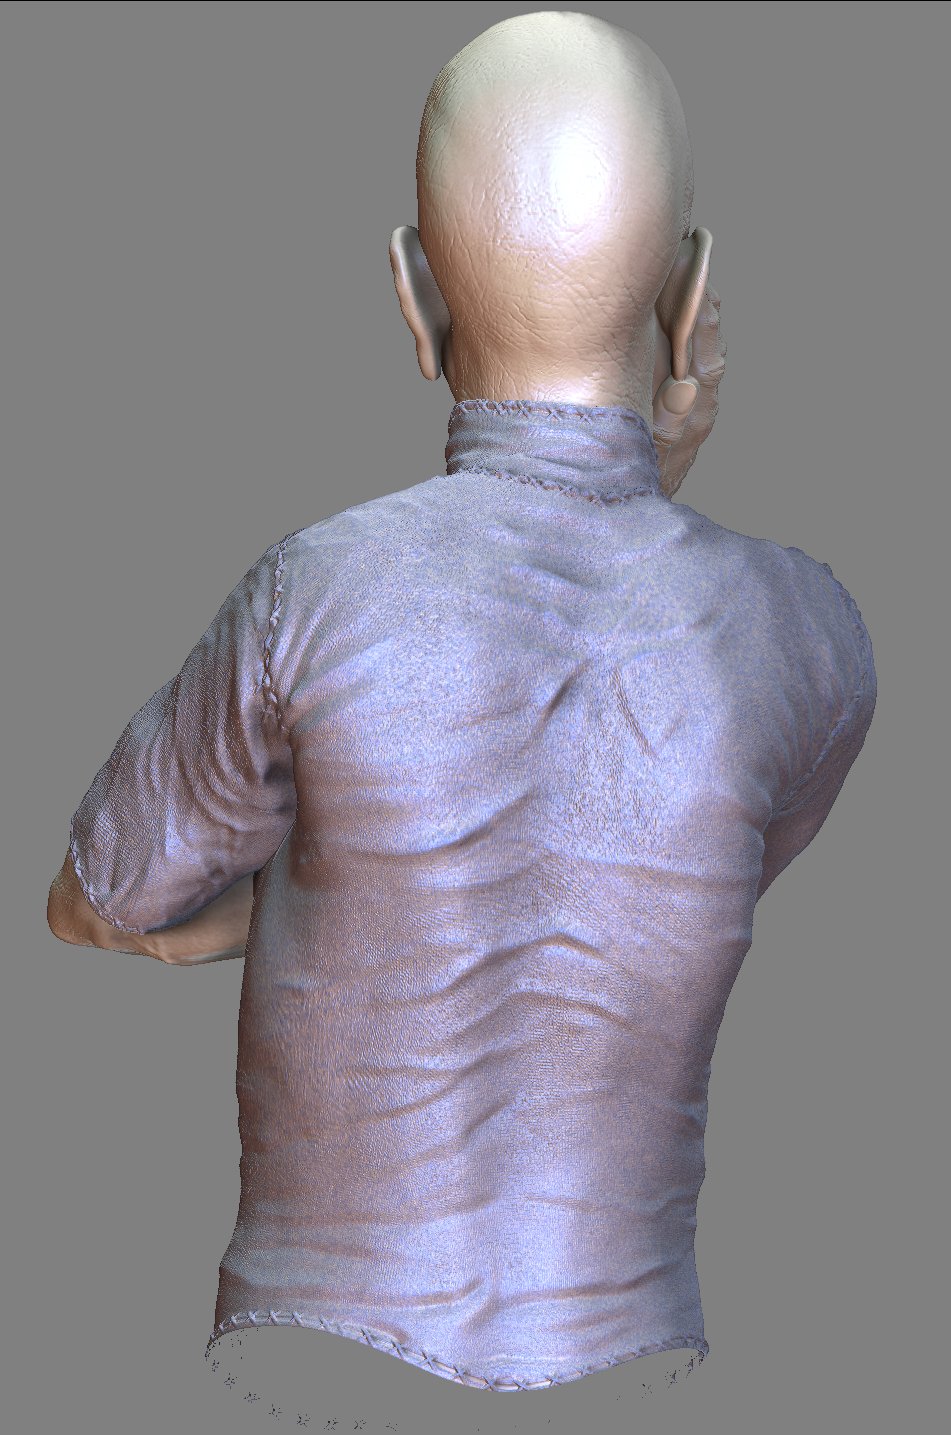
Whole model:

[attach=94515]OldMan_gerendert_34.jpg[/attach]

[attach=94516]Disp_Detail_links_2.jpg[/attach]

[attach=94517]OldMan_gerendert_31.jpg[/attach]

[attach=94518]OldMan_gerendert_28.jpg[/attach]

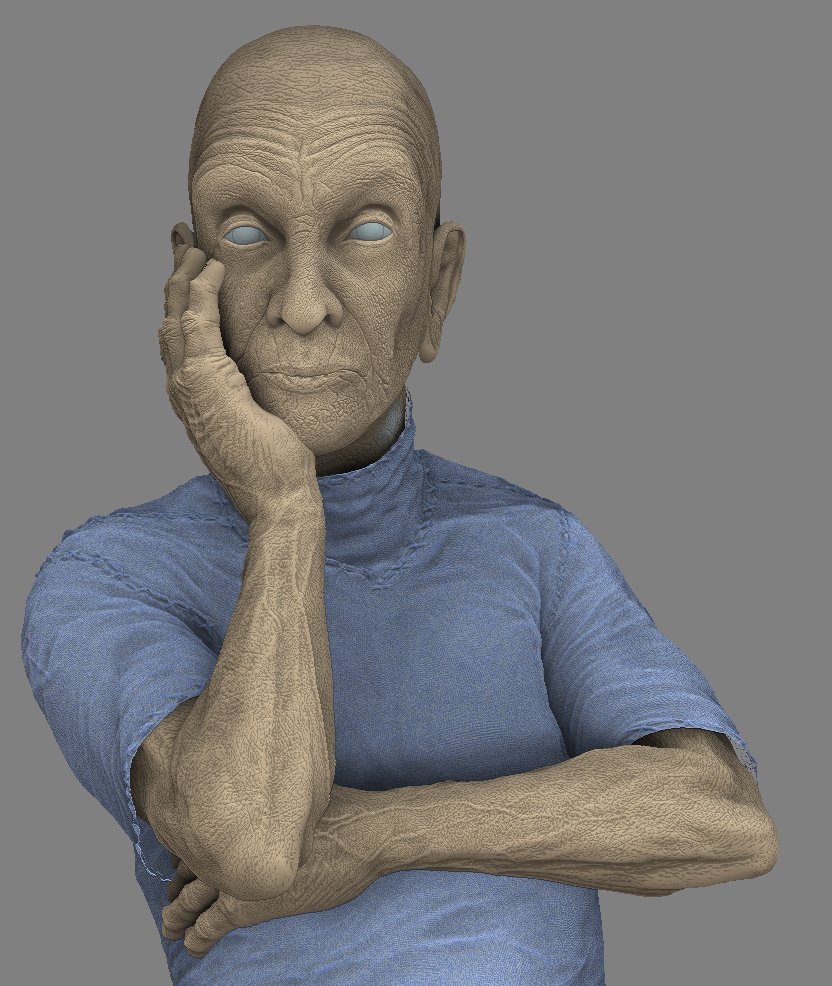
And finally a harsh render to show even the finest wrinkles:

[attach=94520]OldMan_gerendert_3.jpg[/attach]

Attachments

Disp_Detail_Kopf_li.jpg

Disp_Detail_links_6.jpg

OldMan_gerendert_34.jpg

Disp_Detail_links_2.jpg

OldMan_gerendert_31.jpg

OldMan_gerendert_28.jpg

OldMan_gerendert_3.jpg

Disp_Detail_rechts_3.jpg

This is looking really good so far. Nice detail, only I would really try to define those general wrinkles more. Especially in the corners of the eyes and don’t just throw your alpha all over the place. Really good detail is planned and not all the same throughout the mesh, try not to over do it. Keep it up man, that last image looks great! :+1:

das model gefällt mir schon ganz gut hauptsächlich die arme.
die alphas die du am kopf benutzt hast gefallen mir nicht da würd ich eher kontrastreicher arbeiten.
guck dir mal die alpas an die mann bei gnomon kaufen kann die sind recht gut.
ausserdem würd ich den standard stitch aus zbrush auf dem shirt nicht verwenden der sieht irgendwie immer billig aus.
der würde höchstens auf nen kartoffelsack passen.
pose und arme gefallen mir schon ganz gut das gesicht ist noch zu glatt trotz alphas ich würd die falten eher von hand ausarbeiten und dann mit alphas drübergehen
cheers

The wrinkles are too harsh. Need to be smoothed over a bit and they look too deep into the skin.

Thanks for the comments.

For the alphas on the head and the stitch-brush on the cloth, you’re right.
I think I will create some more own alphas and try them out.
Concerning the deepness and strength of the wrinkles in the face, that’s what I wanted for the first testrenders, because I use them in a semi-transparent toplayer of my skin-shader.
So a lot of the deepness won’t be visible later in the final rendering compared to these opaque ZBrush-renders.
So I have to overdo it here in the model.
But the first tests will show if I need to correct this a little bit down.

More pictures will come soon.

for good results with rendering in cinema try to export out the displacements with the max button pressed in the alpha settings.
in cinema change the alphadeptfactor in the displacement settings to 1
cavity maps also are a very good way to enahance details without needing to many subdivides in cinema.
you wrote that u have vray
definitly try out the vraydiplacements put the settings. to 8 and -4 or 10 -5
in the vray4c4d displacement tag.
it fullfills wonders i find

Thanks for the tips, Disco Stu.

Yes, I always export my ZBrush-Dispmaps with activated Alpha-Max - Button.
But you mostly need to enhance them further via an ‘Autokontrast’-filtering in Photoshop.
Cavity-maps are a nice thing for the AR, but unfortunately I couldn’t integrate them so far in my FR2-shadertrees.

Btw., you get clean results with VrayforC4D and ZBrush-Dispmaps ?
Currently and from own attempts, it is said by Stefan himself in the VrayforC4d-Forum that (ZBrush-) Dispmaps that need UV-Coordinates cannot be used with vray because of a bug in Vray itself.
Only procedural-displacements (Noise etc.) should work. We are all waiting for a hotfix from Vlado.

I made some tests with FR2 and the wrinkle-displacement was indeed to harsh.

So I began a first smoothing and reapplied the wrinkles around the cheeks more subtile:

Some more render-tests and corrections will follow.

Disco Stu,

thanks for the Vray-tip.
It’s not clean nor perfect with my maps, but there is a displacement where it should be. :+1:

Sei so gut und poste Deinen Tip im VrayforC4D-Forum.
Nicht einmal Stefan, der VrayforC4d-Entwickler, weiss das offenbar, dass man mit Deinen Settings das Problem mit den Dispmaps zumindest halbwegs lösen kann.
Die Anderen wären wohl auch dankbar für den Hinweis.

Danke nochmals.

In my work with the maps, I created by accident an obviously totally new type of graymap with ZBrush (or better, I haven’t seen this ever before) that has an enormous potential as an all-purpose-map for various things.

Kopf_Specialmap.jpg

I currently test the map-type with this model and the first results look very promising.
I opened for this issue a new thread here:

http://www.zbrushcentral.com/zbc/showthread.php?p=457194#post457194

hey rastaman i posted at vrayforum

http://vrayforc4d.com/forum/viewtopic.php?p=23564#23564

Hi Rasta! :smiley:
Very promising start: some of the facial areas look pretty convincing. I do think you have to find some old man’s chins for reference: that bit strikes me as odd.
Good job so far, I’ll be following this! :+1: :+1:

Plakkie

That map looks pretty cool rastaman, very good to use on game models…i would be interested to know how you came to a map that looks like that…it reminds me of a DispMap, only more detailed…

Disco Stu:
Fine. I didn’t find my perfect disp-settings for Vray so far, but I will keep on trying. For this project it seems that displacement is not needed at all, because this gray-map above gives excellent results especially with my self develloped Vray-skin-shader-model.
I still have to fix some things, but soon I will post some first test-results.

Plakkie:
Nice to hear from you, my friend.
What about your elf-project ?
From my first tests with my skin-shader and the new graymap in Vray, I think that reducing the deepness of the wrinkles as posted above was not a so good idea. There is definetely a difference what looks good in the opaque model and what is needed for the rendering.
I think I have to rework again and deepen more the structures.
You will see this when I post the first shader-tests.

HaloAnimator:
That graymap is very usefull, I can assure you.
Please be patient for a while, I’ll post the way how to create when the final results of this recent work are publised.
But yes, with the dispmap-thing you’re on the right way.
But it isn’t a dispmap in the usual sense.
You will be suprised, I bet you all already know around 95% of the way how to create it.:wink:

I think I have some Idea on how to do it…but I have a feeling it may have something to do with the intensity or mid properties… Did you use the Disp Exporter?

but I have a feeling it may have something to do with the intensity or mid properties… Did you use the Disp Exporter?
No, that’s completely the wrong way.
It’s much easier than that.
Be patient.:wink:
I only want to be the first one who uses this baby in a project, then I will tell all how to archieve it.

Wow nice,good luck;)

author made some updates, but here
http://vrayforc4d.com/forum/viewtopic.php?p=25170#25170

Thanks AntonG, but I wanted to wait a little bit longer until I post the definite final result here with some more corrected mesh-geometry.:wink:

As the ZBrush-Forum is primarily a modeling-related forum, the members are a little more critical about lacks in the geometry.:wink:
Posting things here too early is not a good idea, although the initial posts were intended to get some first feedback.
But the model needs some more corrections until I want to post it here with the final shader-result.
The thread at the VRay-forum is primarily for showing the process of the skin-shader-devellopment, therefore the geometry is not the focus and doesn’t matter so much.
So, if you don’t mind, please delete my picture in your post, but you can leave of coarse the link for those who are interested in following the shader-devellopment.
I will upload new pictures here when the geometry is corrected and ready to show here.

Thanks.

For those who are interested in the way to archieve the special-gray-map I lately discovered, follow the last link in my signature, I wrote a step-by-step there.

An Update:

Red_Clay_neu_1.jpg

Currently, the main focus is on evolving the realistic skin shader in VrayforC4d.
Because most of the fine details are very subtle to see in the final renderings with my current skin shader setup, I have to overdo them here in the model.
Then the modeled details are transferred into my ‘special’-gray-map and used as a high-quality bump-map in Vray. So I control the amount of details via the bump-settings in my renderings.

Attachments

Red_Clay_neu_2.jpg