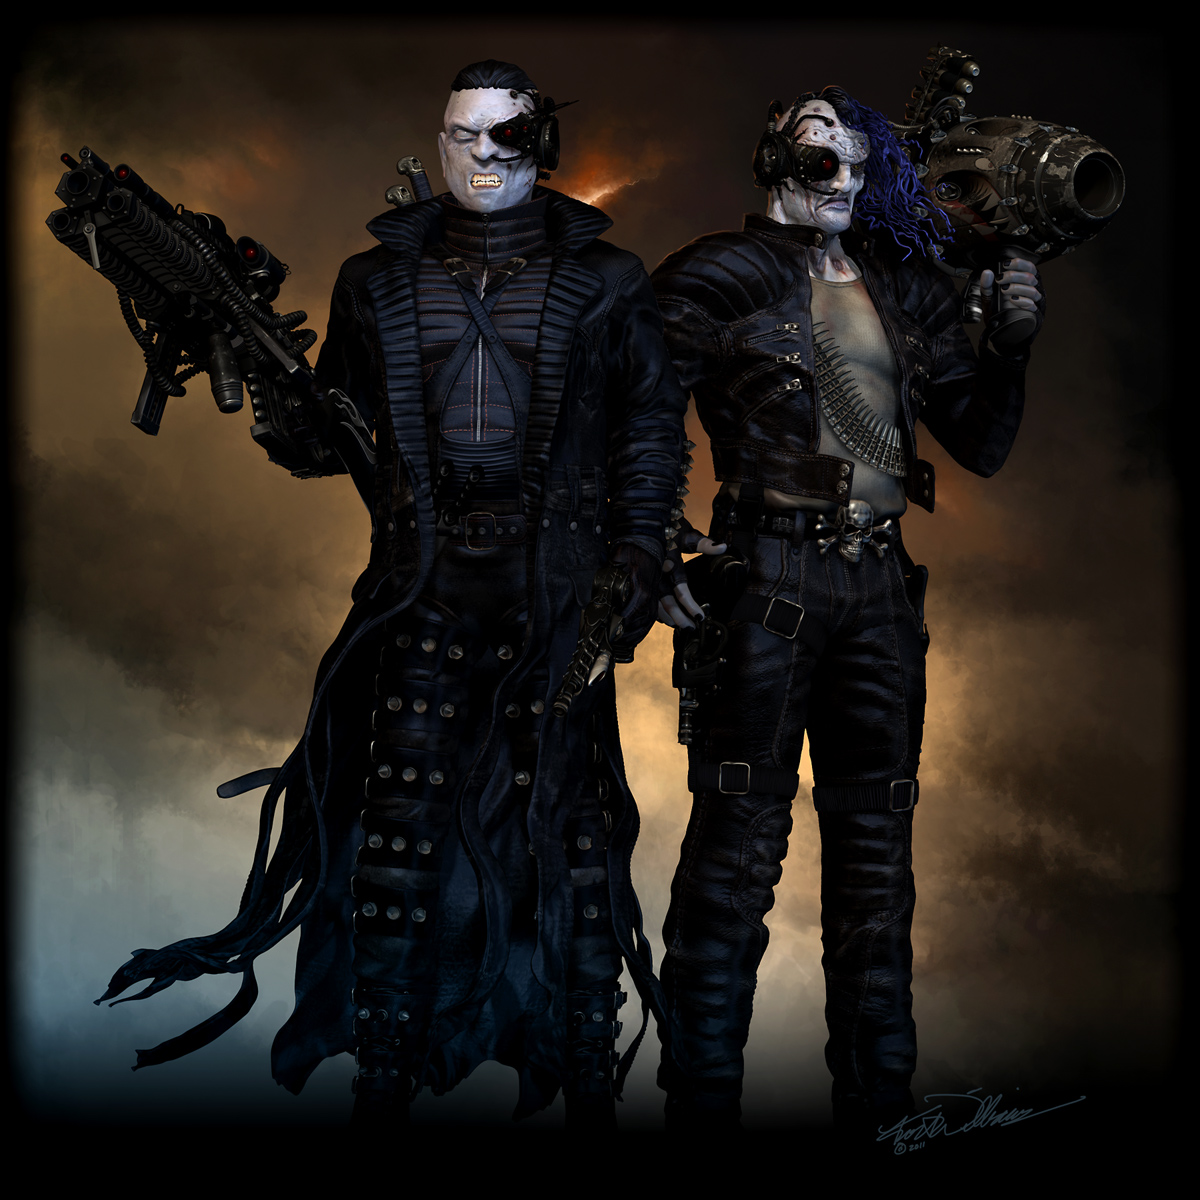
Sure, it was simple. These weapons were painted in ZBrush4r1 and there are some new options available in the latest release like painting with curves. Definitely worth checking out all the Z4R2 training videos.
Image 1
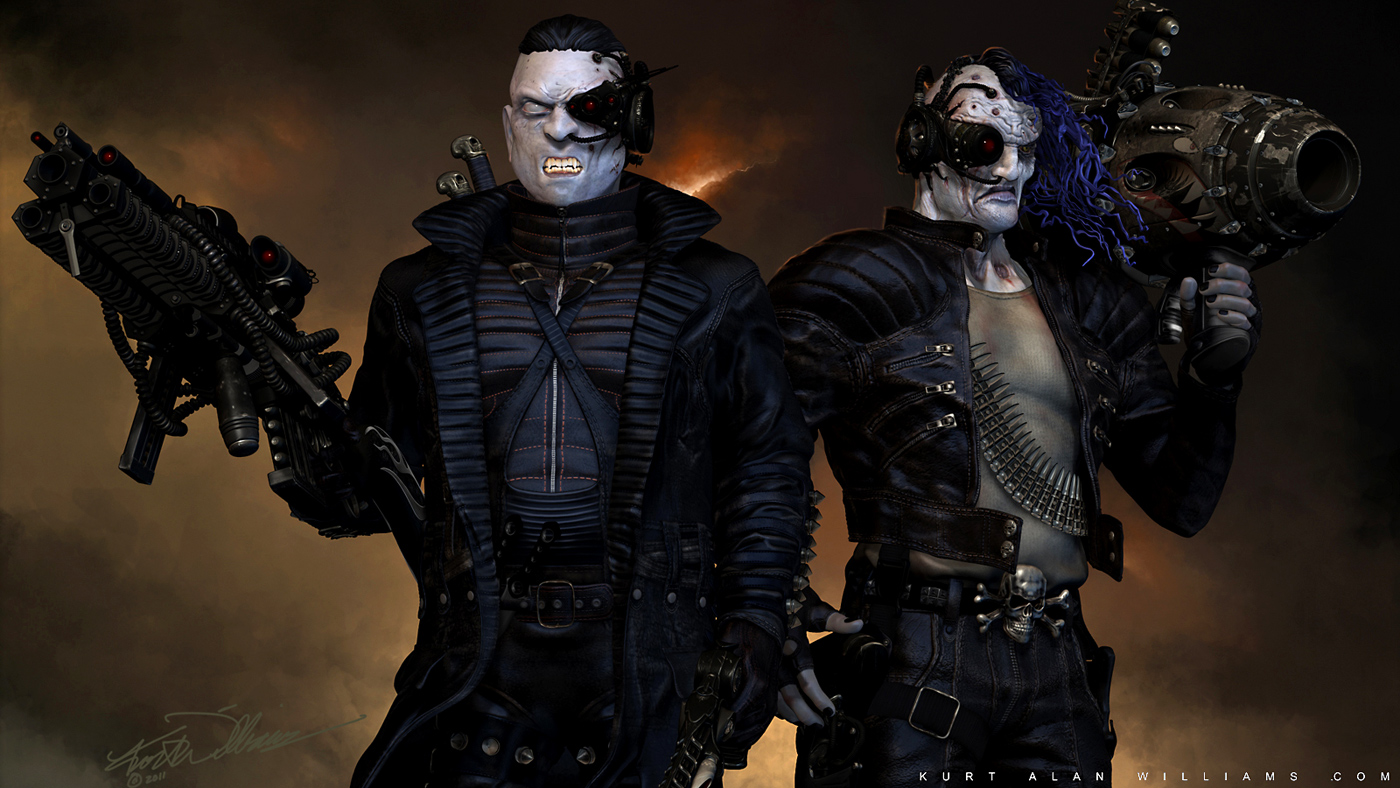
The first step was creating the low poly meshes in Maya. You could certainly start in ZBrush using any number of modeling tools but I guess this is just what I’m used to. I probably don’t need to cover this step but maybe someone will find it useful. I usually box model from a cube or 6 sided cylinder and use the 1, 2 and 3 keys to preview the smooth mesh. You can change the smooth value by looking under attributes and set it to whatever tessellation you want. I can set the edge hardness in Maya with the crease tool in preview mode but be careful to save sets or commit the preview to mesh before combining hulls to prevent the loss of those values. I’ll then model and position all the parts in Maya making sure that there is enough tessellation to generate smoothness in ZBrush. I usually try to keep the quads evenly tessellated across the elements for continuity while painting but can always add more once inside ZBrush. At this point I’ll just combine the parts into one mesh and export an obj. You could use GoZ but I find that sometimes I get carried away with changes going back and forth and like to keep a version as a back-up.
Image 2
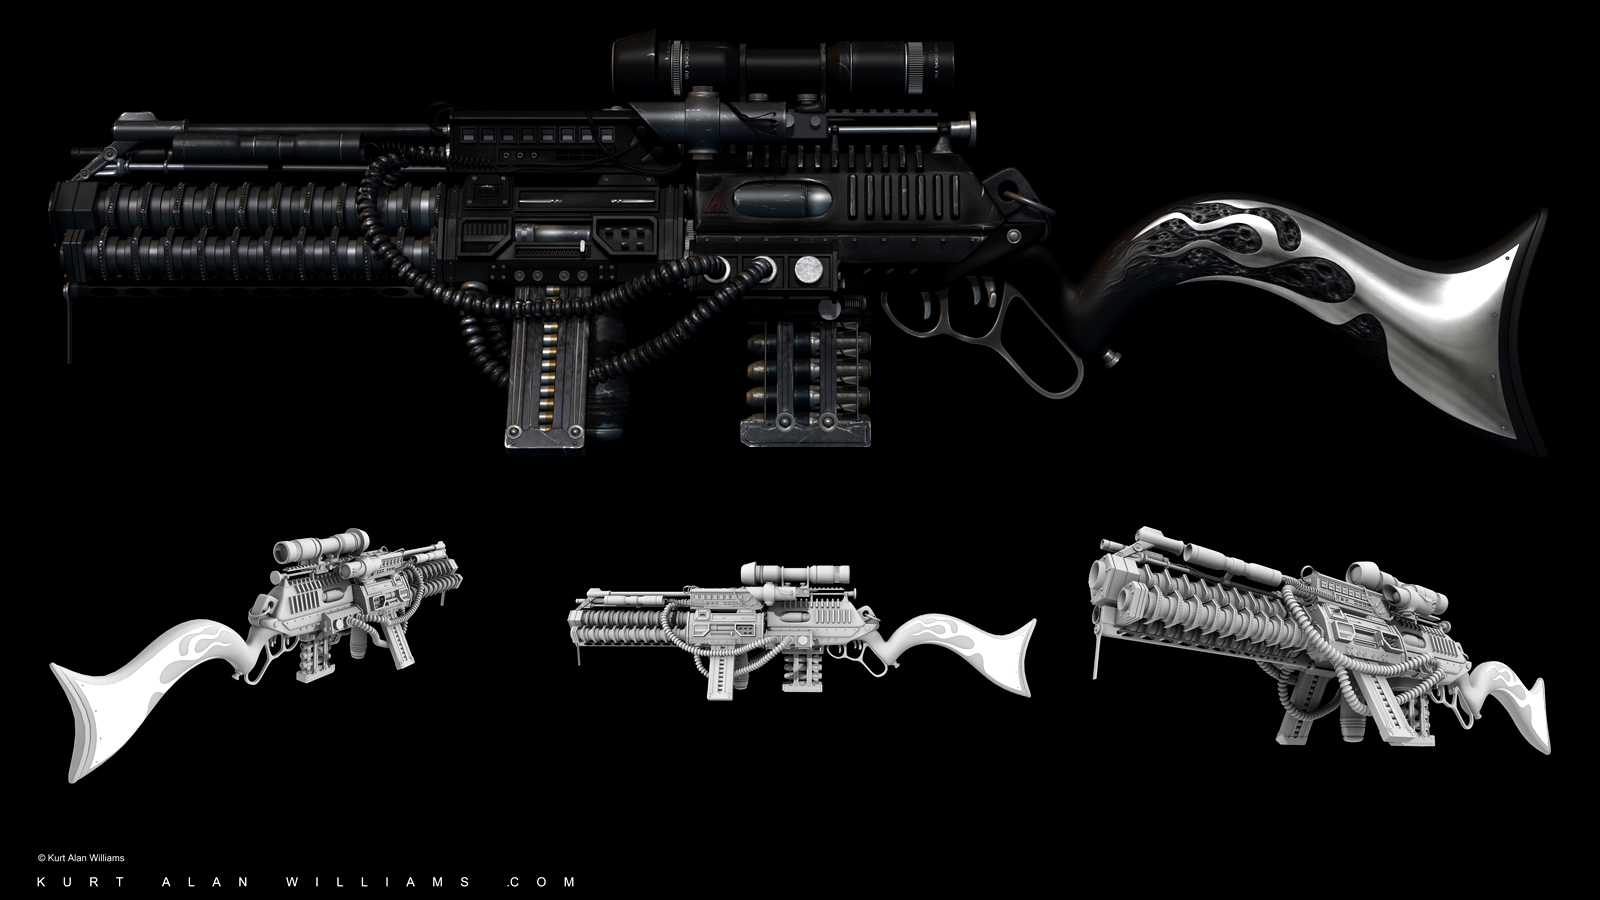
Once I have the file in ZBrush (A), the first thing I do is separate all the elements of the mesh into UVGroups based on the variety of materials. Under Tool>Polygroups (B), I first use Auto Groups to assign a group to each hull as seen in the image, then Merge Similar Groups which merges elements into UV groups based on vert count. If there are any other elements that need grouping, I use a combination of masking and hiding in transform mode or under Tool>Visibility>HidePt © to Group Visible (B) until all the elements are organized. Then just use the Groups Split (D) command to generate subtools (E) from the groups you’ve created.
Image 3
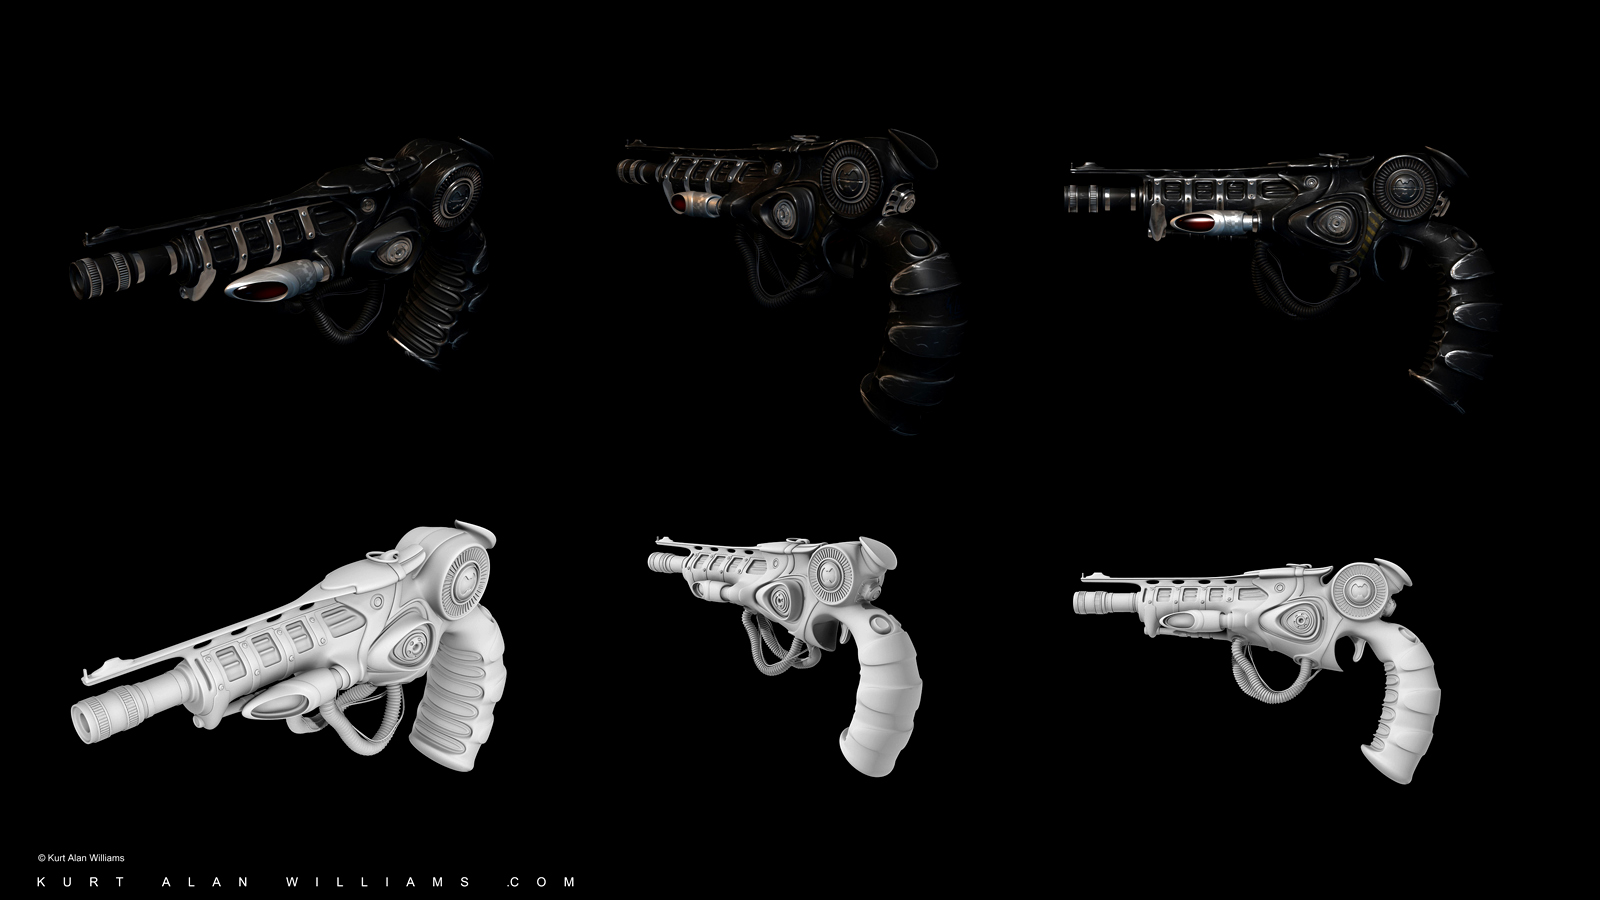
At this point I’ll save a version of the tool then divide each subtool to a sub-pixel level. I usually try to keep each subtool under 4 Million points but it’s up to your system resources and what is reasonably easy to work with. In the end I’ll be scratching the surfaces and will need all the geometry resolution I can get. Enable Polypaint by selecting the paintbrush icon (F) Tool>Subtool or enable Tool>Polypaint>Colorize (G) and apply the base color and material with mrgb set to 100 percent by using the Fillobject button (H) under the Color menu. The color selected in the color palette and the material selected in the Material palette is what will be applied. If you want to remove the material applied in Polypaint mode, simply apply the Flat Color material. Next, I imported an alpha collection (I) for decals and grime (Lightbox is really handy for previewing what you want and I’ve added shortcuts to the lightbox folders to make navigation to my local favorites easier).
During the painting stage I’ll use alpha masking just like an airbrush artist does to expose and protect the surface. To make the paint look chipped off, select the Standard brush (J) with the DragRect stroke and then pick an alpha with big white spots (K) and drag across the surface (L). You can Modify (M) the alpha in a number of ways and I usually set Rf (radial fade) to 6. ZBrush sees black as transparent so the white areas will end up being painted on the surface. You could select any color to paint with but I just went for something close to white. Once you have something you like, mask the tool by hue, saturation or intensity (N) (my favorite is intensity) and pick a different alpha or noise to put the erosion pattern inside the unmasked areas setting the Zsub to the desired ZIntensity and rgb to the desired Rgb Intensity. Holding the shift key while painting in Rgb mode helps blend colors (O) where you might not have enough resolution. Just make sure the smooth tool isn’t also set to smooth geometry by un-checking zsub and zadd.
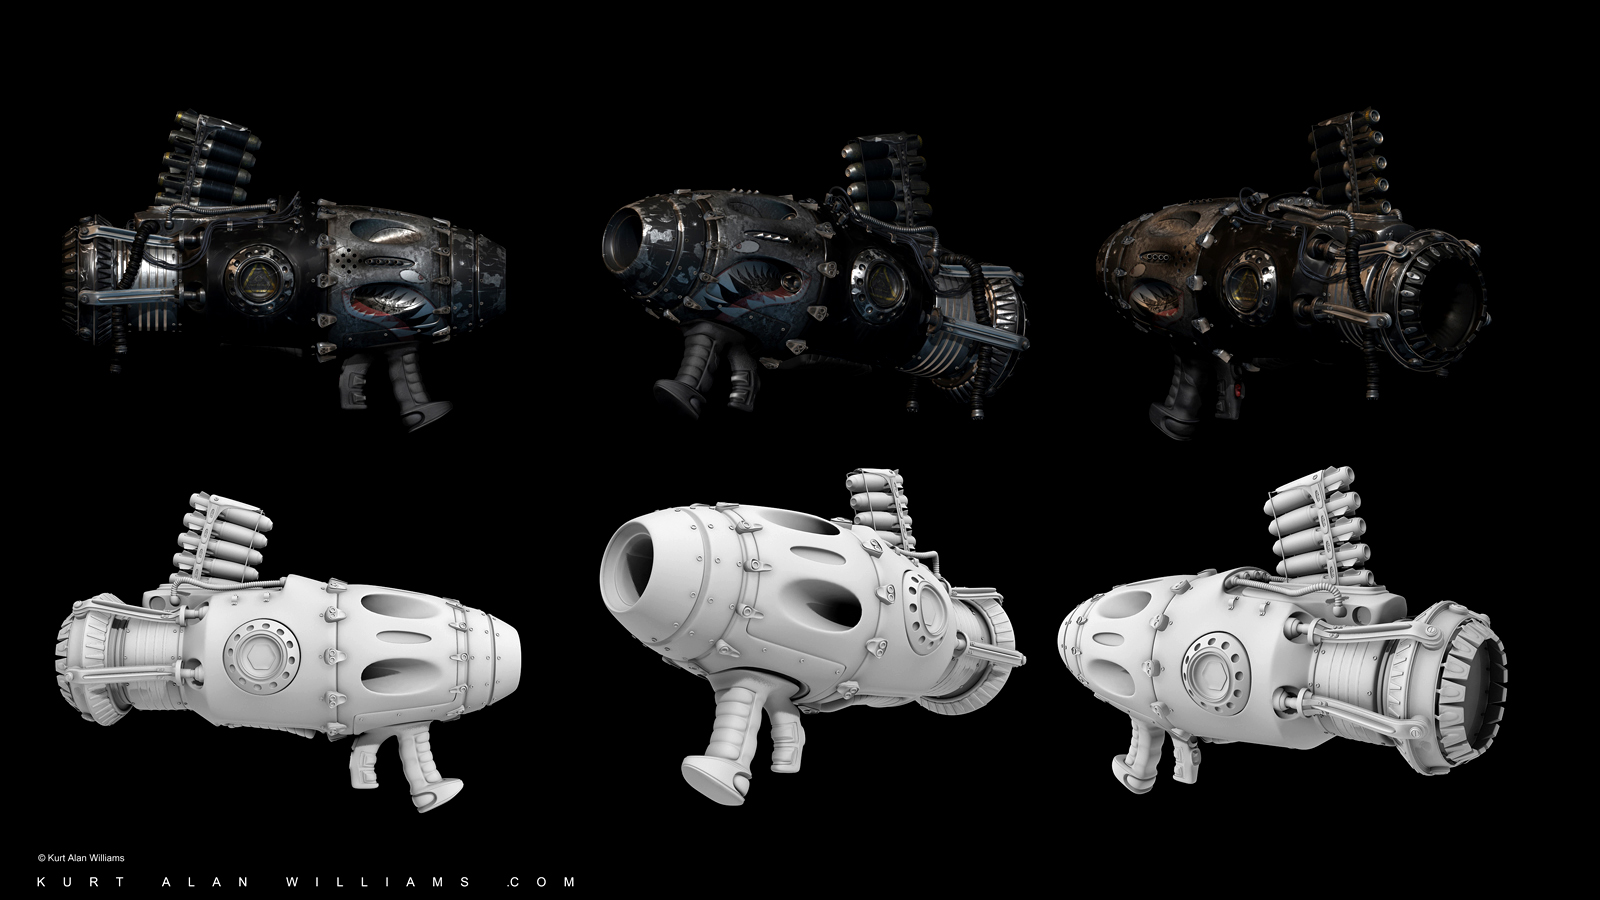
I’ll then take a final pass at adding overall tone and noise by using rgb add at values around 15 with darker warm colors to ground everything. This sets the stage for the scratch pass with the Dam_Standard brush set to a very small 3-8 size value and white as the rgb value maybe around 80-100. You can play with the Zsub value to get the depth you want and sometimes I’ll just turn it off to give an impression of worn off paint. I also switch the stroke to Freehand §. It’s pretty simple to imagine where the scratches and worn off areas would appear. Setting up spec and gloss, diffuse and other maps should be fairly simple since you already have diffuse values to work with. You could take it a step farther and use Intensity masking to generate spec maps or even use Mask Ambient Occlusion for a ZBrush AO map. The retopo tools work really well but I haven’t put it into practice yet. That’s the next step in addition to using the UVMaster plug in for generating UV layouts.
That’s it. You can try other materials like chrome, toy plastic or even modify them to get different effects. If you find a part of your mesh needs more resolution, you can divide it into more subtools or use the new curve brushes to break them into smaller parts (keep an eye on the border edges though if you plan to increase subdivisions. Set some hardness values by using “crease edges” to keep open geometry from stretching.
If you need any other info or have any questions just let me know.
Thanks!
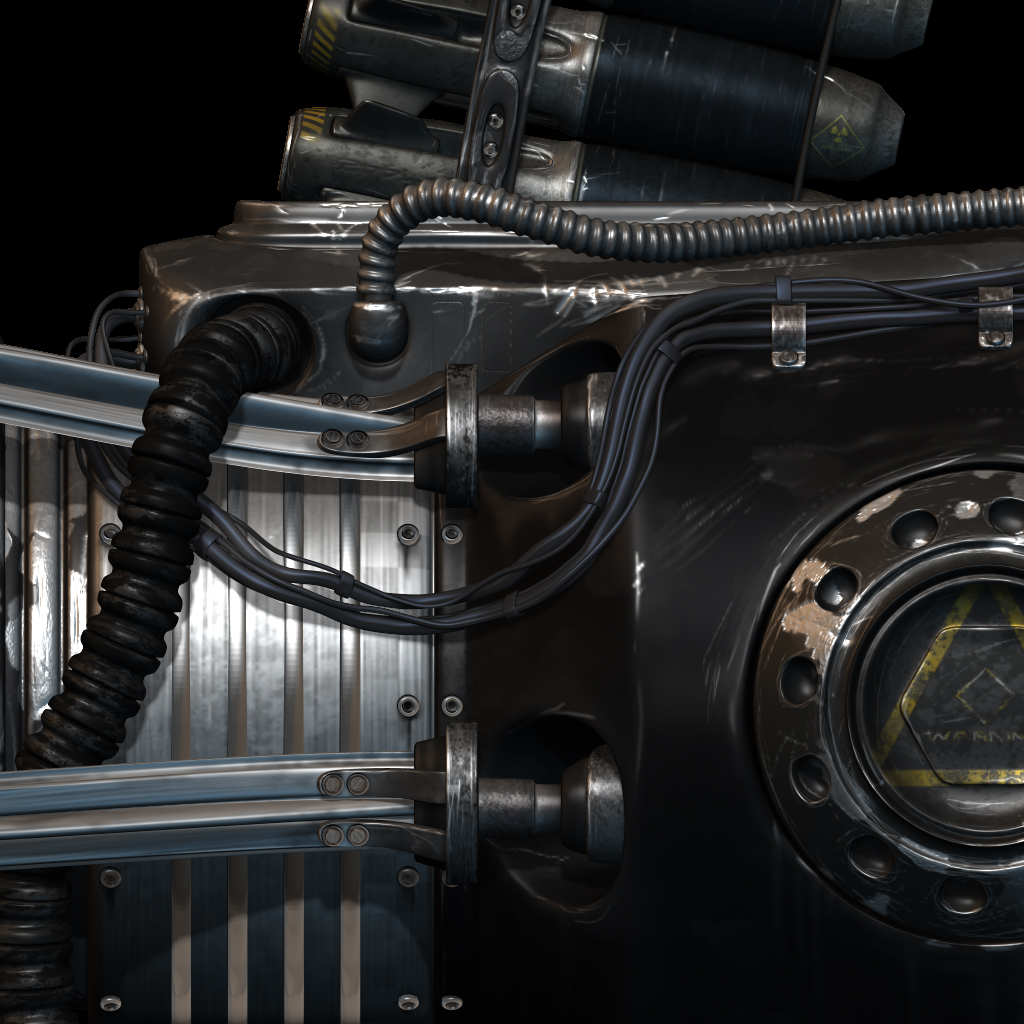
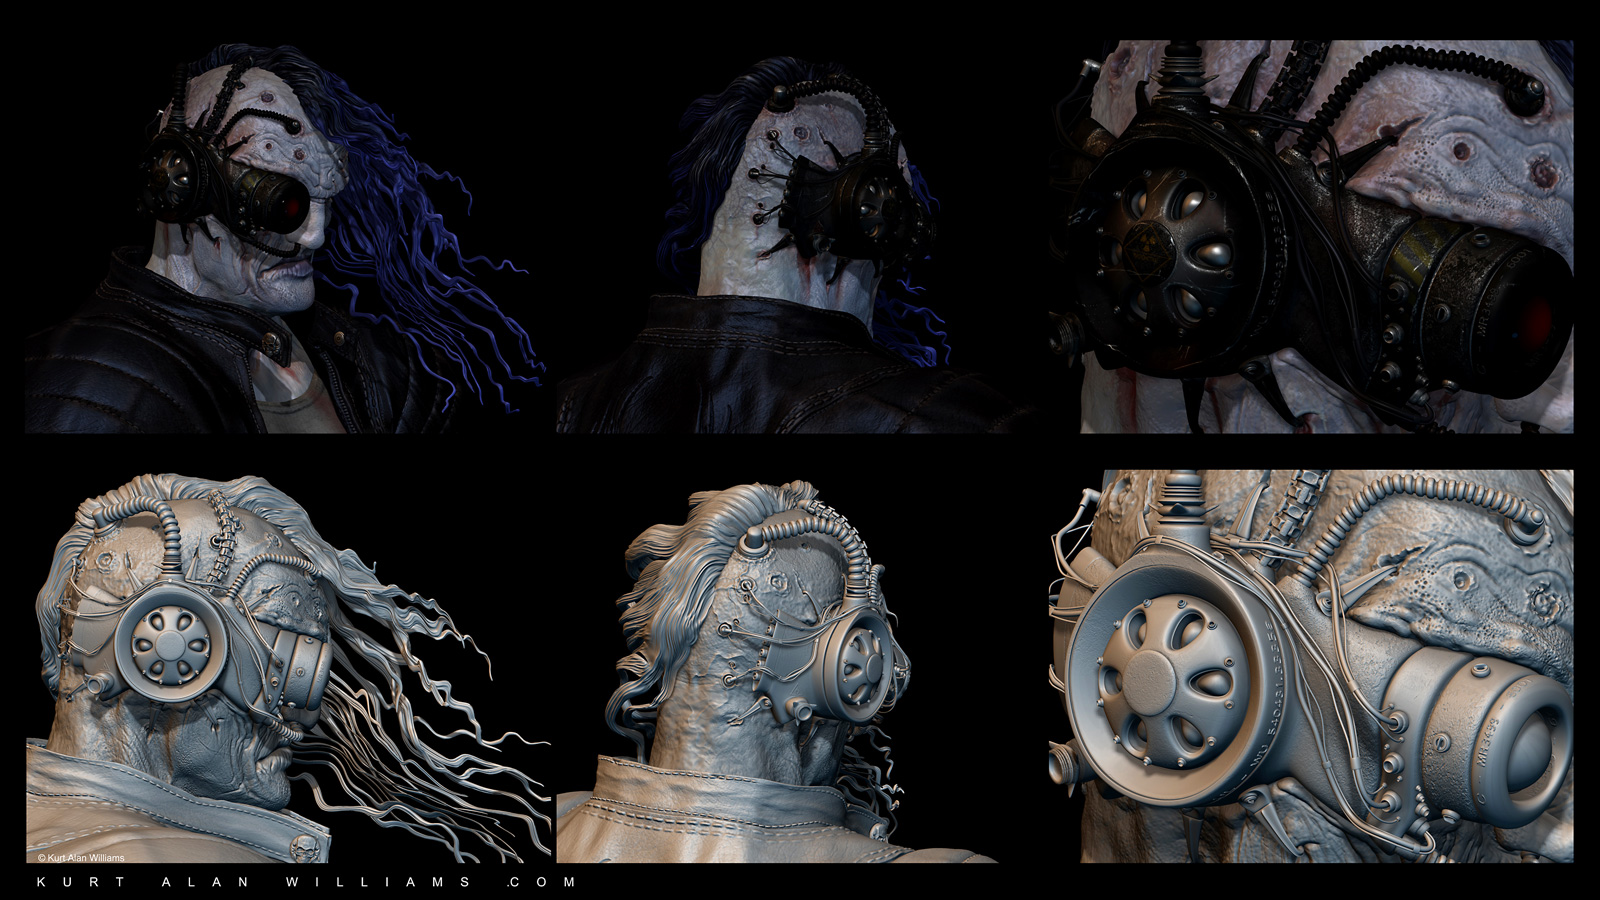
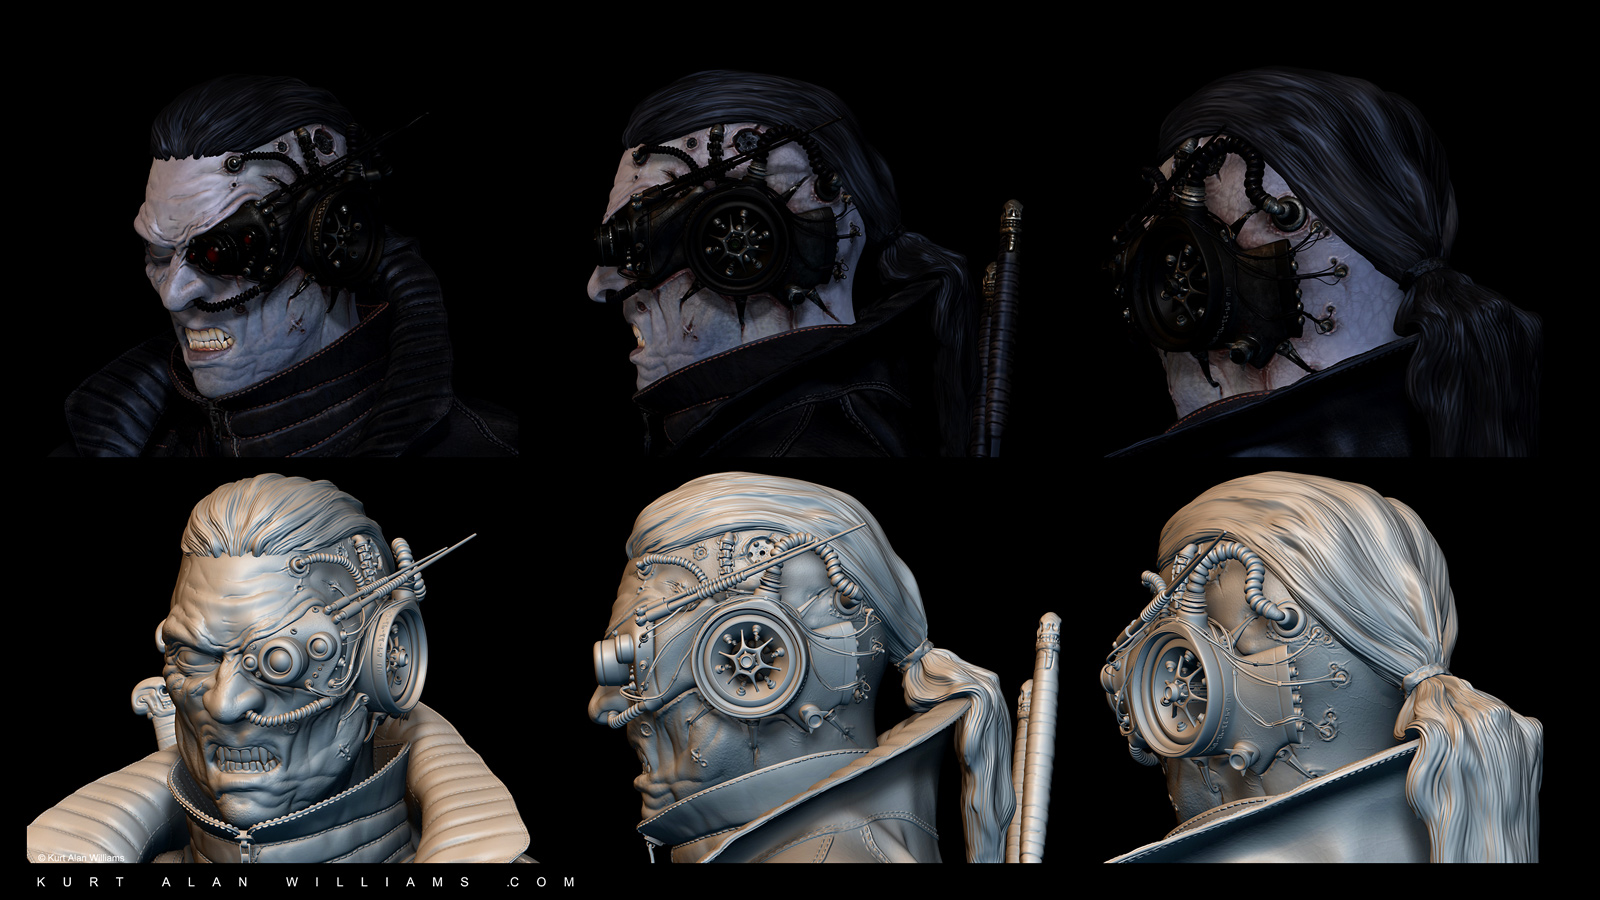
Detail