ZBrushCentral

Texture map is not smooth when created?

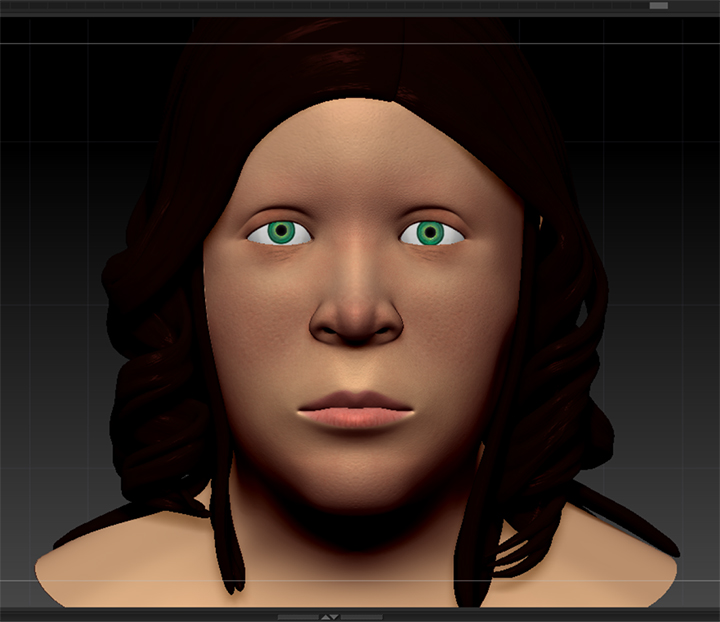
Okay, so I’m trying to export my texture map so I can work with my model in 3DS MAX. I found this tutorial, (https://www.youtube.com/watch?v=HUtl9mbR7kA) and it says I’m supposed to take my model down to the lowest subdivision level, export it out to 3DS MAX, unwrap my model, then import it back into ZBrush, take it up to the highest subdivision level, and create the texture map. In the video, his map comes out nice and smooth, but in mine, it suddenly looks like I tried creating the map on the lowest subdivision level, even though it’s on the highest level.

So here’s what it’s supposed to look like:

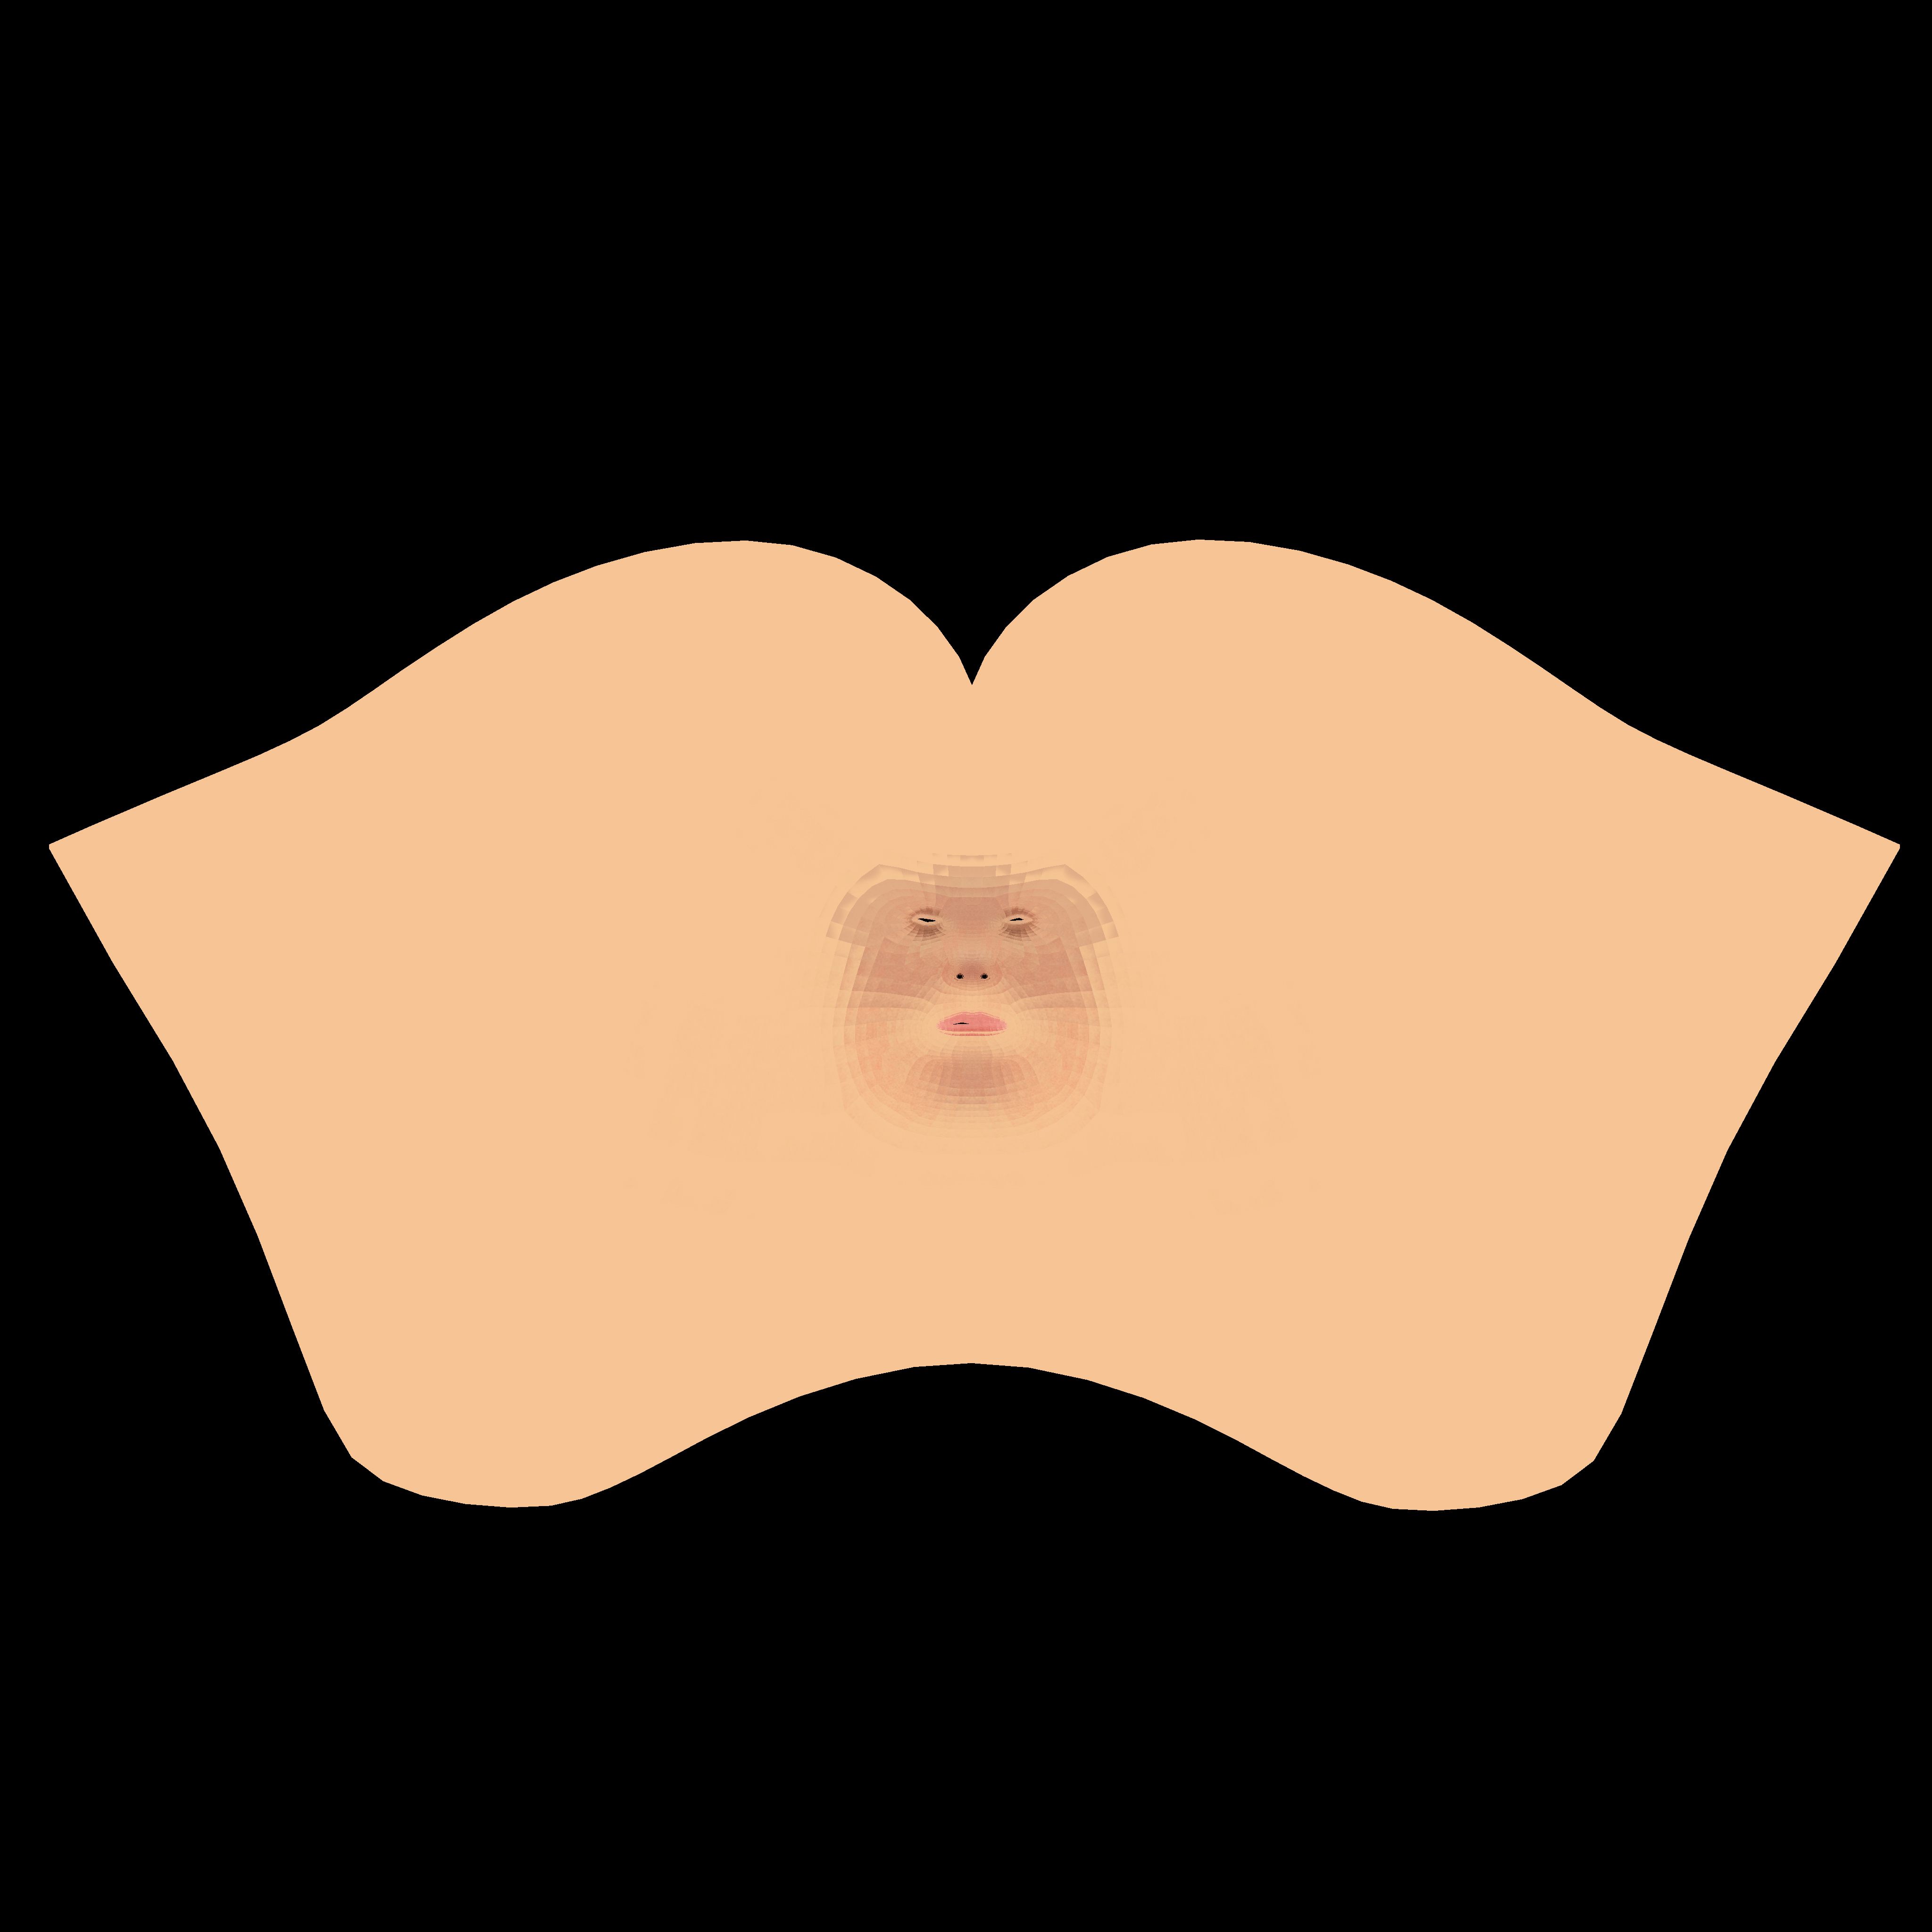
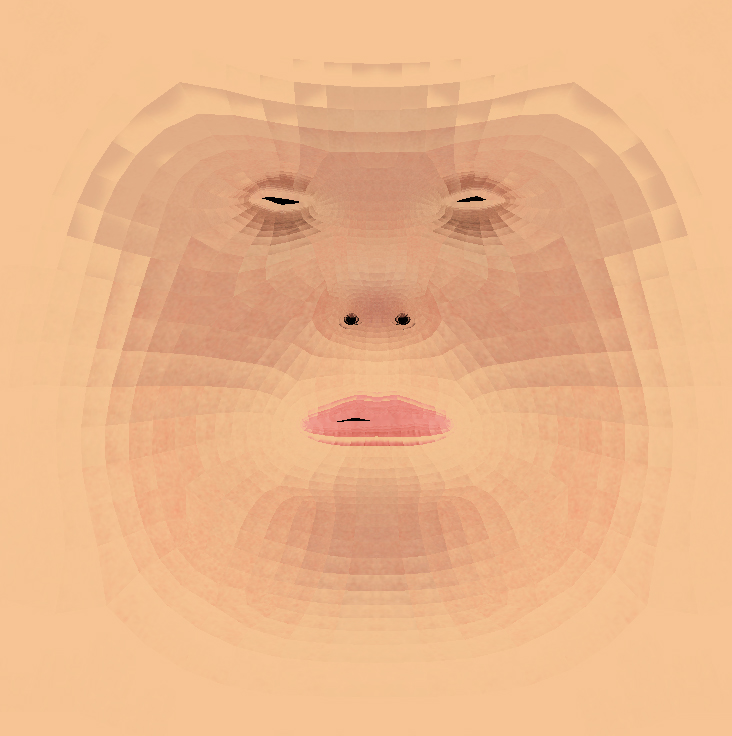
But this is what my texture looks like:

Am I doing something wrong? I’m following the video exactly as he says, but it’s coming out like this. Are there some settings I can play with, or something?

Attachments

correctimage.jpg

KimHeadUVMAP.jpg

KimHeadUVMAP.jpg

I don’t think that is the ideal workflow for early learning stages. Better go to Zplugin>UV master and use unwarp button. Then you can create the texture.

That seems also an old tutorial. I would suggest to use first the ones from pixologic.com
http://pixologic.com/zclassroom/viewall

I kind of tried that at first, but I’m new to ZBrush, so I wasn’t really sure how to use those tools to actually export anything. If I use UV Master, won’t that undo the unwrapping I’ve already done? And why would unwrapping it in 3DS MAX cause there to be problems that UV Master will somehow solve?

Also, I’m doing this for a portfolio piece, and I’d like to be able to show the unwrap on my website. I’m not sure ZBrush’s unwrapping will come out pretty, but as I said earlier, I don’t know for sure since I’m still new to this program. Any advice?

Your UVs are getting individually detached and flipped, which is why you can see the faceted look between each one. This seems pretty common with people who are using 3DS Max for their UVs. As I’m not a Max user I’m not sure the specific steps you could take to fix this export directly, although I think people have better luck using GoZ to transfer the model between programs.

You could try using Tool: UV Map: Cycle UVs a few times to see if that helps anything (you might need to hit it a few times, each cycle should rotate the faces 90’). Be sure to turn off the texturemap first (so switch back to polypaint, cycle UVs, and create a new map to see if it looks better. Rinse and repeat again for each cycle)

The very small size of the head relative to the full UVs won’t make the UVs look pretty. UV master probably will do a better job even you will lose your Max UVs (that are not ideal as I said)

The best way to learn UV master, that is a lot easier than the unwarp from Max, is to see videos about it. In general is good except for the seams creation, that a lot of times is in front of the face with the automatic system. Painting the face to avoid seam is not very responsive but worth to try. I typically I do polygroups in the areas I want the seams and then force UV master to use them with the polygroup option. You should have also symmetry on.

Thank you! Flipping the UVs worked out great. But for the hair, I think I have to agree that unwrapping it in 3ds max is going to be way too much time and hassle. I’ll look into learning UV master for the rest of it.