@boozy floozie: Haha, achievement unlocked!  Thank you very much!
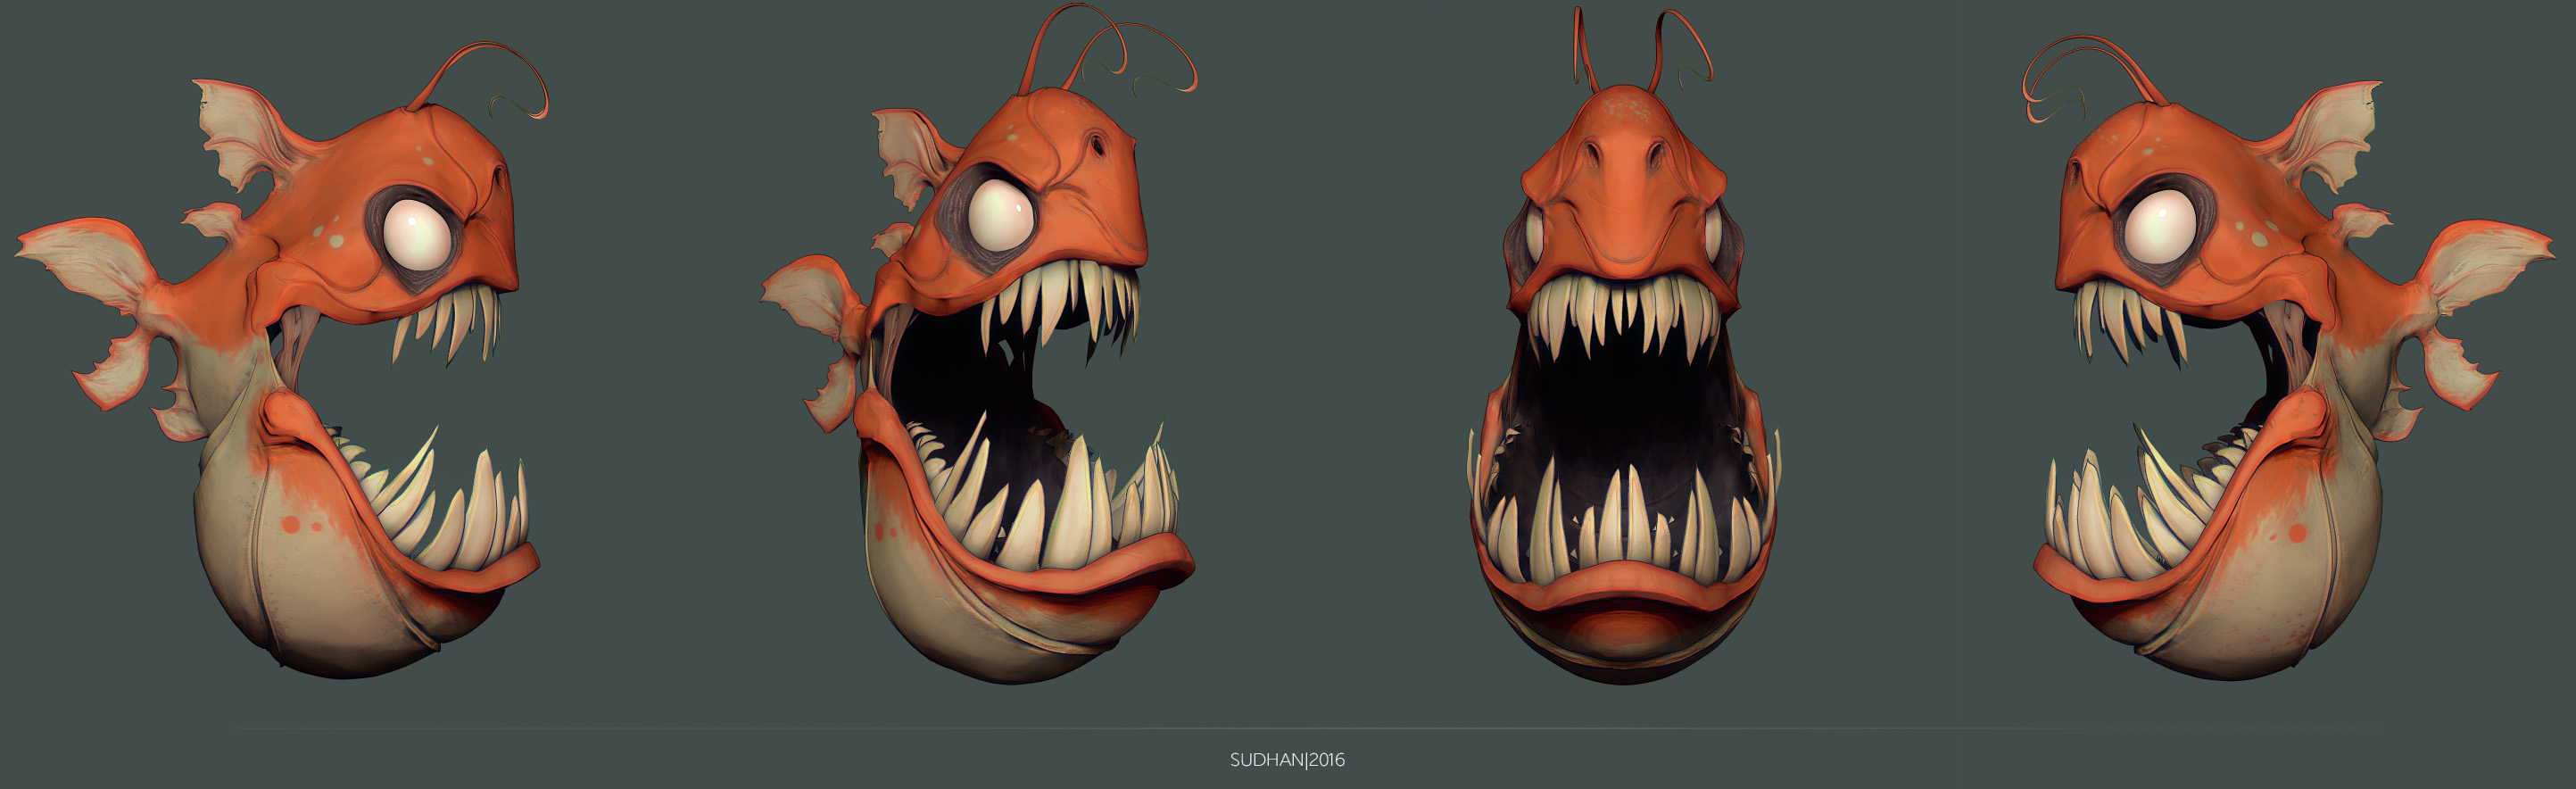
“There’s other fish in the sea”, yes, like this one for instance, >.<
Click through to my artstation page below for a turntable! 
-Sudhan
Attachments
so great style!
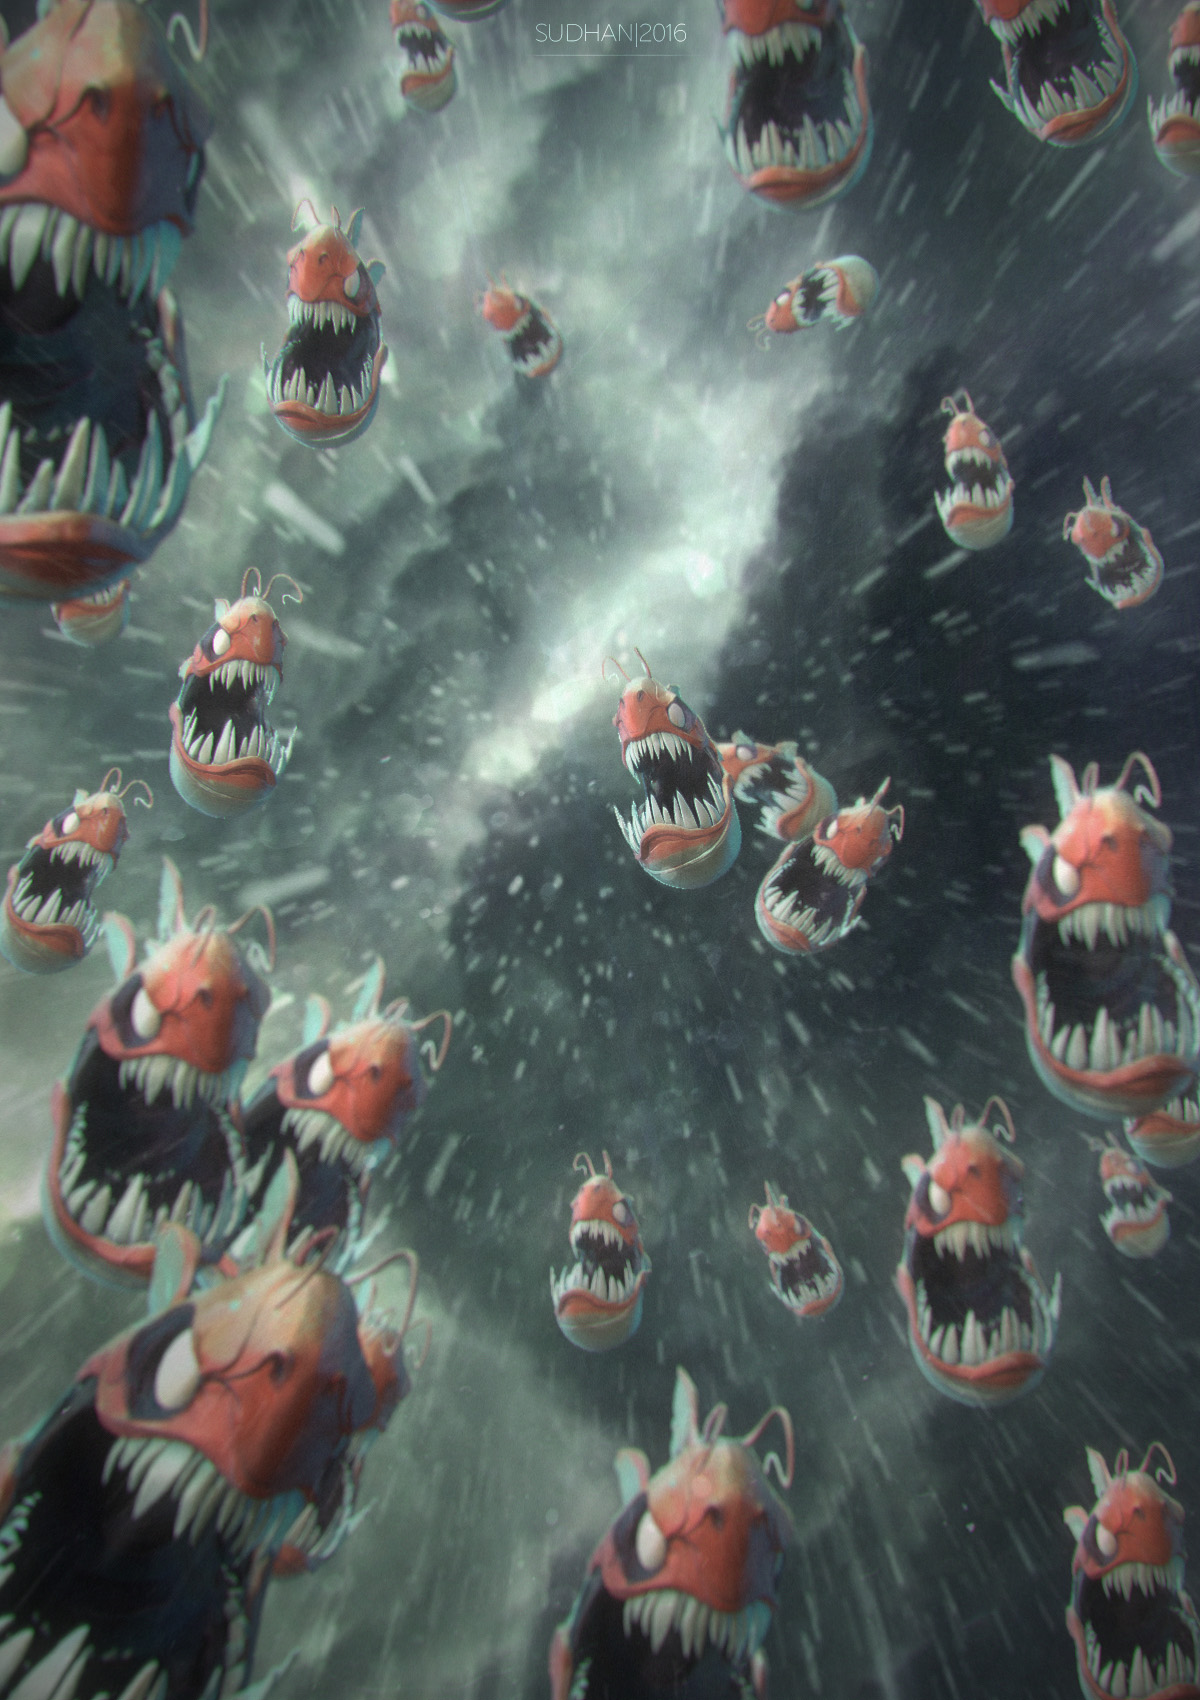
None of us will forget the Christmas when it rained fish.
P.S. May the photographer requiescat in pace, -.-
[ZBrush + Photoshop] [Also, check my artstation page for WIP’s, if you please!]
-Sudhan
Attachments
Such peculiar weather requires a robust umbrella
@boozy floozie: Haha indeed! Like a frying pan!
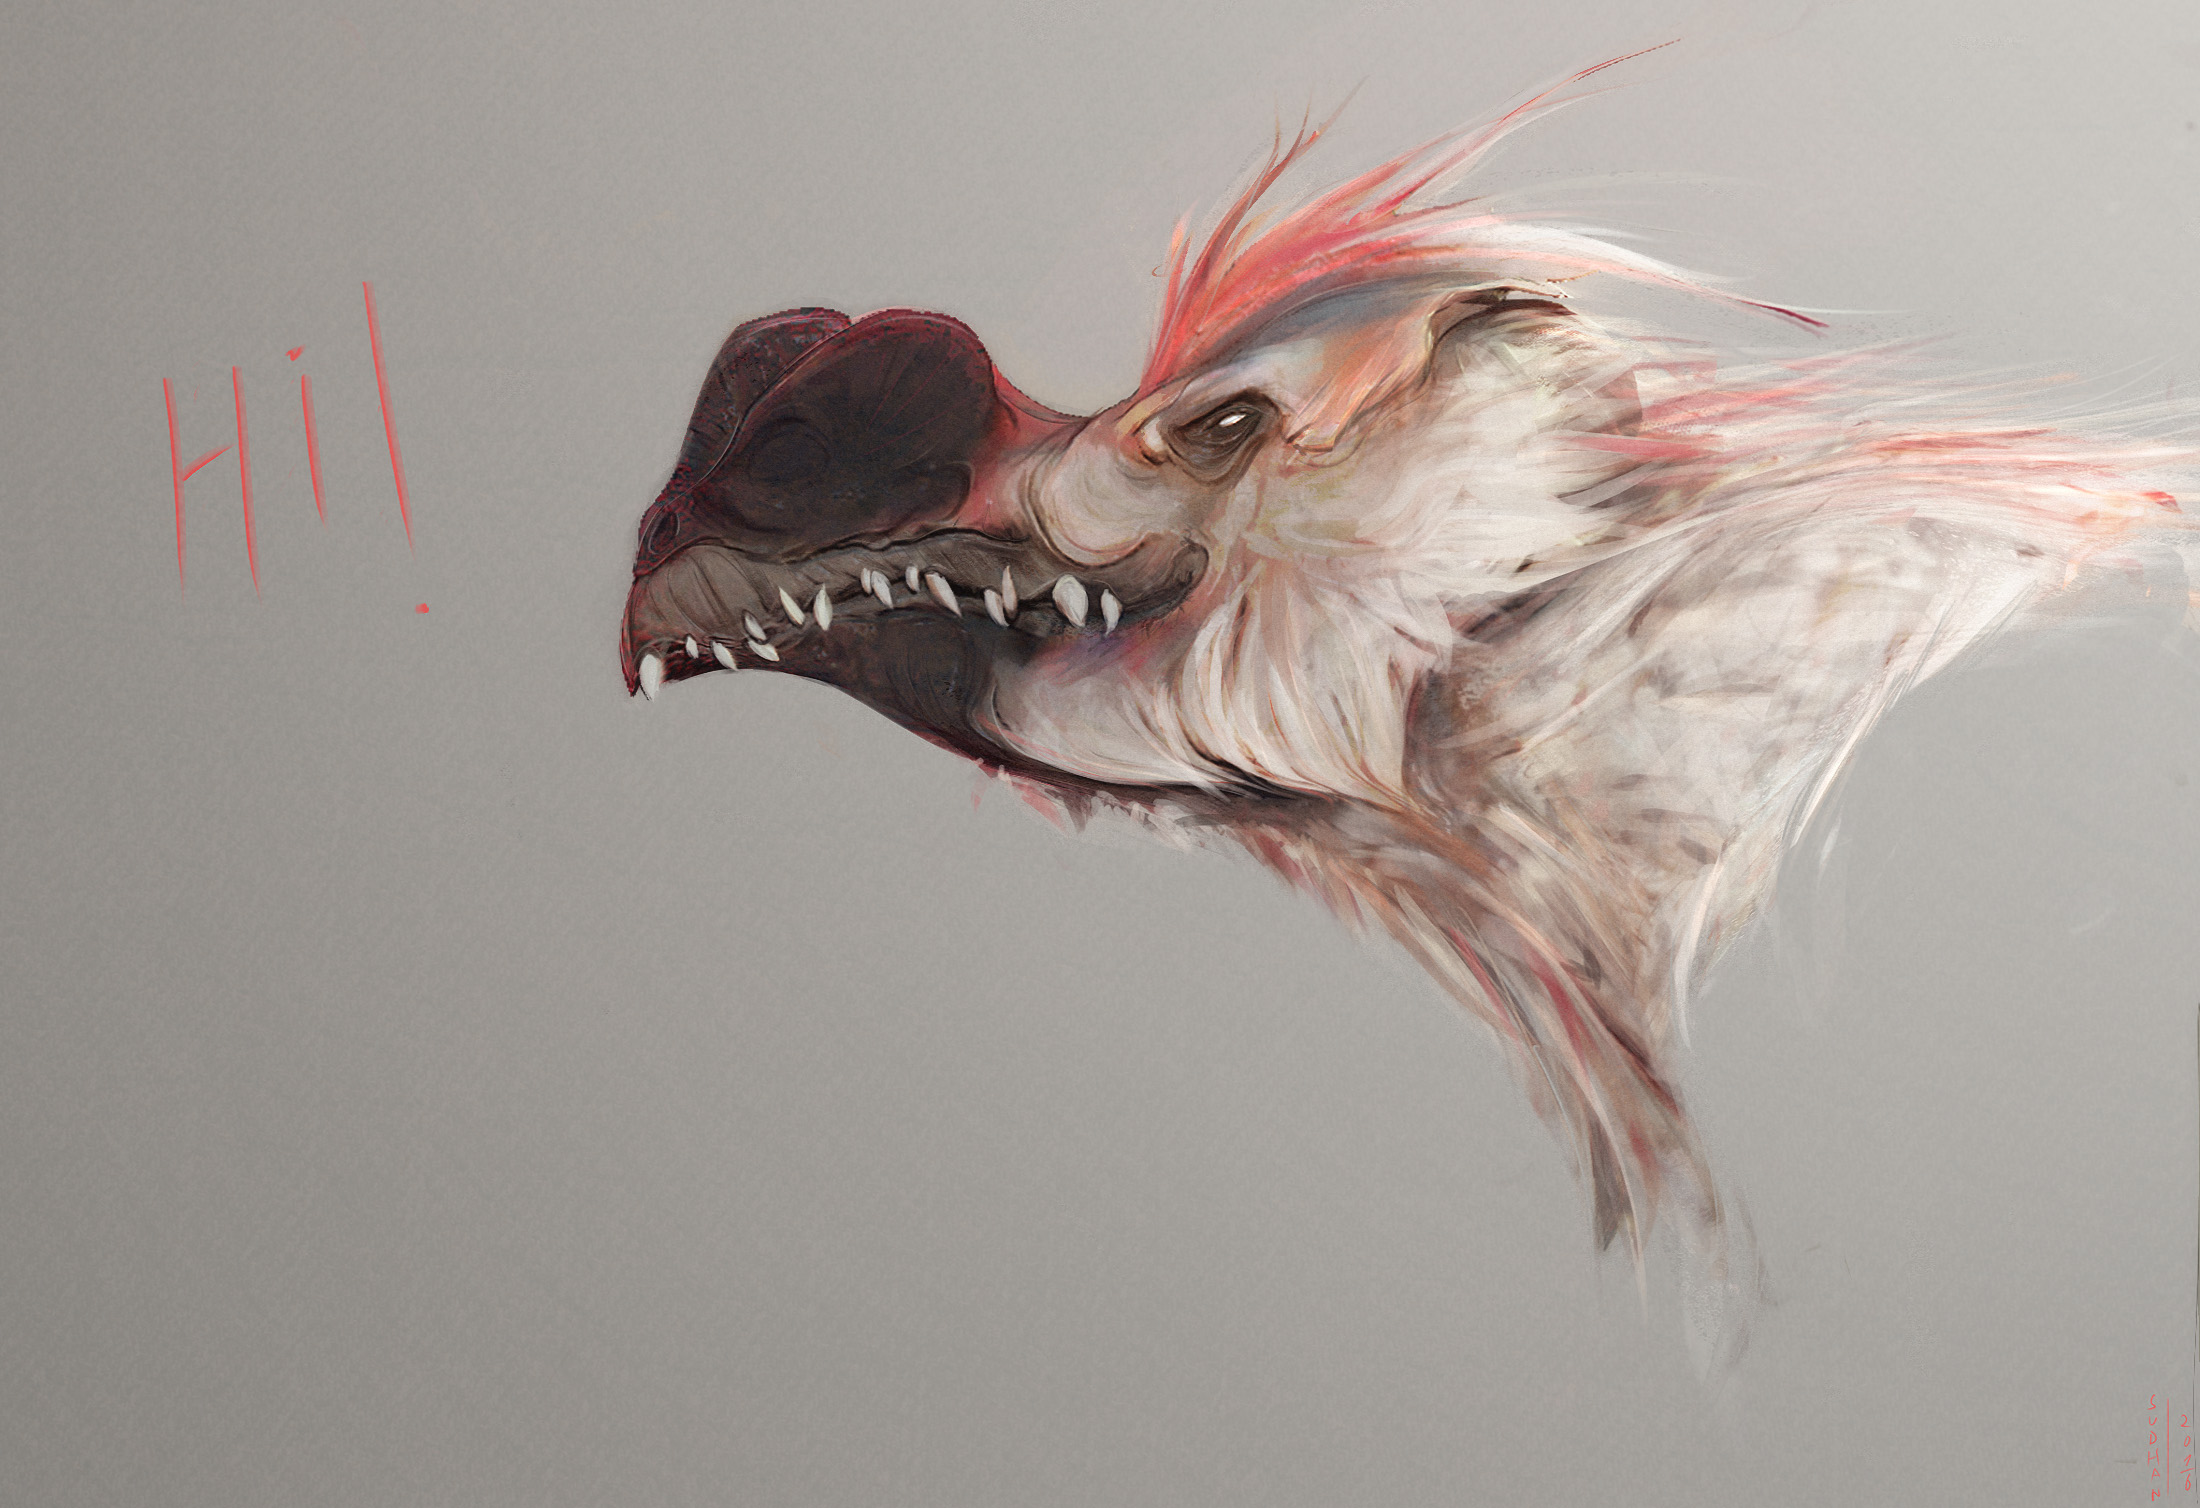
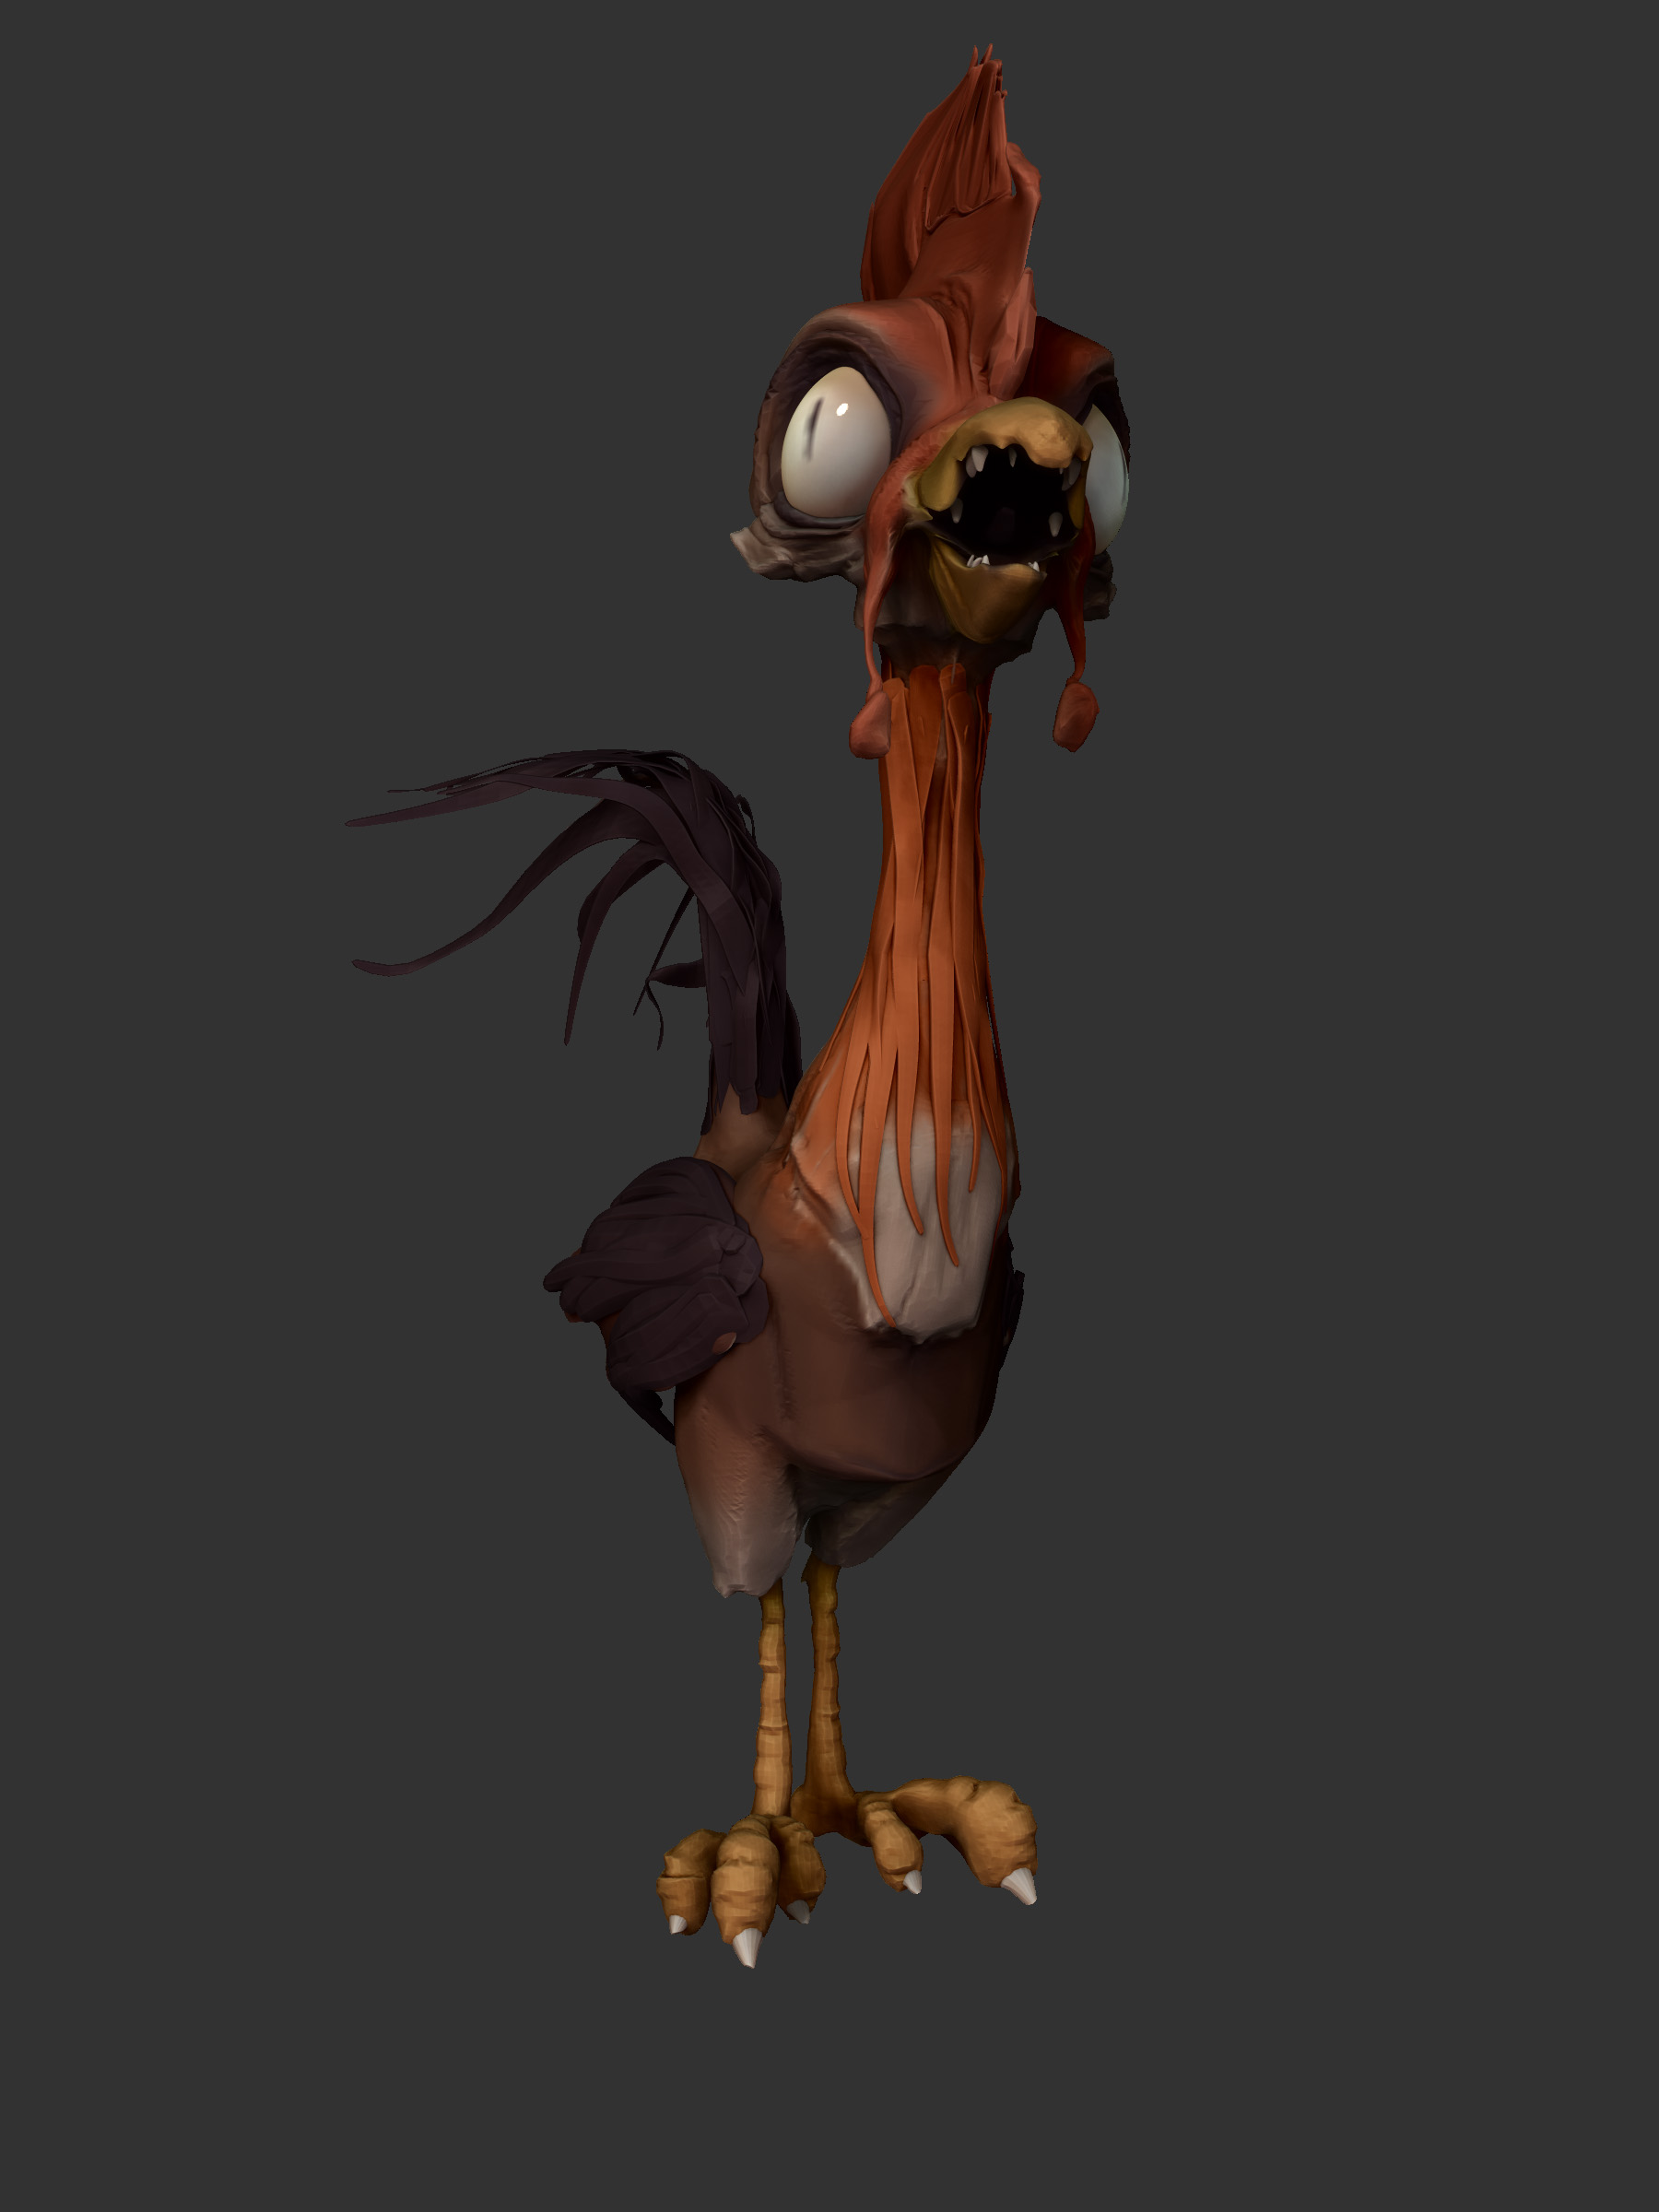
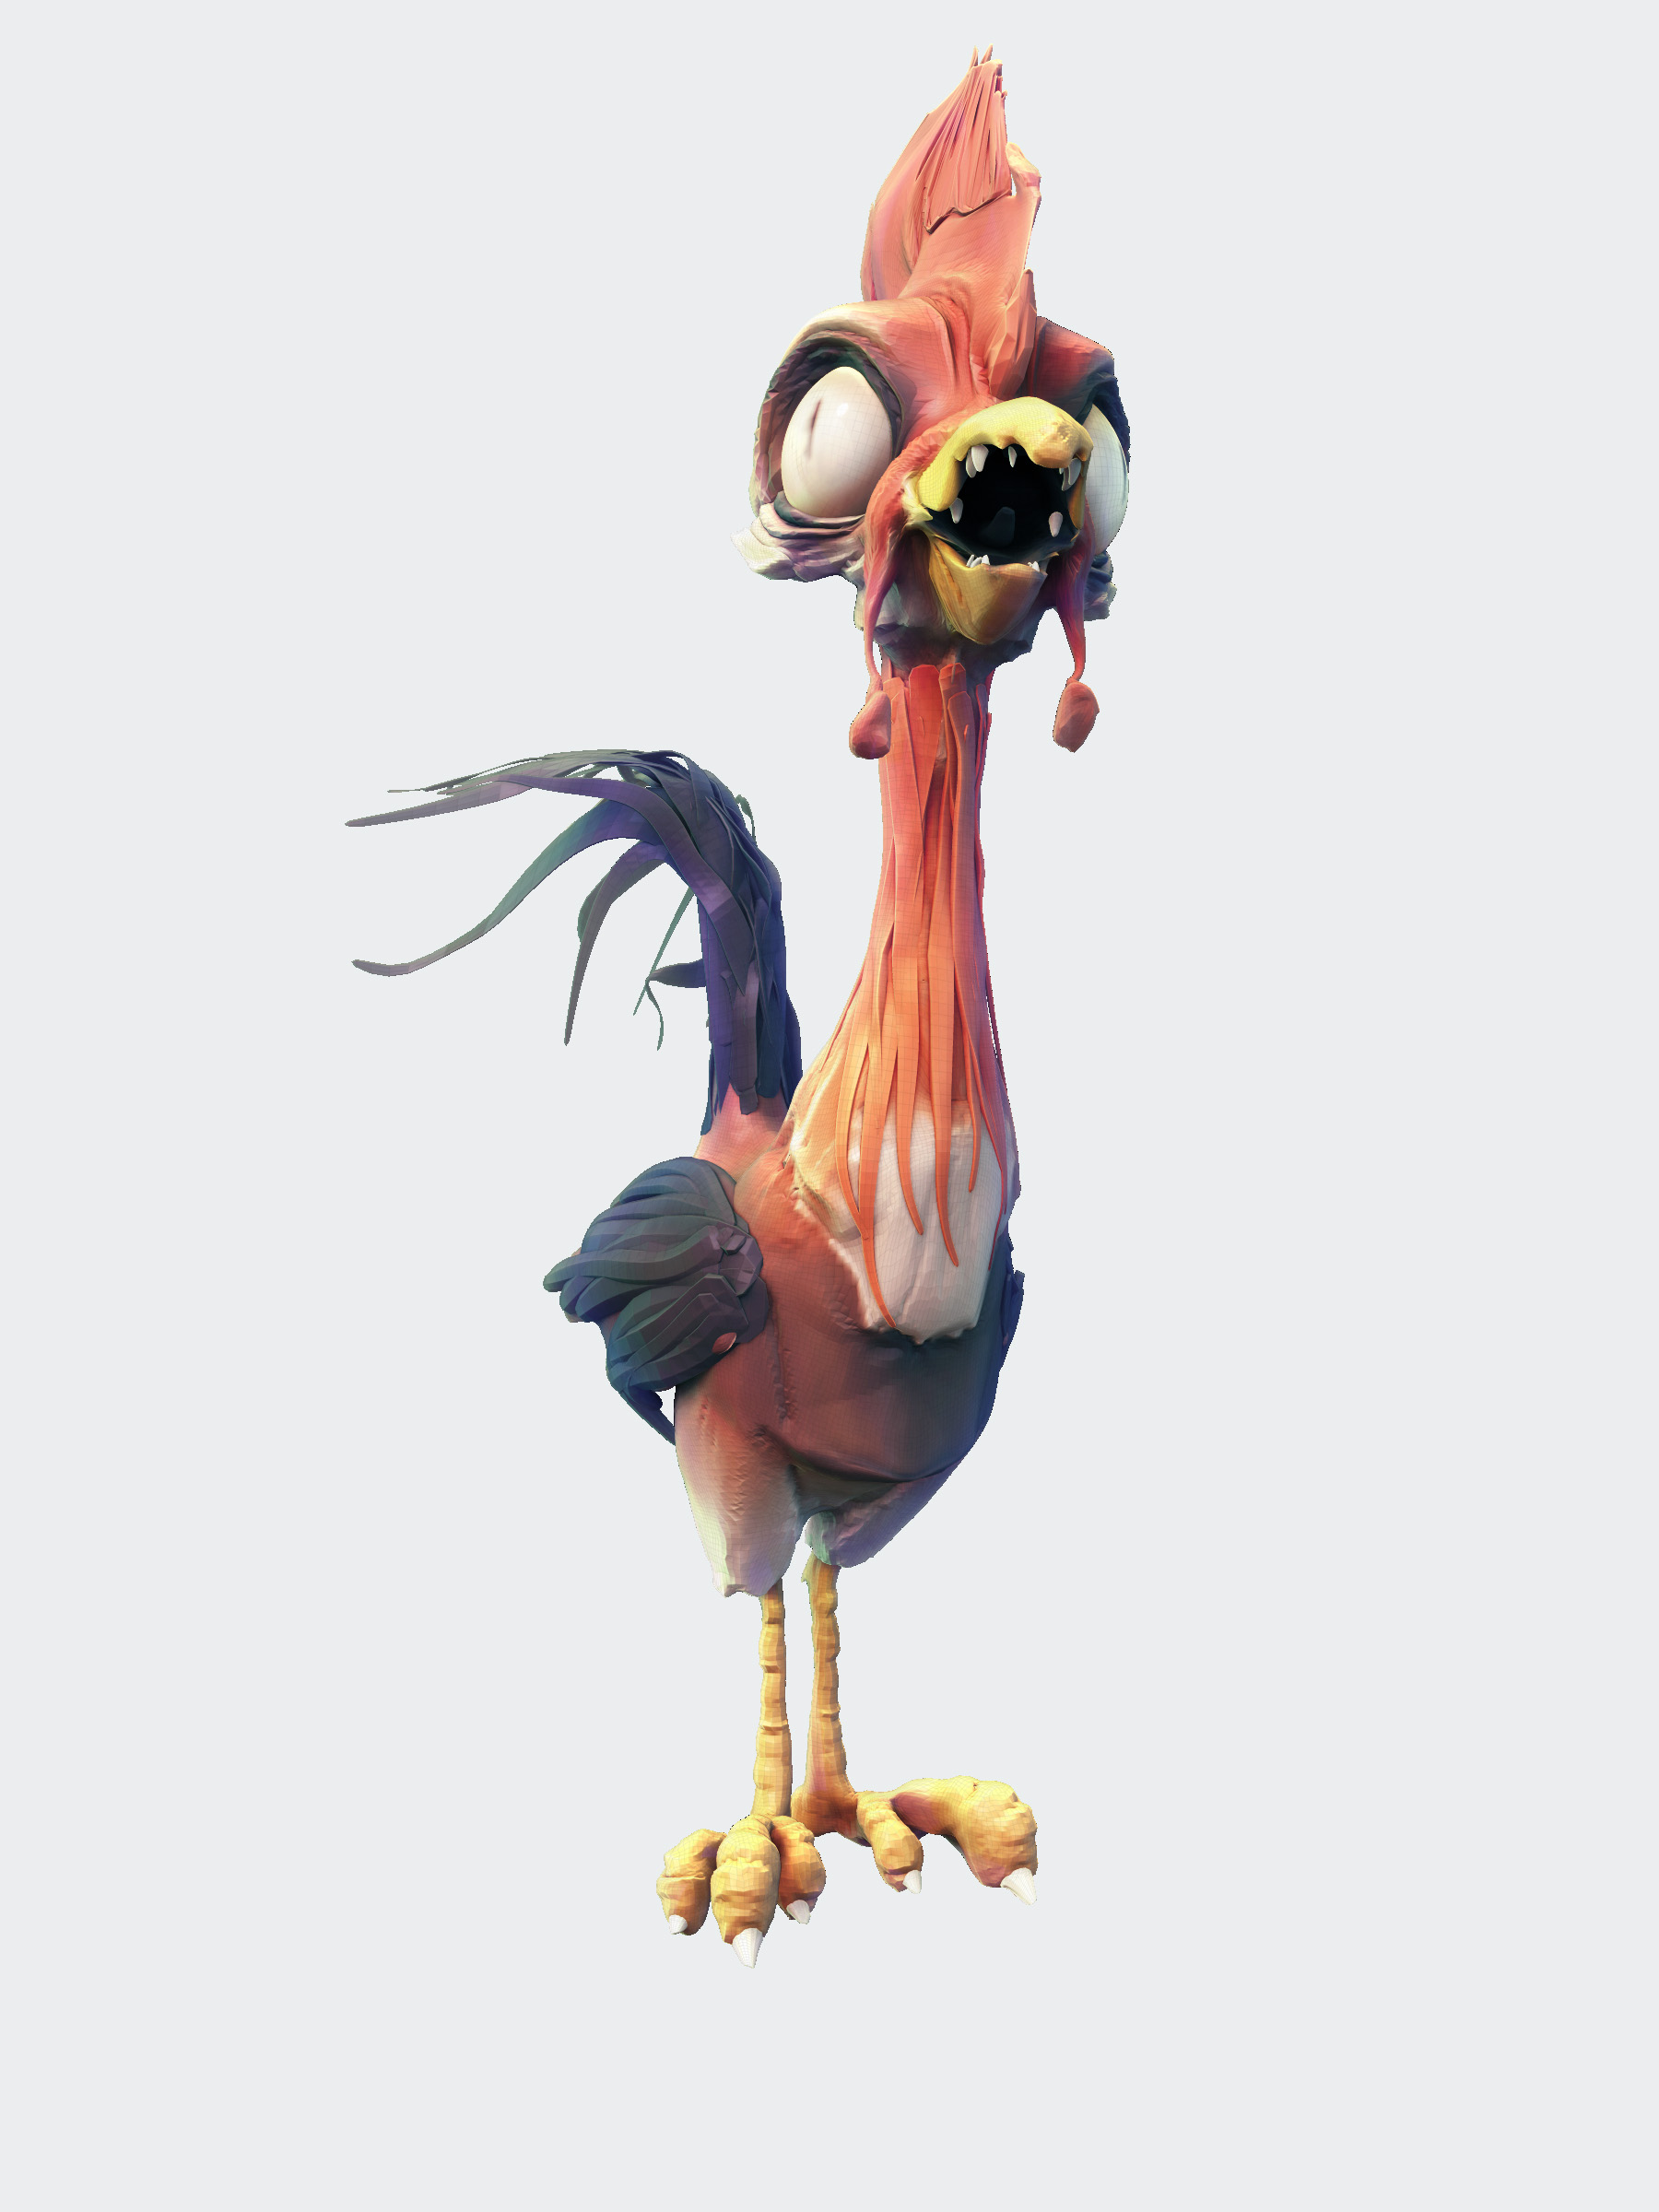
Nonetheless, meet my feathery friend!
[ZBrush sculpt + paintover in Photoshop] [And the ZBrush To Photoshop Plugin is the sweetest holiday gift I got! ^_^]
-Sudhan
Attachments
Heh heh heh! I like the fish! Nice work, and funny!
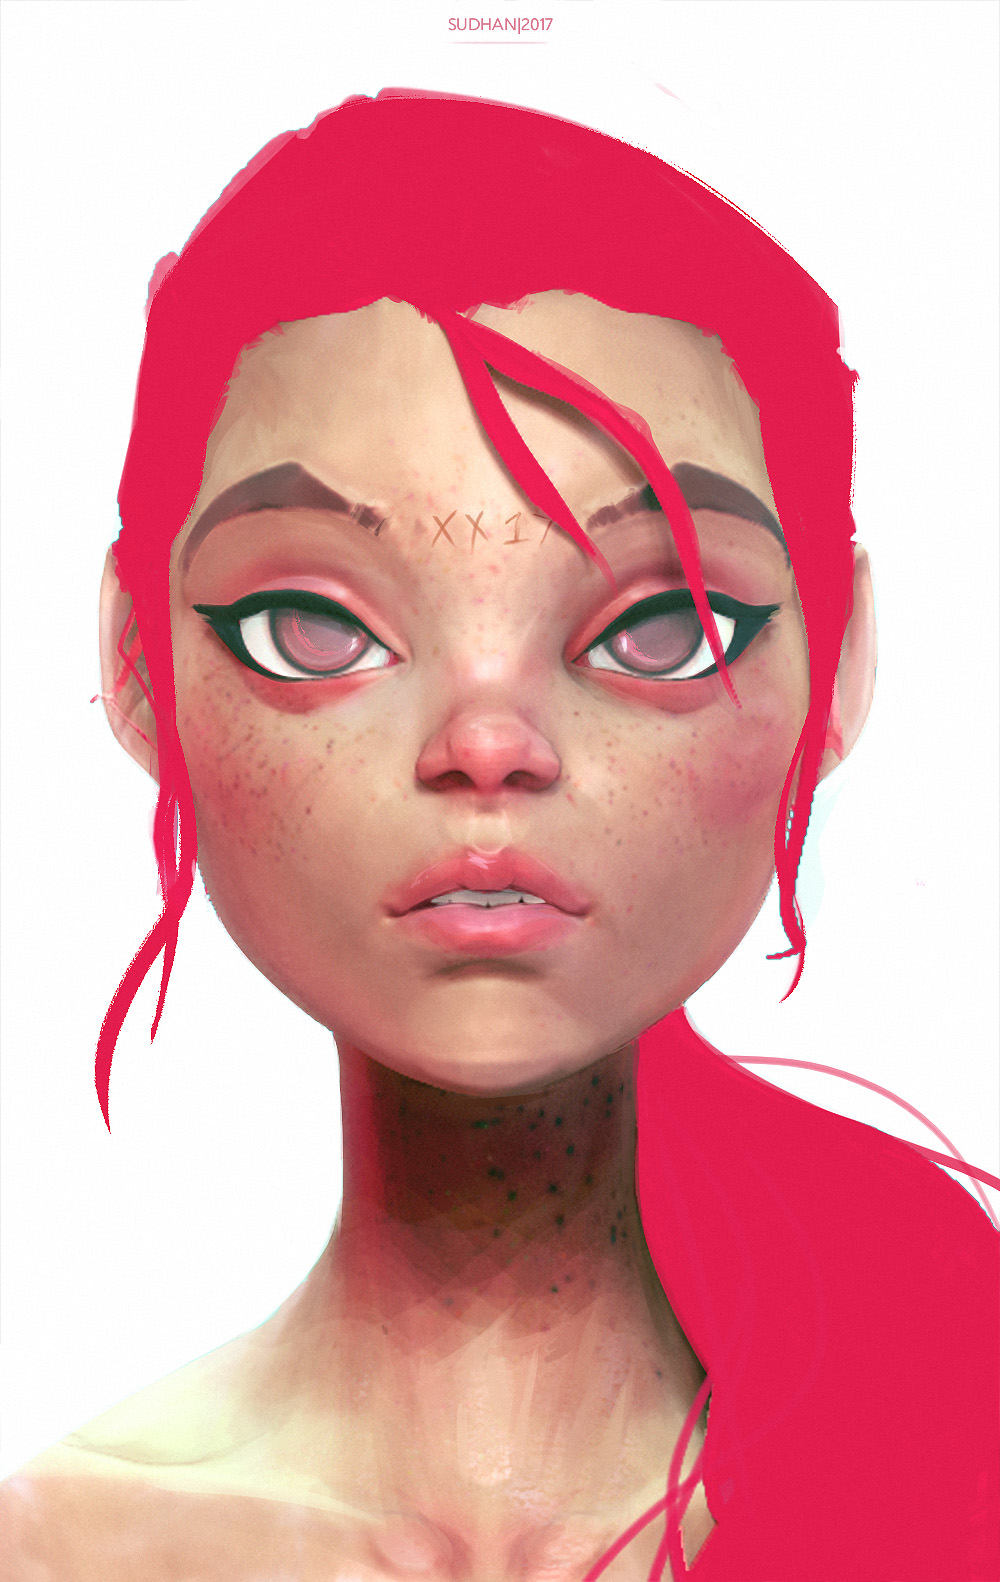
Dear 2017, I’m glad you came!
[Some more experimenting with painting over ZBrush renders]
And @MetinSeven: Thanks!
-Sudhan
You rock! would love to see your process for painting over renders, it’s fascinating
Cool thanks!

Mr.Rob-Bot may have made a shady deal, 
-Sudhan
Attachments
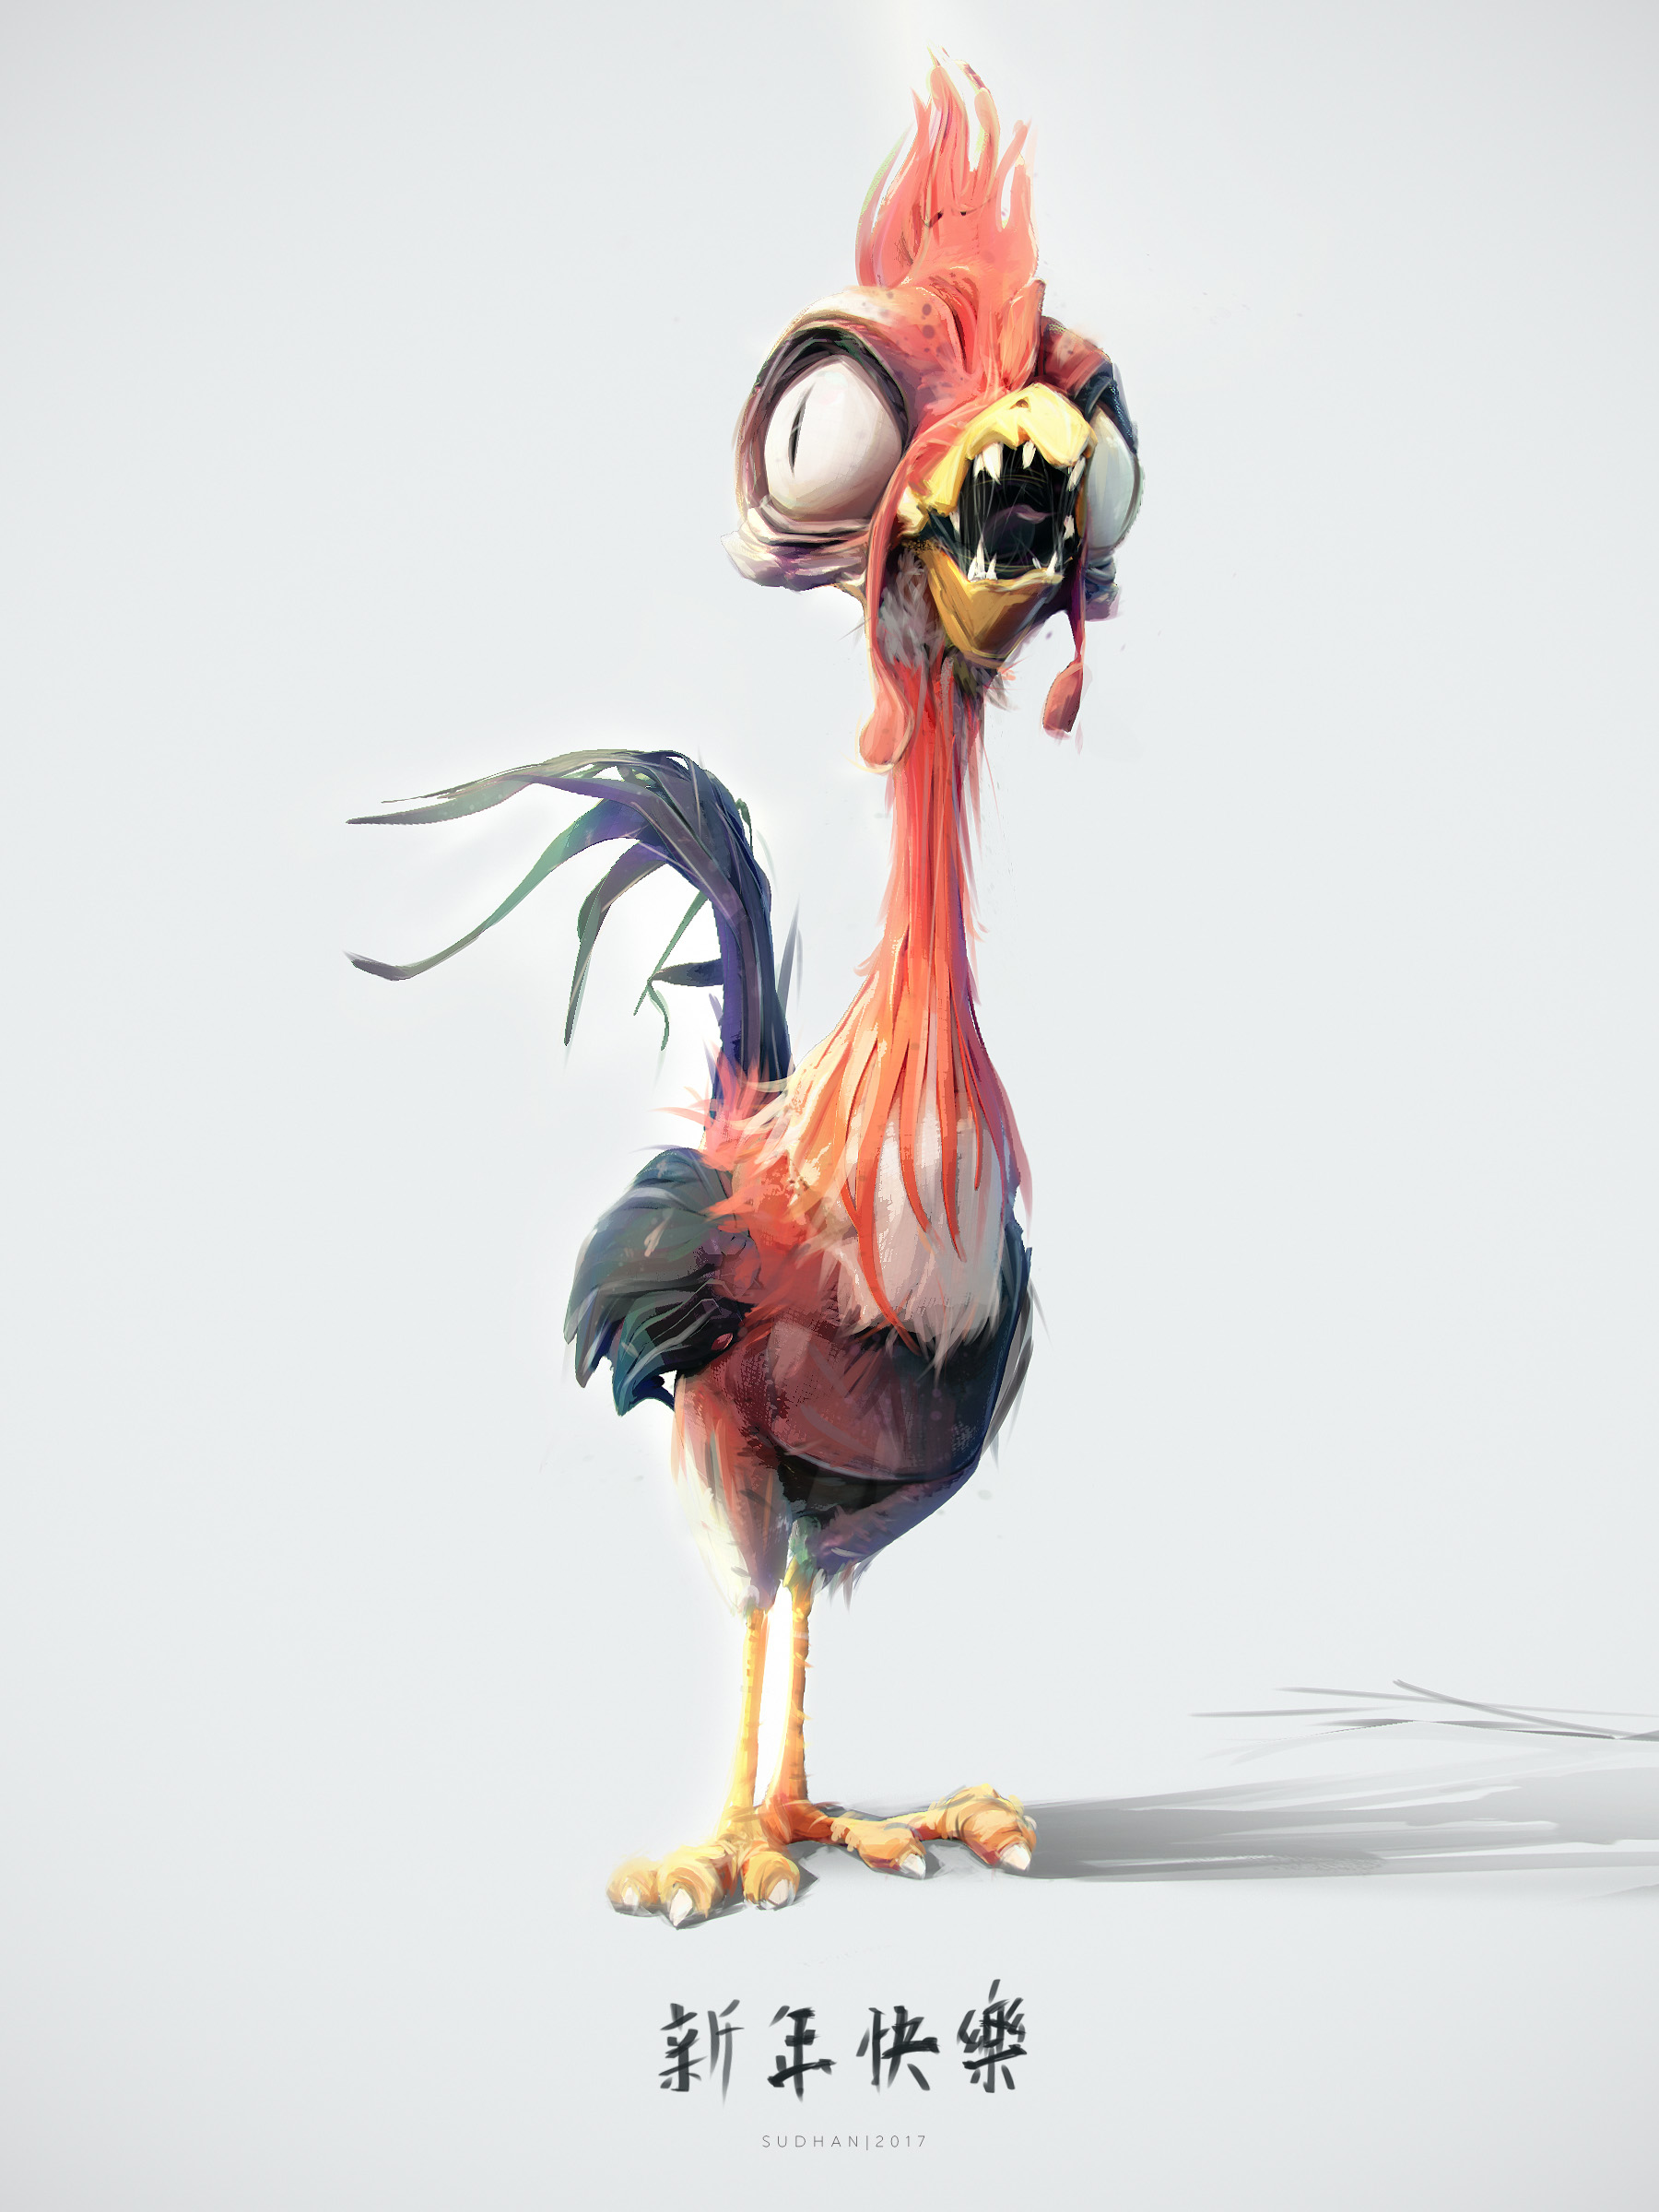
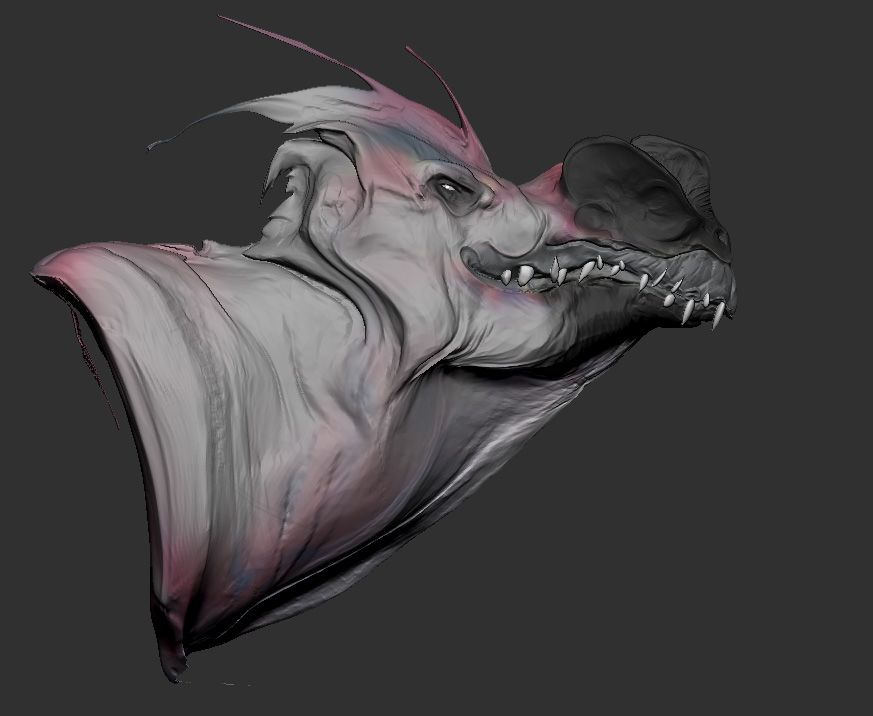
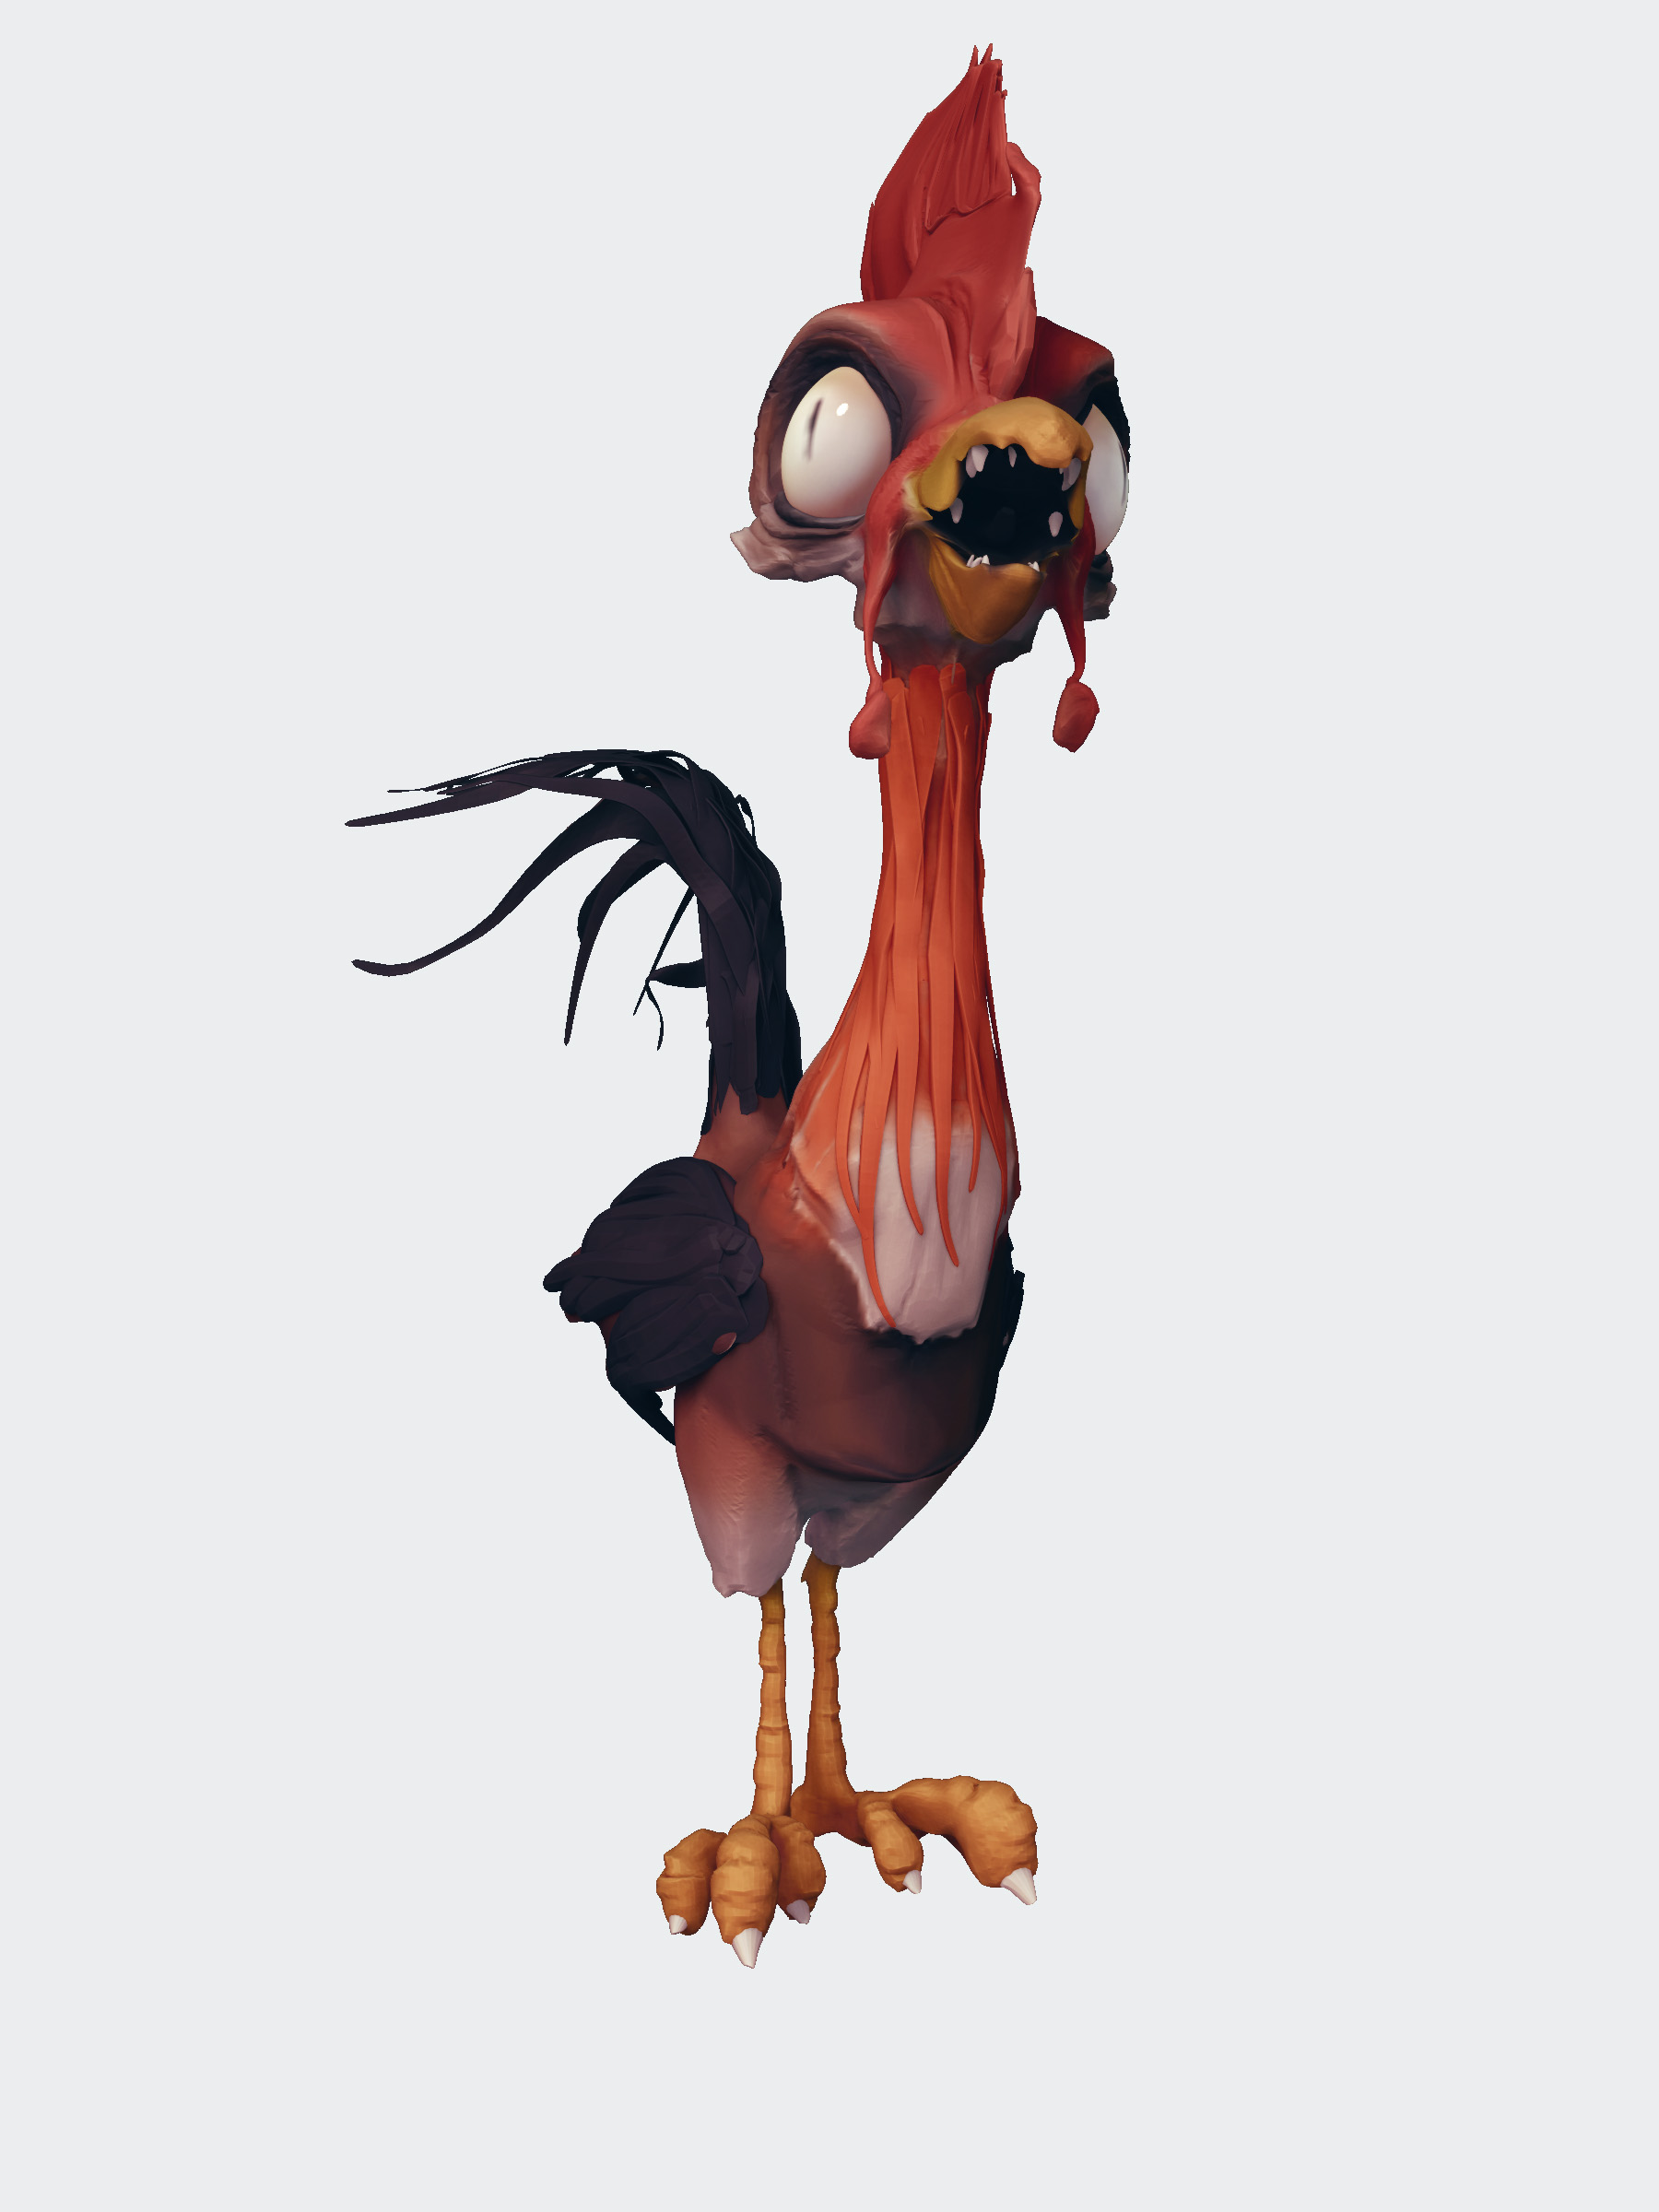
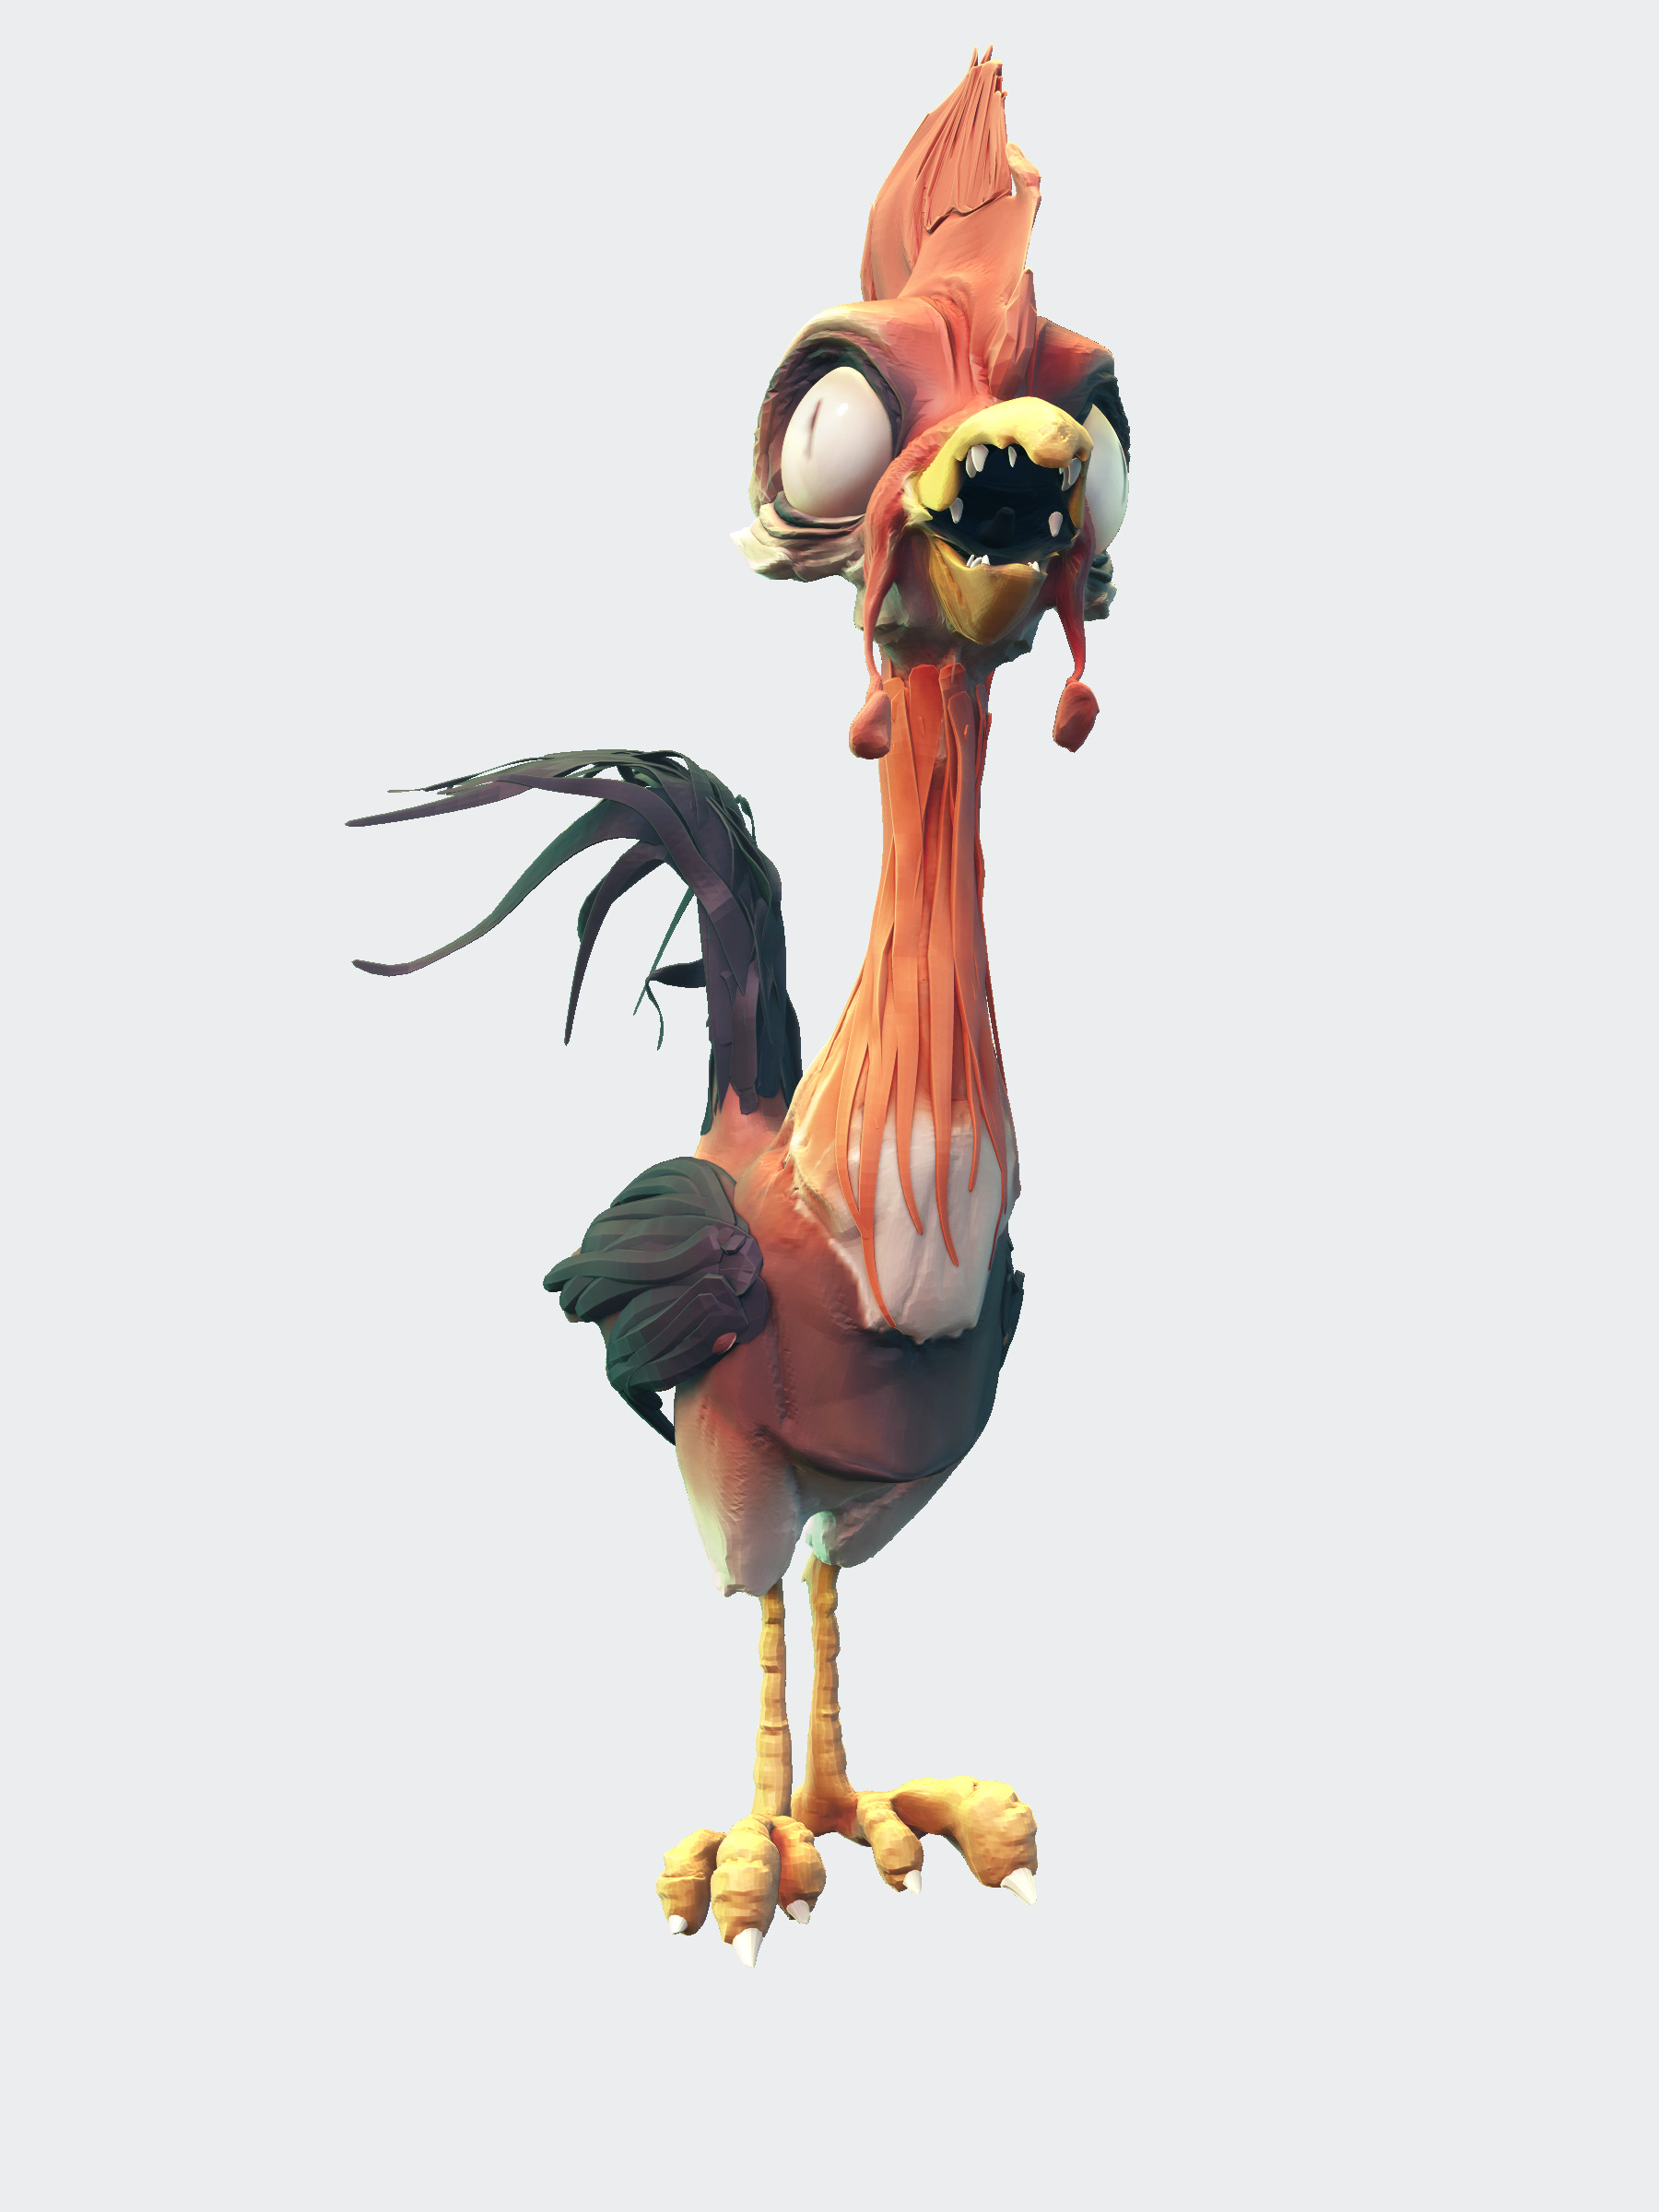
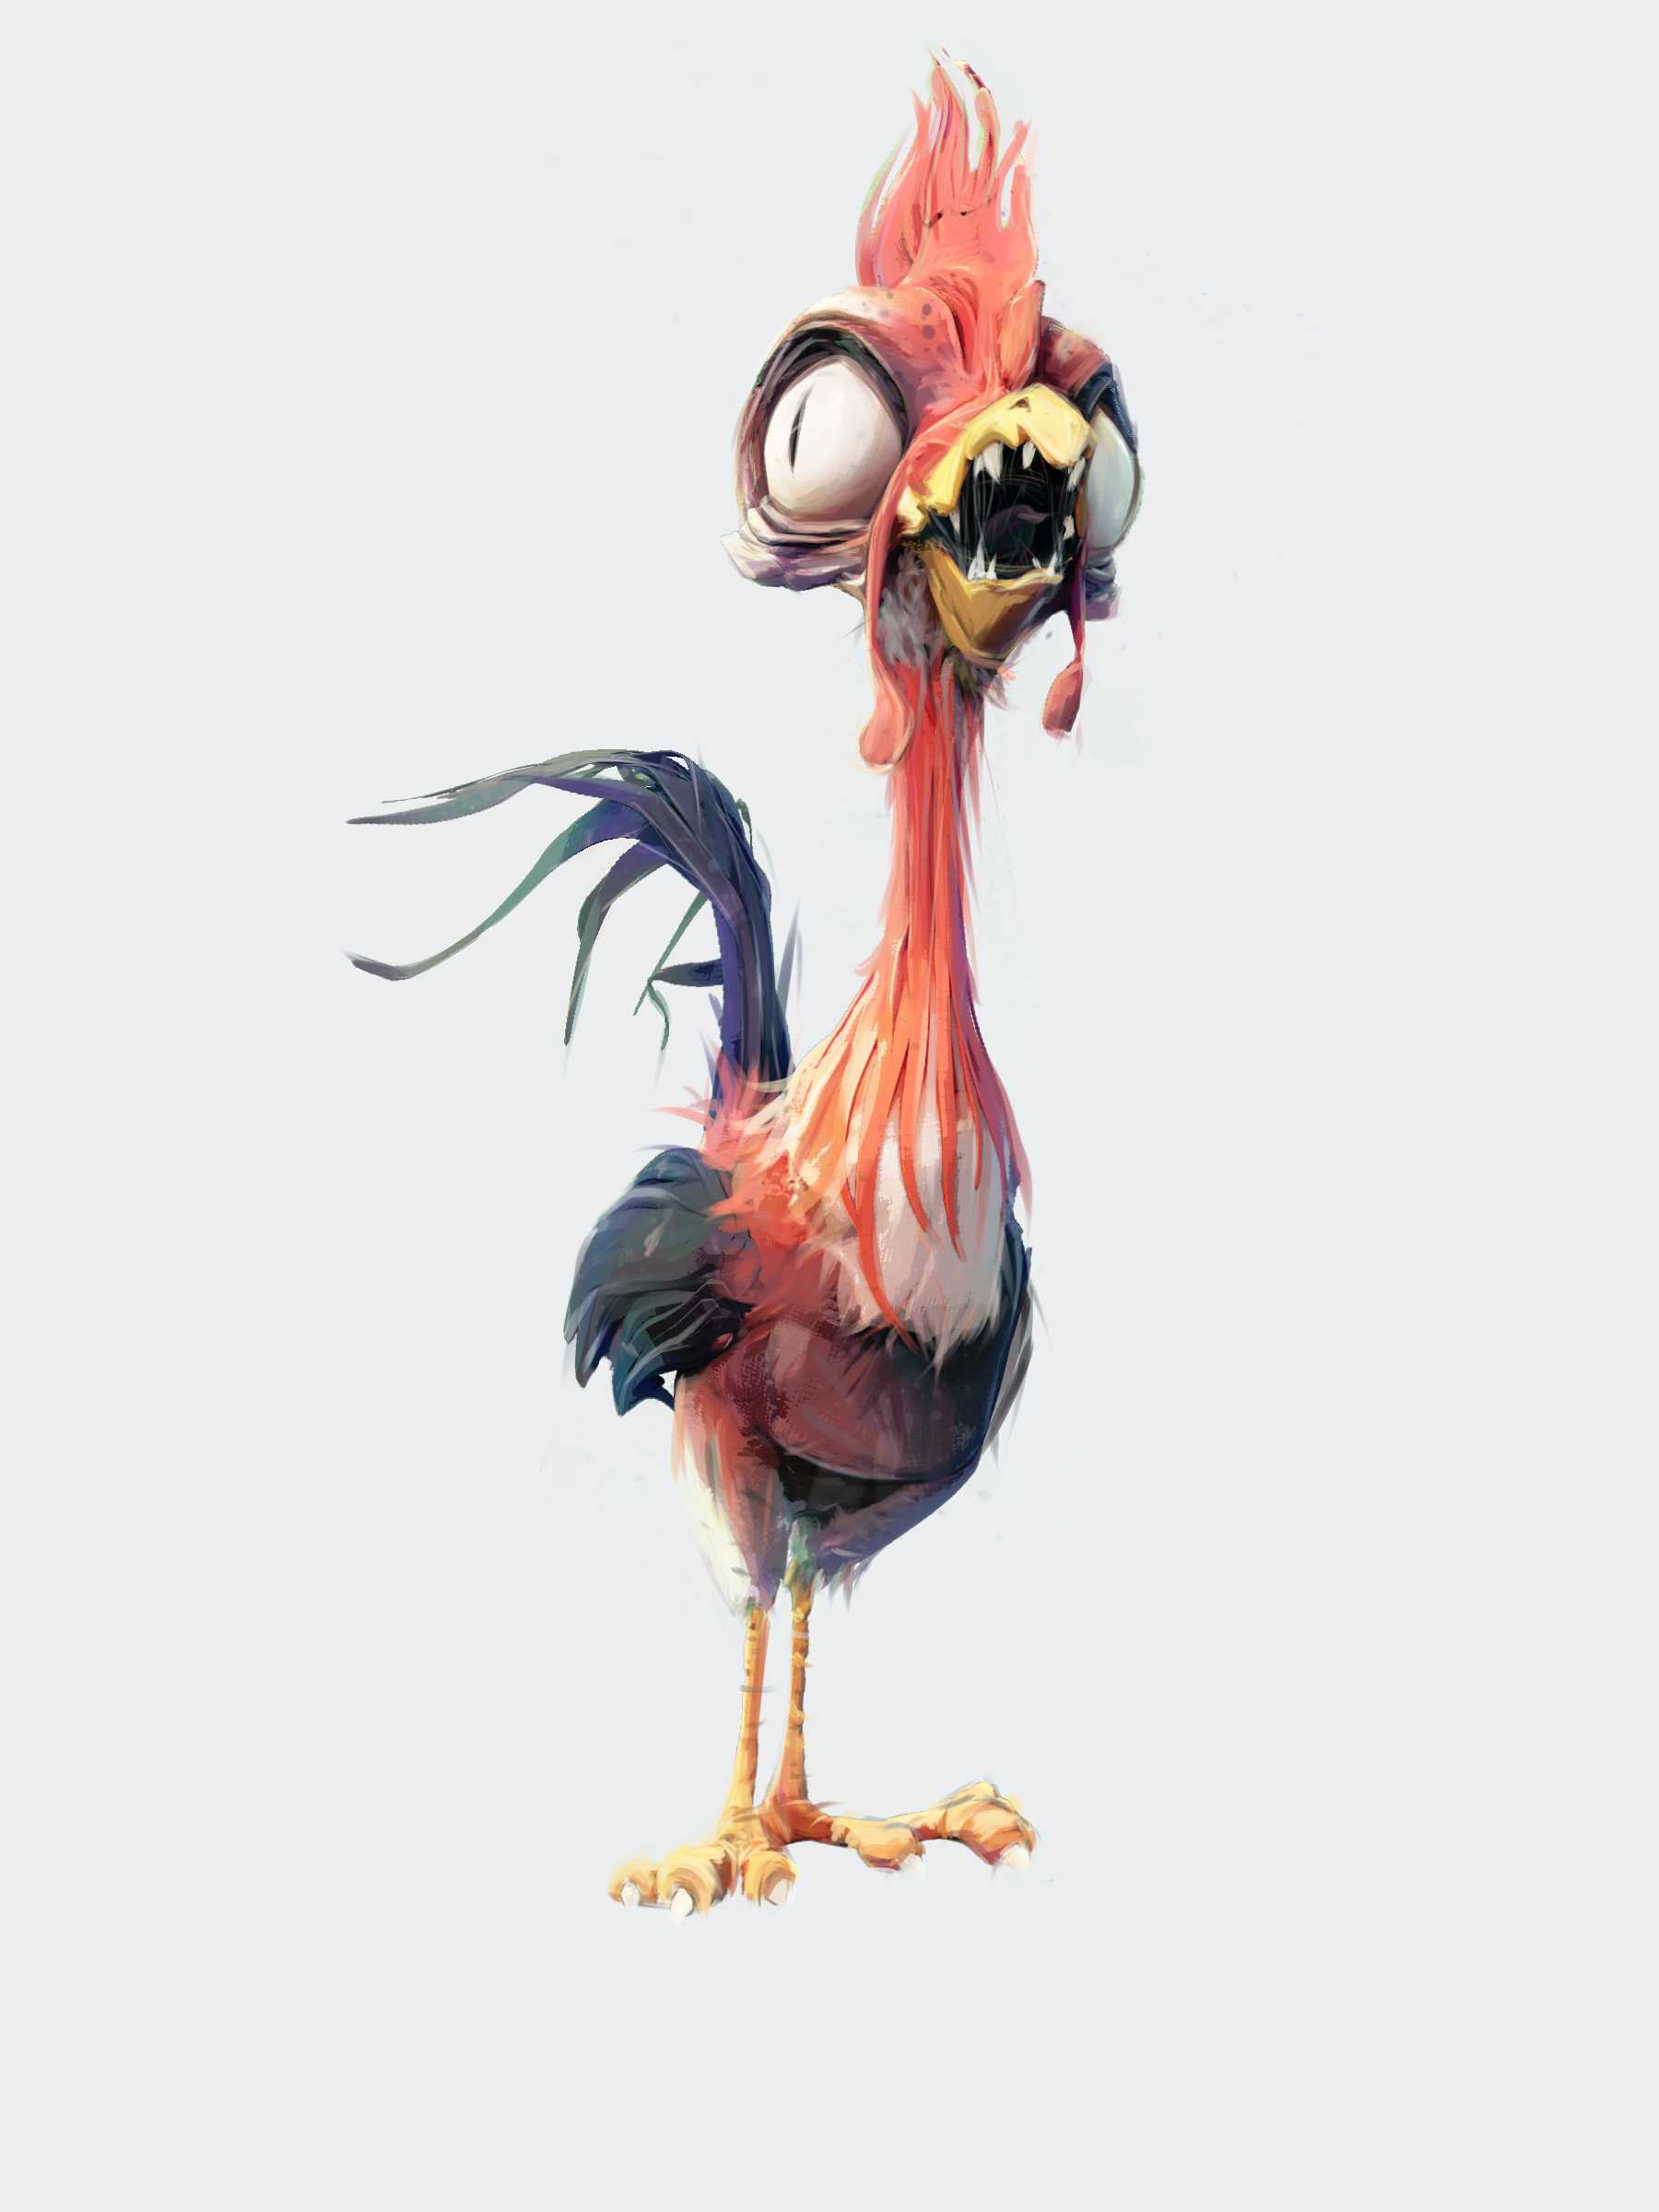
Here’s to my fellow roosters! 
[ZBrush + Photoshop]
-Sudhan
Attachments
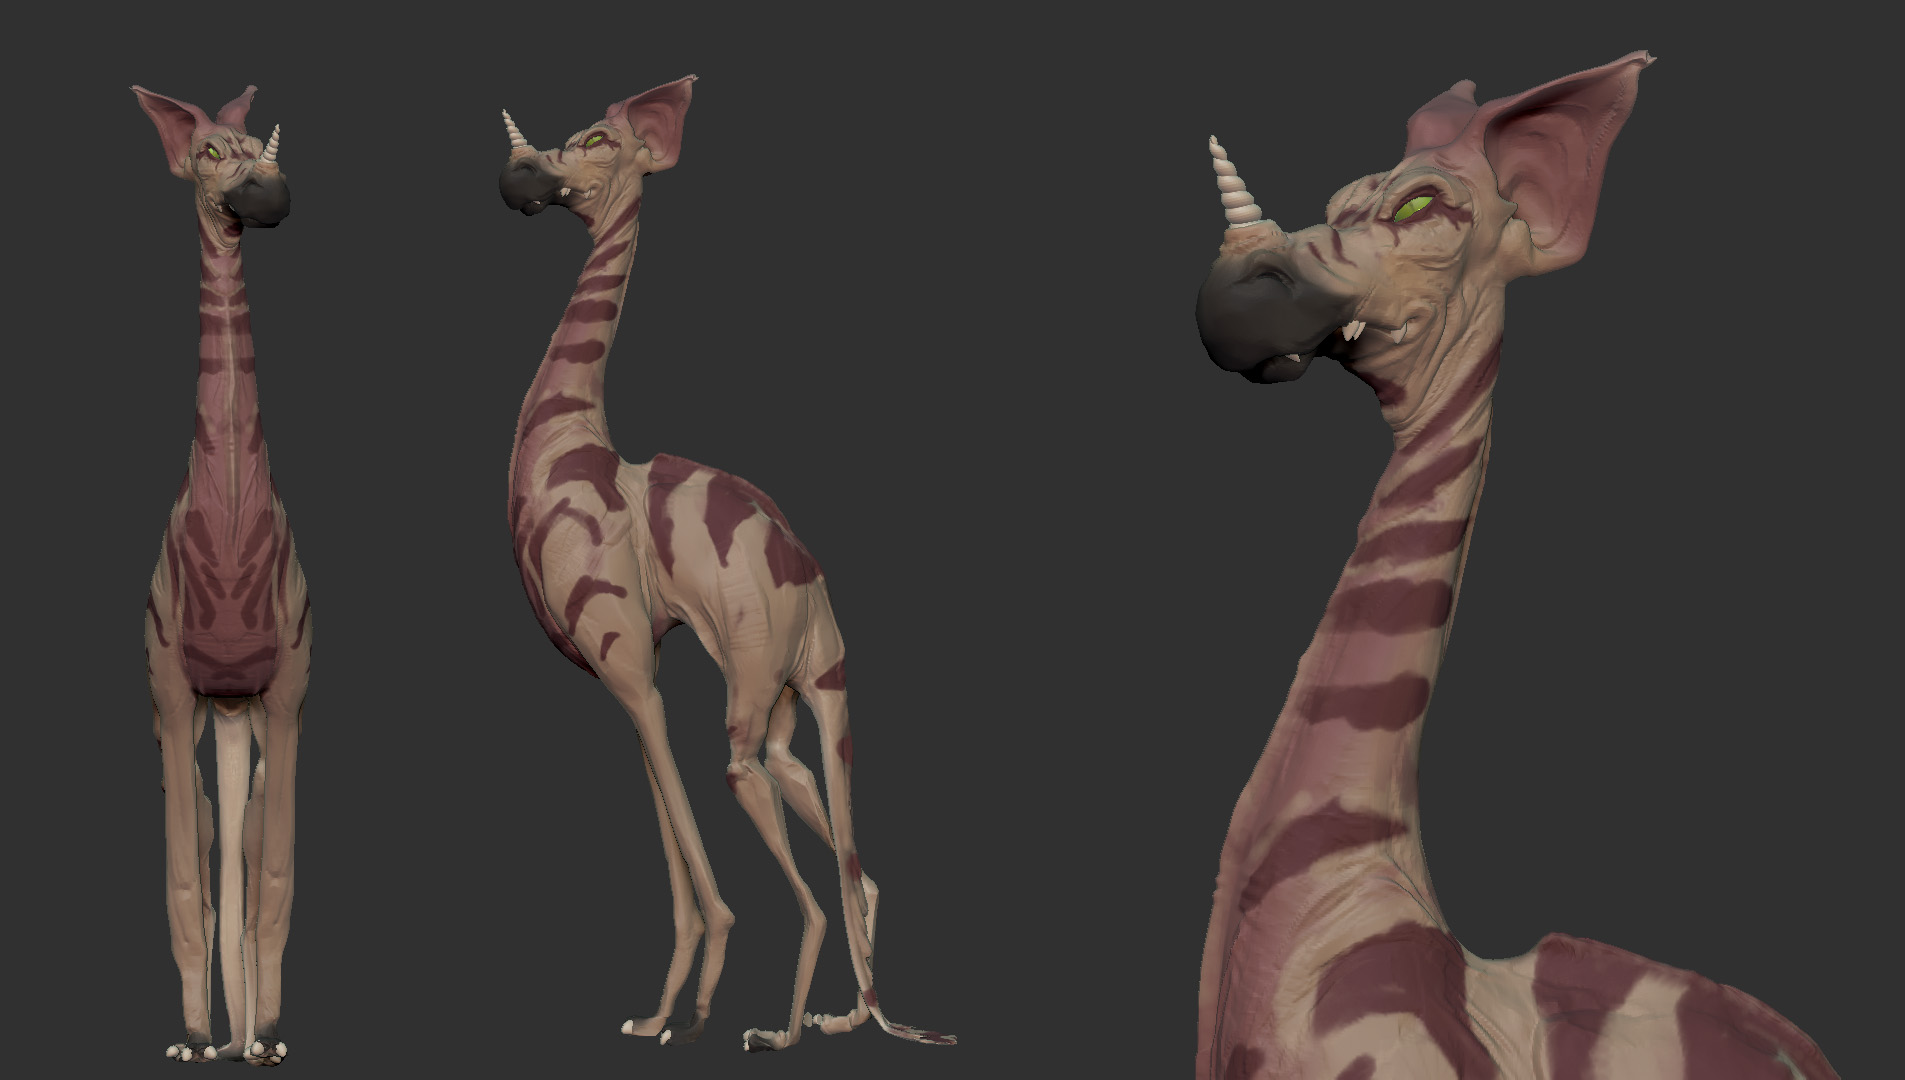
It’s okay, I’ve been told he doesn’t bite, 
[ZBrush + Photoshop]
-Sudhan
Attachments
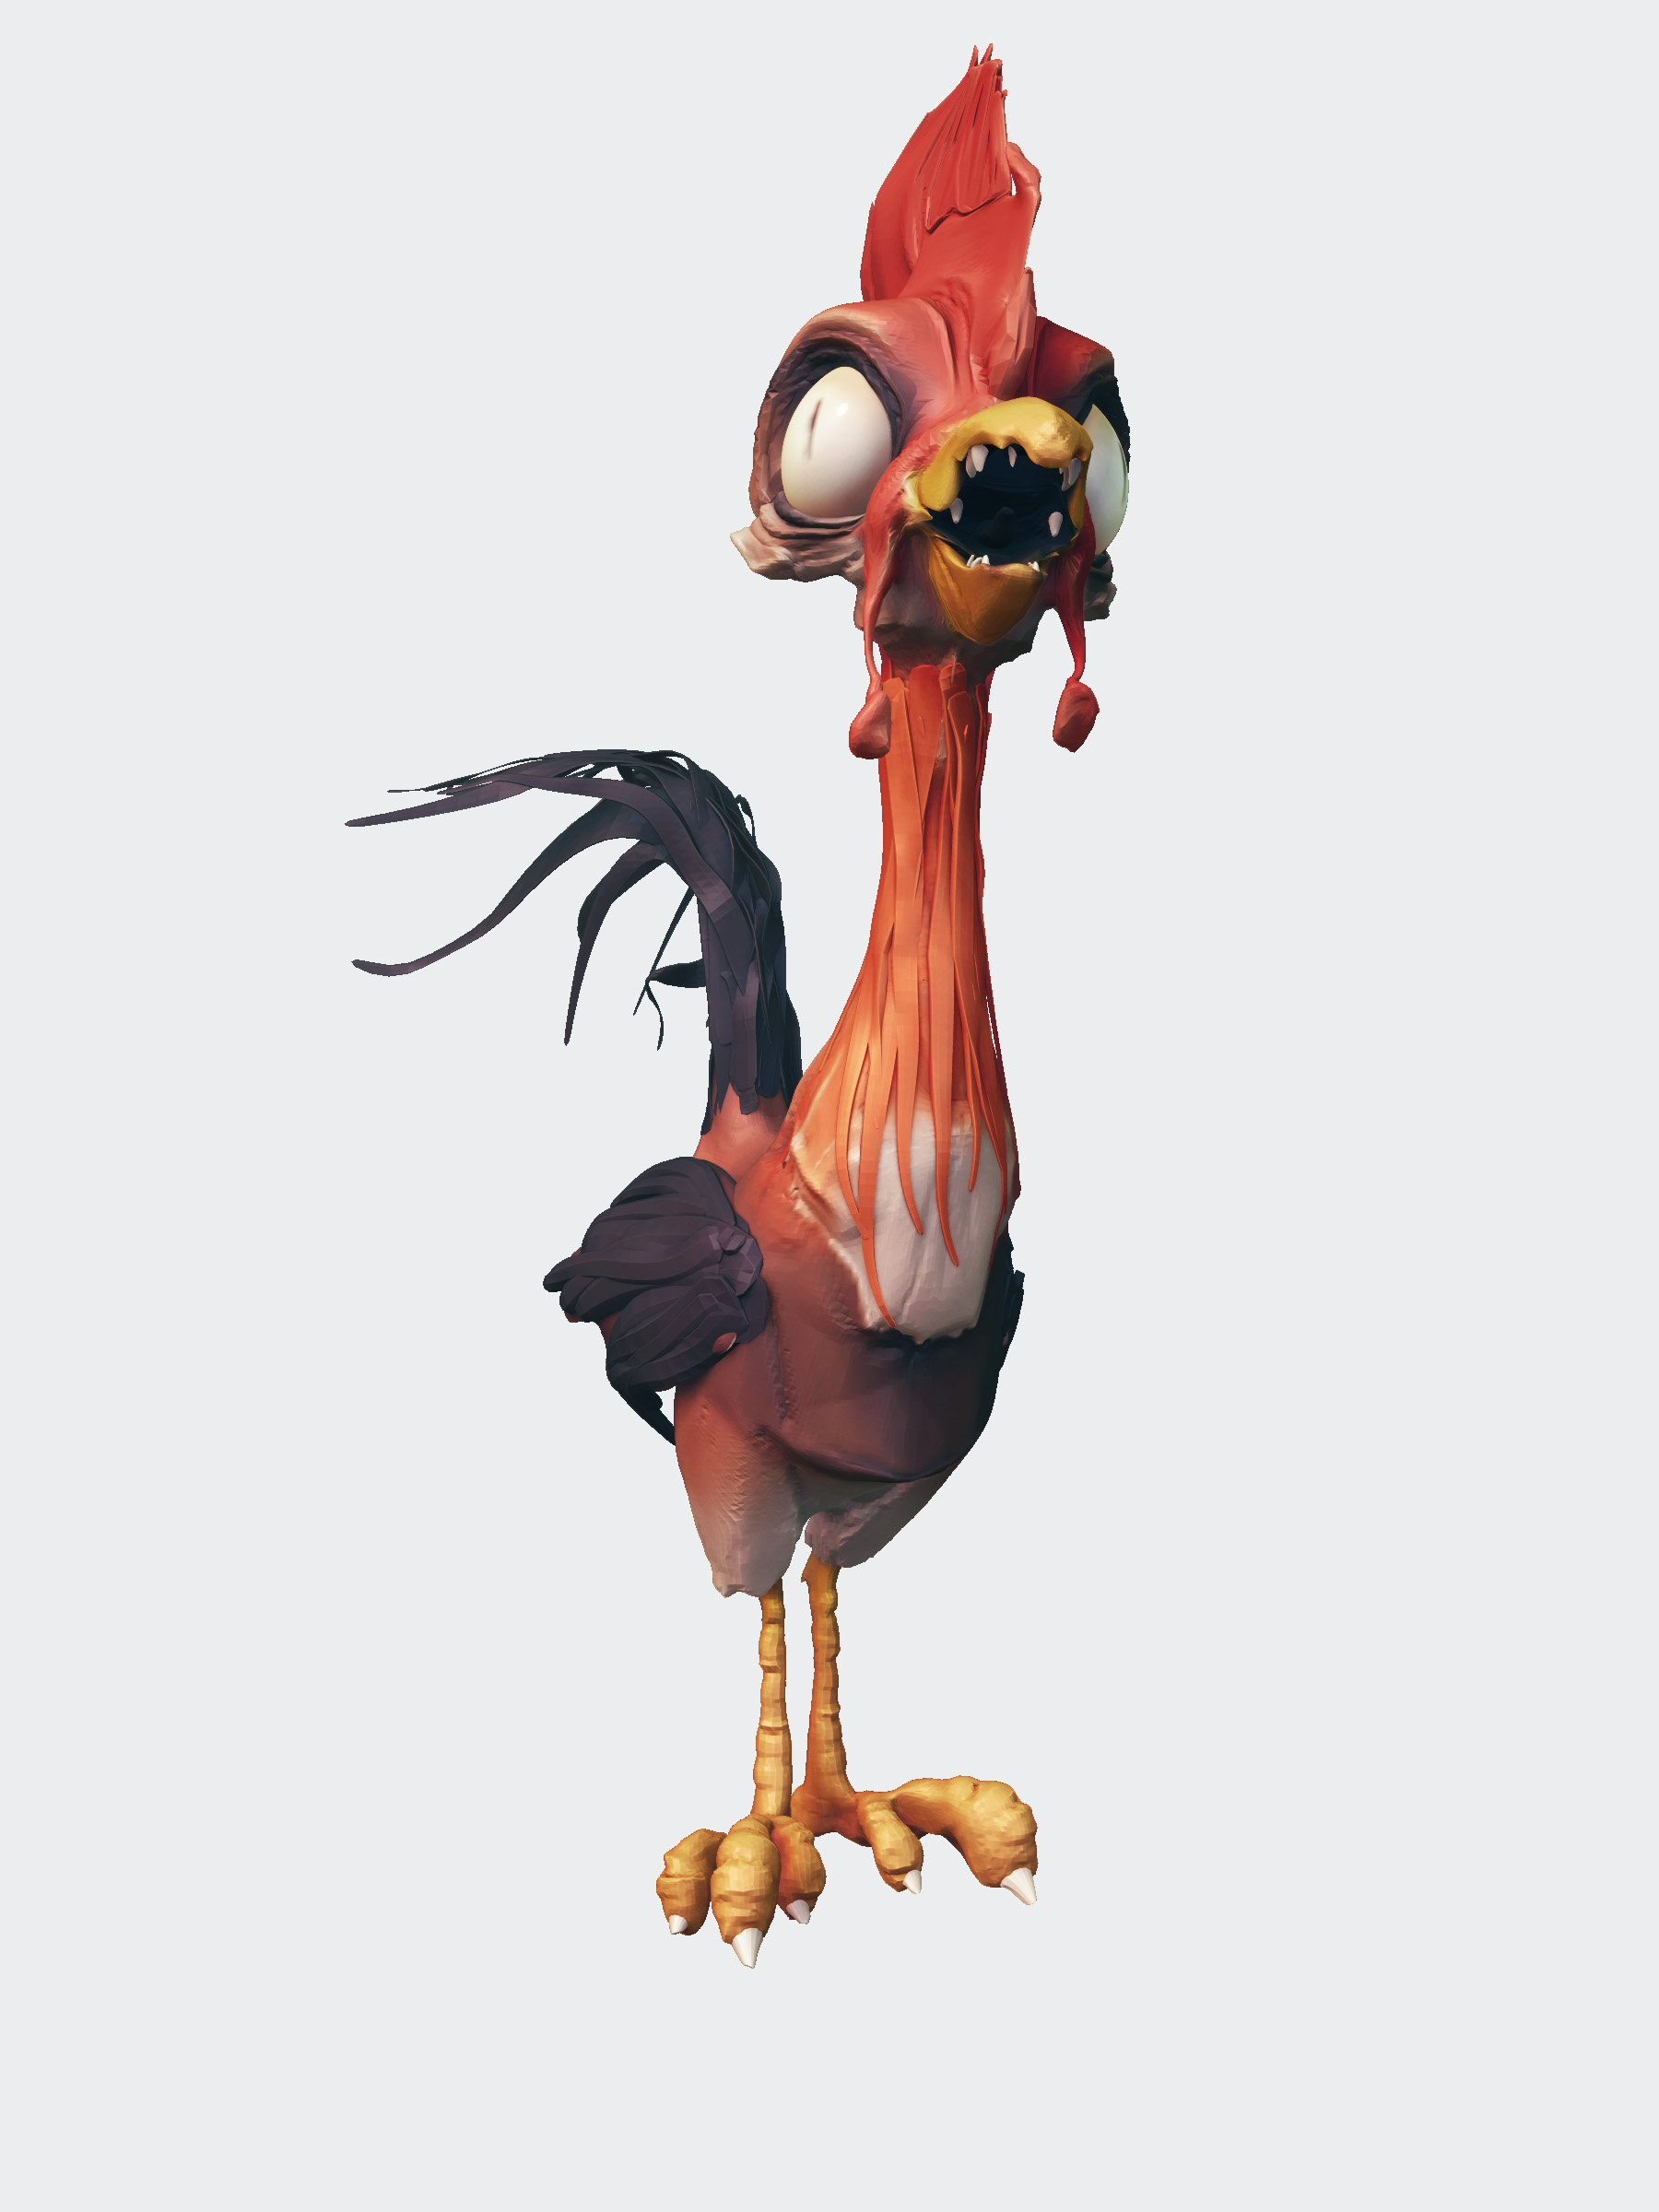
Not so sure about the zodiacal accuracy of the Rooster’s character traits  but I really like the treatment.
The strokes of the curve brush and the strokes of the over paint work very well together
Worthy of further exploration.
@boozy floozie: Thanks! Hehe, he’s a mutated fiery rooster, But yes, I’ll explore this direction some more!
A’righty! This is the process I’ve been messing about with for the last several pieces I’ve posted here on ZBC.
- It all starts with a fairly loose sketch in ZBrush, mostly blocking in the larger shapes & elements, silhouette, posing and color indications.
At this point I don’t really worry about blending surfaces too much. As long as I have the major plane changes and shadow shapes it’s enough information to work with.
After which I setup a BPR with some filters to get a base render to work with. [I typically use the sharpen, reflection and color correction filters a lot, but that’d be a post of it’s own!]
-
And then into photoshop it goes for some color grading.
-
After that I mix in some passes generated using the ZBrush To Photoshop CC plug-in. [If you haven’t yet, try it out! It’s handy and saves a ton of time all while keeping things organized!]
-
Then comes the lighting. I use a blend of both a custom lighting setup and also the ones generated by the plug-in[usually the rim lights].
-
And then comping in some effects like SSS, Shadows, Bump, Fog, Normals, etc. I also tend to use the wireframe pass to add a bit of texture from the dense hi-polyness [Doesn’t always work as intended but it’s cool when it does, haha]
-
And the last step: Paint, Liquify, Paint some more; Repeat till you’re satisfied with the result!
So, I hope you guys found this useful! Would you like me to elaborate on any particular step? Lemme me know!
-Sudhan
Attachments
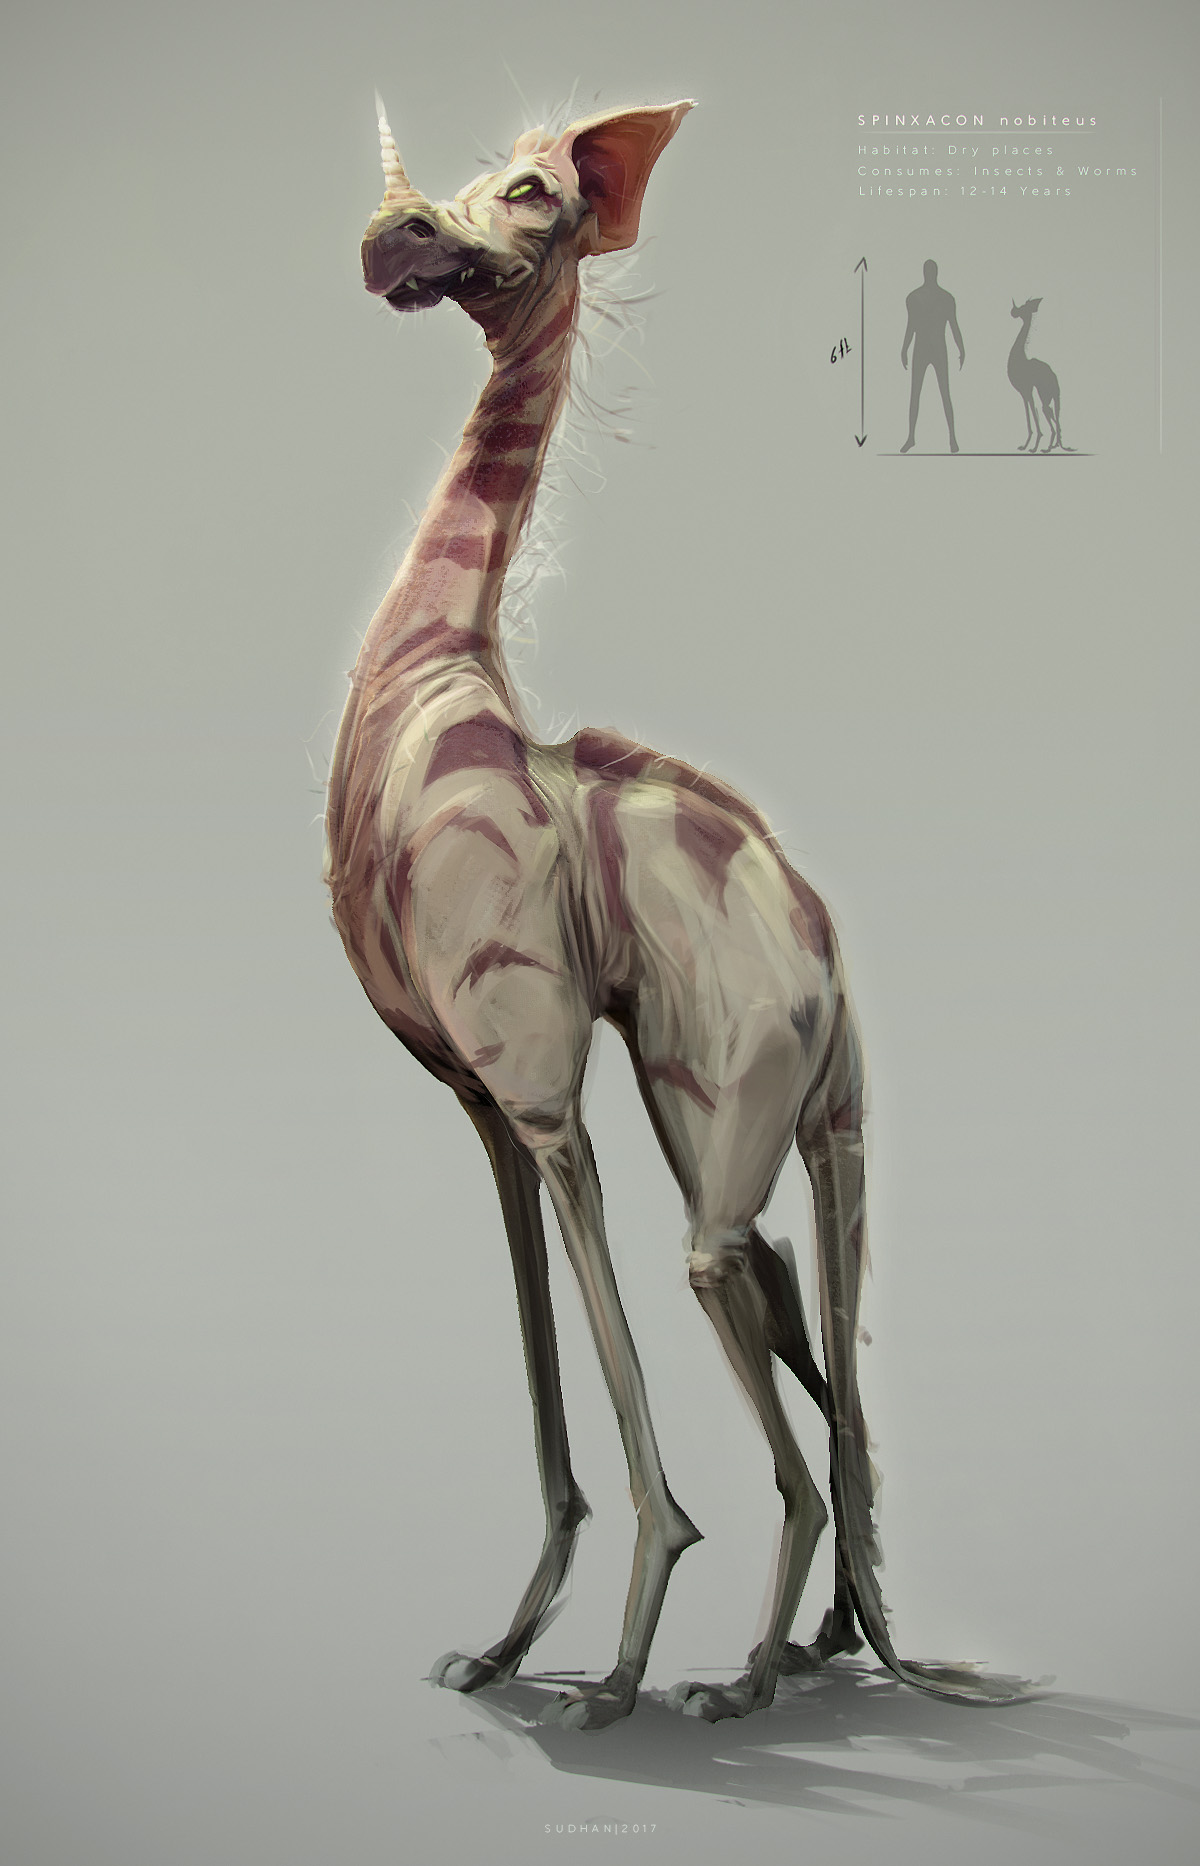
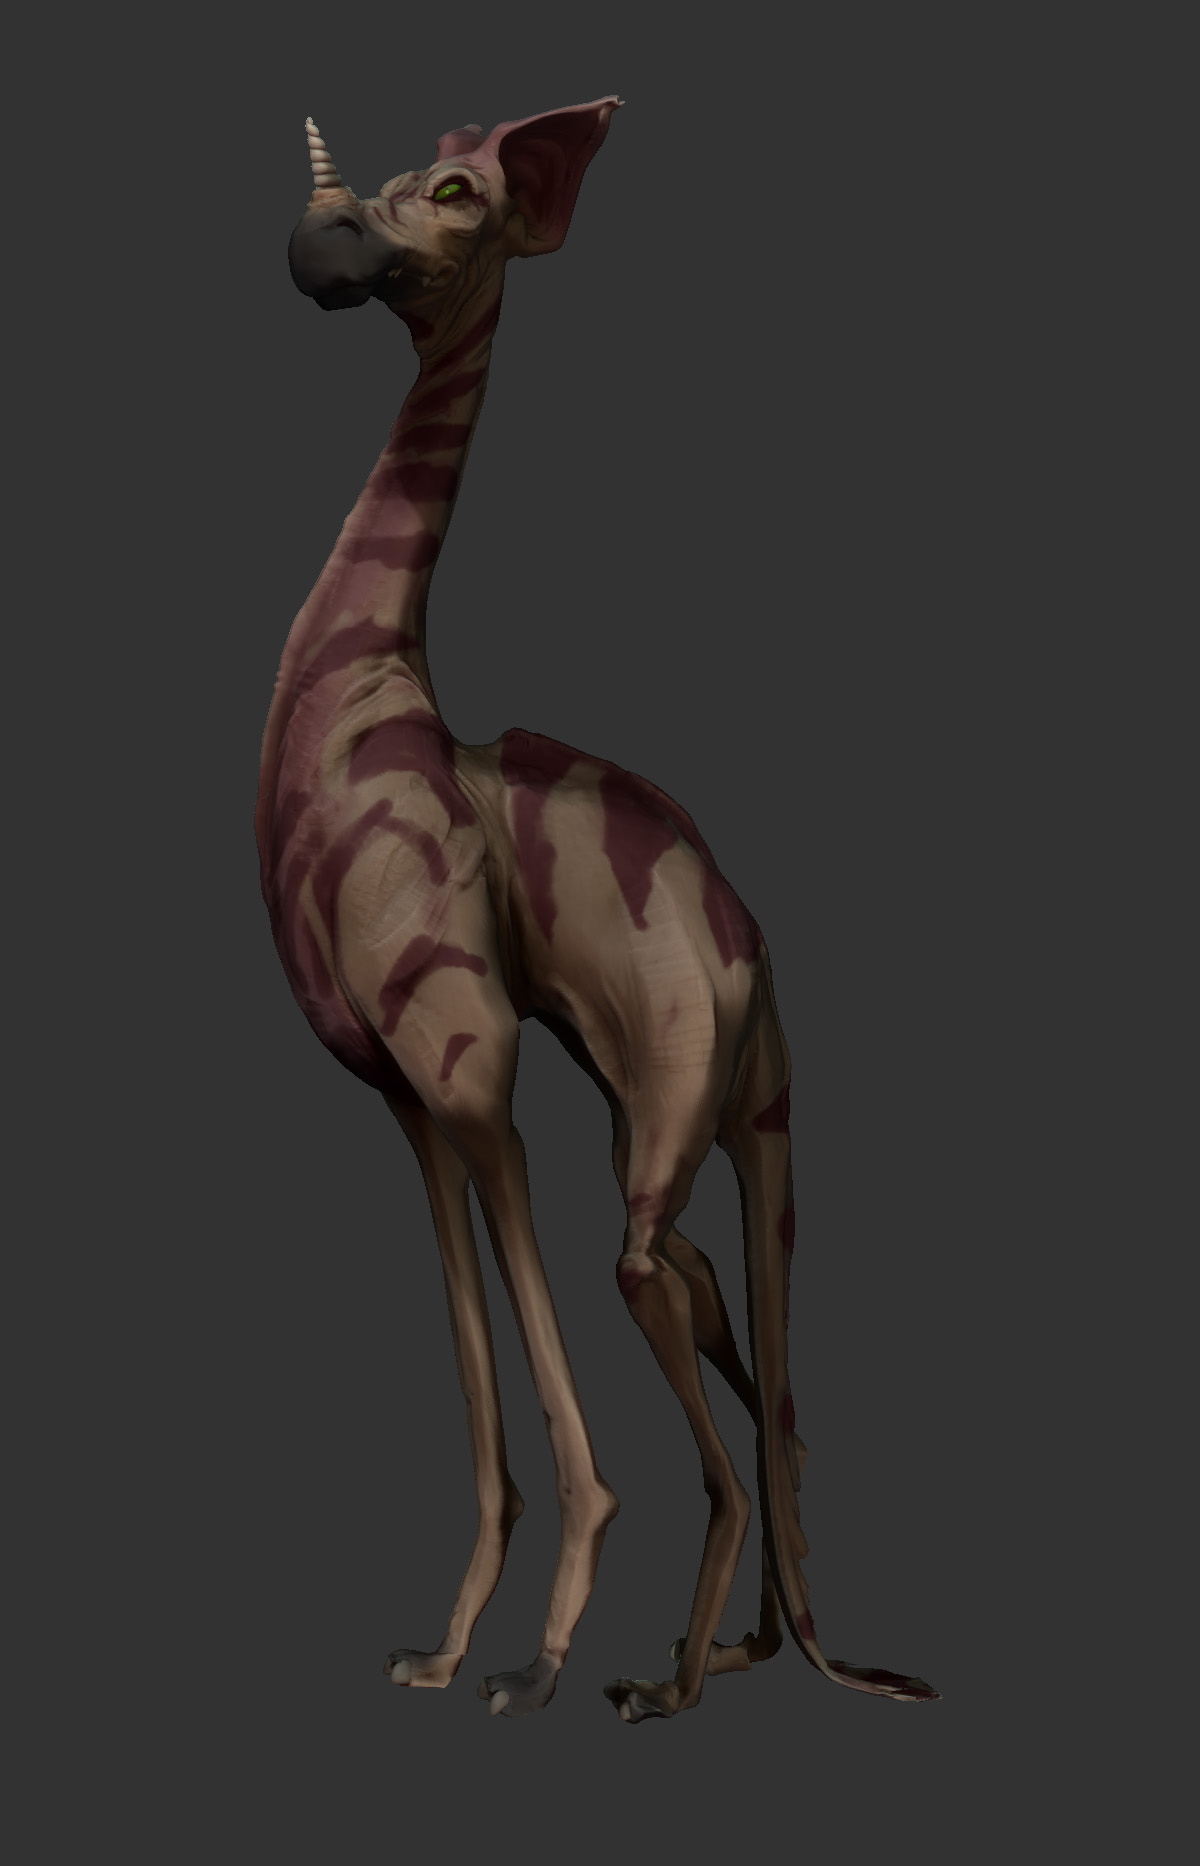
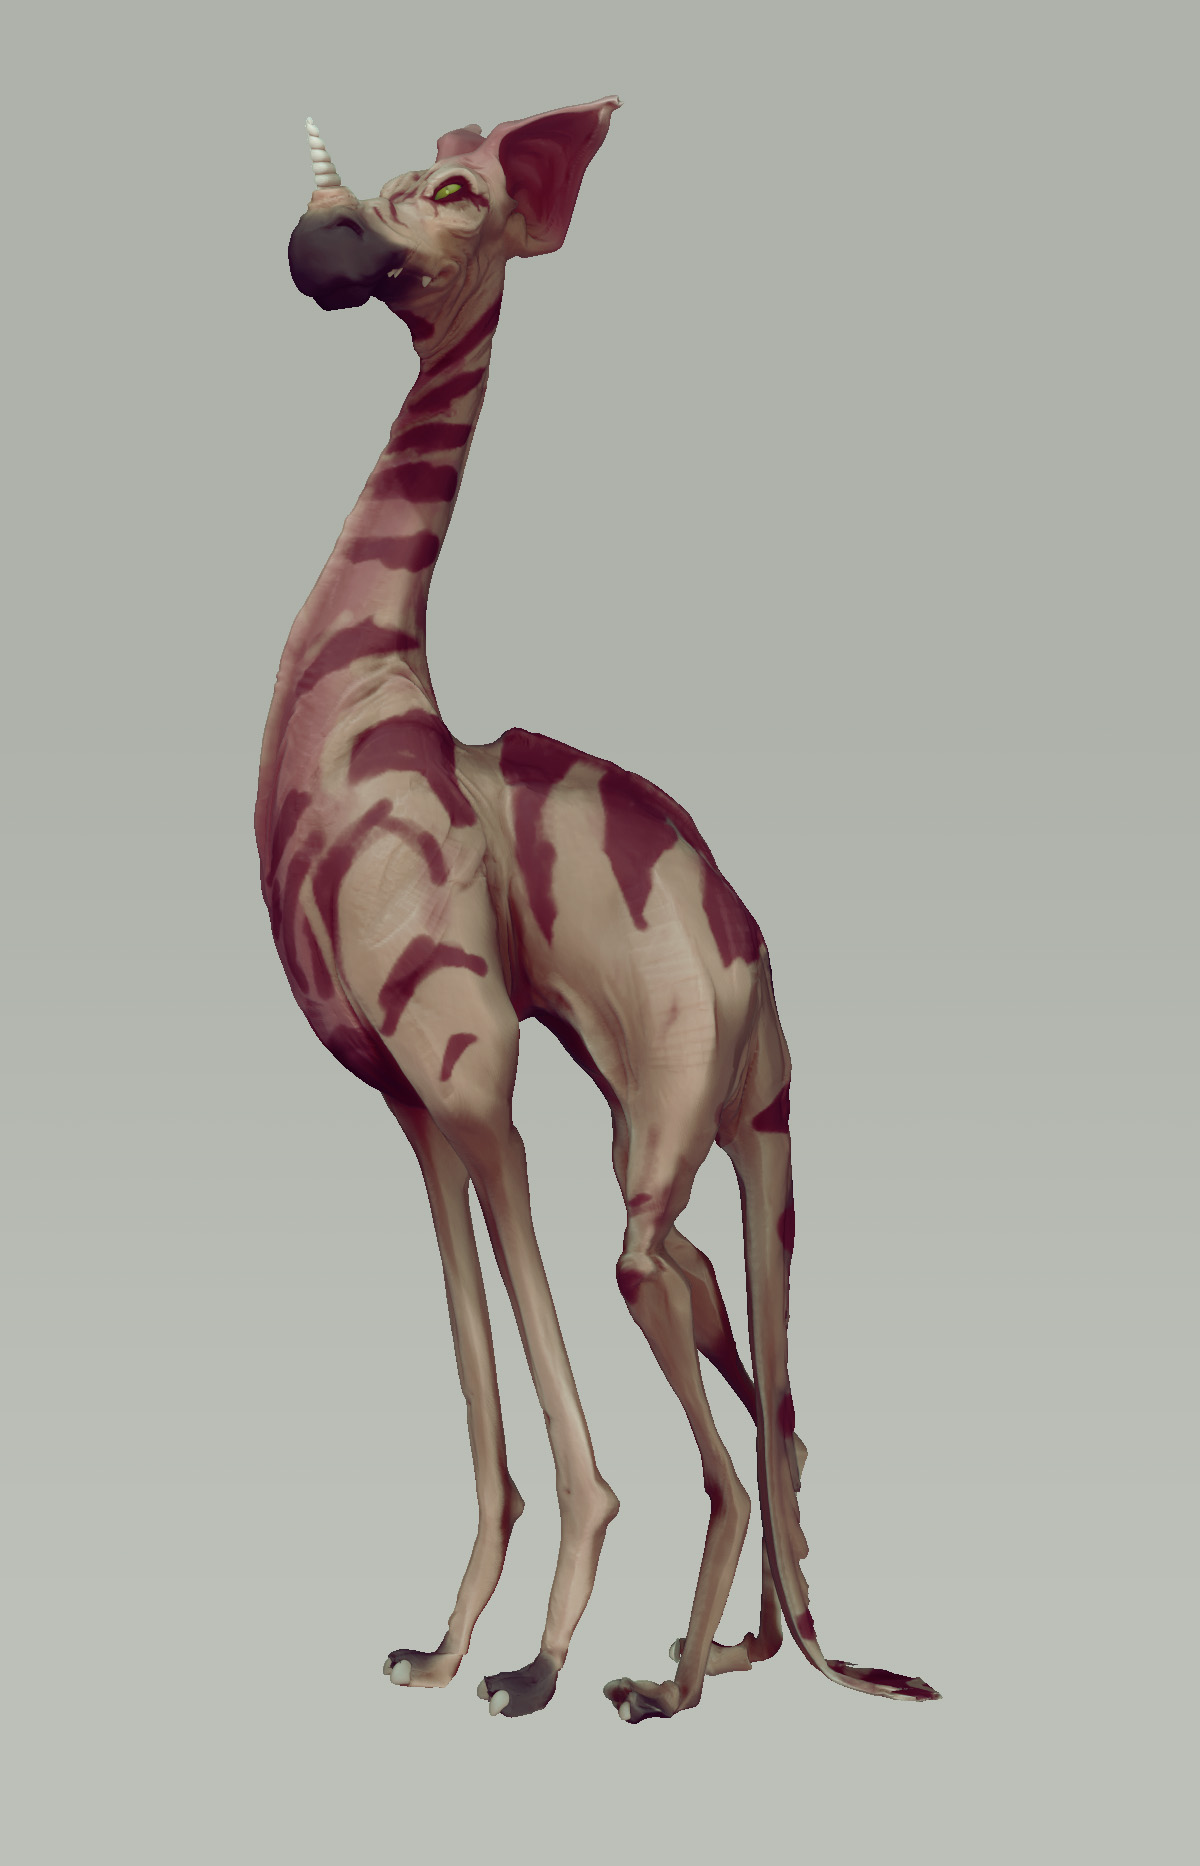
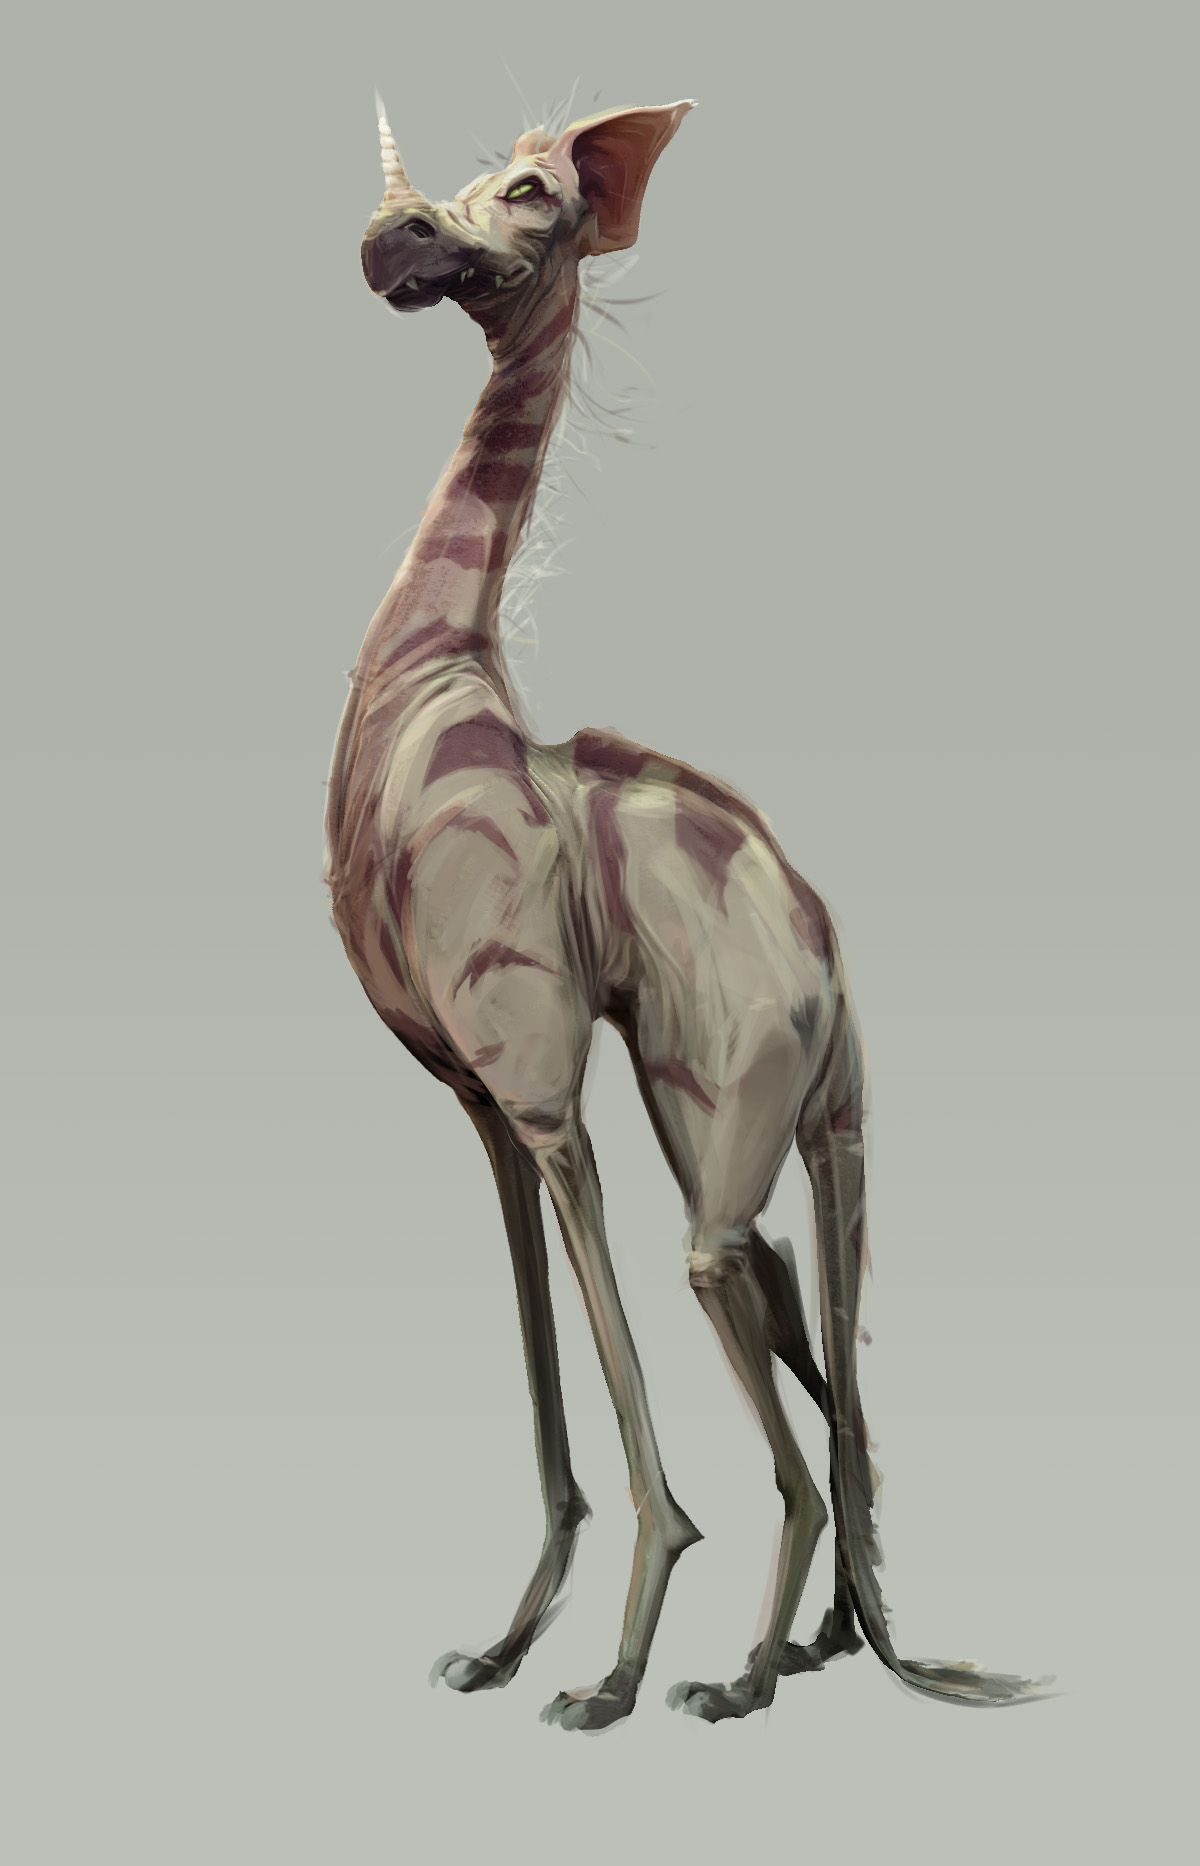
Sphinxacon deserves a separate post for his breakdown,
- I start off with a similarly loose sculpt. While it may look a bit “tight” from the profile view it is totally blobby and loose on the other angles, but none shall see that mess
In this case I spent the most sculpting time refining the planes & shapes on his face since that’s where I want the focus to go.
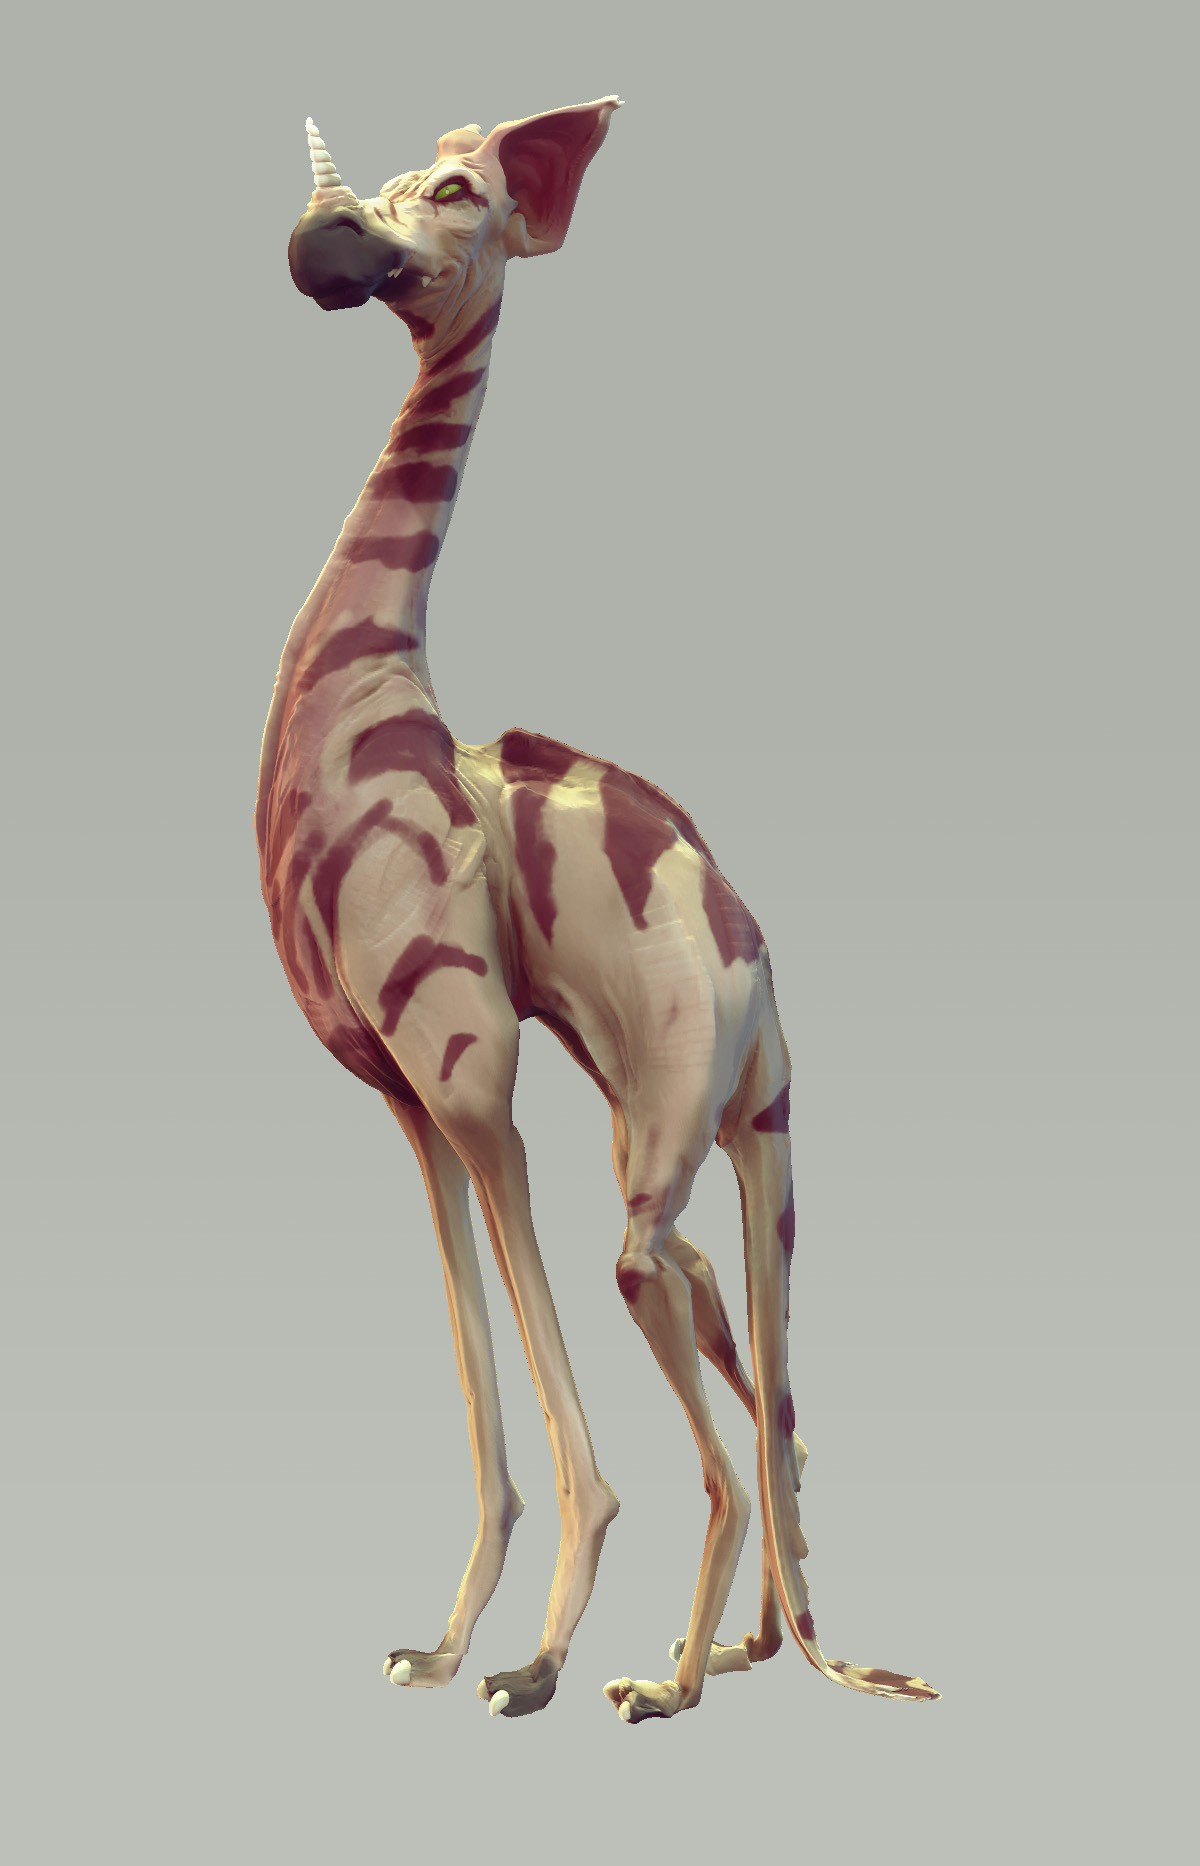
So onto materials, lighting and BPR it is! [Side note, polypaint is a blessing!]
-
The color grading I do in Photoshop kinda flattens out the image a bit. But that’s okay, that info can be added in later with the Shadow/AO passes.
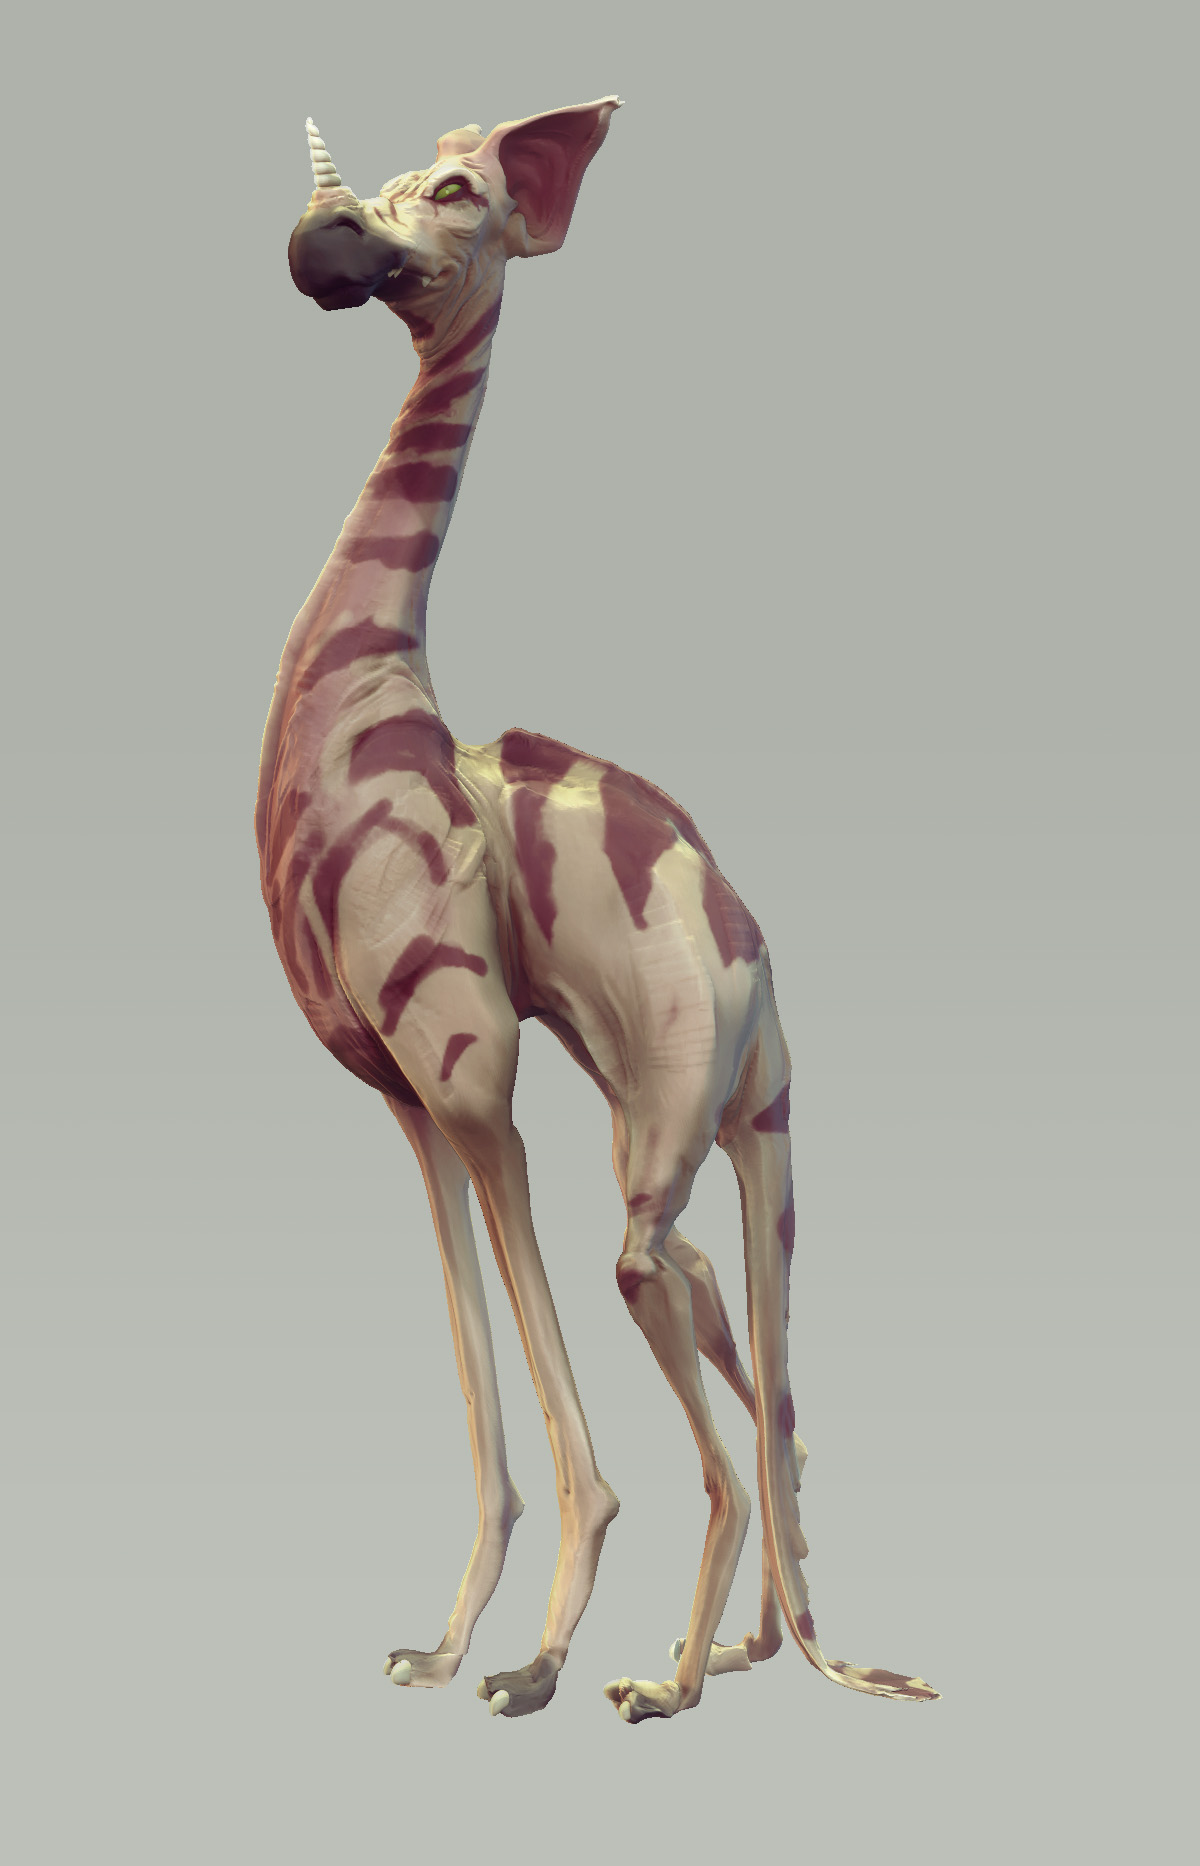
-
Mixing lighting passes always takes a bit of experimentation. Sometimes things won’t match a 100% and would need to be masked out in certain areas to maintain consistency with the shadow information.
-
And some FX to break up the edges, add some specular, texture etc.
-
Ahah! See what I meant with adding the shadow information later? It does bring back a certain amount of the depth. But now you have both depth and color!
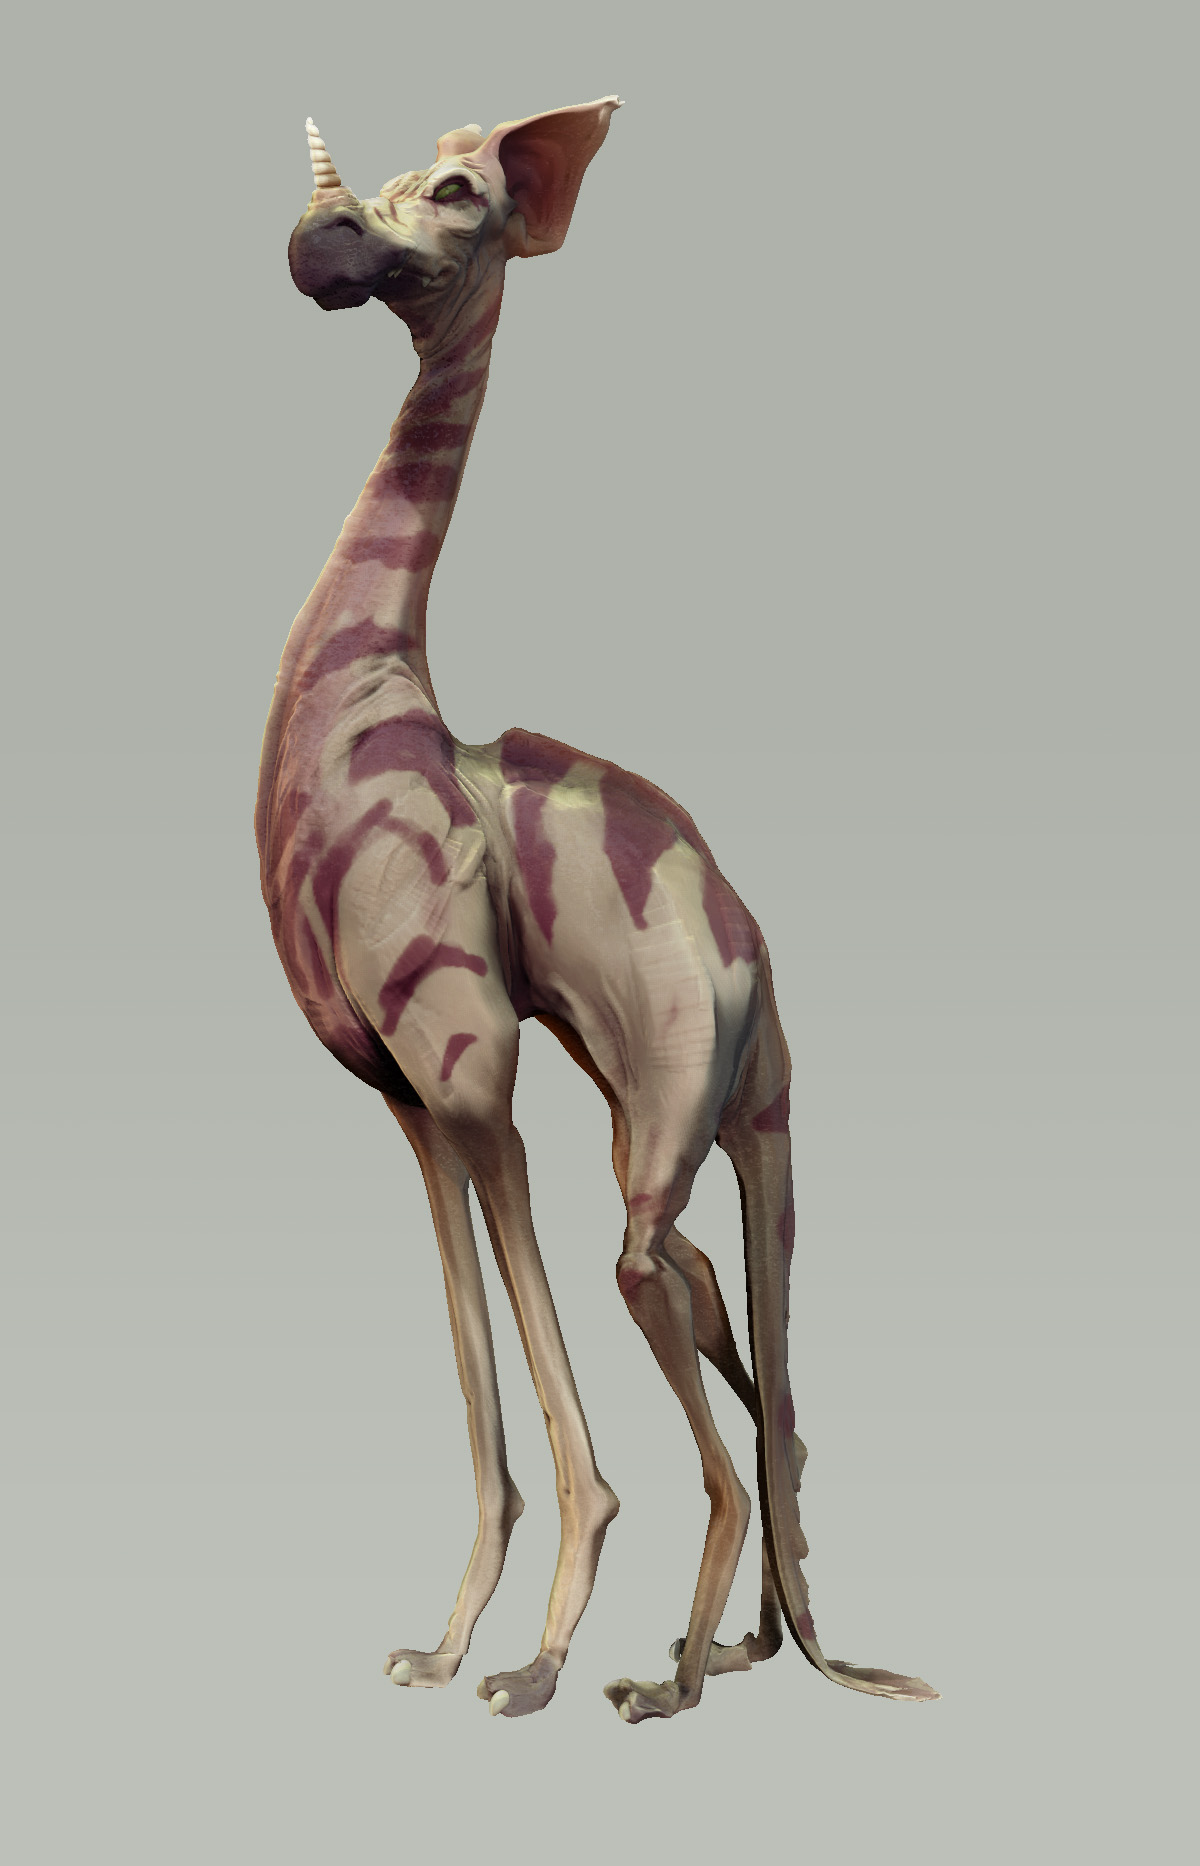
-
From there on out I paint over till my heart’s content
I usually flatten all the layers below just to keep things optimized and then make a new layer with just the paint.
I keep the background on it’s own layer. This makes tweaking BG color and values much simpler. Also the Subtool clown pass and the BPR mask come in super handy!
Maybe I’ll share a breakdown of Mr.Rob-Bot next. Would you like that?
-Sudhan
Attachments