ZBrushCentral

Subdivide screws up my UV's!!

Hi Guys

So I’m making a head for work…specifically Einstein. I didn’t give my low-poly enough polygons around the ears when I made the basic shape in max, and now i don’t really have enough polys to work with to make good ears…even on level 7, it’s not totally smooth.
so…
I did a region subdivide. meaning i hid all the polys except the ears and divided. what happened? i got nicely smoothed ears. and the UV’s for my whole model got screwed up. trying to use Zmapper to bake a normal map, i got the ol’ multiple UV regions detected. my lovely uv coordinates i made in max are gone, or screwed up, or something.
is this normal?
is there some way to subdivide an area in Zbrush and not affect the UV’s? or at least keep the UV’s in one piece?
It’s weird cause in any real 3D program, subdividing polies does not screw up UV’s.

when you did local sub you created triangles, and new polys, meaning new UV’s so your mapping is probably screwed up.
if you still have your model pre local subd, try using the reproject subdivision, you can even go down to the lowest level,move your topology so you have enough in the ear section and when you use reproject you’ll have more polys localized in that area.

no_texture.jpg thanks for your quick reply.
I tried using the reproject higher subdivision thing, but whatever level i tried it at, it ate up half my ear. yum. Although I didn’t know about that functionality before, so thanks for alerting me to it. (I’m pretty new to Zbrush)
fact is, Zbrush doesn’t have an advanced UV editing setup, so it can’t cope with polygons or verts changing their ID’s. try that in max or maya or whatever, obviously the smoothed region has slightly shifted coordinates cause there are brand new triangles present, but the UV system remains intact.
Nor should Zbrush…my fault. Pixologic really should stick to what it does well, and not spend time compensating for wing-nuts like me who can’t take the time to properly read up and prepare for export to Zbrush!!

here’s a pic of einstein before the reproject attempts and after. like his wife went a bit wild or something.

Attachments

munched_ear.jpg

I wonder. I’m new to this and this is only a thought and I don’t know the quality you’d get, or if it’s flawed.

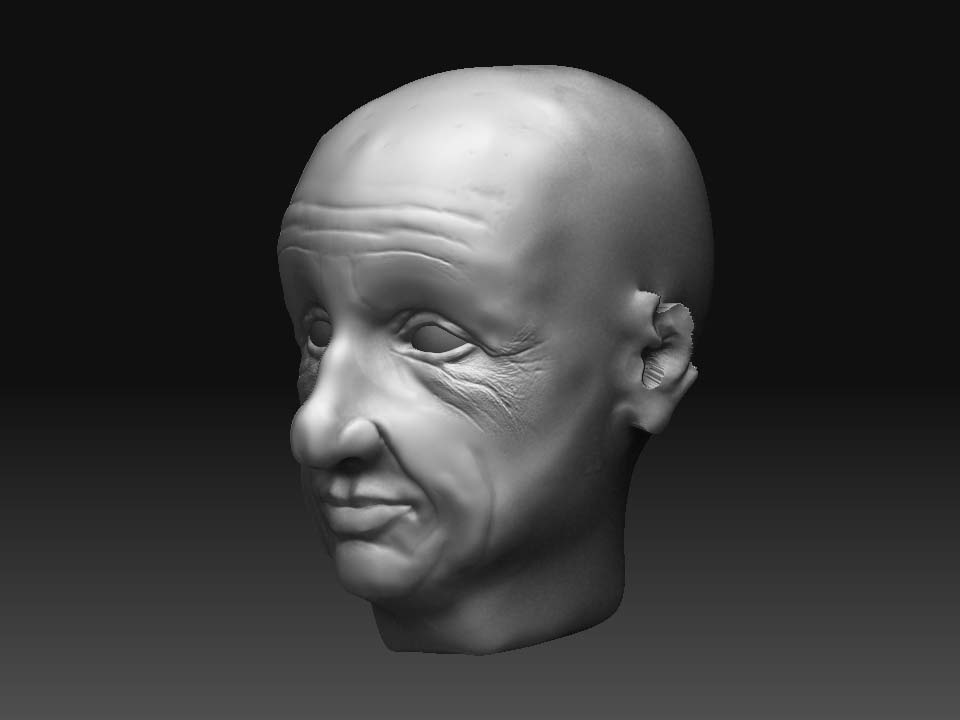
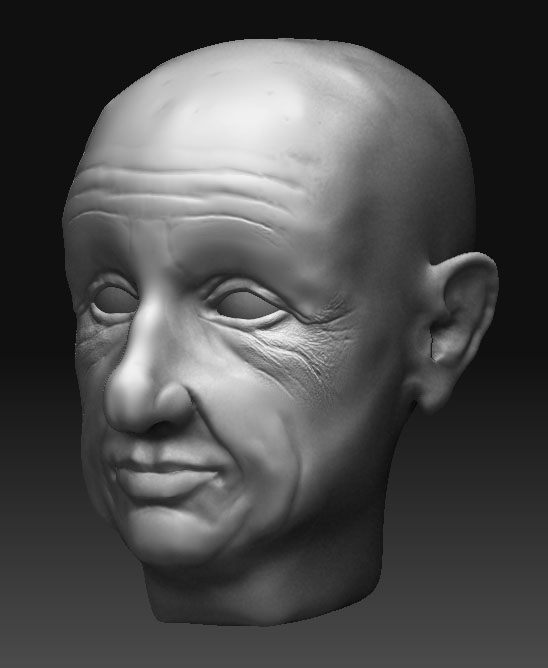
What if you create a displacement map with the current model with the good UVs, before the local subdivision that created triangles and messed them up. So create the displacement at the lowest mesh, adaptive set on, smoothUVs up to you and your app.

Now export that low poly mode out as an object. Open it in your 3D modeling program and add more detail to the area of the ear, preferably all quad polygons still. And keep the shape the same, just add the detail. If you change the shape there, you might mess up the displacement map. Note, there are more steps to this if you had wanted the new model to be the original mesh from your 3D app, not the new base mesh that was smoothed and moved around based on the highest subdivision in Zbrush.

Then import that new detailed model into Zbrush as a new tool, with the good UVs since you did it in your modeling program. And hopefully didn’t move the UVs either like the model.

Import into alpha your displacement map from earlier, or if you still had it open. Hopefully something high res enough to carry the detail you had. With the displacement selected in alpha, go up to the alpha menu at the top of the screen, notice the alpha depth factor. That, I think, is the intensity you want to use for that displacement.

Subdivid the model back to the level you had or want. While at that highest (note if you had smooth uvs next to divide when you did that, and that the smoothing is lost the moment you go back down subdivisions, or reopen the tool), go to displacement, set intensity to that alpha depth number, then turn on “mode”, then apply displacement map.

Hopefully it should make it look like what you want, and you have more polygons around the ears and good uvs. But like most things, I’m sure some area will have an issue that needs fixing.