ZBrushCentral

Still confused...

Okay, I’m still obviously missing something…

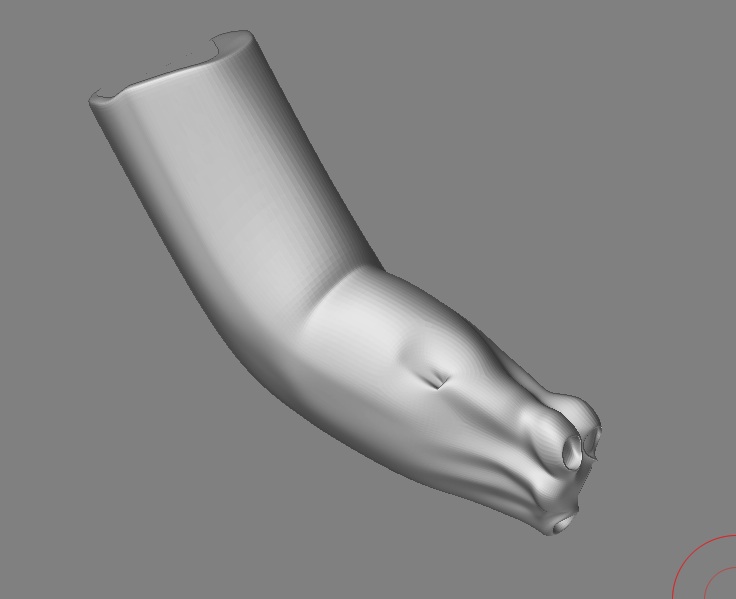
In every ZBrush tutorial I can find, it teaches that when done sculpting, one way of transferring your work back to a 3D package (like Maya or Lightwave) is by lowering back down to level 1, creating a displacement map, and exporting the obj. Most tutorials actually say this is a preferred way to work, because the slightly modified level 1 obj is better suited to replicate the high resolution details of your sculpt.

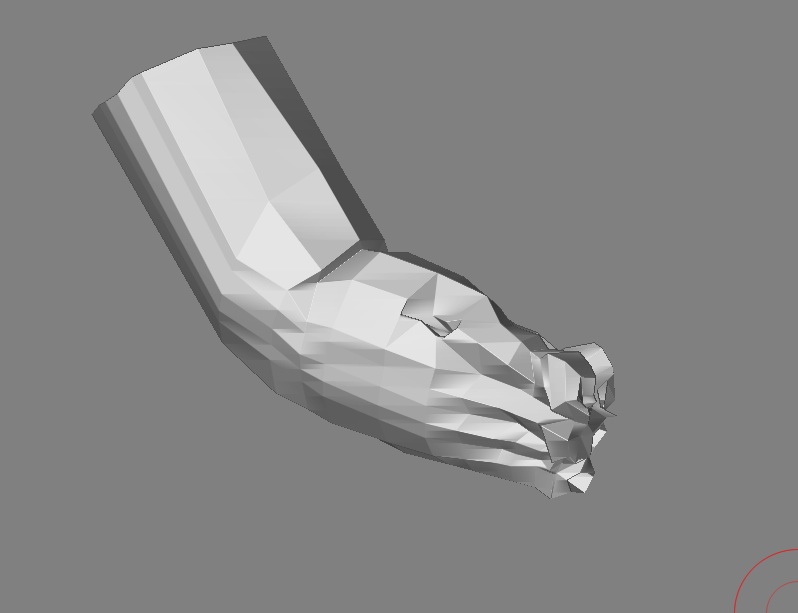
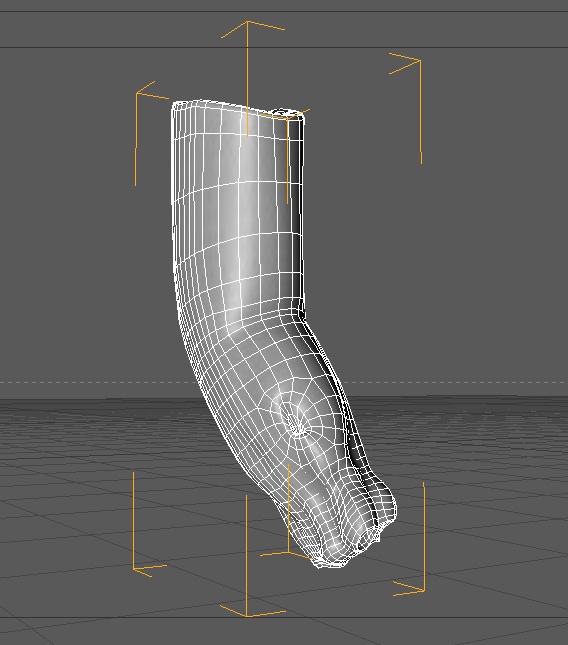
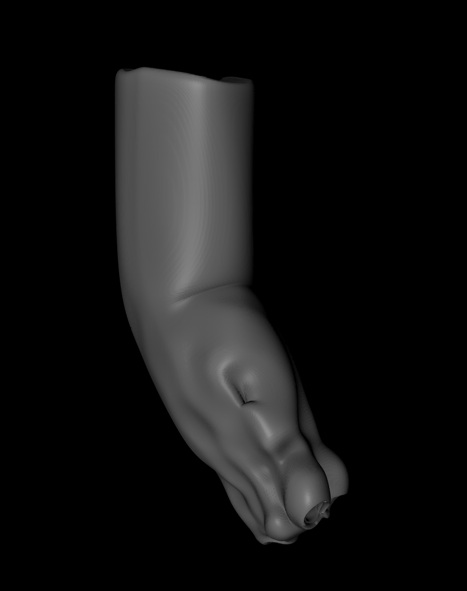
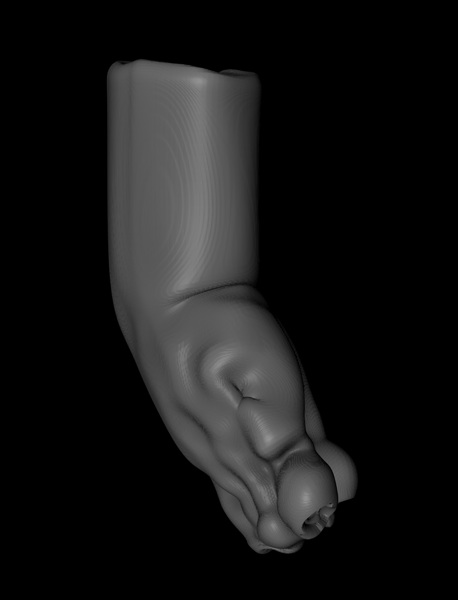
BUT, when I try to do this, my displacement map is all screwed up, which leads to a bloaty model back in my 3D package.

So, how come all of the tutorials claim this is possible (including the “ZBrush to Maya Displacement Guide” found on the ZBrush Wiki)? What am I missing?

Please help!

Before creating a displacement map, you should ALWAYS restore your original base mesh.


  1. Go to level 1
  2. Switch to your stored morph target
  3. Create the map and export it
If you didn’t store a morph target before dividing the mesh, do the following:

  1. Go to level 1
  2. Store a morph target
  3. Import your original mesh again
  4. Create the displacement map and export it.

So are all of these tutorials giving out false information?

Also, is there ever a way to export out and use the altered level 1 mesh as an obj? Should you make the displacement map from the original but export the altered?

The reason I ask is because I sometimes start with a very low poly mesh from a 3D package, and when it is brought into ZBrush and subdivided, it is averaged greatly. Which is actually for the best because it is getting closer to what I want the final sculpt to be. This also happens when using ZSpheres since they start out so low rez.

But if it is a requirement to restore a morph target or reload lv1, is there anyway to actually use the altered lv1 mesh without getting bloaty displacement maps?

The problem is that displacement maps are calculated based upon the assumption that the mesh will be subdivision smoothed when the map is applied to it. If you export level 1 and apply a map to it, the map won’t be accurate for the level 1 mesh. The map was calculated with the expectation of a cage.

If you’ve modified the high res version in such a way that level 1 is no longer an appropriate cage, then you’ll need to have ZBrush create a new cage. In place of the morph target or re-import approaches mentioned above, you’d go to level 1 and turn on Tool>Geometry>Cage before creating the map. Then you’d export the cage and the map, both.

This cage mesh will subdivide to be appropriate for the map that’s been created.

If you skip restoring the base mesh or creating a cage, then the map will be created. But when you go to apply it in your rendering engine, the renderer will apply subdivision smoothing and alter the mesh. Then the map won’t be correct anymore, and will give poor results.

So is it suggested that the base mesh you’re working with is of a “decent” poly density, so that it won’t radically change as you sculpt at higher levels?

And what about when you’re starting with ZSpheres? They typically start very low, meaning that as details are added in higher levels, the level 1 would change significantly. Is cage to only solution to this?

I’m amazed that I’ve never seen or heard anything about this process in the (at least) half a dozen professional video tutorials I’ve watched (Gnomon), and the dozen other written tutorials. Does this mean most people are doing it wrong, or do they just never talk about this? Because consistently, everybody on other forums just uses the standard line: “Just export the modified lv1 base mesh, and you’ll be fine.” But you’re basically telling me that that never works.

Just out of curiosity, have you tried lowering the amount the subdivision affects the model?
In C4D the default displacement distance is 5m which is often far too much and results in an overbloated model. If i turn it down to 0.5m the effect is far more subtle. I don’t know how to do this in maya or any other app but it might be somewhere to start.

Hi Unstable Molecules,

Thanks for the reply!

Yeah, I’ve been adjusting that amount of displacement, but this issue seems exterior from that. It seems that unless I swap my lv1 morph target before creating a displacement map, my displacement map values cause bloating. Which is cool and all, except for two issues that I’m trying to figure out:

  1. Is it ever possible to use the altered lv1 mesh (not restore it), like most tutorials describe it? Basically just export the new lv1 mesh (I’d prefer this is some cases, because the altered version would better suit the details at higher levels).

  2. I’m having the same issue you’re having with seams appearing in my mesh at the seams in the displacement maps, which of course makes them unusable.

Hopefully we’ll figure out these issues soon…

You could always export out the high res mesh from zbrush and convert it to an mrProxy file in max or maya. Then you won’t have to go through the displacement route.

You won’t lose any detail then, but the downsize is it’s only good for static renders, if you want to animate with a rig then it might not be helpful. And of course you would have to use mental ray (unless vray or brazil has something similar, I dont know).

I am not happy with displacement maps personally. I don’t think its a lossless method. For most detail on your sculpt its ok if the displacement render produces slightly different results, but around the eyes…its unacceptable to me, which is why I use mrProxys now.

If your using Maya you have to use The ‘Alpha is Luminance’ feature.

Make sure that you adjust with the ‘Alpha Gain’ slider and that the ‘Alpha Offset’ slider is (negative) -.5 (half) of the ‘Alpha Gain’ setting.

So a value of 1.00 in the ‘Alpha Gain’ setting would be -.5 in the ‘Alpha Offset’ slider.

There are also expressions you can write to automate the above settings.

Have you tried with a normal map? What happens with that?

I’ve always used the exported level 1 mesh as described in the Gnomon training DVD’s i’ve got and not had any problems but that was all with zb2. As the mac one has only just reached us i’ve not been able to try out a proper displacement or normal map.

Track Z - Thanks for the suggestion. I’m not using Maya or Mental Ray, however, so unfortunately that’s not an option for me.

Unstable Molecules - I should try normal maps, I haven’t yet. I too have watched many of the Gnomon training DVD’s, but I even am having issues with ZB2. Is there any chance I can get you to post up a quick little workflow explanation for the process that works for you (with ZB2, at least…)?

No problems, this is what i do normally and have been doing for the last two three years with no issues.

Import an object from c4d as an obj file (In this case i’ve found part of an arm i made for a pet project i wanted to work on in zbrush) now because i’m quite a sloppy worker it needed to sort out some of the mesh on import.

Picture 1.jpg

At no point did i cage or reimport the object, nor did i use Morph targets. I may not be doing it correctly to some people work flow but it works for me and its what i gathered works from all the Gnomon videos i’ve watched.
The main thing is to export the obj from zbrush or else the mapping will be different if you try to use the original in your 3d app.

Attachments

Picture 2.jpg

Picture 3.jpg

Picture 4.jpg

Picture 5.jpg

Picture 6.jpg

Picture 7.jpg

arm.jpg