Thanks dude. this is great info!
Is there a way to load these color swatches into Zbrush so you could eye drop them and continue poly painting?
Thanks for the color swatches.
Sean
ajkjk - Thanks
sean_rodrigues - In Zbrush 3.21 there where two ways to use them
- paste the color swatch or swatches onto a file in (any solid color you like the paste in the color swatch in a graphics program - Photoshop, gimp, etc)
bring that into zbrush as a texture and fill the layer with the texture and use the picker to pick a color on the canvas and paint - with a model pick it up with Projection Master paint then drop back onto canvas turn pick up with Projection Master paint using the color picker to
select the color.
Now having said that these two ways don’t seem to work for me in ZBrush 4r4 p2 - not sure why. In fact I can’t get the color picker to come up or work
in this version. If it does it does not work like it did in the earlier version.
I am (and hoping some others can figure out a workflow) working on trying to figure out a workflow with the color picker.
The only other way is to use GoZ to Photoshop or some other graphics program. But that doesn’t help when wanting to paint
in ZBrush on the canvas (painting in 2.5d on the canvas). However, in ZBrush 4r4 p2 GoZ does not show up in the plugins palette but the files are in the zdata > zplugs folder.
So, without GoZ is to save uv maps and paint them in a graphics program then import them back into ZBrush.
UPDATE
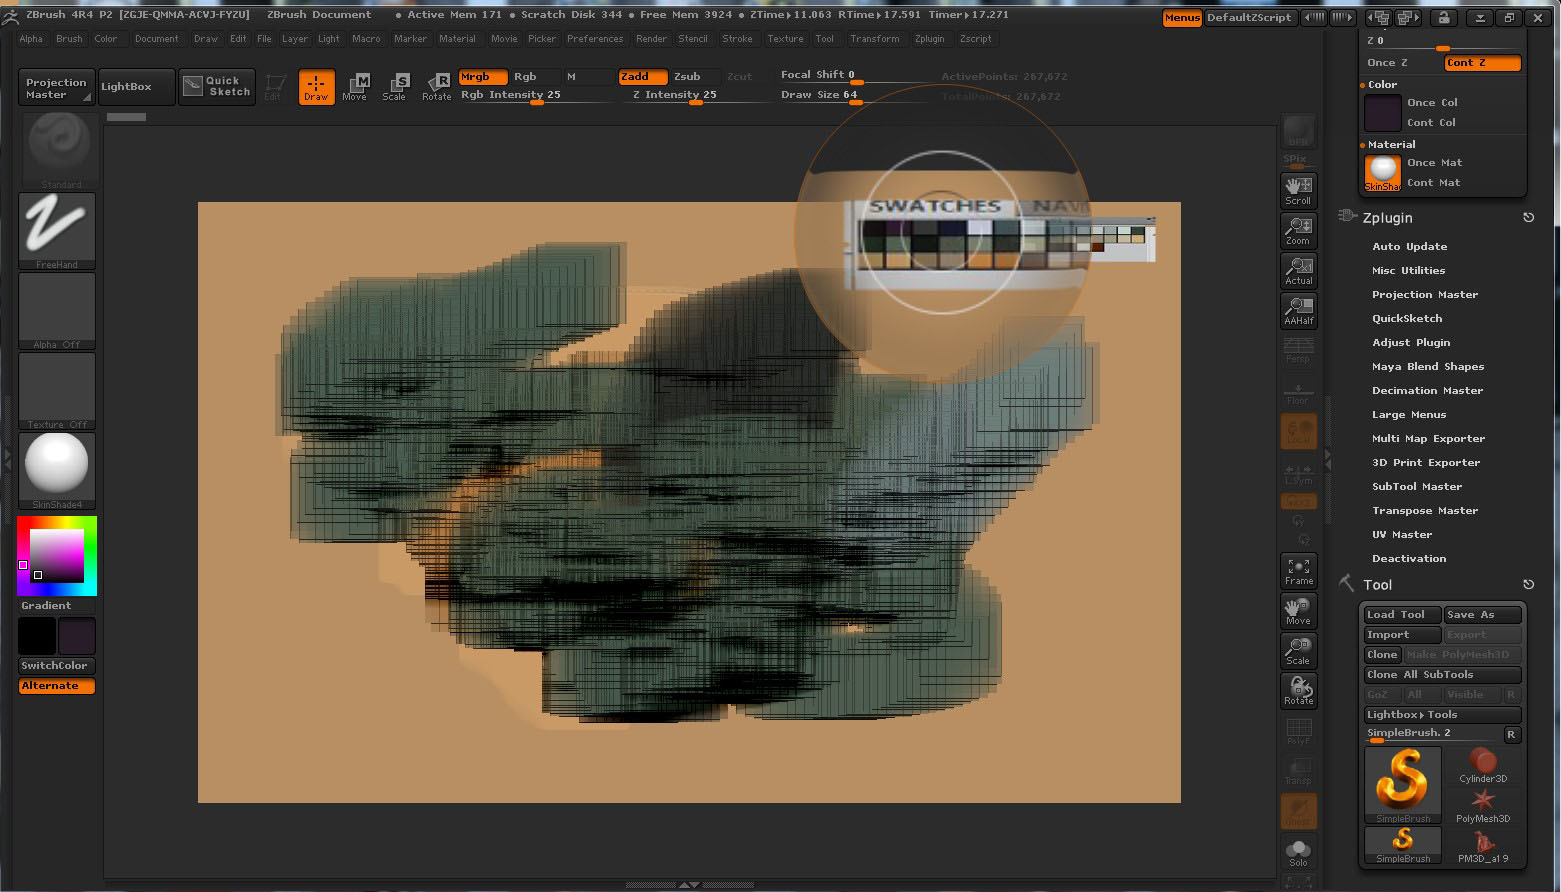
One way to use the color swatches in ZBrush is to create texture with the color swatch pasted in and save and bring that texture into Zbrush and
fill the canvas from texture the follow the following steps
Pixol Sampling:
Another way of selecting colors permits you to easily match colors that already exist on the screen:
- Click and hold the mouse button on either the main or secondary color swatch.
- Drag the mouse anywhere on the screen, until it is over the color you want to choose.
- Release the mouse button to choose that color.
Attachments
I just did a quick edit on that for clarity and humor, but mostly clarity. hehehe.
THIS IS GREAT! THANK YOU SO MUCH MealeaYing FOR THIS!!!
And thank you SpaceMan for the swatches.
Sean
GRIN!
I’m glad its helpful but if it were not for Spaceman putting these up I would never have thought of it.
I almost never use spotlight I find it confusing most of the time and this by far is the most useful thing I have done with it.
I think that ZBrush needs pallets like this built in and importable.
These are cool, Spaceman. How did you use Alpha stencils to carve out the negative space in your sculpts?
Sean
Sean can you give me a ref to the post number on this thread.
In general set zsub and z intensity
or
invert the alpha
Terains note:
The gray area around the plane3d is a masked so as not to distort the plane3d while creating the terrain. Only one alpha used - 2048x2048 res
Attachments

Some update notes on text with ZBrush.
A few tips on using text in zbrush - for this tip I used a lower res texture should use a higher res texture and I didn’t fade the alpha around the edges which should be done
The first page on this post has some interesting sculpts you created from Stencils. So you used zsub and z intensity to create the holes in a subdivided plane? That’s interesting, I’m going to try that out. You have a lot of interesting tutorials on this threat.
Thank you,
Sean
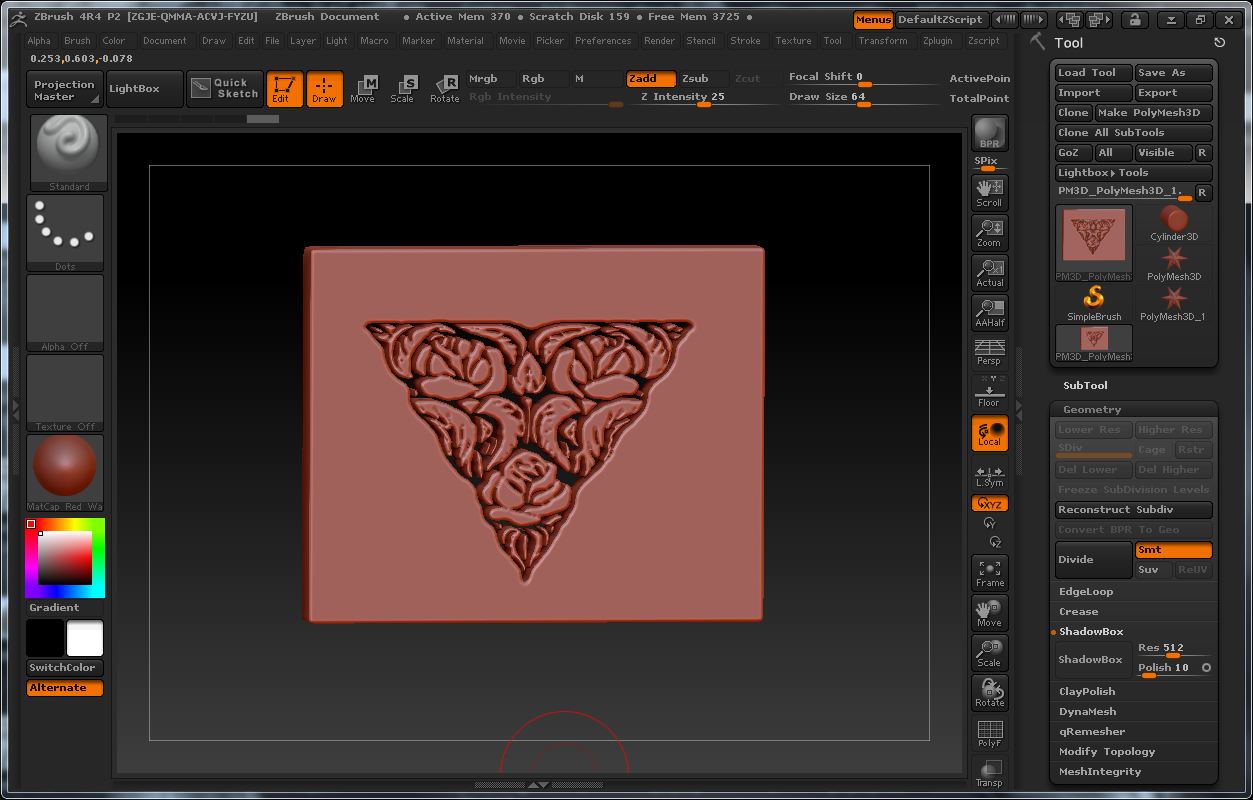
Sean is this the one seen in the image?
It is an alpha that was inverted then applied into shadowbox at 512 res. (I added a zscript to make a 512 res shadowbox)
Note- I have not posted any work done with stencils just a mention that they can be used.
I’m definitely going to have to try this.
Sean
Sean - Have fun 
LMK how it goes
Working on some alphas that give to a scene a sense of a state of ruins - does it seem to be working?

Attachments


interesting
keep on posting
LVXIFER -
I read this thread - posting a link as others might post there workflow
Looking for a tutorial on smooth edging & fine detail on clothing/armor & mech armor
http://www.zbrushcentral.com/showthread.php?171470-Looking-for-a-tutorial-on-smooth-edging-amp-fine-detail-on-clothing-armor-amp-mech-armor
and came across this video that might help doing this type of work in ZBrush
and the Match Maker Brush
and on clothing
beautiful work, thank you very much for sharing your art:D
PFC666 - Thanks, the journal so far is about resources (photoshop brushes, etc) to use with ZBrush. Some ZBC zbrushers have posted some some very nice tips here (and I think them for that). I’m working on some alphas that gives a crumble effect to the design - for example a stone wall where the alpha can be added and look like it is part of the stone work (ruins).
Yes, it is working. Are you going to put a ground plane into the design? The ruin looks like it was originally carved from rock. If that was the intention, then you have a good piece there. Can you show some of the original detail the ruin had before it fell into ruin? That way the viewer can see the original look of the architecture and how far it fell into ruin.
Sean