922million points?? At that density I don’t think you have to worry about any polygon being too large 
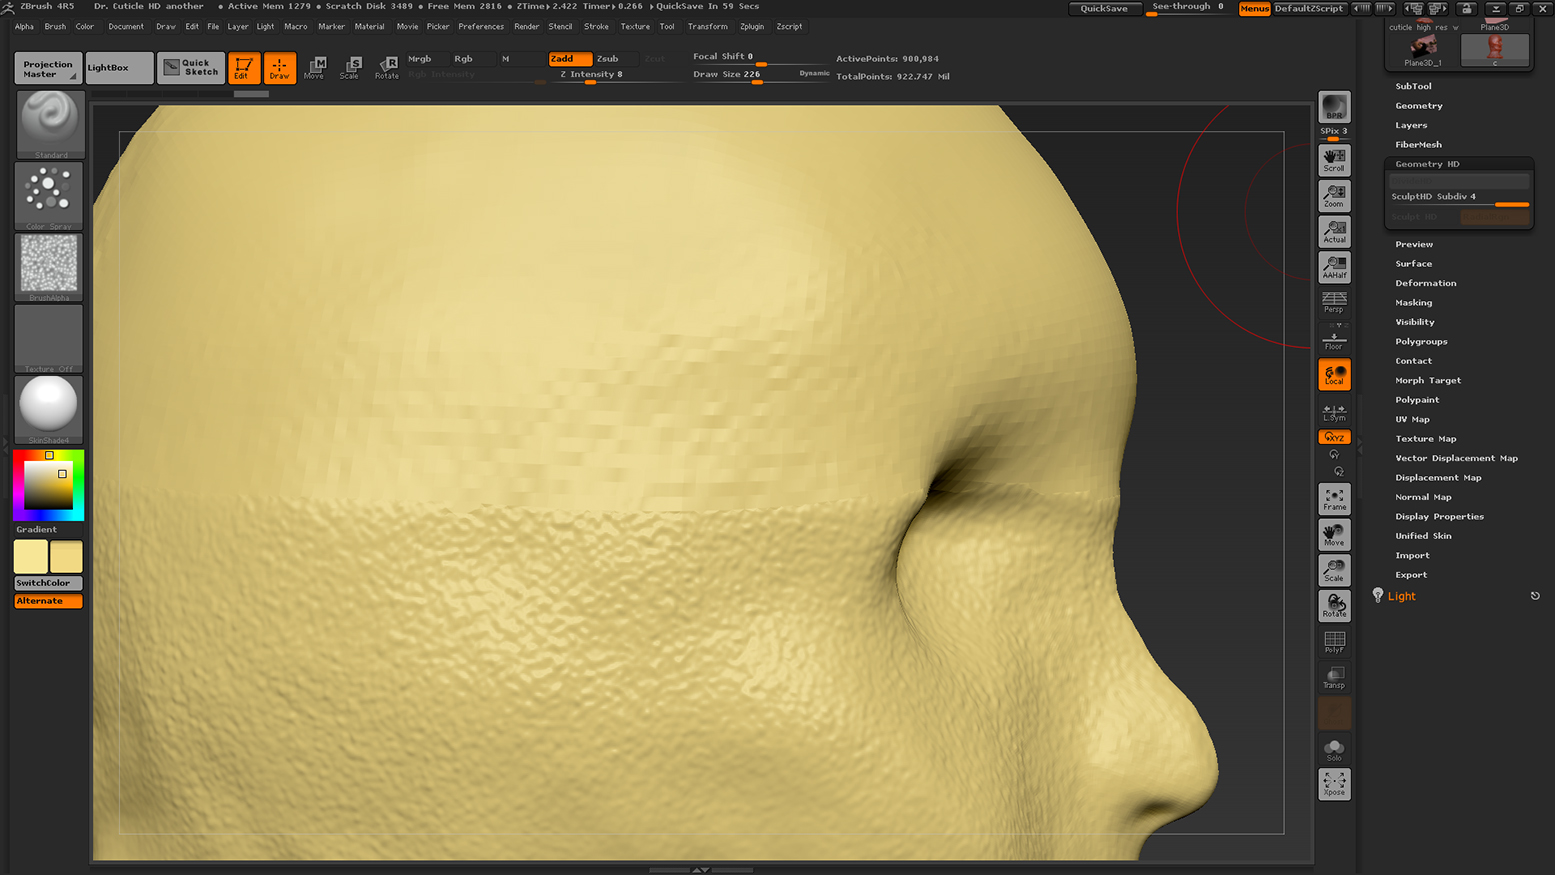
I noticed it lets me smooth on the bottom, but barely noticable, compared to smoothing on the top. And making it weirder, I can add detail just fine on the bottom, but barely at all on the top.
Your problems are probably coming from the fact that you’re using HD Geometry. This only activates a small section of the mesh at a time as you’d be hard pressed to find a computer that could handle that level of raw data otherwise. In this case, you probably have the lower region activated. Because that area has it’s true HD density turned on, you can easily work in the finer details (but something like smoothing will appear far weaker as the average between points will not be as extreme). There could be other factors though: you might have subdivided the model at some point when an area was masked, which would also throw off your density and create a similar problem.
You could try moving your mouse over the other area and hitting A to switch regions, but if you’re not too far into your project it might be wise to consider if you really need HD Geometry and 1,000,000,000 points. I think its a far more specialized feature that isn’t intended for the majority of projects, and has quite a few limits that can make your day harder (and will if its used unnecessarily). If it’s just a head and you wanted to salvage it, I’d:
- turn off hd geometry / drop it down to the lowest level
- click Tool: Make Polymesh3d
- Select the resulting tool, and run either dynamesh on it or QRemesh to even out the density.
Keep the initial resolution low enough that you’re only preserving the overall form (not microdetails like the pores), and subdivide using Tool: Geometry instead.