ZBrushCentral

Sketchbook

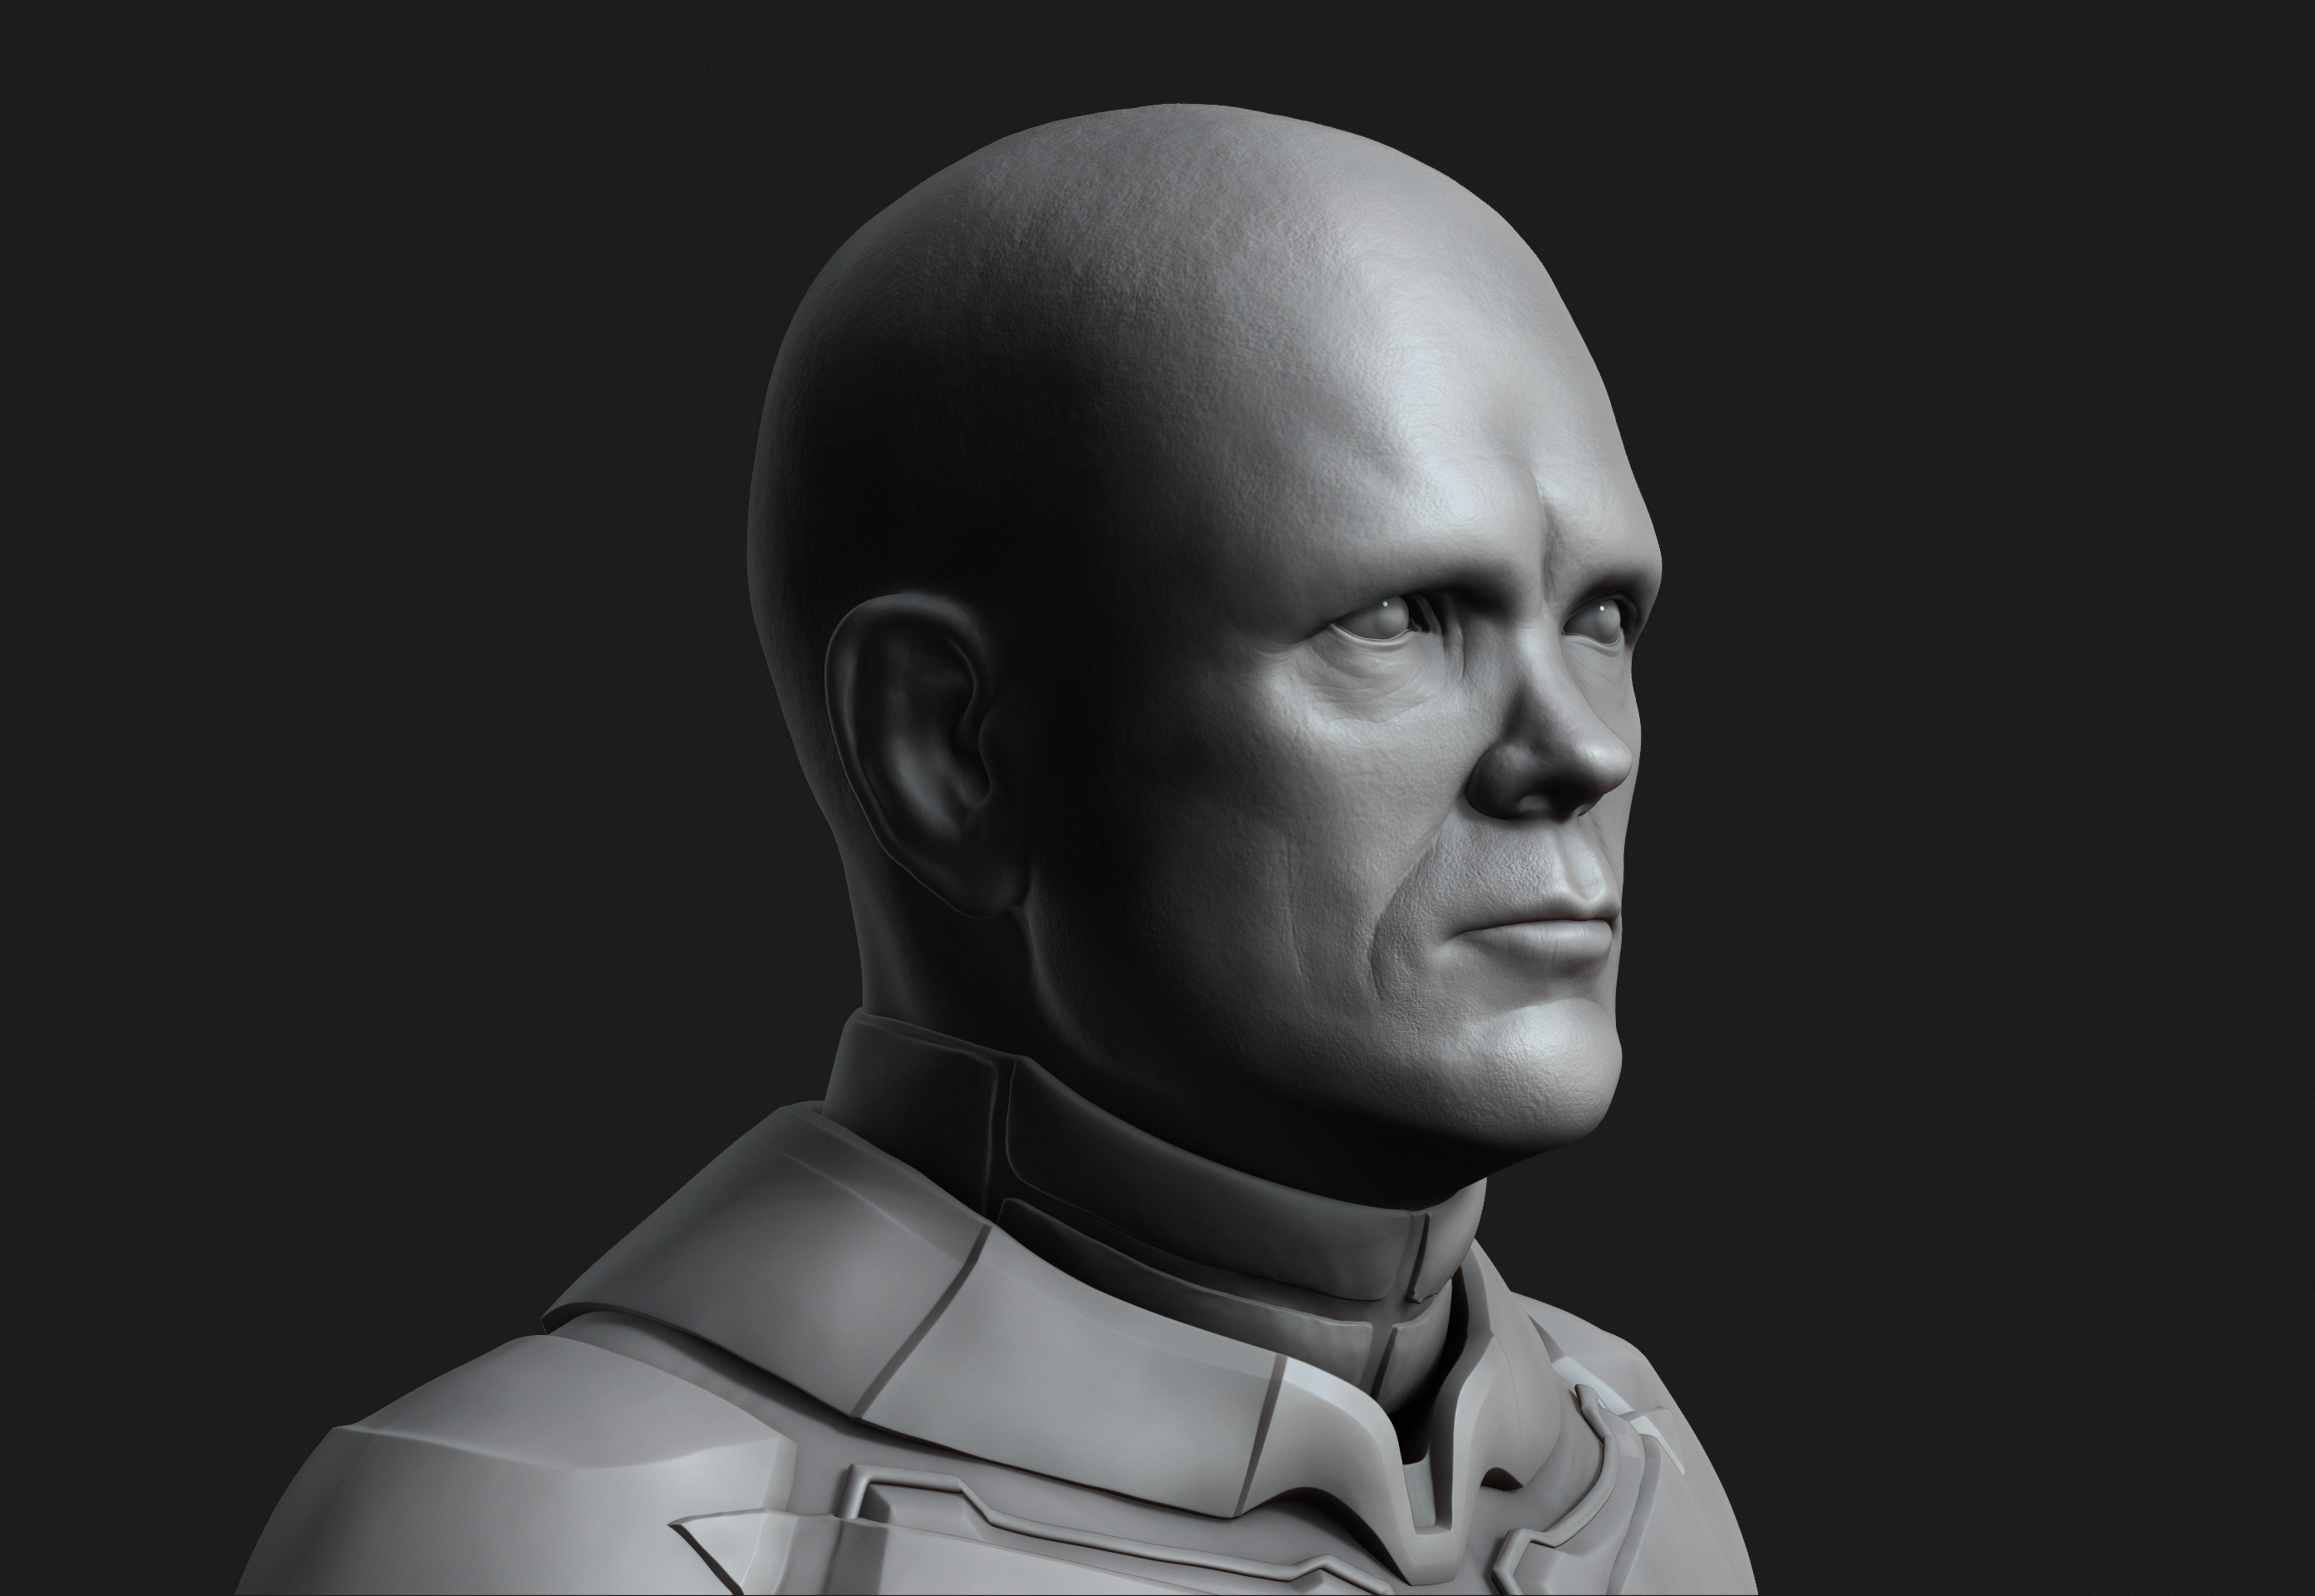
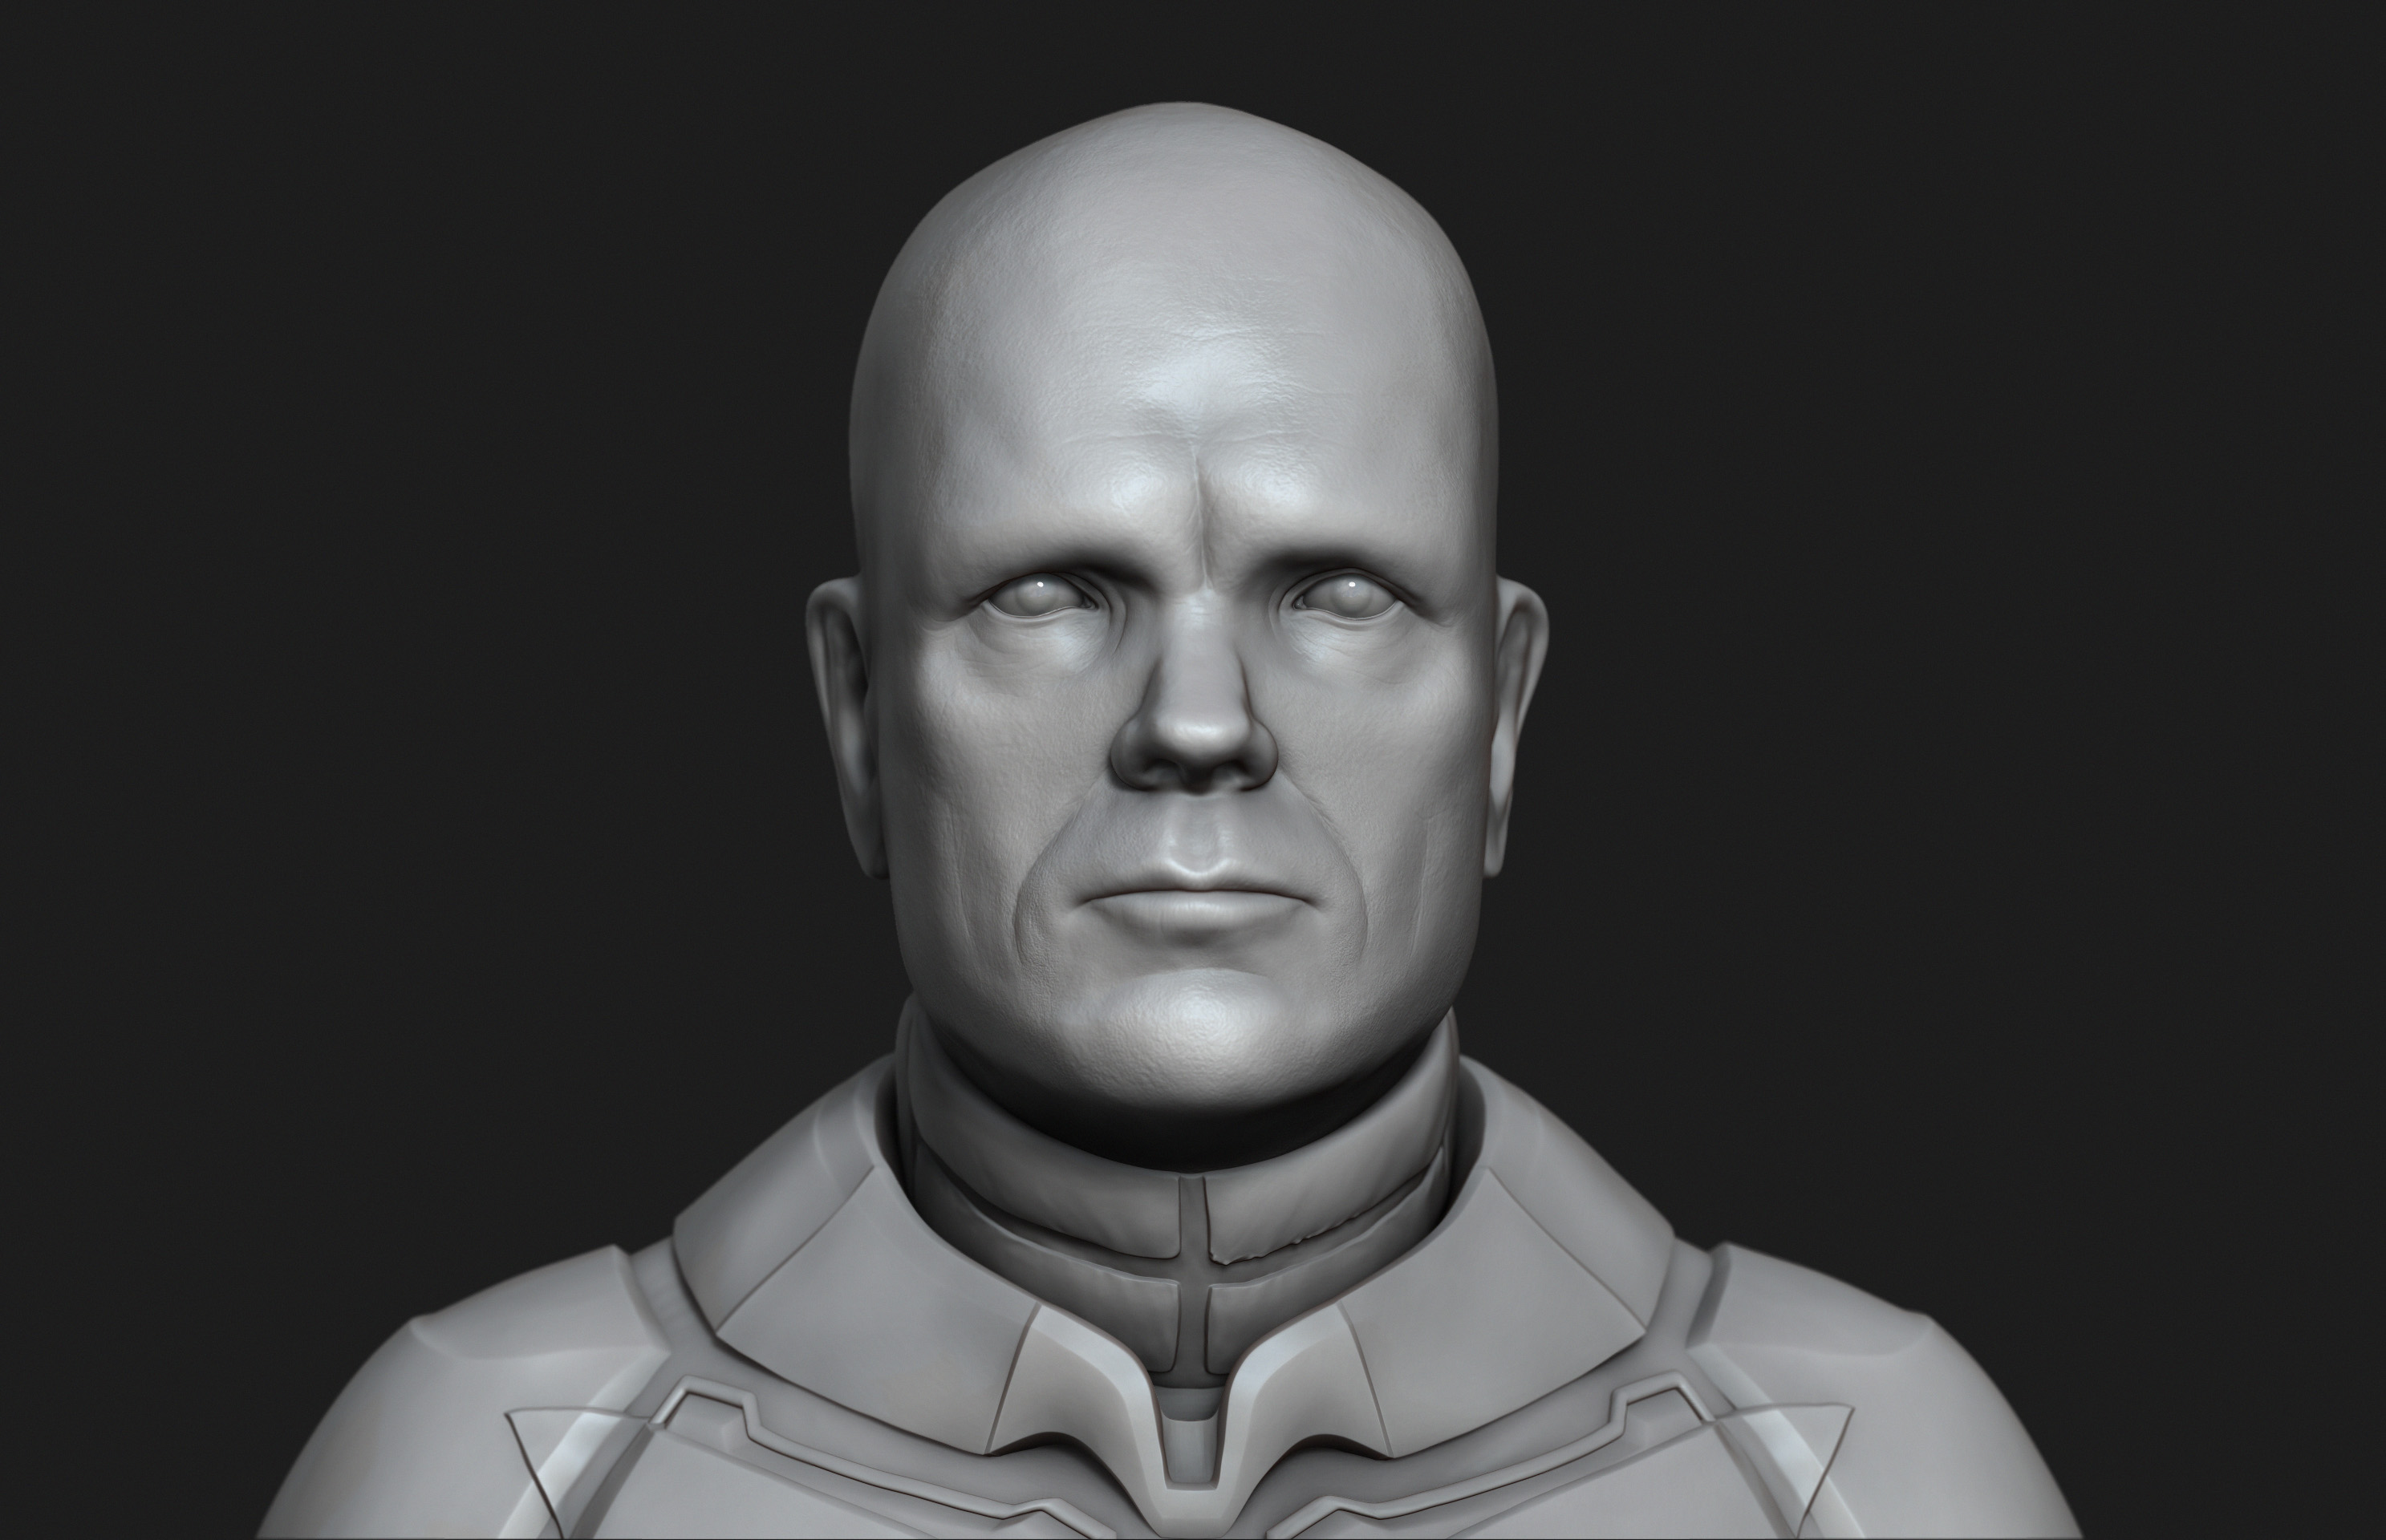
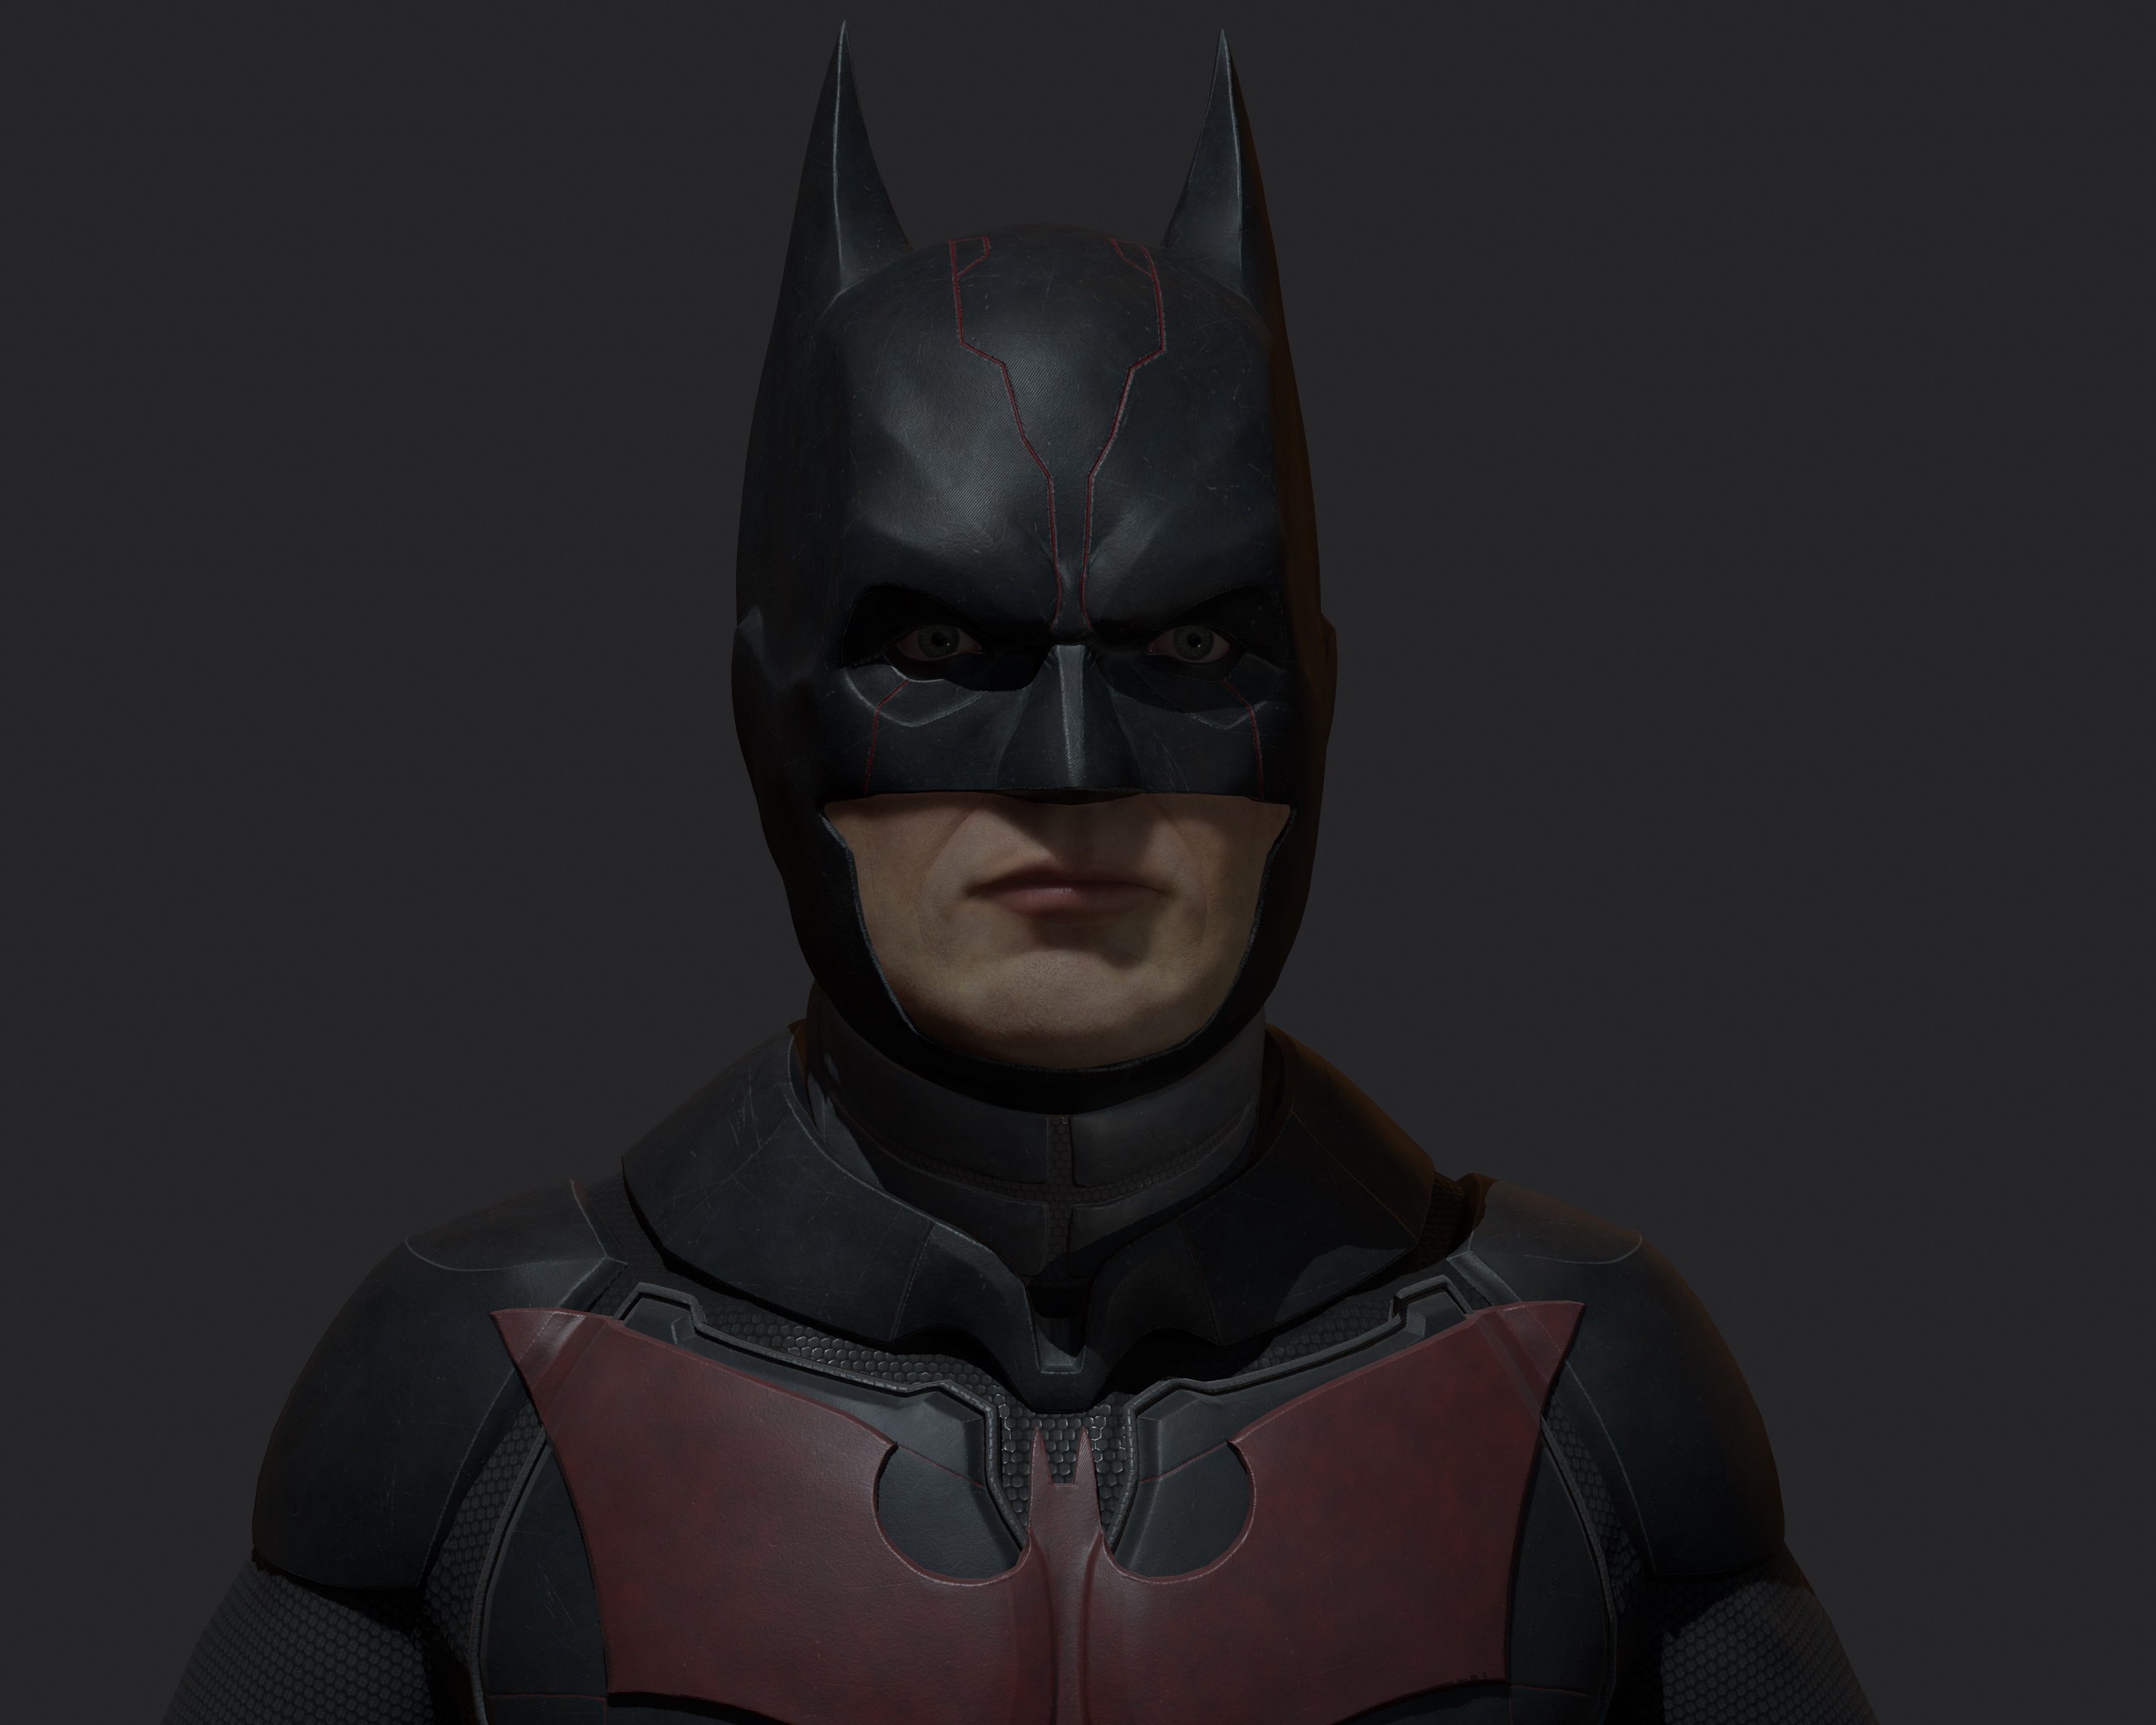
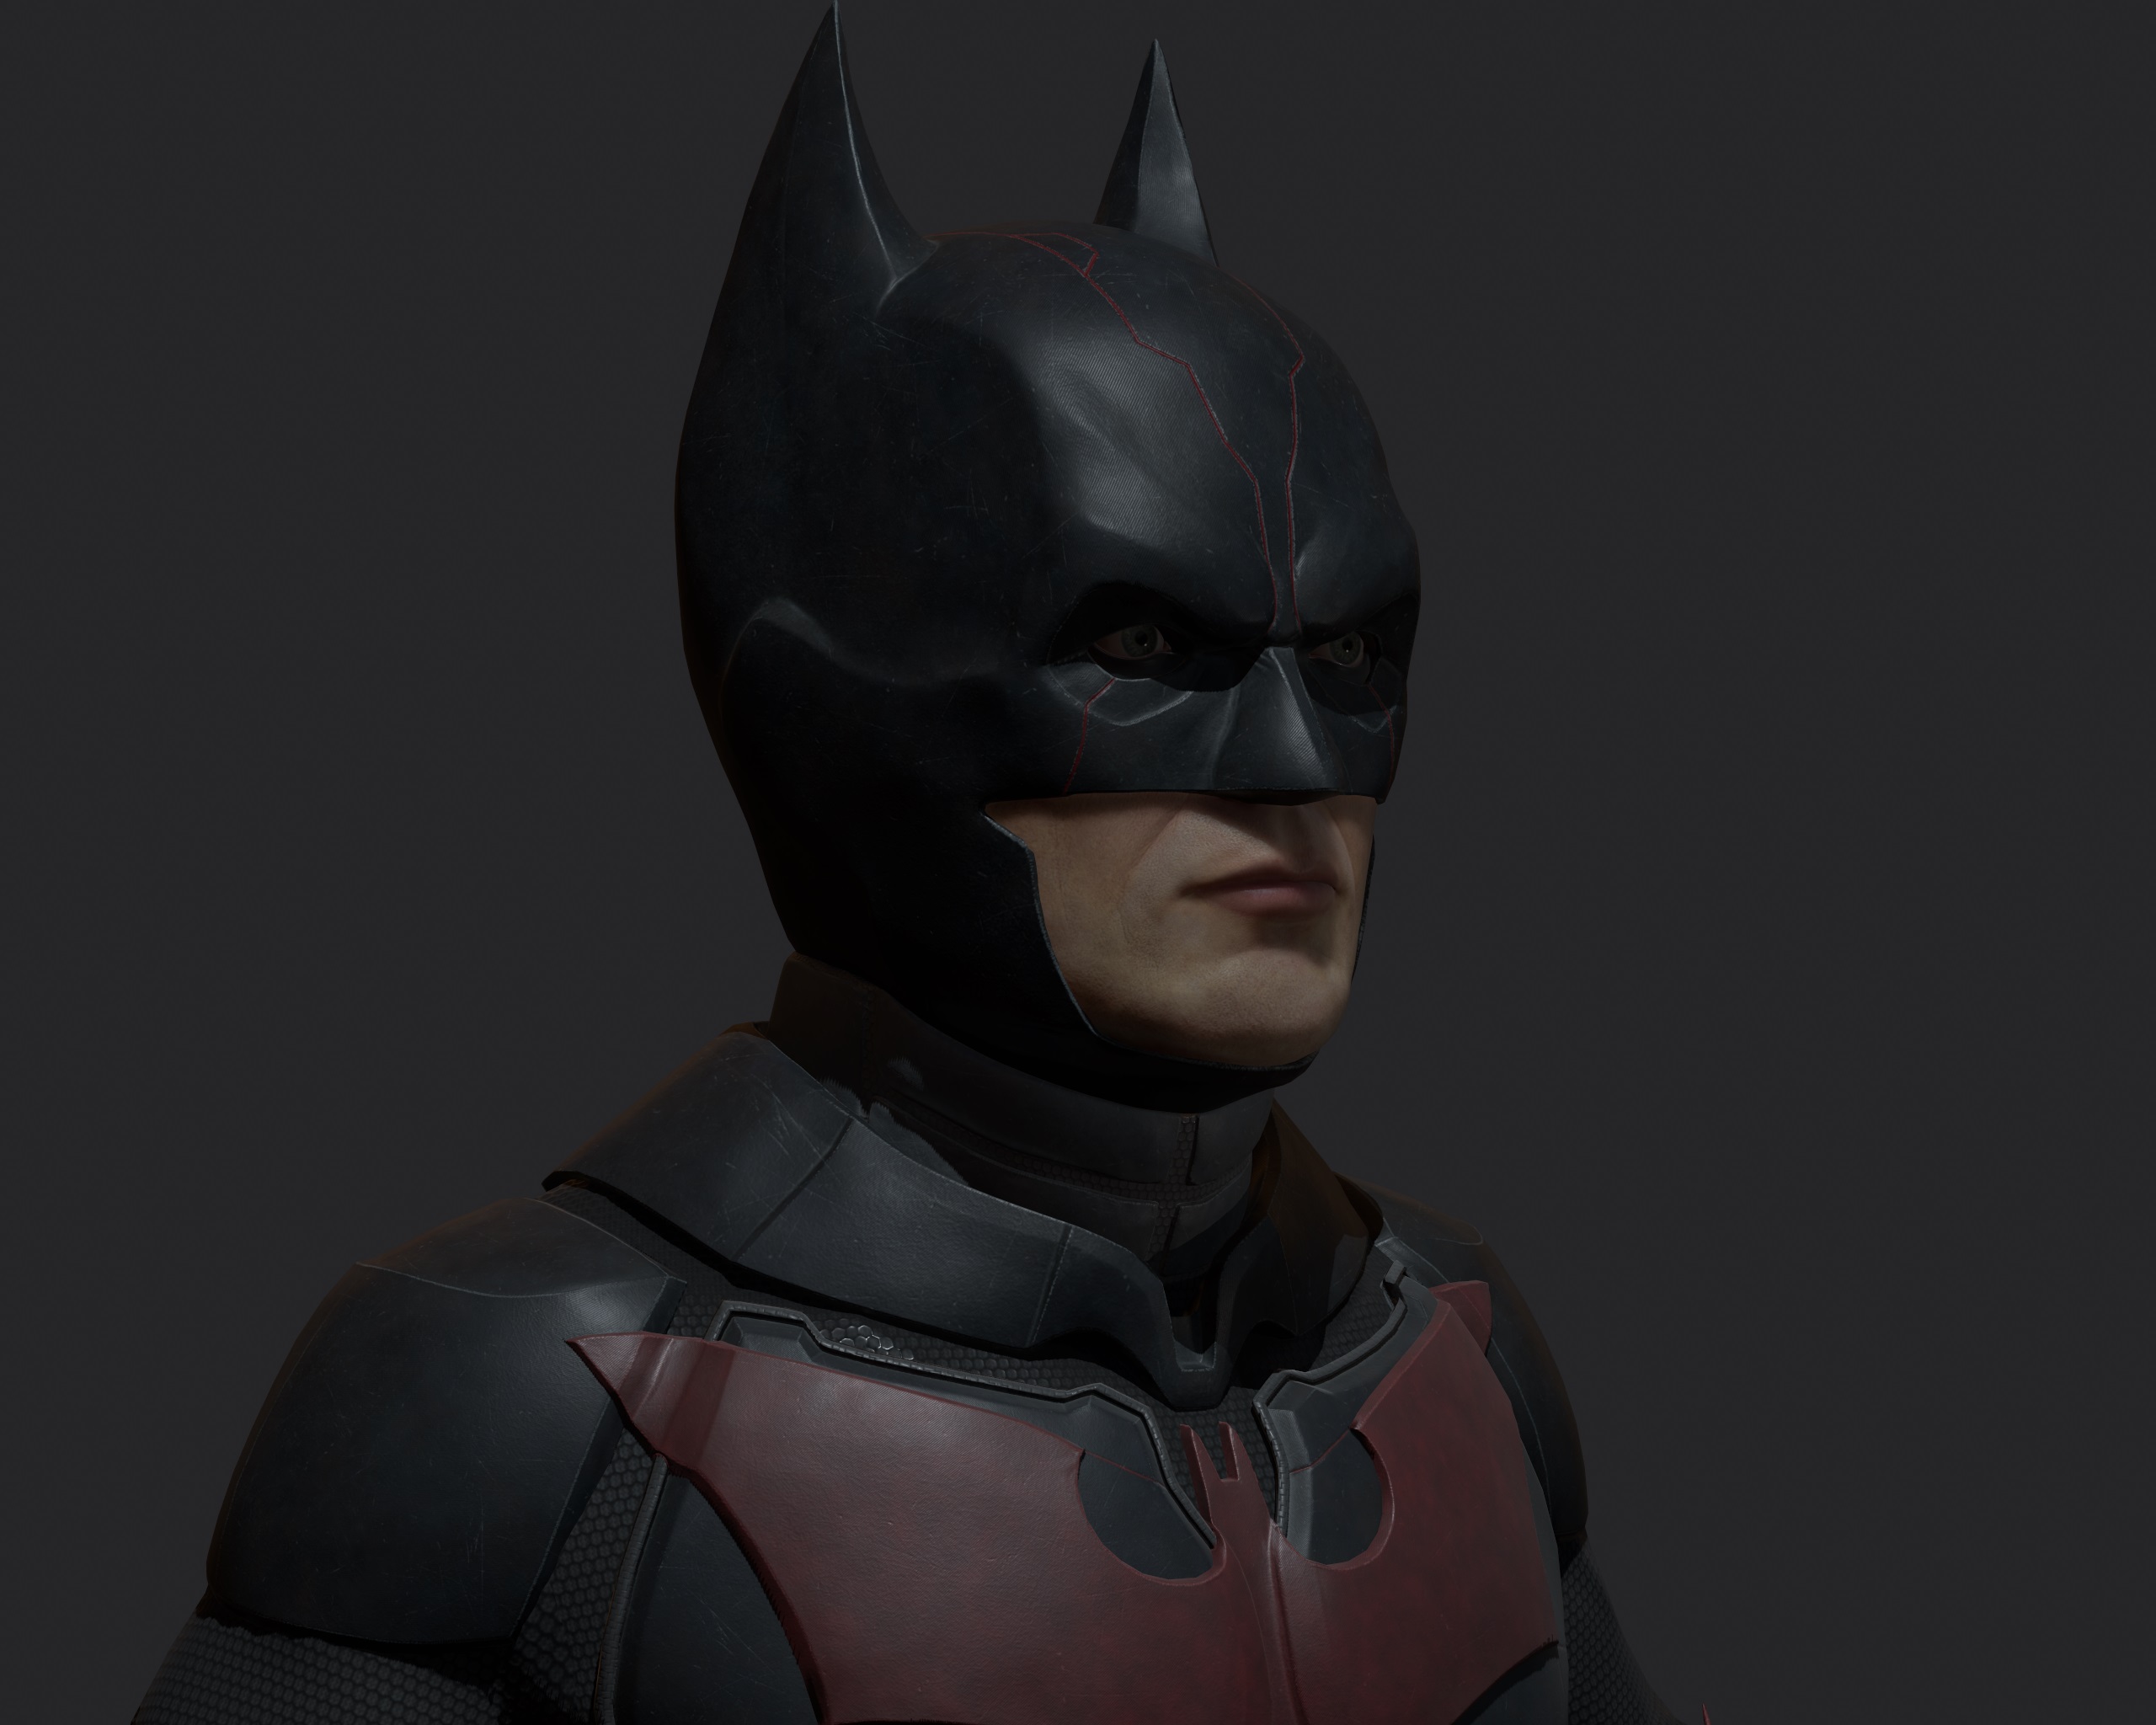
Hey everyone! So this is my first time posting to ZBrush Central and I thought i’d share with you all my current progress.

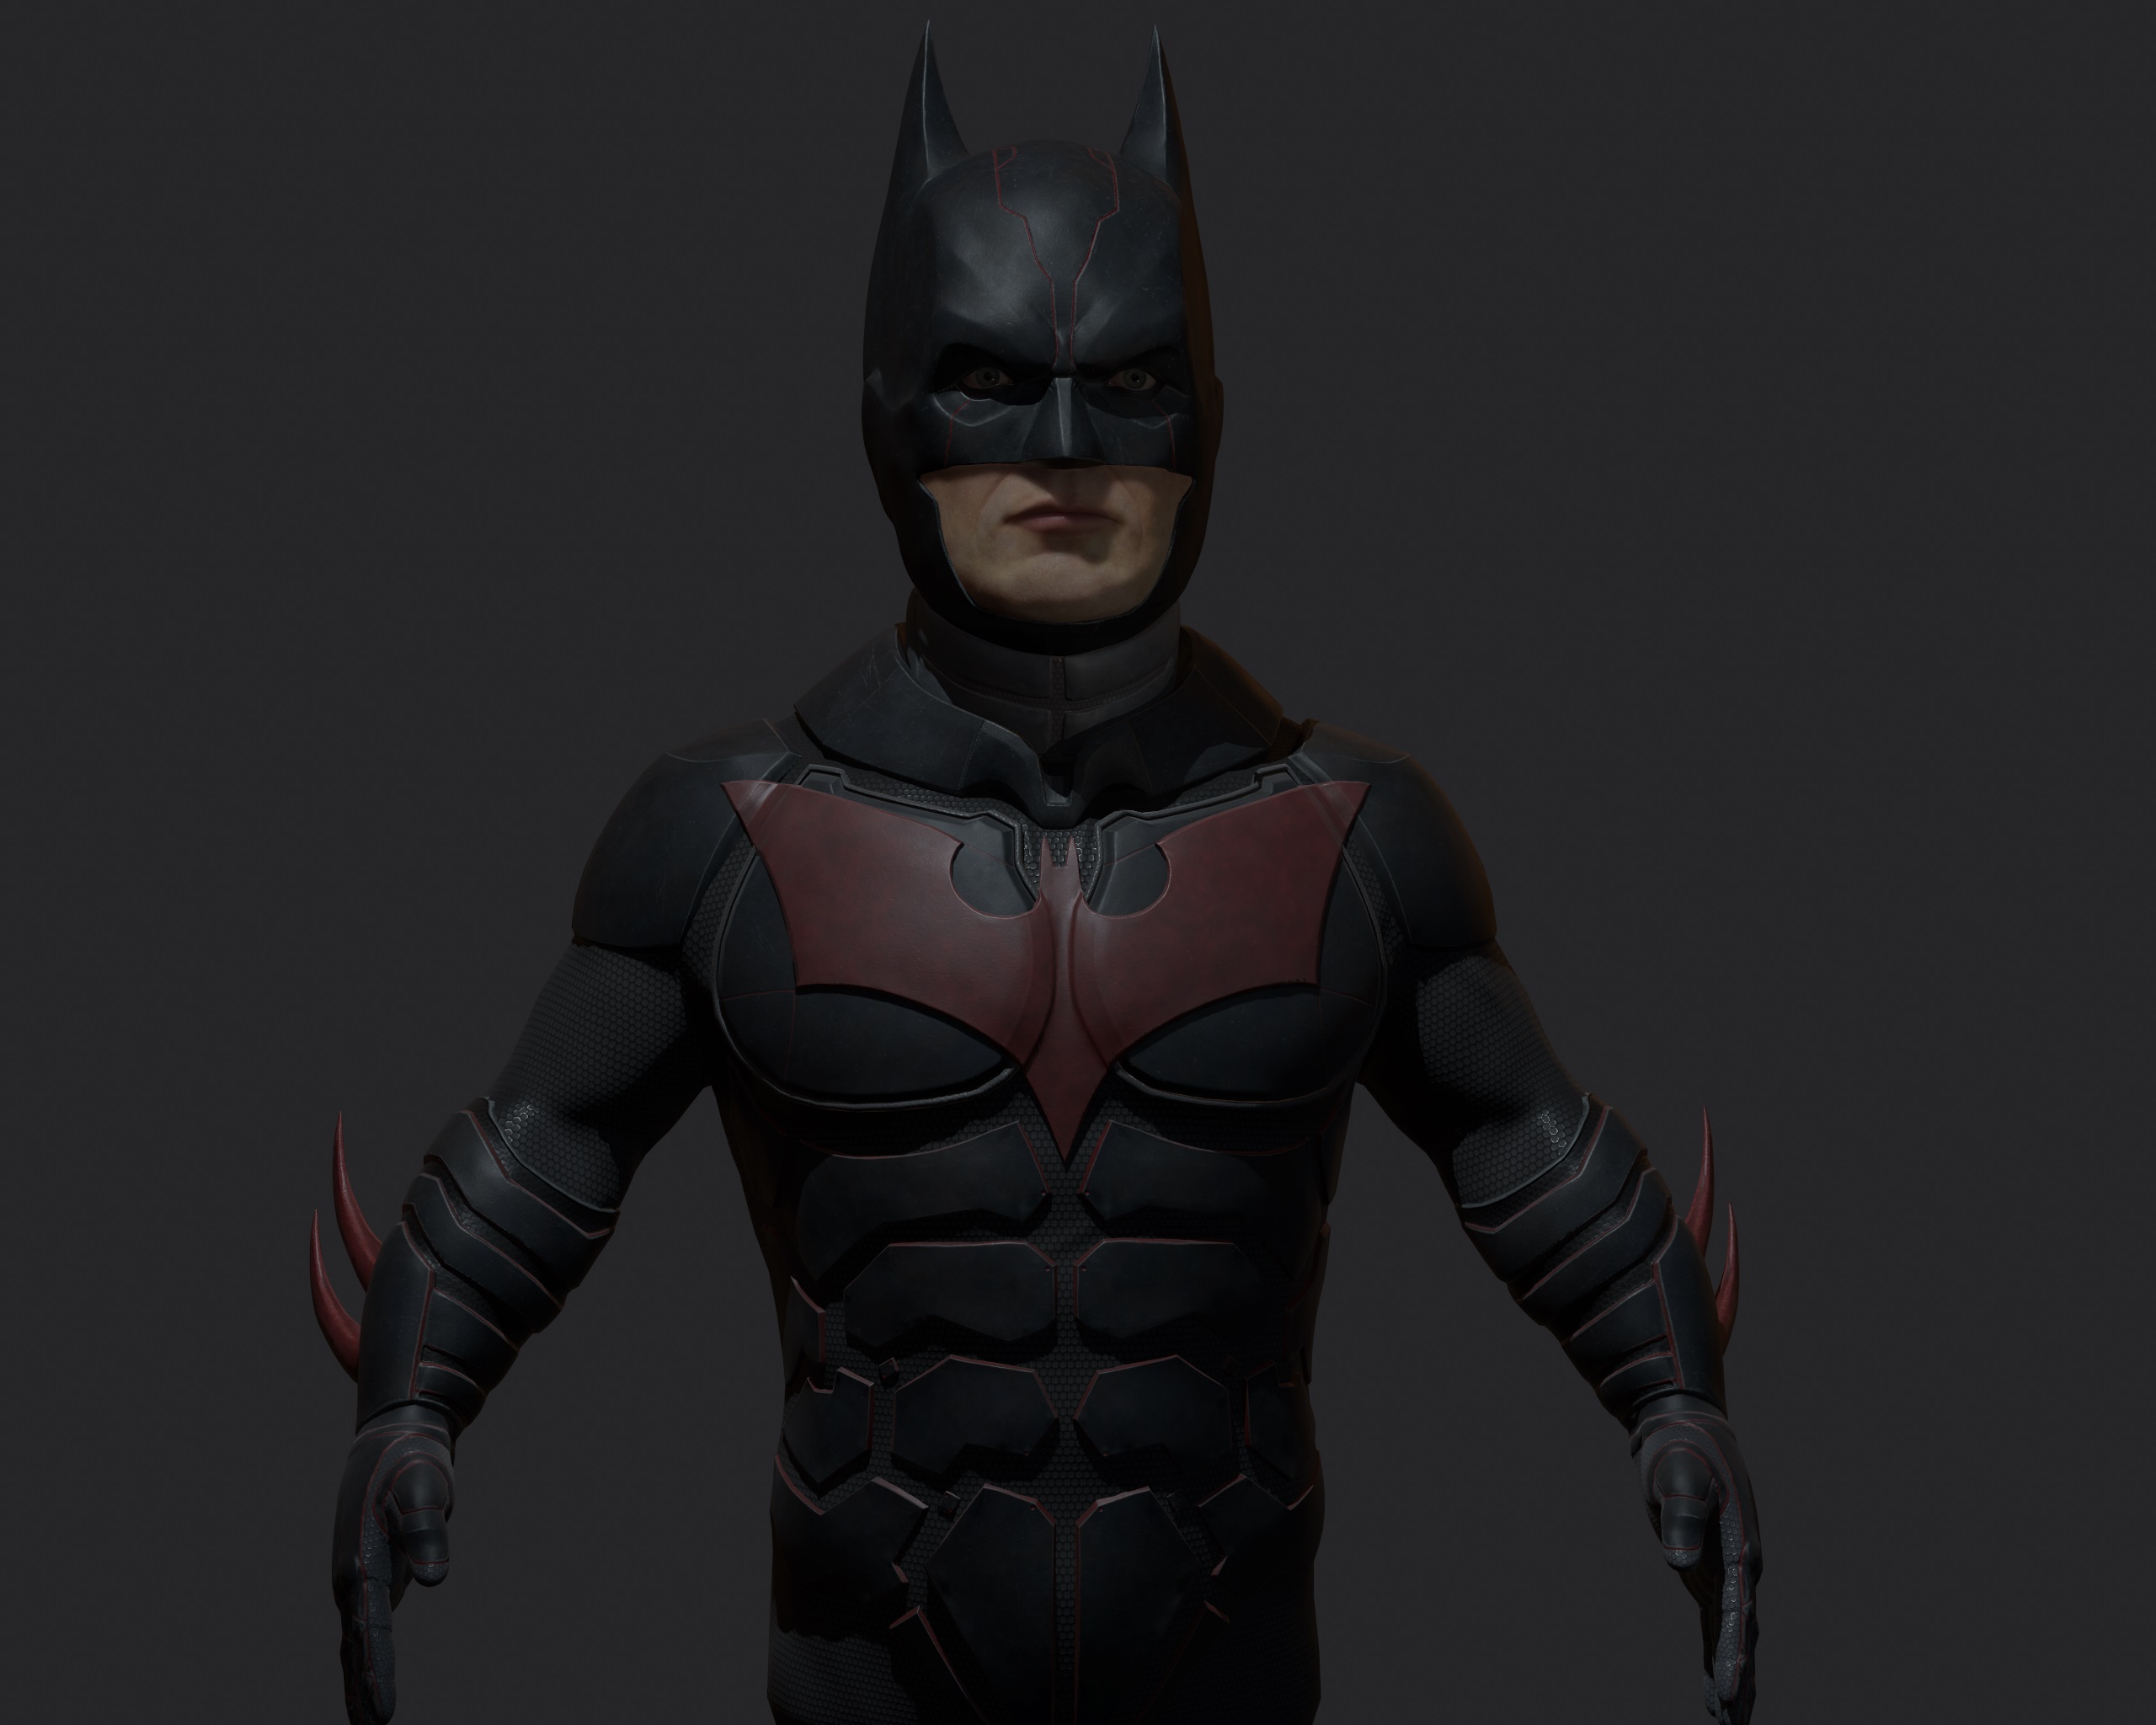
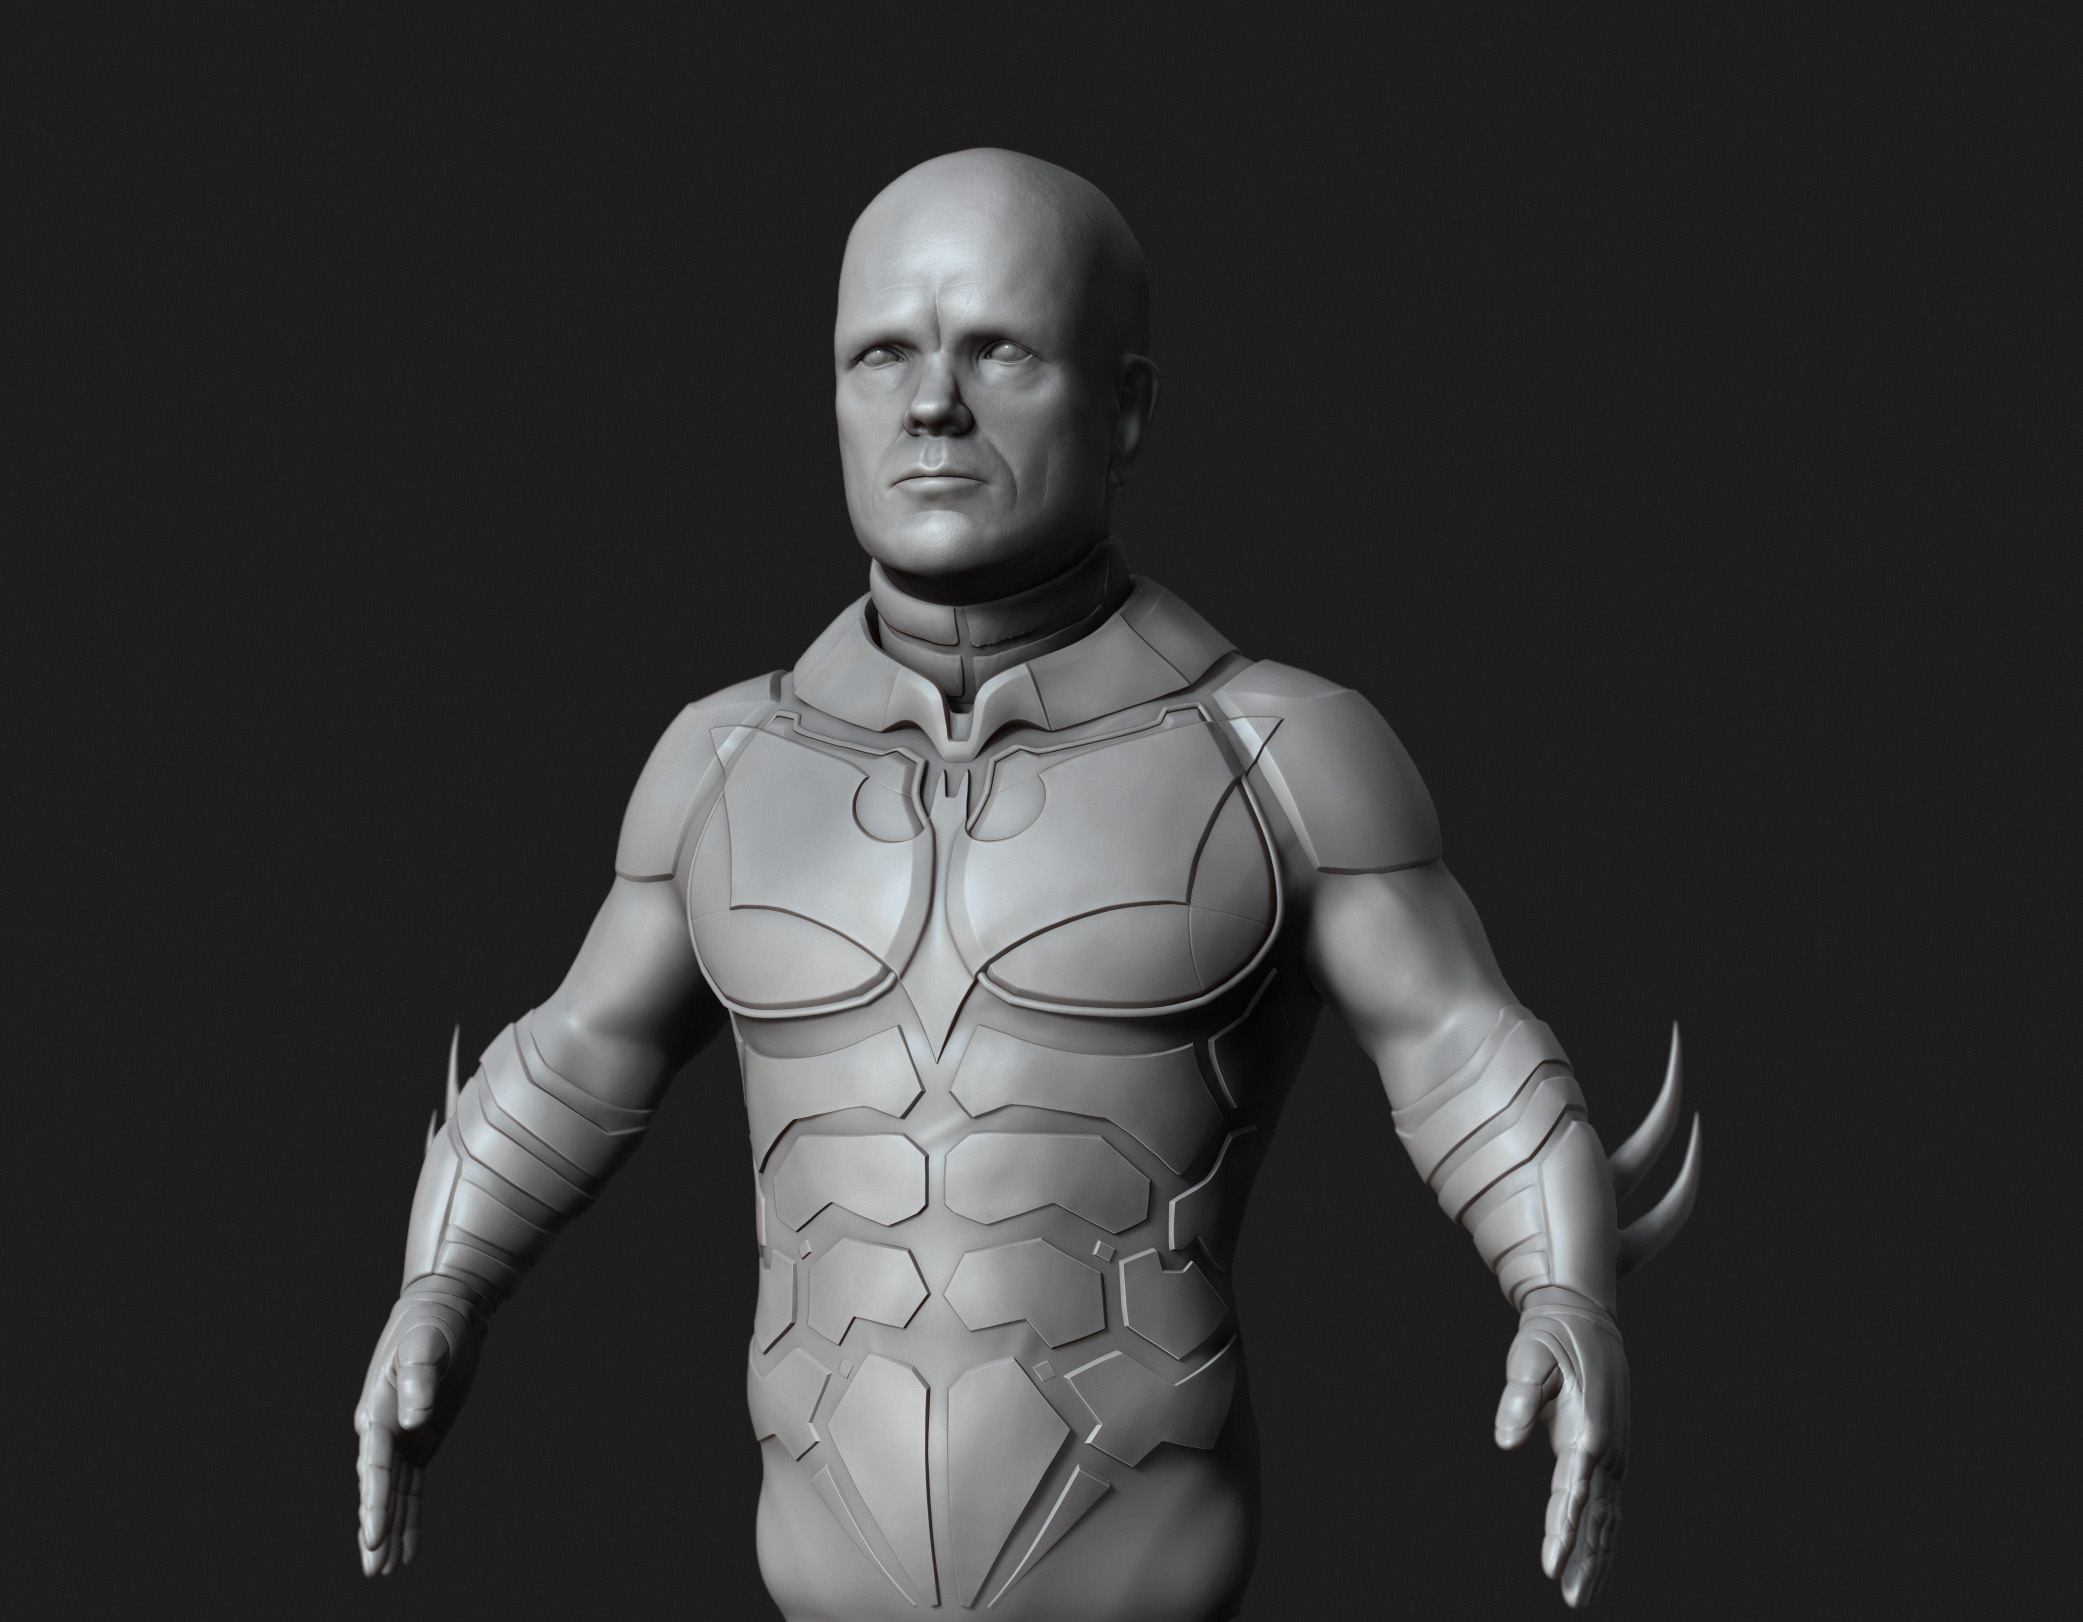
This is the first big piece I’ve done, my goal was to create a Batman Beyond inspired character based on the proportions and likeness of Peter Dinklage. I began this whilst on a course taught by Adam Skutt on Game Art Institute and continued to work on it for a couple months afterwards.

The model was created using ZBrush and Maya, with the clothing done in Marvelous Designer. Texturing was done using a combination of Mari, Substance Painter and Photoshop. Finally everything was rendered in Marmoset Toolbag.

Let me know if you have any critique and i look forward to sharing future works with you.

Attachments
Full_Sculpt02.jpg

3Q_Sculpt02.jpg

Front_Sculpt02.jpg

screenshot000.jpg

screenshot003.jpg

screenshot004.jpg

Hey everyone, here are some WIP shots of a piece i’m currently working on. I’ll continue to update this thread as I progress. Any critique to help me make this better would be greatly appreciated!

Hey all,

So after looking at the face of my character I just wasn’t happy with the forms and shapes that I had so I decided to revisit them. In the following images the face on the left is the old model, whilst on the right is the new.

Following on from this I re-did the tertiary details on the new face. This was done by using Texture XYZ displacement maps in combination with Surface Mimic alphas as well as some hand sculpting.

Still lots of work to do on this, my next step will be to test out some new hairstyles as well as texturing the head.

I look forward to sharing my progress with you! :slight_smile:

Hey guys, so I finished the hair and since it’s been so long since I posted I wanted to share my progress as well as a little breakdown of the process. The hair I have also learnt whilst on another course over at GameArtInstitute taught by Adam Skutt. So definitely go check that out!


So to begin with the idea here is to grow the hair from planes, which have a slight rotation to simulate the head. You want to create hair clumps that you will then use to place along your model. Rendered using Arnold, using the AlHair Shader.


When it comes to placing the cards, make sure that you are using viewport 2.0 and in the settings, set “Transparency Algorithm” to “Depth Peeling” and “Transparency Quality” to 1. This ensures that the cards will display correctly when placed on top of each other. Another tip when making the plane itself, is to make the geo extremely low, and use the smooth mesh preview “3”. This makes sure that you don’t have to worry about working with lots of geo, and makes it easier to place the cards. Once finished with the placement, you need to select all your hair cards, go to Modify > Convert > Smooth Mesh Preview to Polygons. This will convert your preview to polygons. Obviously now for Games this is far too much geometry. To solve this, go to Mesh > Reduce, and then play around with either the percentage or triangle count to get the amount of geometry required.

Here is the head model and topology, without any of the hair cards.


Hair Cap with topology. This was created using XGen Interactive Groom, and just baking that down onto a HairCap. To bake the XGen Interactive Groom, first go to Generate > Convert Interactive Groom to polygons. This gives you your hair as a high poly mesh. Export the mesh as your high poly, and the HairCap as your low poly. Next Jump into Photoshop and make a gradient (I used Blue and Red) Save this as your root to tip color. Next for the bake, In XNormal put the XGen Groom as the high poly mesh (The groom we converted to polygons), and add the hair cap as the low poly. For the high poly add in the “Root to tip Color” to “Base Texture to Bake”. Next in the baking options enable “Normal Map” and “Bake Base Texture”.

The base layer of cards, the purpose of this layer is to get the silhouette and base color.


Next is the breakup Layer, here is where the hair really starts to look like something. These textures are a lot less opaque and have the job of breaking up the flow of the hair. To place these I simply duplicate cards from the base layer, make adjustments to position and flow, and change the texture.

The final steps for the hair are to add Flyaway cards and Transitional cards. These help to ground the look and add more realism.

Here is the final topology and the final textures. The first two textures are the thickest clumps, and are only used for the base layer. The next two are a lot less opaque and are used for the breakup layer. Next to that is a clump used for the Flyaway layer. Finally the two clumps at the top are used for the transitional cards. In places like the hairline to create a more natural transition between the scalp and hair.


So there we have it! I hope that this can in anyway help someone out. I’ve started on another couple of pieces and will be sharing my progress on them soon. I aim to improve and get better results with those pieces. Thanks Guys and feel free to let me know what you think, and if you have any cool techniques also!

Hey all, So I’ve started on another couple of projects, one is a Joker Bust, and the other is a full character piece. Here is the Joker Bust at the moment!

More to come.

More progress on The Joker, all rendered in Marmoset, next up is sorting the hair and teeth!