Thanks 
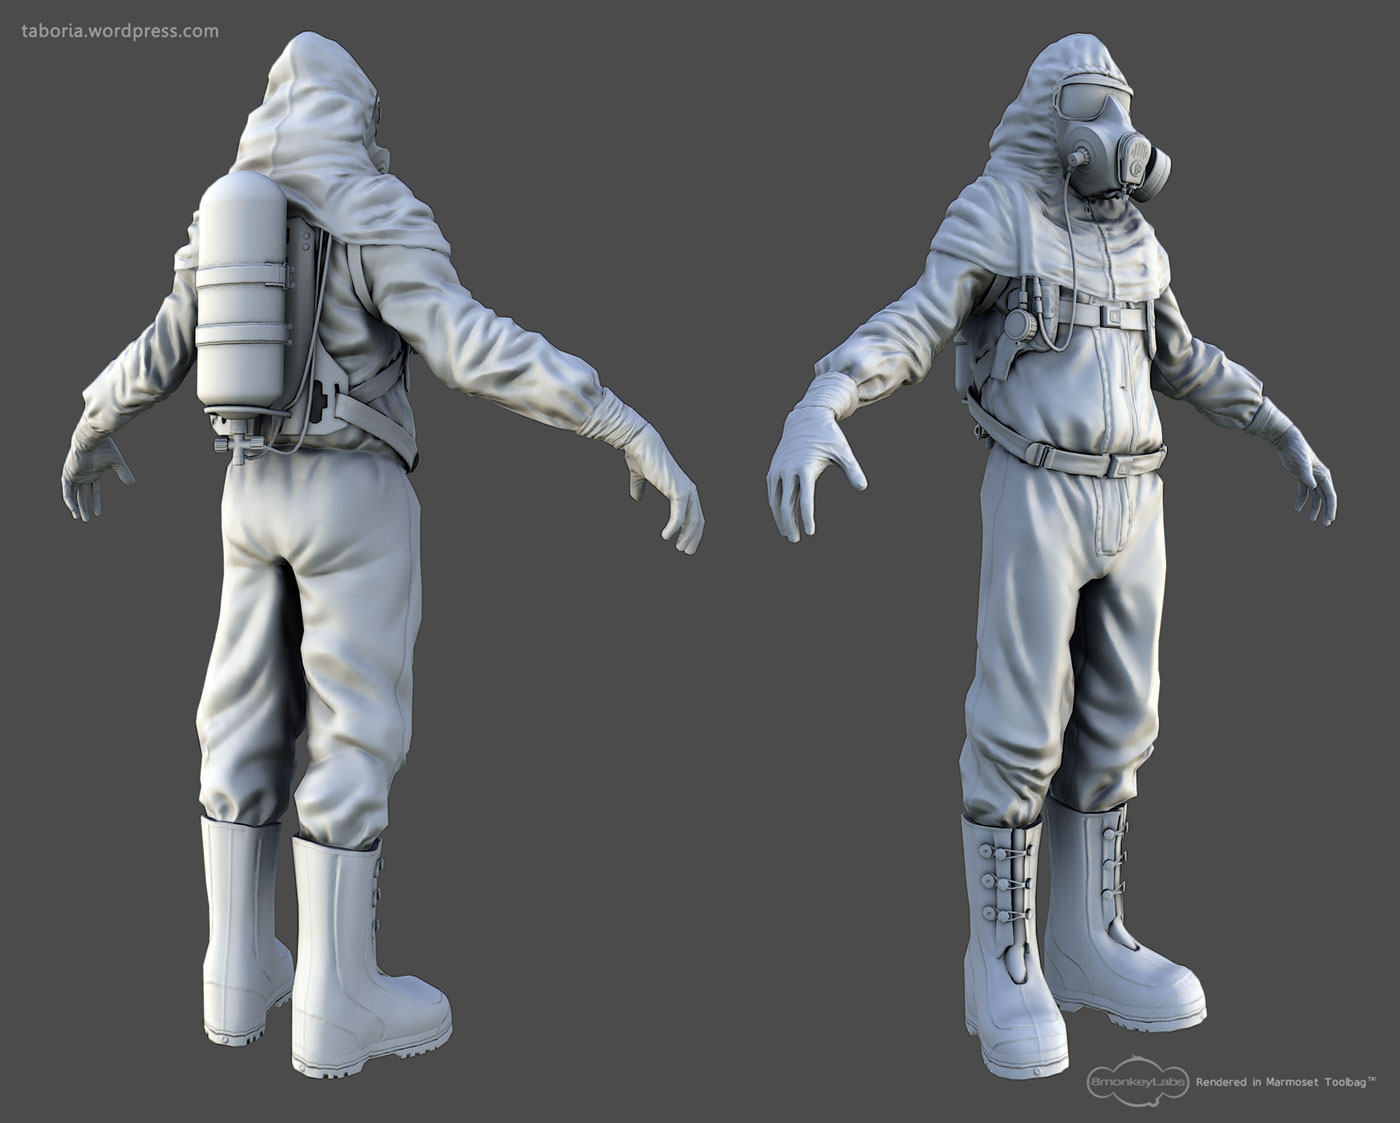
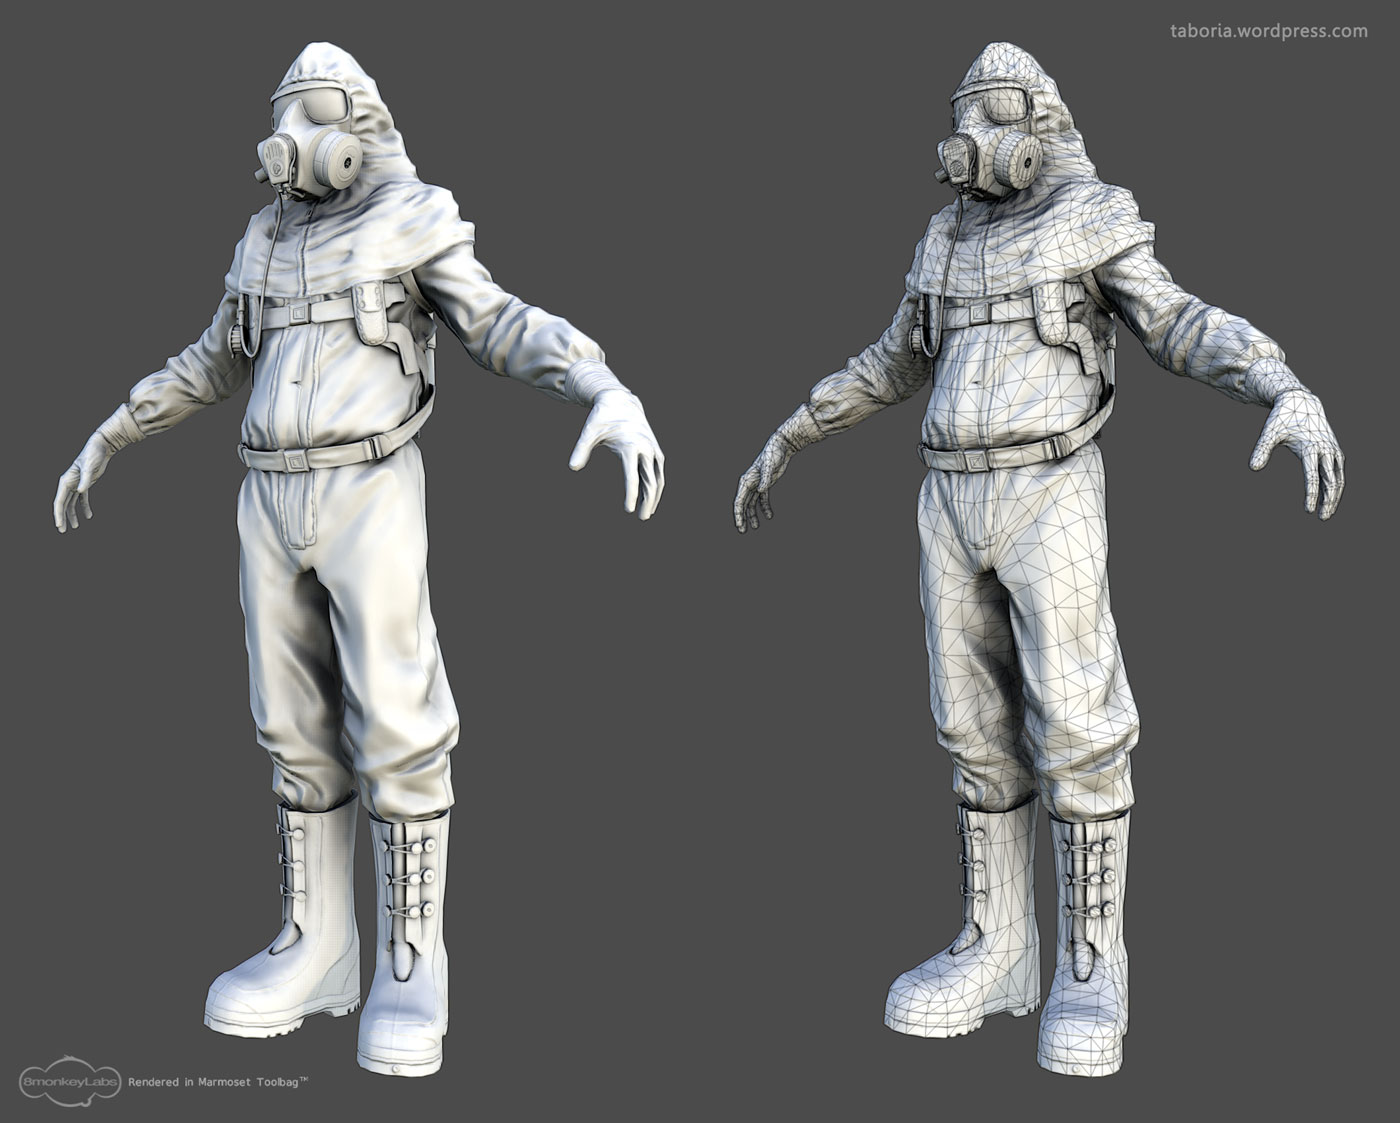
And sure, no problem. A good technique for achieving nice thick folds, is by way of the snakehook brush in conjunction with some masking. Just mask off wherever you want a major fold to go, invert that mask, and then using a large drawsize, fold that material on down on top of itself.
After blocking everything out, I try to sell the layered feel by masking off more areas and lowering them so that they were physically overlapping the underlying fold, just like would happen in real life. Another trick is the ‘Gravity Strength’ button, located in the ‘Depth’ dropdown in the ‘Brush’ Tab. This feature allows you to have gravity automatically factored into every stroke. I usually avoid technique for my mid-level sculpting and only use it for blocking in major forms, however.
For this sculpt in particular I used the standard brush and slash 3 brush almost exclusively. For the slash 3 brush i lowered the z intensity to about 30 and used large single strokes to define the directionality of the folds.
Anyway, thats about it. Just experiment on a sphere until you establish a procedure for making the folds which you can consistently replicate, and then apply that to your model.
Oh, and I whipped up a quick stitch alpha for anyone who wants to try it out. It’s certainly nothing special, but if anyone can get some good use out of it, be my guest
Just click the thumbnail below to download the .psd
[attach=267423]stitchAlphaThumbnail.jpg[/attach]
Attachments


 This stuff has been really fun to work on.