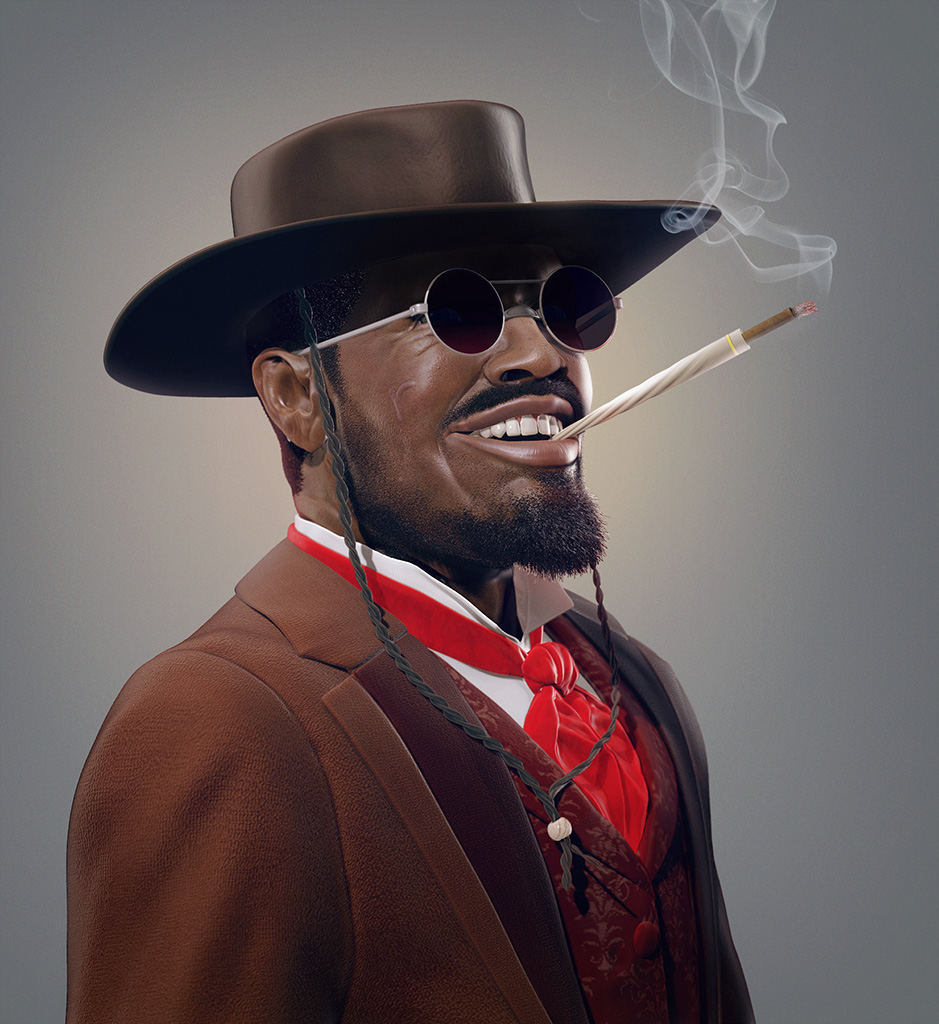
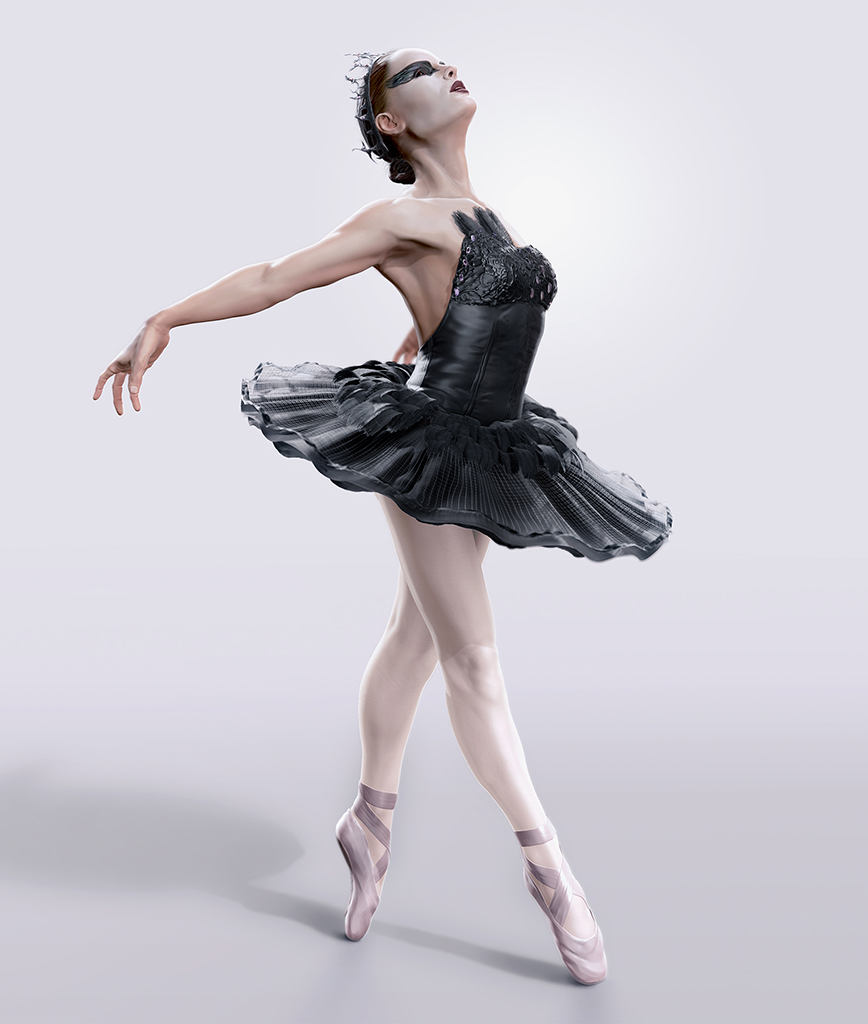
I also thought I’d try to illustrate how I rendered Nina. The process for Django was similar. I used a simple 3 point light setup for both characters but rendered everything seperately.
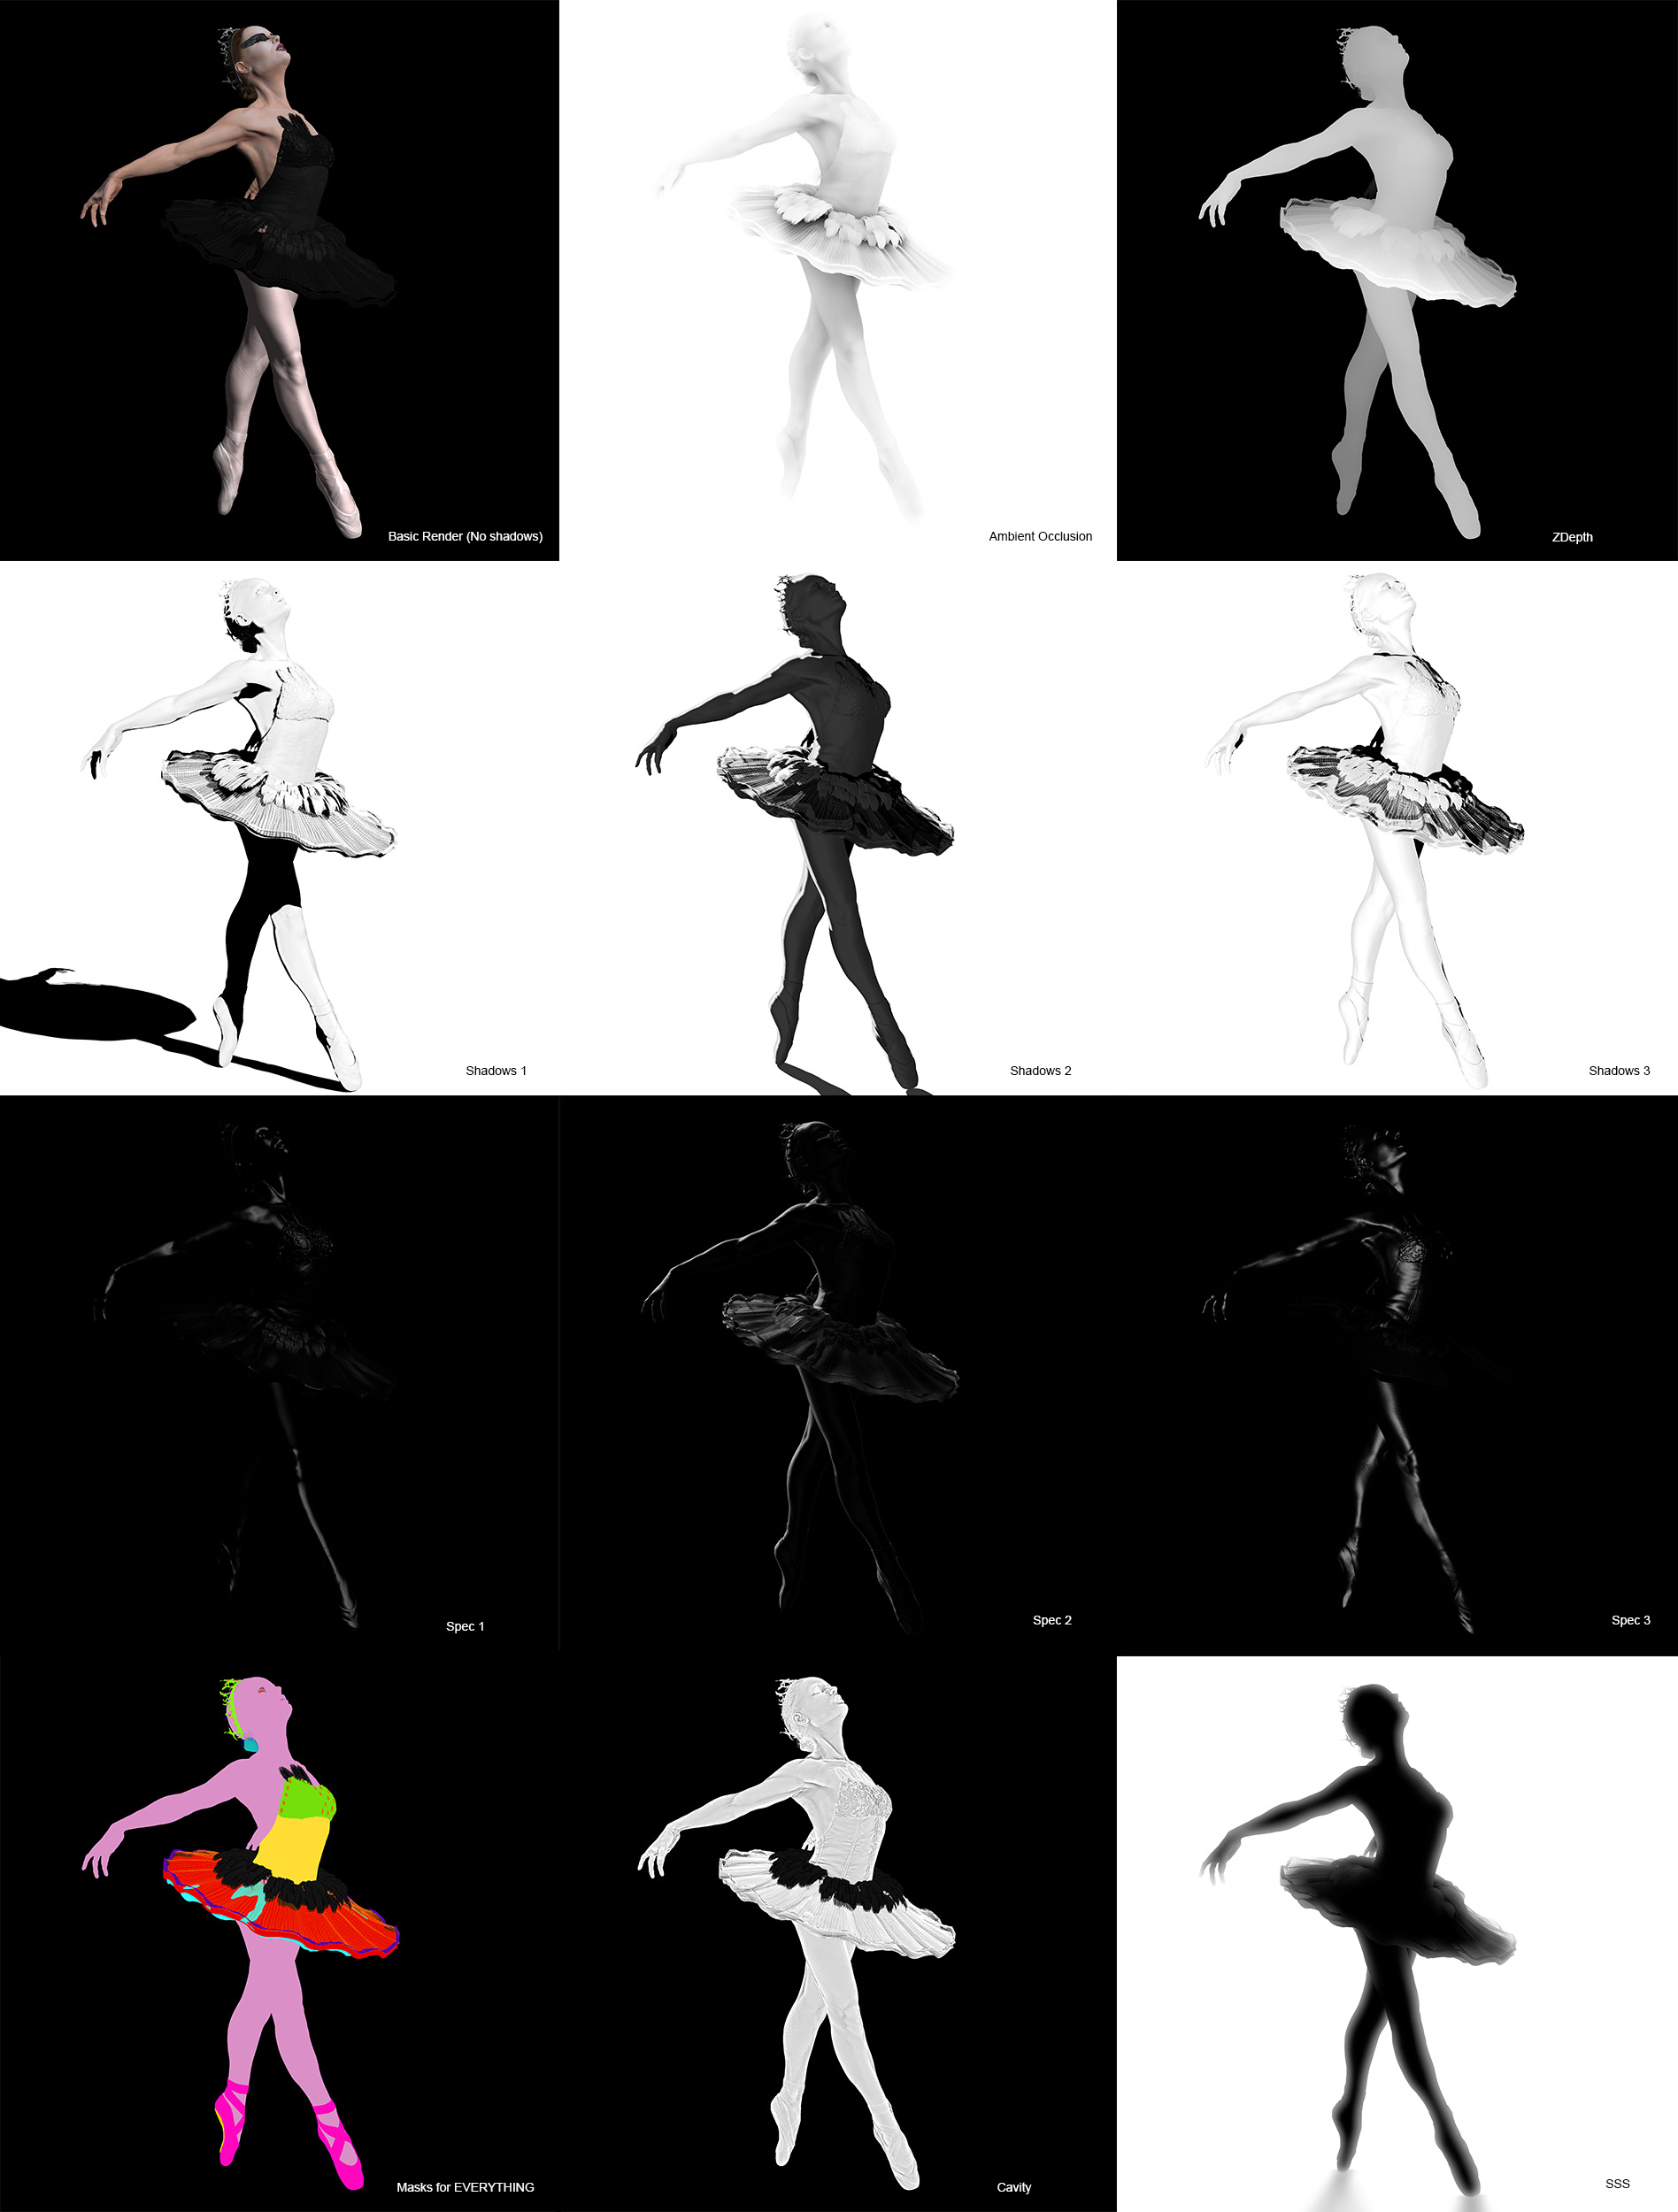
First I took a Render Pass with the main light and no shadows. That’s the base I usually work on. If I think some parts are too dark in that render, I also take a pass with just the fill light. I just used the Skin Shader 4 and basic material for this one, mostly.
Then I rendered the image with each light, this time with shadows on and take only the Shadow Pass of each one.
Next, I gave all the elements of the piece a Blinn material and in the material settings, I took Ambient and Diffuse all the way down to zero and give it a low specular value. This way, I only get the Specular Passes with specular lighting and all the rest is pure black.
Next step is to make masks. I like to have masks of everything as it makes my life way easier in post production. I give each subtool a flat material with a different color, contrasting the most possible with the surrounding subtools and render that.
Finally, I give all the subtools a sketch matcap or other shader that easily gives me a Cavity Pass and take that chance to turn on Ambient Occlusion, Zdepth and SSS. I take all those images and move on to Photoshop.
In both images I took out a lot more passes only concerning some materials I made and wanted to keep in the final image. I would consider them exceptions. The above are, I think, the ones that matter most.
In Photoshop, I use the Basic Render Pass as the base and start applying the Shadow Passes. I use them as both shadow and light information so one set is with Multiply, very low opacity, the other is with Screen or Soft Light.
Next step is to give it some SSS so I just fill a layer with a dark red color, use the SSS Pass as a layer mask and give the layer very low opacity on Overlay to give it that subtle reddish translucency near the edges. Remember that most of the character’s clothes don’t have SSS, so I use the Masks Pass to mask out parts I don’t want SSS on. I prefer this method over making materials with actual SSS, especially when you’re on a tight schedule. It might not always work well and in that case, it’s better to make a decent skin material.
Next comes the Specular Passes. I just place all the layers on Screen mode and give them all very low opacity. It’s at this time that I look at some reference because it’s very easy to overdo it. I just exaggerated a bit in the rim light because I was going for a more “pinup” style of render.
Then I use the AO Pass with Multiply to enhance some of the volumes of the model followed by the Cavity Pass with some level adjustments so I don’t darken the image too much. I use it with the Multiply mode to make those details pop out. Again, low opacity, as I find it’s easy to overdo it.
For Nina, I also ended up using the SSS Pass as a mask for another lighting layer (Light blue filled layer) to give her a more ethereal look.
At this stage I also repeat some specular layers for some specific subtools, such as the tiara and the gems in her dress, using the Masks I did.
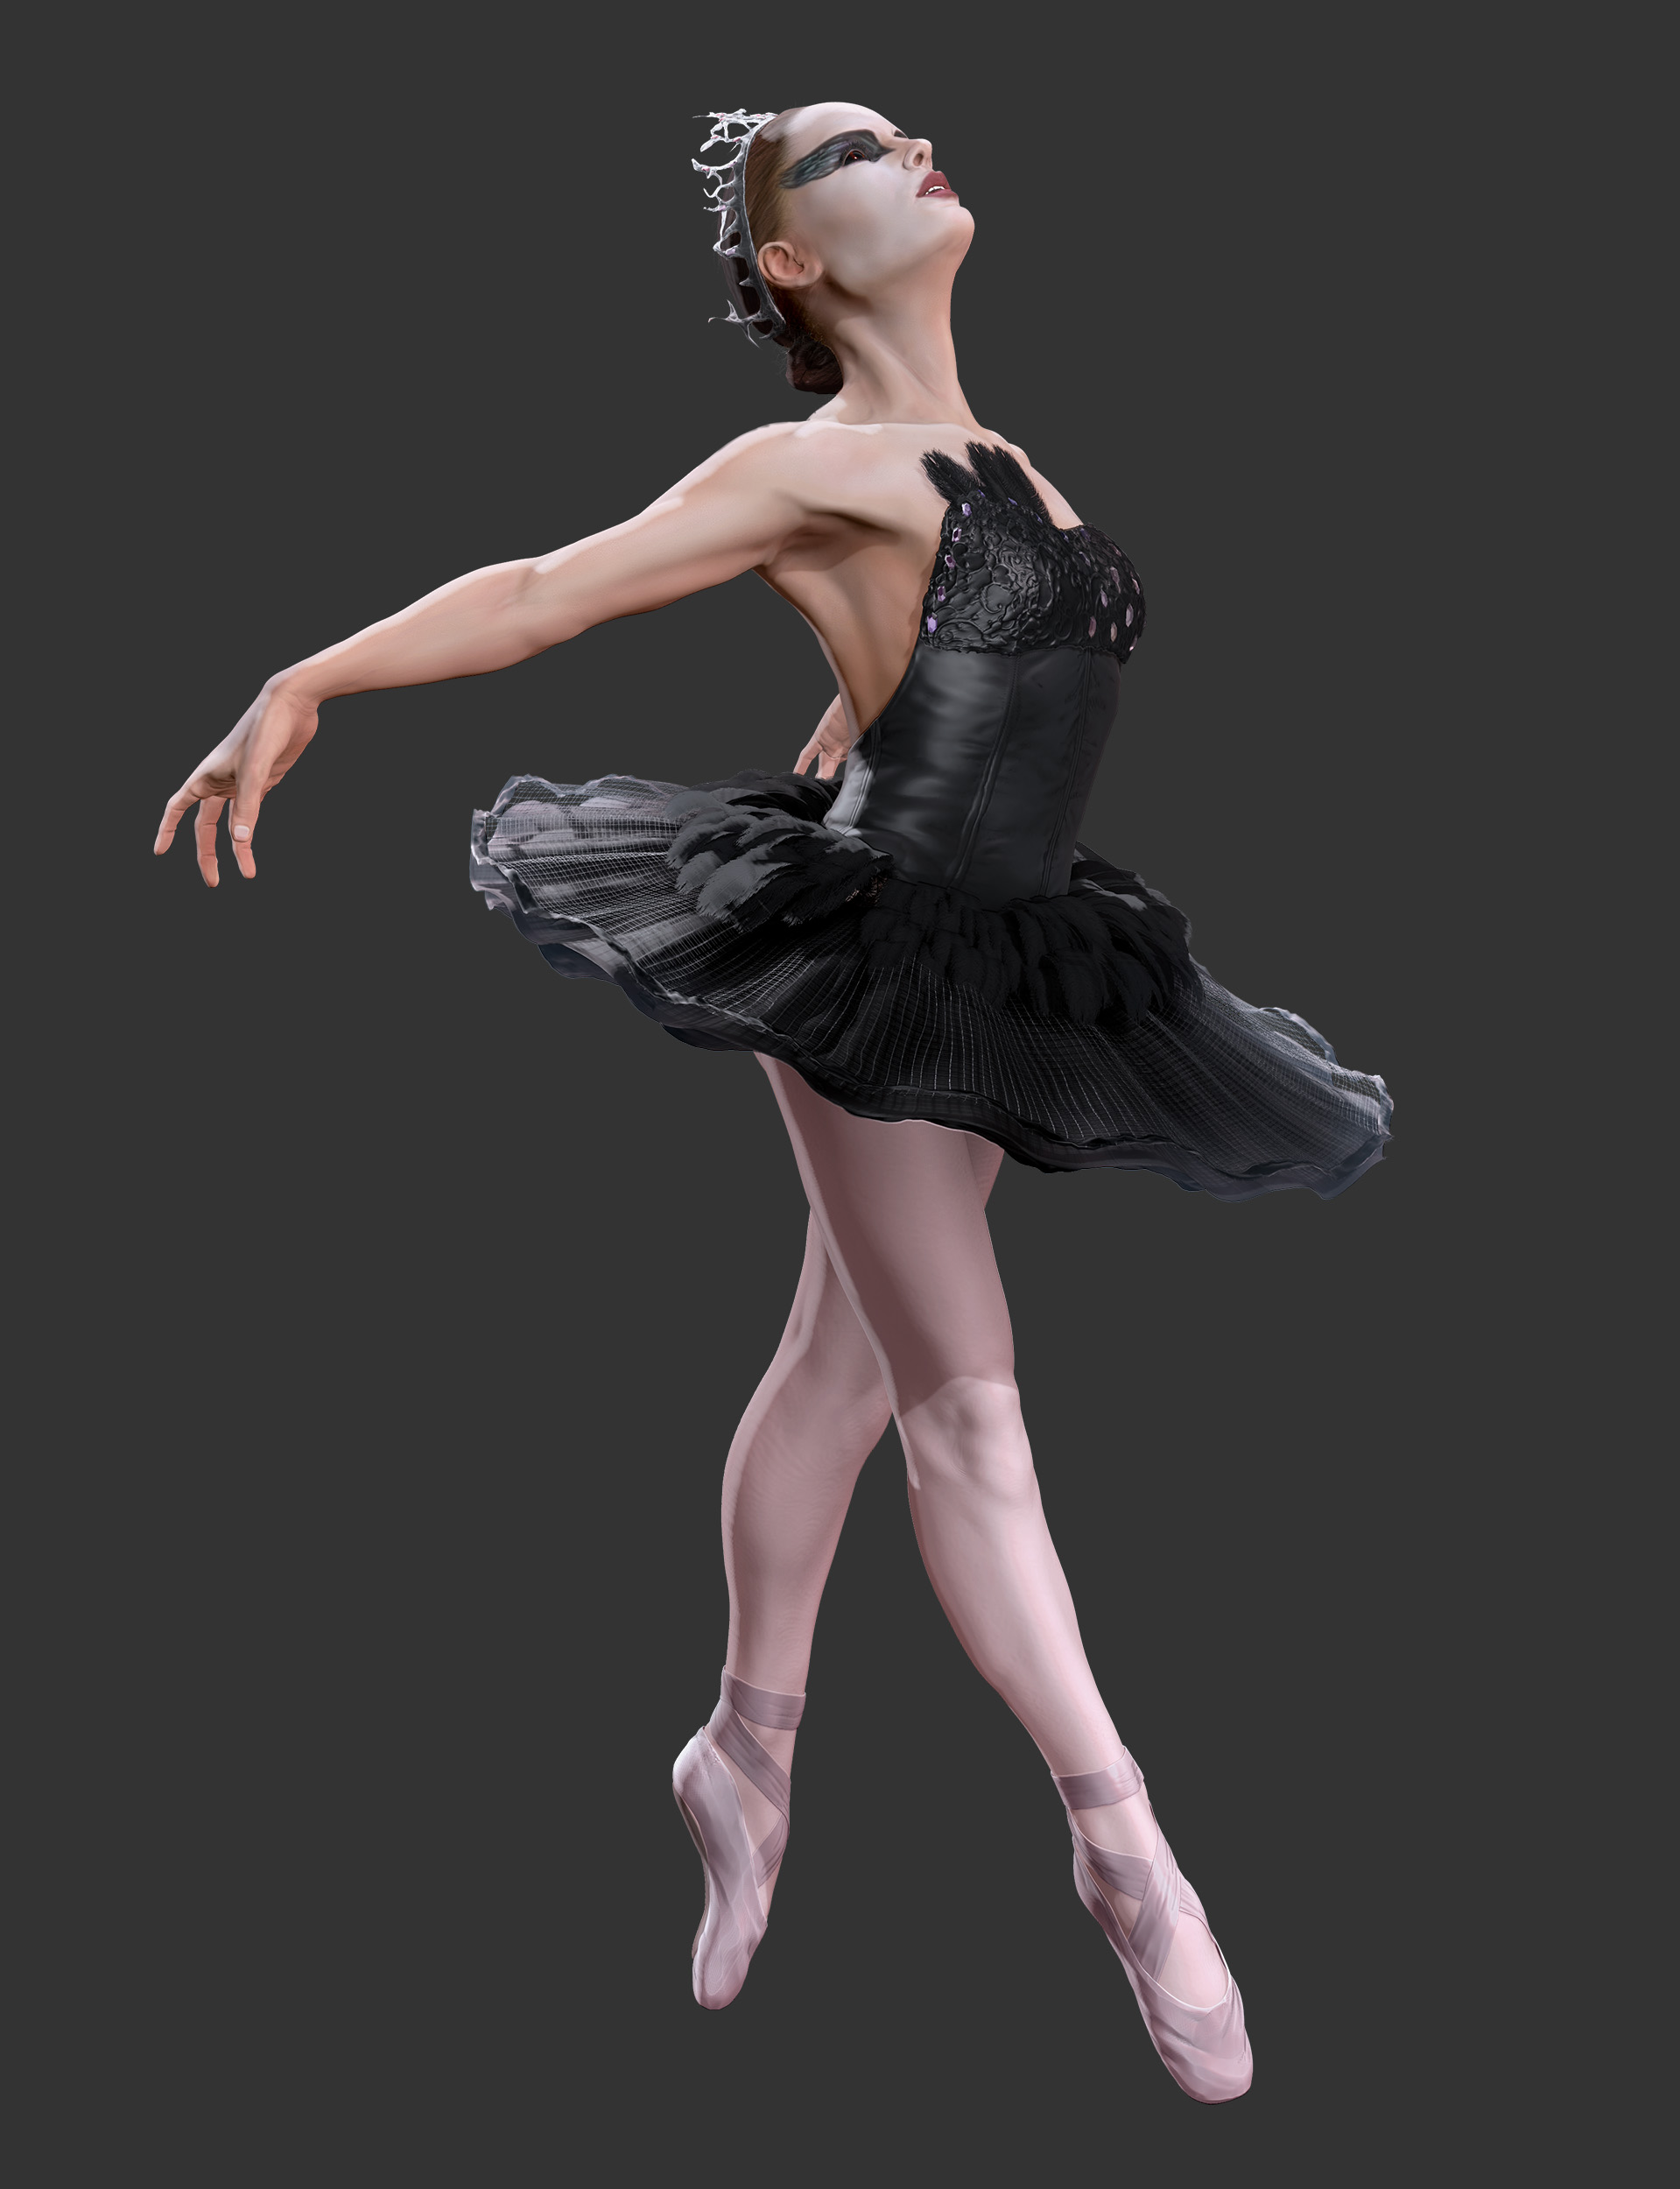
Some levels, saturation and color adjustments later, I end up with this image.
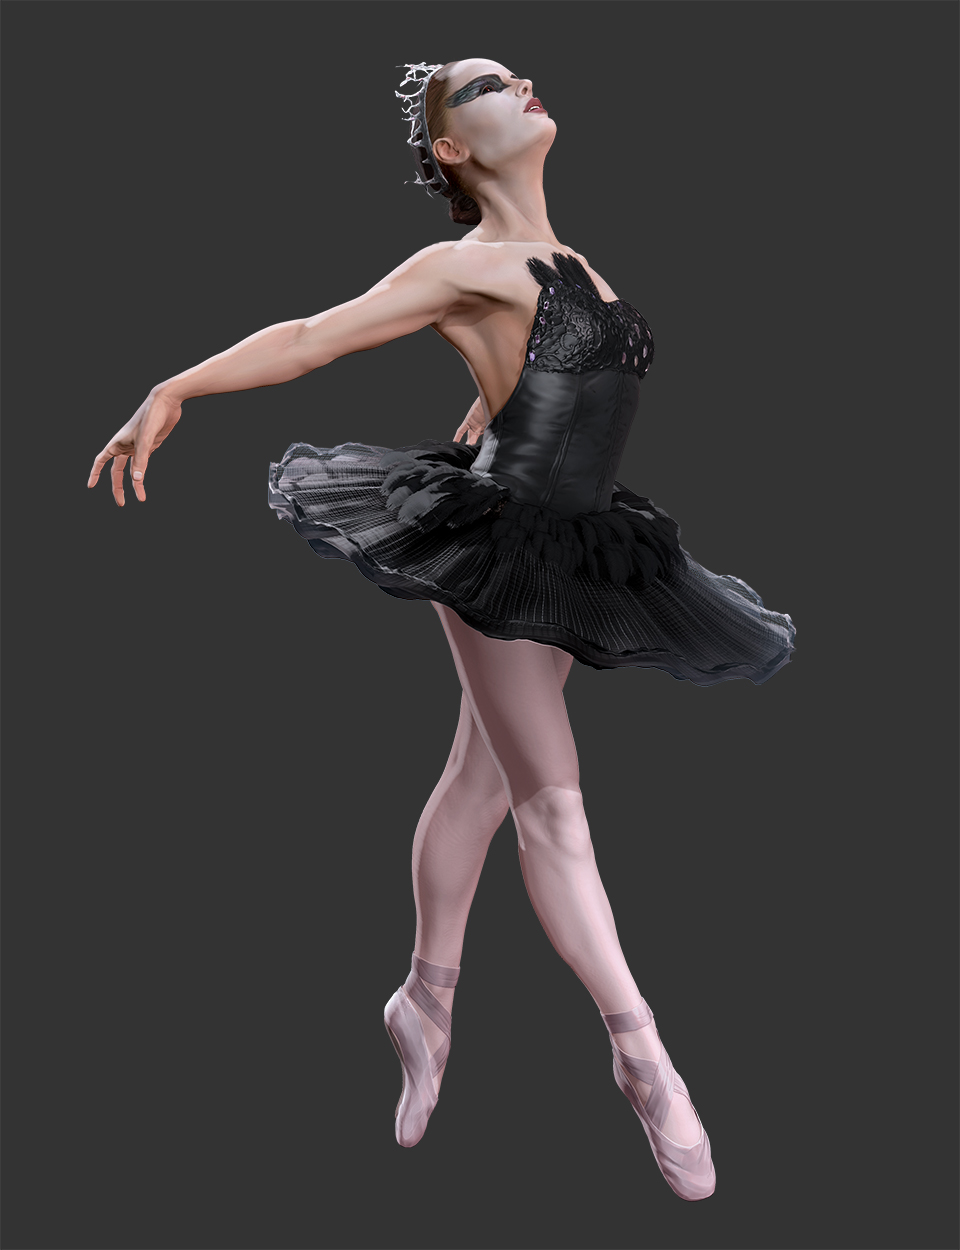
After this I just keep on adjusting small things and putting detail where it’s needed.
For the floor, I use gradients and some painting to give it a sense of depth and blurred the floor shadow I took from the main Shadow Pass.
All this process tends to over saturate the reds so I just use a cooling filter to balance a bit the shadows.
Finally I just use a lens blur using the Zdepth Pass to get that nice DOF effect on the image, a bit of noise and call it a day.
Hope you enjoyed and took something out of this. All this resulted from a fair bit of experimentation and was a learning process. It might not be the best method out there but it worked well for me when I was close to the deadline.
Cheers!
Attachments
 small_orange_diamond


