ZBrushCentral

Siren: Beautiful feminine Predator WIP

I hate having to do this, but for some reason the original Siren project lost it’s thumbnail info, which means it doesn’t appear on the ZBrush Main Forum anymore, making the chances of people seeing and critiquing it all but impossible. Besides, I felt like it made more sense to have a more in-depth WIP thread for the creative process of The Siren character I’m creating for Reallusion’s 3D Character Design Contest.

The idea for this character is to reimagine the classical Siren as modern day monster, something you’d expect to see in a video game or a movie. What I want to visualize is a character that can be both alluring and terrifying under the right circumstances. I began by using a premade model created in the Character Creator that’s a part of the special iClone 6 trial made available for the contest.

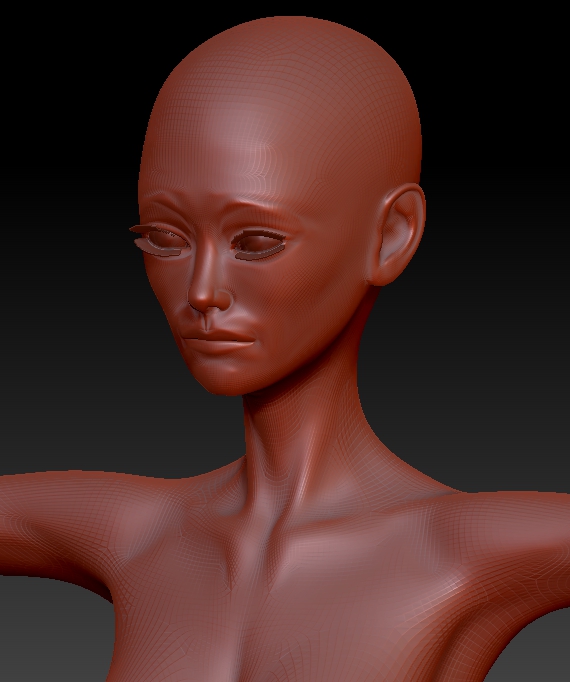
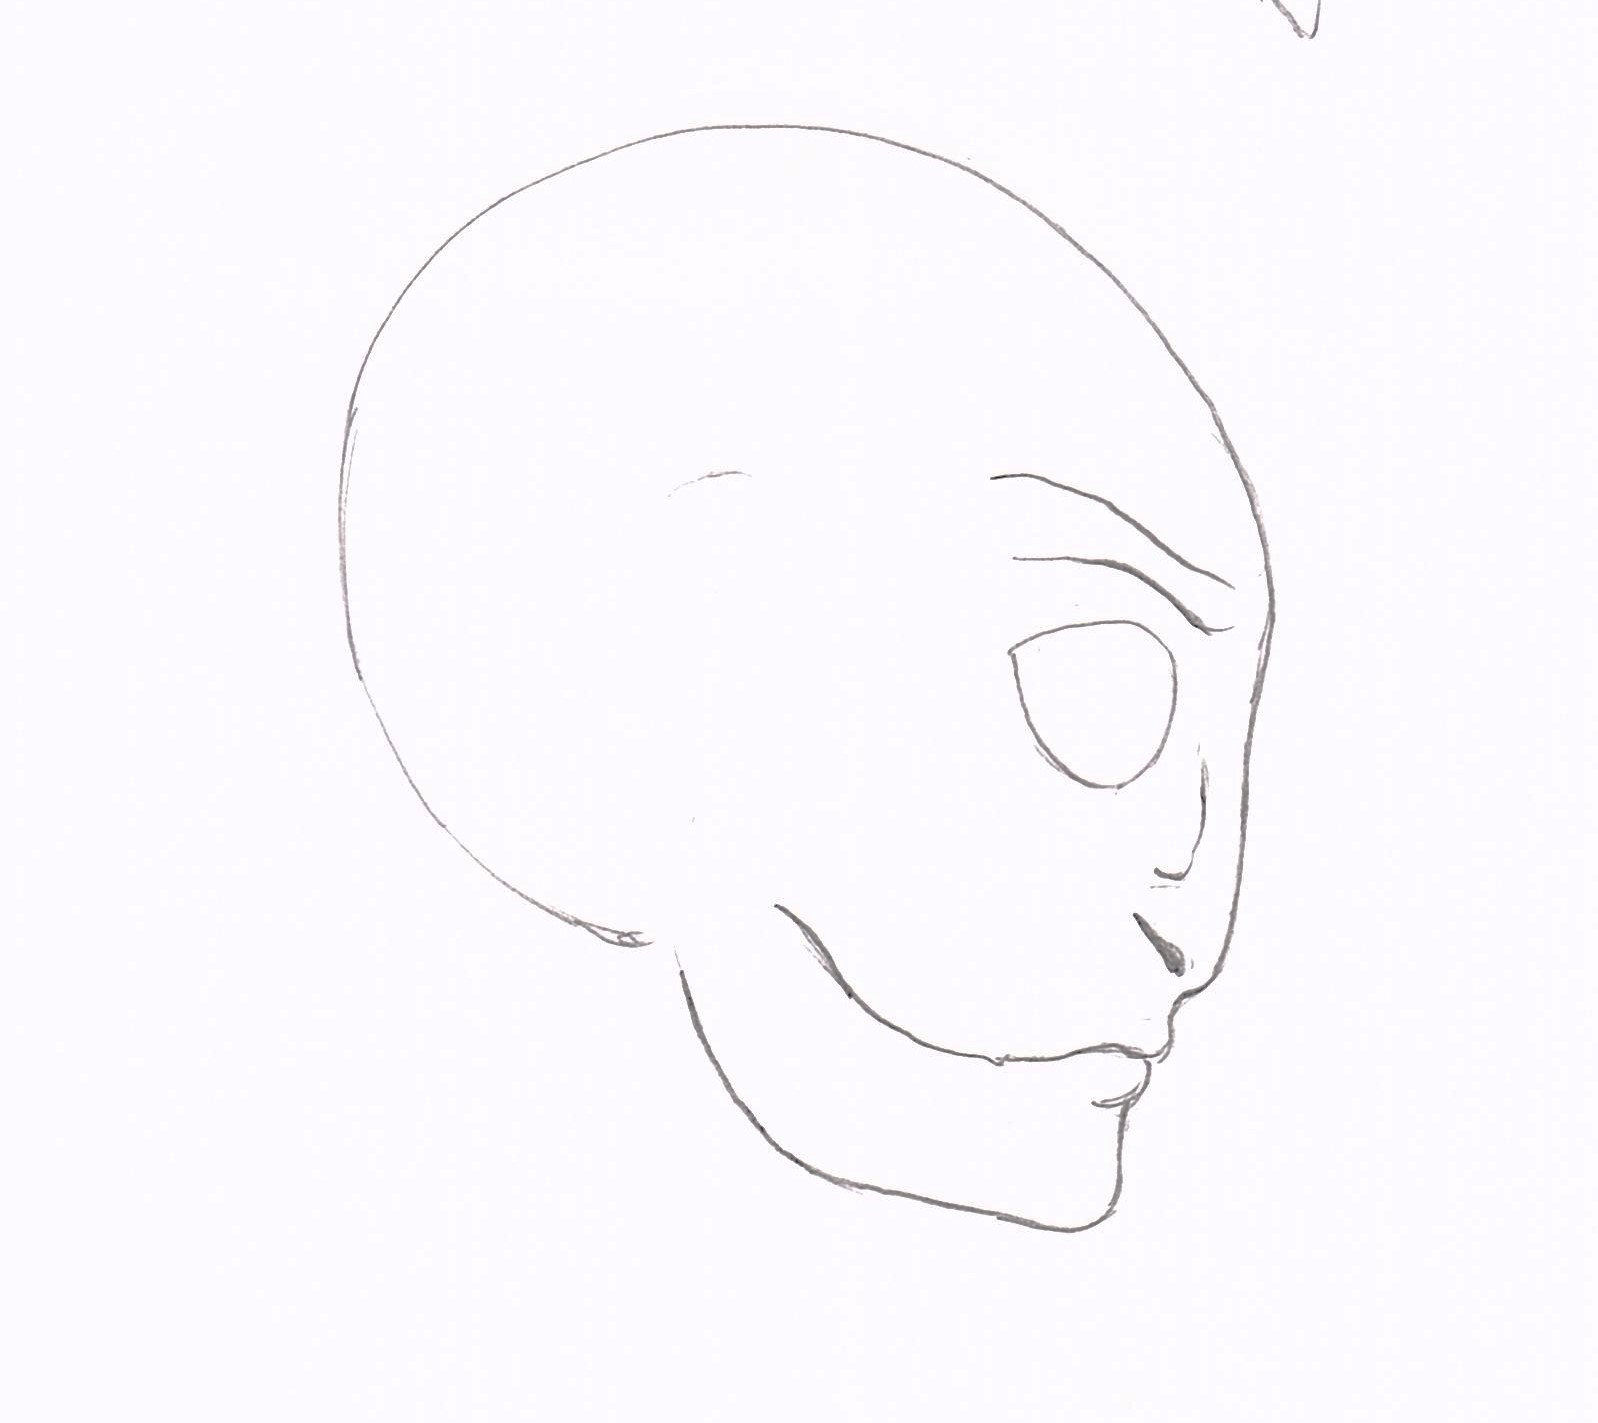
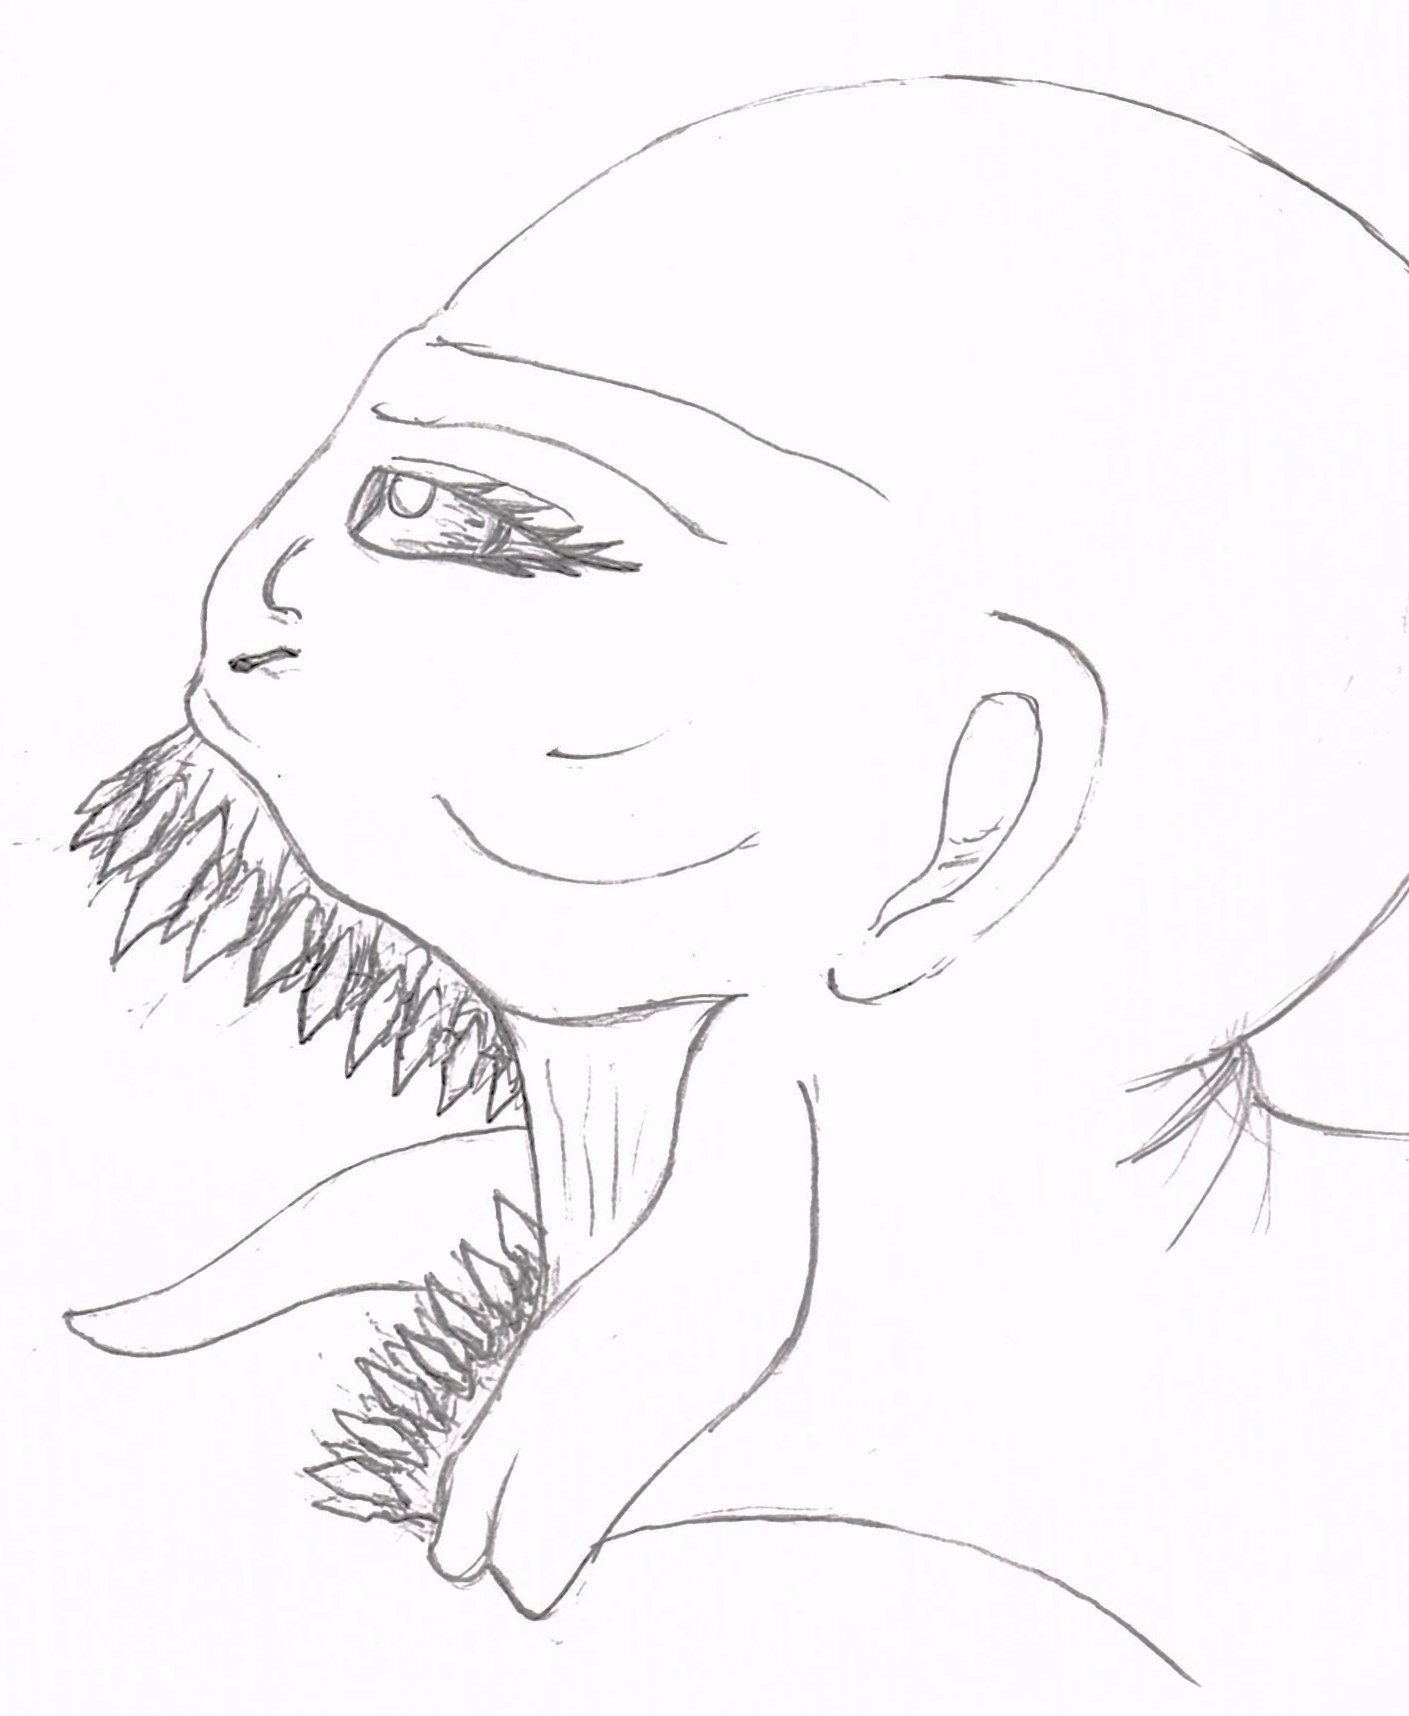
Thanks to some advice I received on my original post, I already found a solution to separating the separate elements into subtools, so she has two eyes, a jaw with two full sets of teeth, a tongue, and individual eyelashes. Right now my goal is to try and create a subtle slit along the side of her cheeks, which would allow her to open her jaw abnormally wide, as I envisioned in these sketches:

My question right now is, how would I go about cutting through the mesh along her cheeks to achieve the effect in the drawings?

Attachments
ZBrush Document028.jpg

ZBrush Document030.jpg

Siren Doodle 6.jpg

Siren Doodle 5.jpg

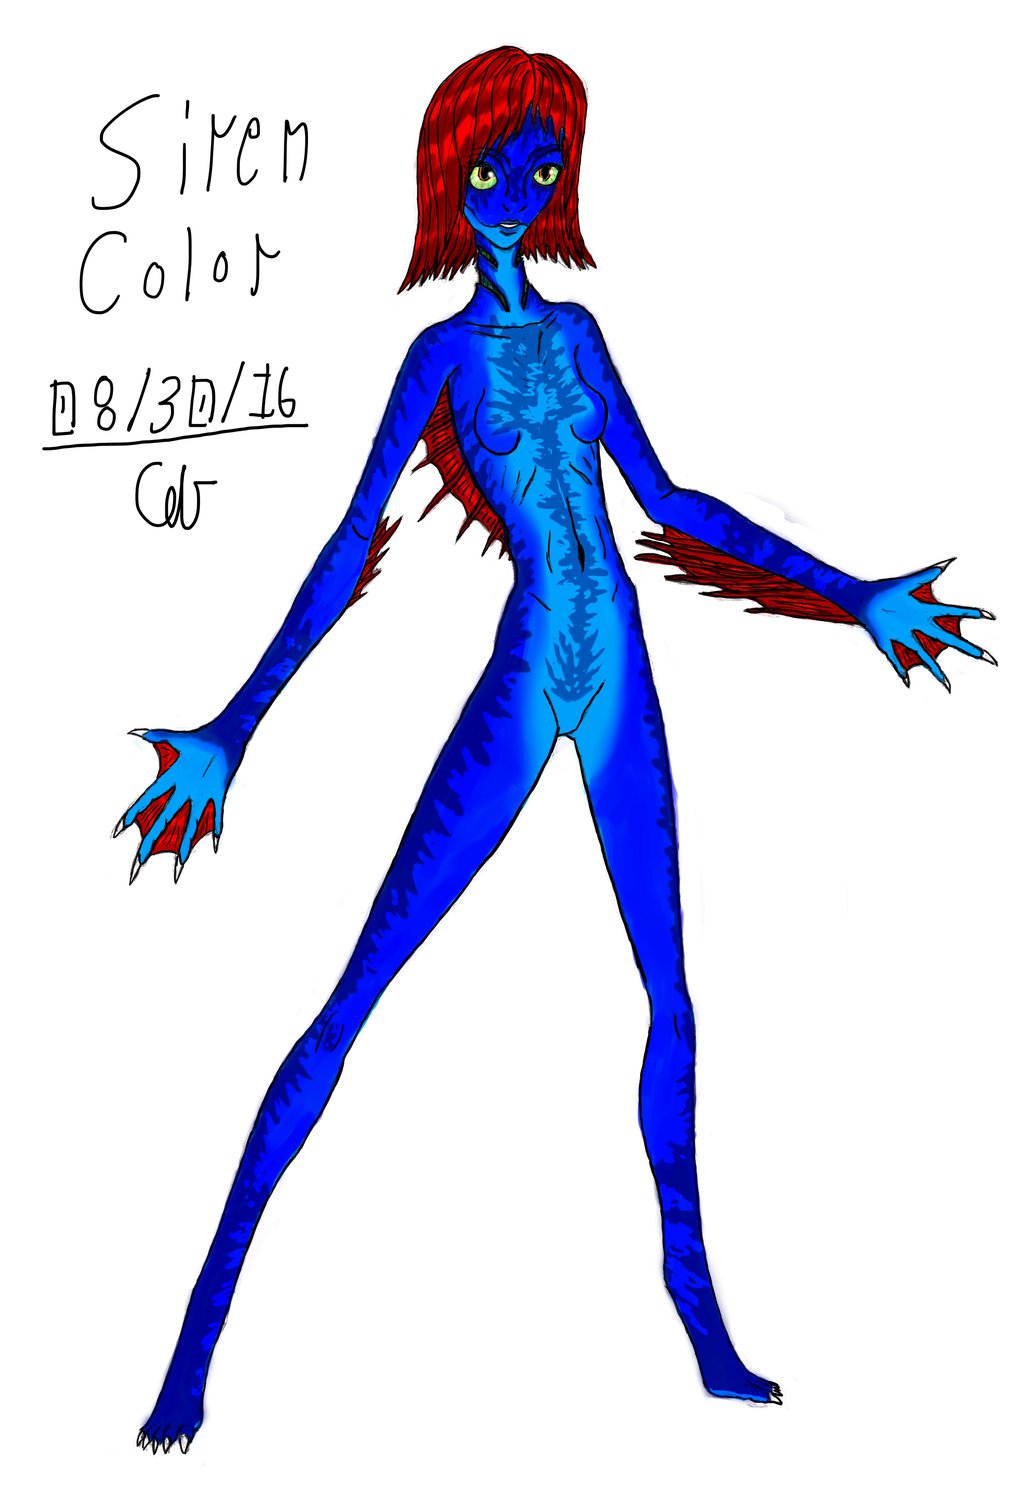
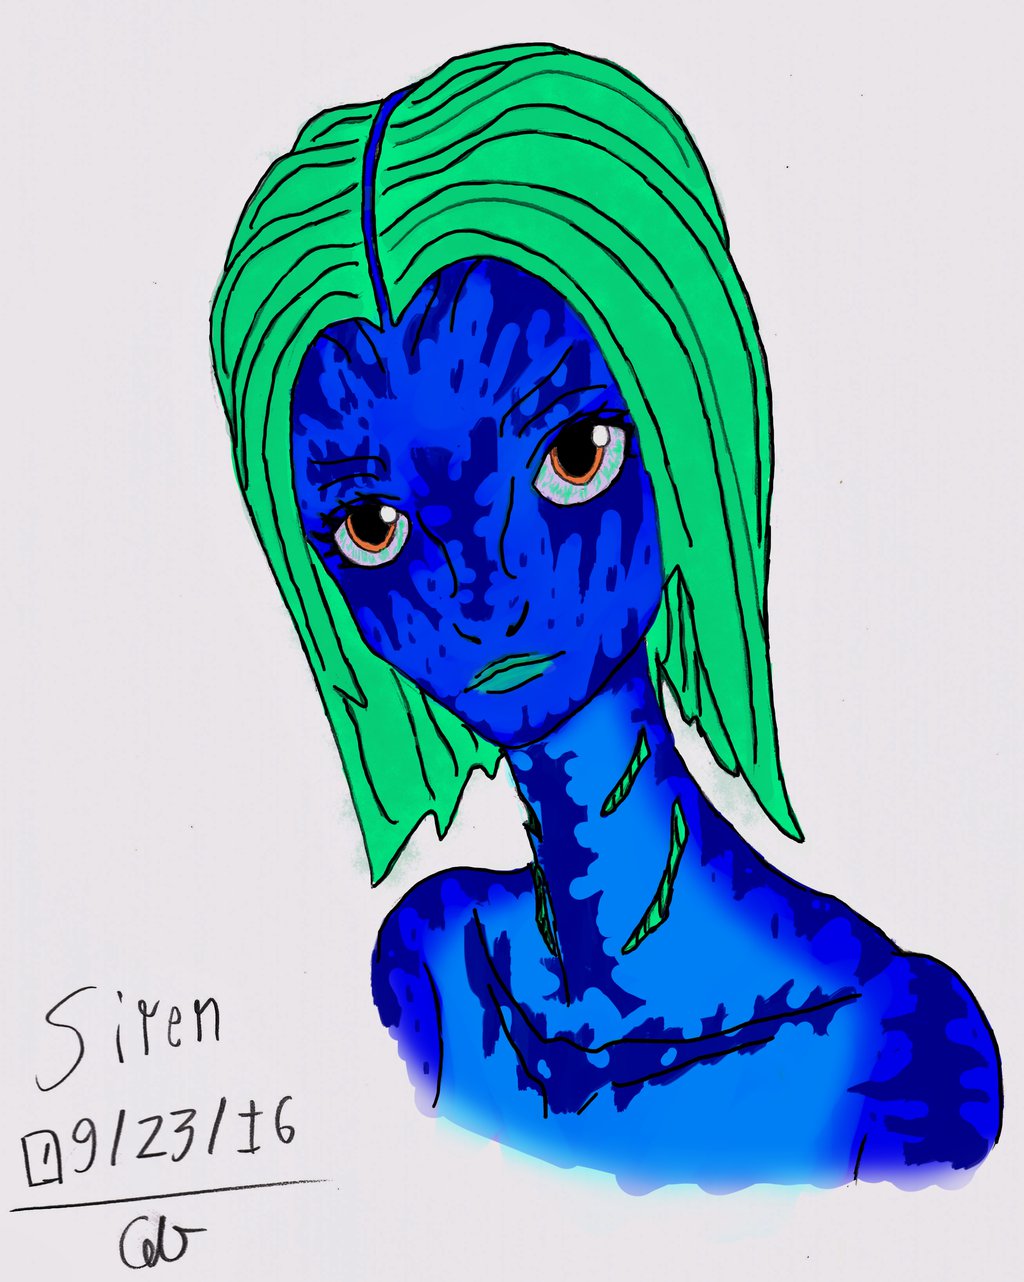
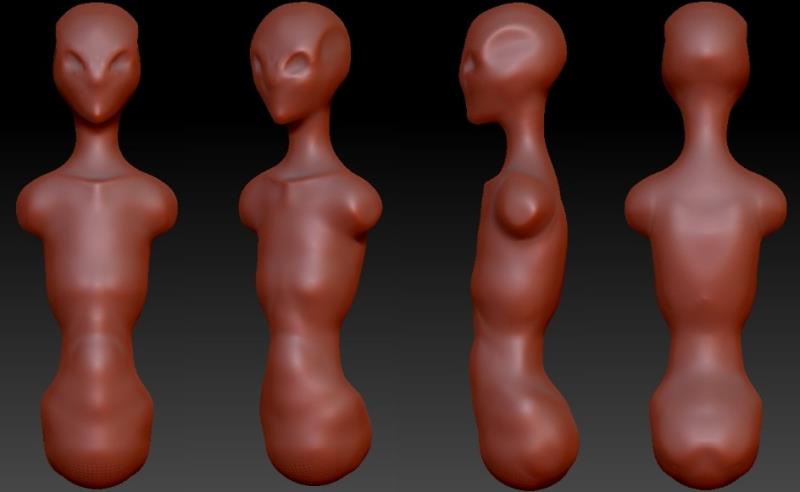
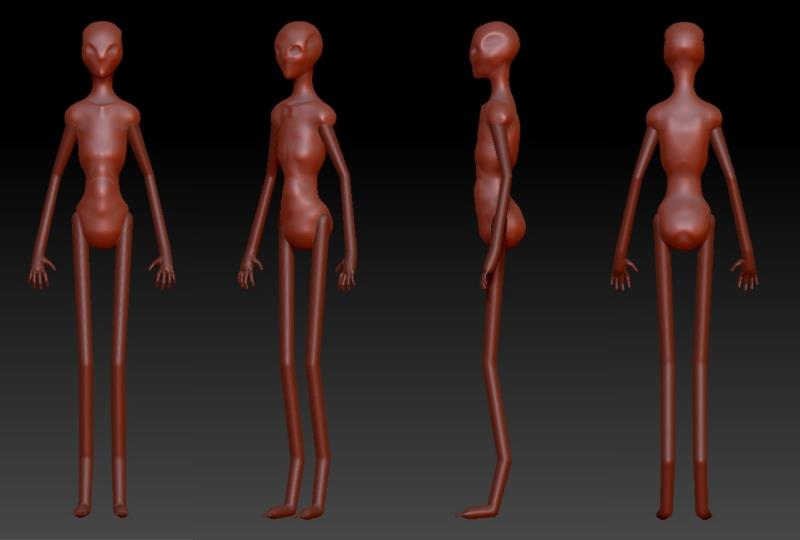
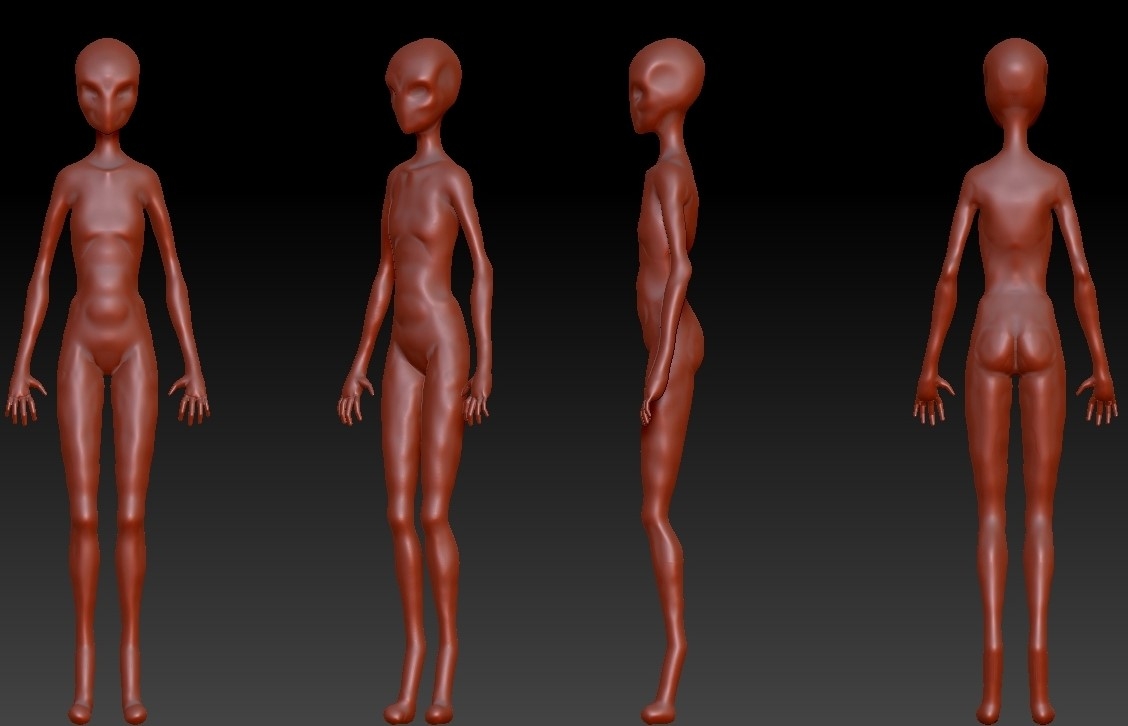
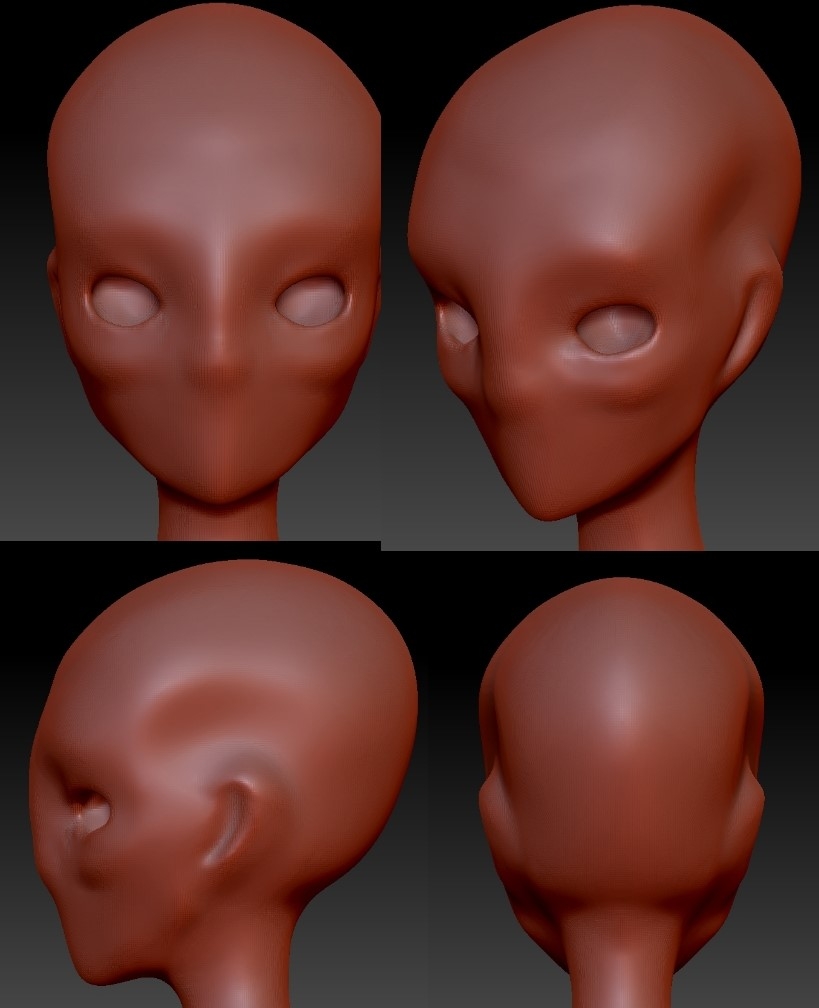
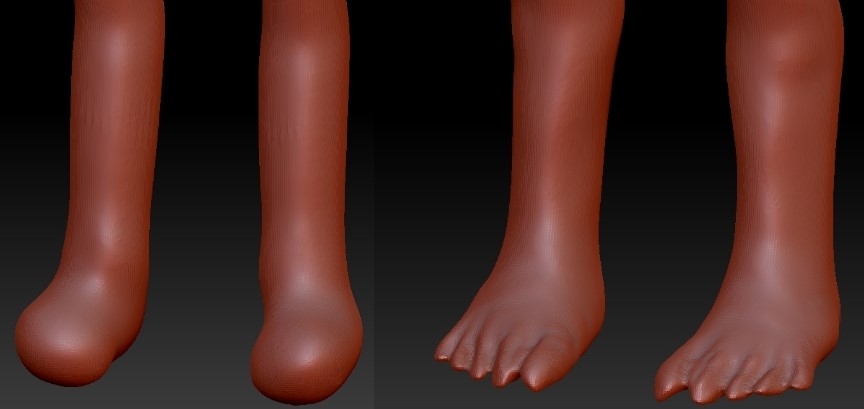
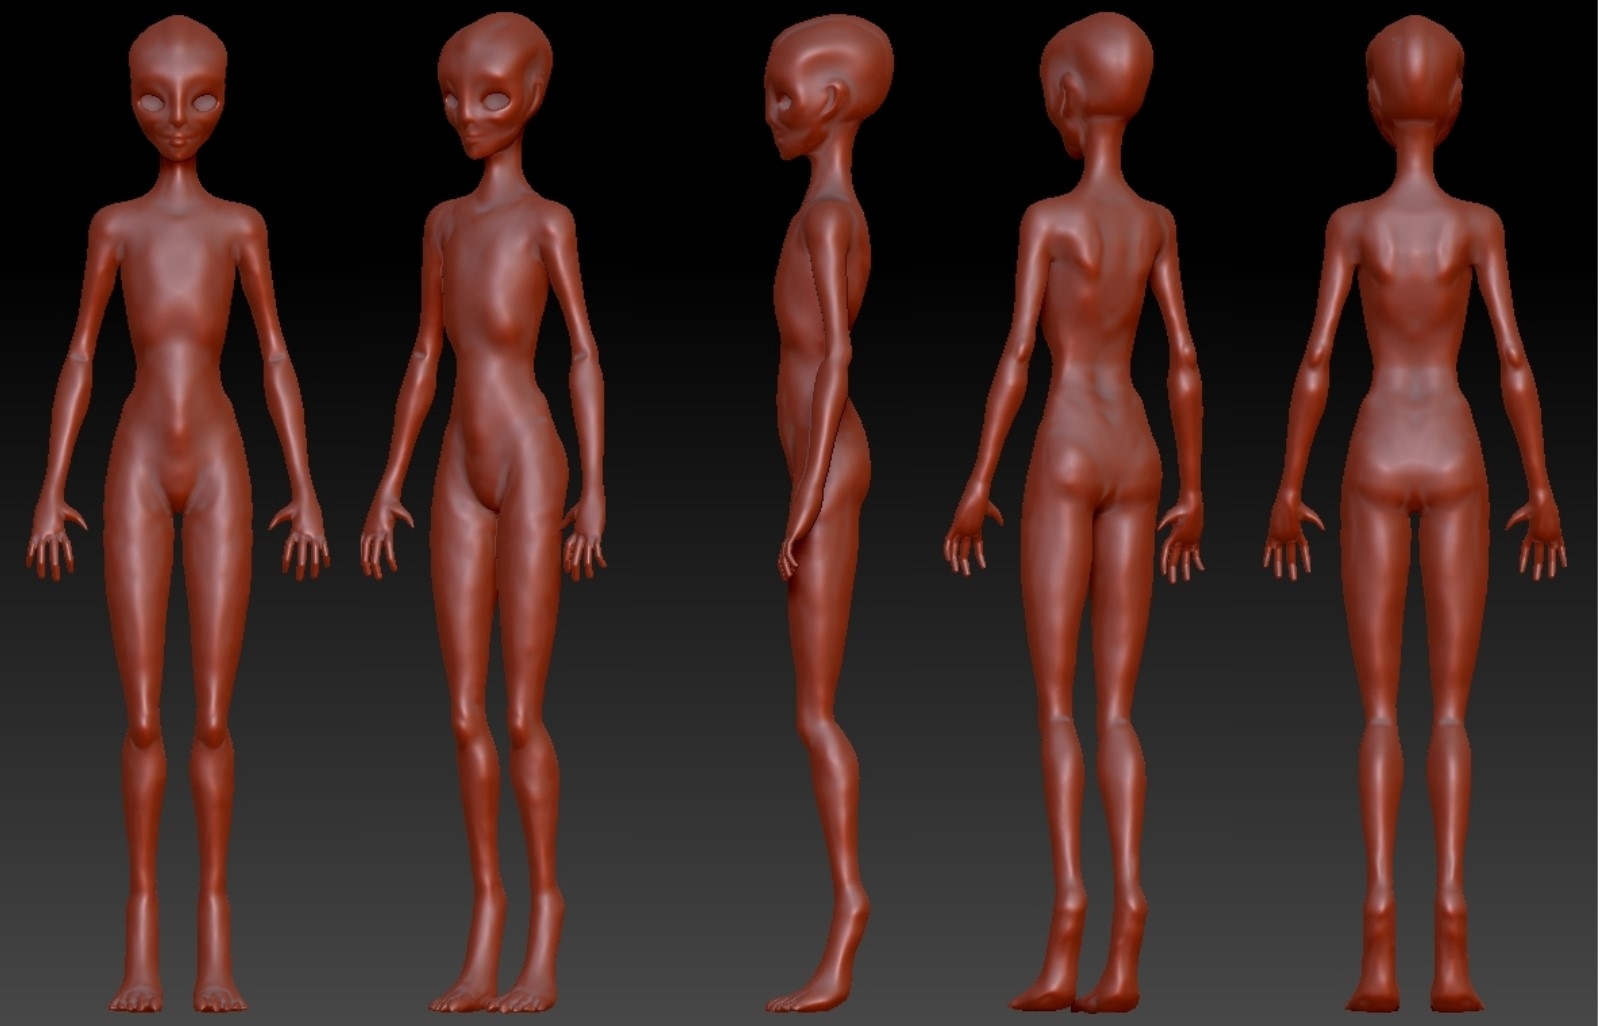
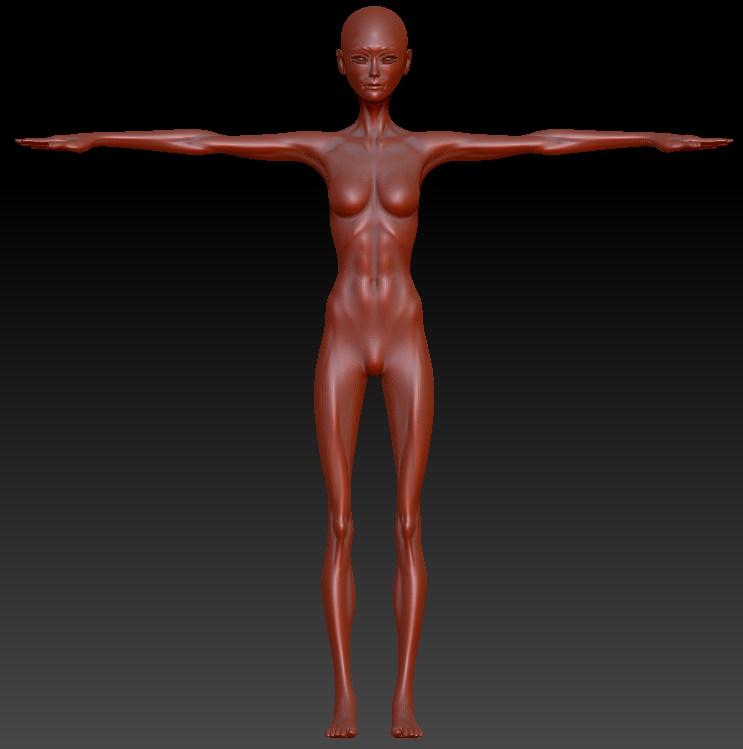
l Haven’t updated this in a long time, unfortunately it’s been quite a struggle getting settled down with a finalized model. I decided to abandon the pre-made mesh and build a new one from scratch. The design for the Siren has also changed, which includes getting rid of the slit along the side of her cheeks, and reducing the size of her various fins. I did a couple of digitally painted over sketches to experiment with color, which I hope represents what the Siren will look like when complete! Also included are the series of steps involved in the development process. I began with a sphere that I sculpted on in Dynamesh, then used the adaptive skin from a couple of ZSpheres to create the arms and legs. After that it basically became a series of tweaks and modifications… I honestly haven’t left Dynamesh yet, still not where I want to be detail wise. I’ll post the second half of the design process in the post below.

siren_color_sketch_by_adventdestiny-dag08wc.jpgsiren_digital_head_sketch_by_adventdestiny-daisd5m.jpgbe2c0843-32df-411e-a29d-e750.jpg9911fa30-30d1-4139-95ee-c426.jpgrhumn1urwfk8.jpg8p0lhdhmz6bu.jpg7p7ueaqd56xb.jpg8g73atptn0kq.jpg

Second part of my development process for my Siren character. I created her “hair” by masking her head and extracting a mesh from that. I also created the webbing in her fingers, and actually the fingers themselves by inserting a squashed cylinder mesh and a circle mesh. I cloned cylinder to create the fingers, fused them to the hand, then did the same with the circle, which I placed between the fingers, after filling in the empty side with the Close Gap option [otherwise if you looked at it from behind it’d just disappear].

I think you are on the right path with making your own mesh.
One thing you may wish to do is have a separate subTool for the eyes. I do this so I have a reference, and can more easily make Also, feel free to change out the material type from the red clay to any of the others. I do this so I can find details or flaws not visible with other materials. My preferred materials are MatCap Gray and Basic Material for sculpting. For masking difficult things where the shadows can fool me, I use the MatCap Framer01-04. Naughty Dog has another material, nd-cloth, that is good for sculpting clothes, but also good for hair.

True story, I actually did change the matcap material to gray clay and created subtools for the eyes, before I even read your post! I actually split the main mesh into several subtools, to make it easier to sculpt in much higher details once I’m ready for the final sculpting phase. I also ended up importing the jaws, teeth, and tongue from the previous Character Creator model I ultimately abandoned. Seriously though, thanks for the advice!

gsxi5oq0odan.jpg

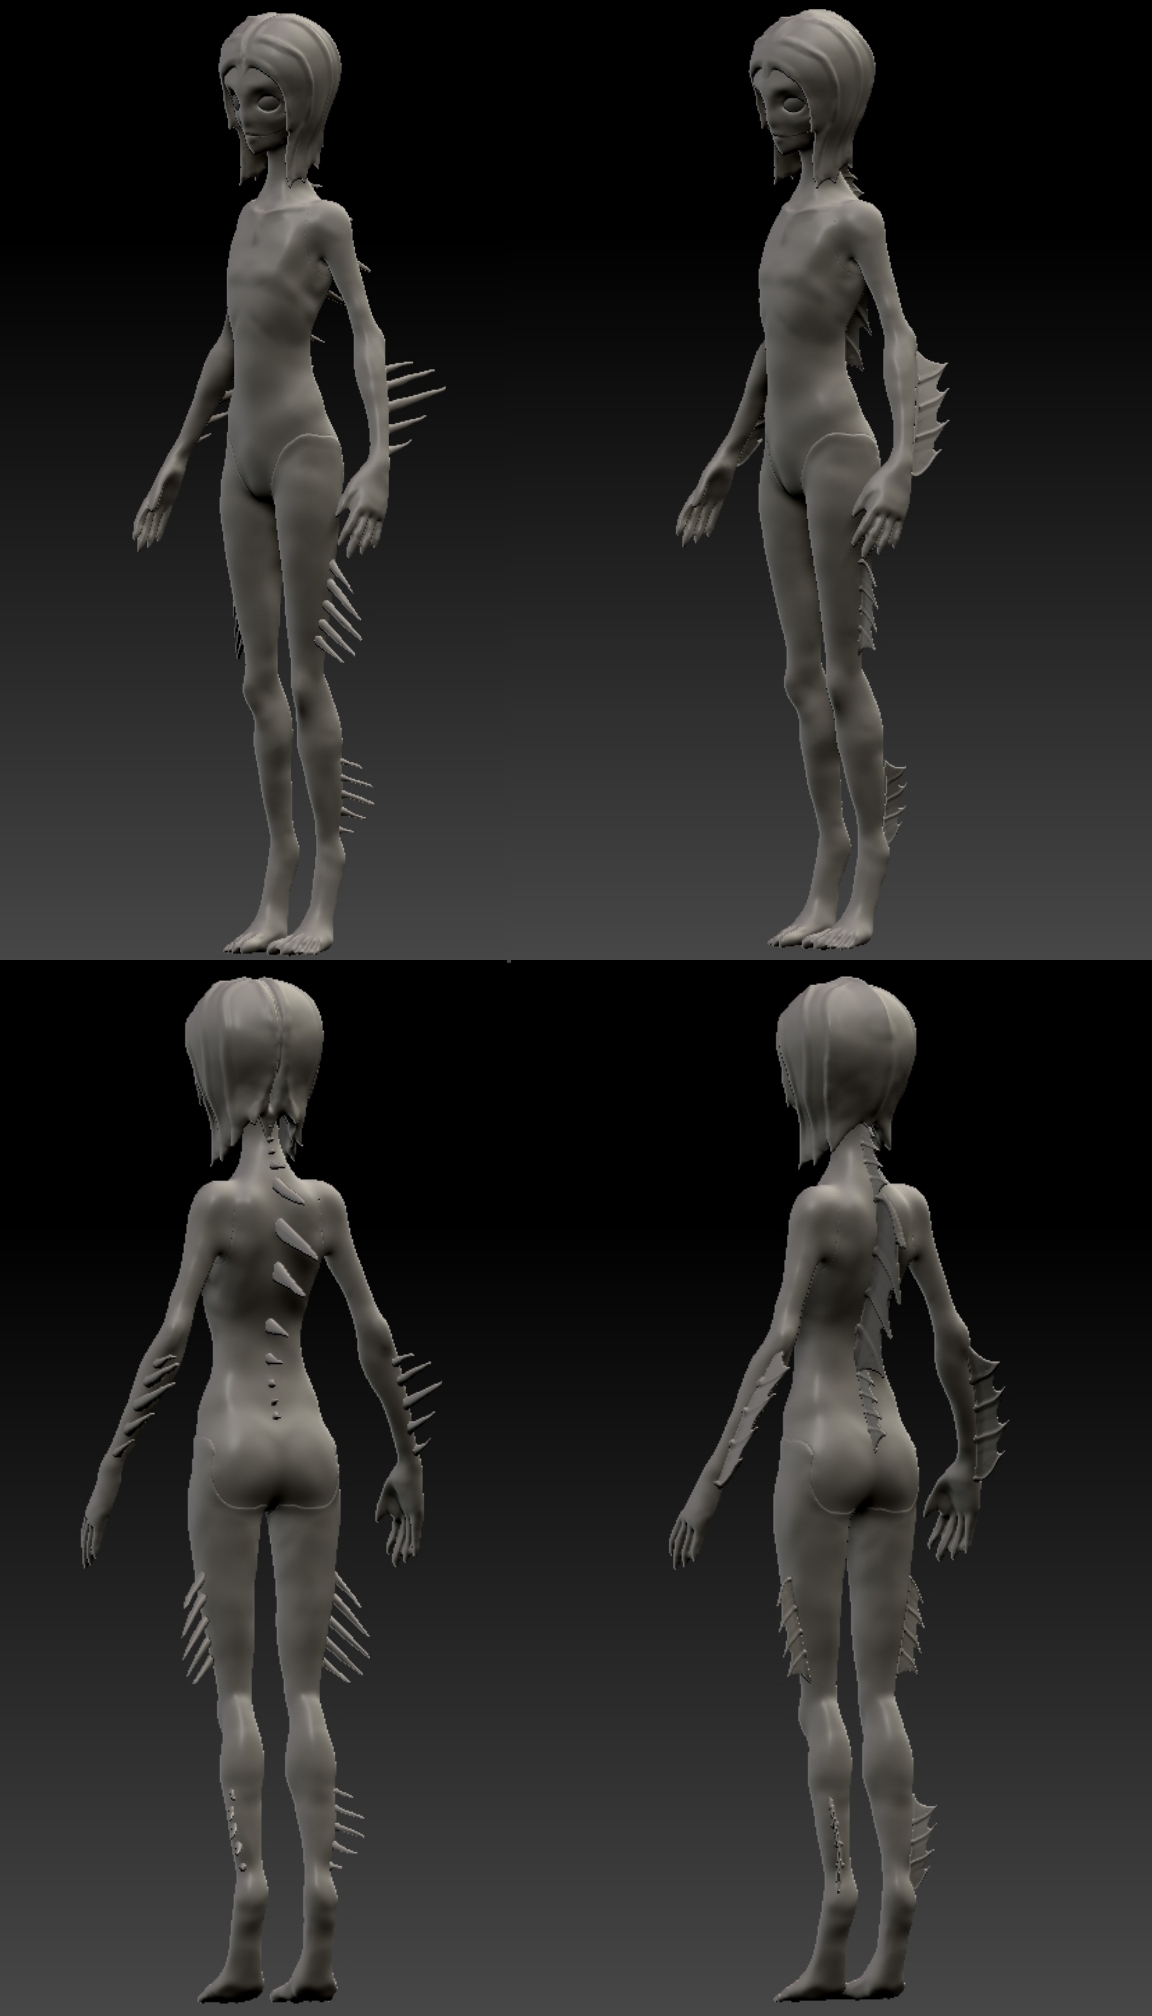
I carried on with designing the Siren, working on the fins which I originally intended to create custom Insert Multi Meshes to accomplish, but that didn’t work out. So I was going to try and create the fins the same way with the webbed hands, inserting a plain mesh between a series of spines I created. I was halfway through doing this when I discovered the free Spikes and Fins IMM offered by a ZBrush artist by the name of Michael Dunnam [if you’re reading this Michael, you rock man! Thanks for offering some great preliminary meshes to help aspiring artists like myself!], which included the cool looking fins you can see on the right side of this pic.
Model Reference20.jpg