ZBrushCentral

Second Life Sculpties in ZBrush - ZSculpty Tools (updated Aug 2021)

Hey everyone, hoping there is an easy fix for this, I’m relatively new to using Zbrush and Zsculpty.

I’m on Zbrush for, using Zsculpty to export for Second Life. When I import the Sculpt Map, I lose most of the detail from the mesh I’m working on. With my limited knowledge, I’m assuming it has something to do with the division levels, or something like that. If anyone can help, that would be awesome. I couldn’t post on the Second Life site or I would have.

I’m running a MAC, and haven’t tried Sculpt Maker, not sure if I can, but I would love all suggestions on how to keep my details in the Sculpty when I import to SL, thank you.

Actually you’re not doing anything wrong, it’s just that the sculpty format is very limited. Compared to a model in ZBrush, particularly one with subdivsion levels, the sculpty will look poor. This is because the mesh points are stored as colors, and there are only 256 values on each axis, so a lot of data is lost in the conversion.

One way around this is to bake some detail into a texture map, for example from a cavity or ambient occlusion map. This can then be displayed on the sculpty in SL.

This link gives you some good general information on sculpted prims:
http://wiki.secondlife.com/wiki/Sculpted_prim

Hope this helps and apologies for the delay in answering your question.

just wondering if its possible to export all the subtools in zbrush 4 with the old zsculpty plugin where is exports all the subtools at once? this way i can put the maps in my sculpty rezzer and it builds the individual prims the way they are in zbrush… is this not possible in zbrush 4 now?
Thanks in advance :slight_smile:

I believe the old z-sculpty plug-ins (the standard and oblong versions) still actually work in version 4.0, however they depend on the uv’s you create from the tool palette when pressing “make polymesh 3D” from the tool palette. There is a problem with these UVs when texturing as they are not set up to properly transfer polypaint. Marcus very thoughtfully provided an updated plug-in which creates excellent uvs for texturing and sculpting making.

If you need to use sculpty rezzer to combine subtools in Second Life, you may want to use a blend of both plug-ins. Check the excellent video on Vlad’s Shiny Life website, I believe there is a good explanation of the procedure there and the information might also exist here on the Zbrush forum also.

Also there is the additional option of using Sculpty Maker, the stand alone program, which converts objs exported from Zbrush to the kind of sculpty maps with the info need for sculpty rezzer to assemble the subtool parts in Second Life.

Ok thank you very much for the info Nancyan :slight_smile:

Hello, I’m having a problem… I made a sculpty with the primitive (32X33) sphere and made it a polymesh. The sculpt map for it is great, however when I mirrored it, I ran into a snag.

I tried mirroring it two ways:

  • In the subtool pallet I clicked Duplicate, selected the duplicated sculpty prim, deleted all lower subdivision levels below the highest(total of 4), Deformation pallet - Mirror X axis, and in Geometry I reconstructed it’s subdivision levels.

  • In Subtool Master I chose Mirror on X axis, and append as a new Subtool.

Both ways didn’t work when I went to Export Sculptmap. So I thought maybe I should Scale UVs on the duplicate/mirrored sculpty prims but that didn’t work either. I got this prompt, “Mesh is not suitable for sculpt map, operation aborted”.

I know I can flip the original sculpty prim in SL in the Build option, but I want to texture them differently. Anyone have an idea of what I can do? Thanks

Have you tried flipping the object in Zbrush just for the purpose of making the texture? You can then apply the texture to the sculpt that you have flipped with the SL build tool. I haven’t tried this myself, but it seems like it should work.

I’m not sure you need to bother with the second sculpt map, although I might be missing something here. If you need an actual flipped sculpt map you can flip the sculpt texture back in Zbrush if you import it back in as a texture and use the texture flipping options (I forget which direction…maybe vertical and inverse. You’ll need to experiment).

Alternatively your next best solution might be exporting the sculpt as an obj and use Blender 2.49b with the Domino/Primstar scripts that you can get from http://dominodesigns.info/project/primstar or http://blog.machinimatrix.org. Import the sculpt map using the import from sculpt map option (it doesn’t list bmp files, but they’ll work fine) and and scale your object -1 on your chosen axis. Also be sure to CTL-N to make certain the normals are flipped outside.

By the way, did you use Marcus’ Zsculpty script for exporting the sculpt map or the older plug-in from the Shiny Life website?

I tried saving the sculpt as a .obj file also and went to make a sculpt map with the sculpty maker program but it shows multiple vertical and horizontal blacklines over the sculpt map texture, it’s weird. So exporting the mirrored sculpty isn’t an option? What I’m trying to do is make ears but I don’t want them identical (OCD like that lol) and I wanted to put a slight difference in texture.

You wrote:

“In the subtool pallet I clicked Duplicate, selected the duplicated sculpty prim, deleted all lower subdivision levels below the highest(total of 4), Deformation pallet - Mirror X axis, and in Geometry I reconstructed it’s subdivision levels.”

Maybe you are forgetting to come down on your subd’s before exporting the second flipped mesh as an obj for the purpose of making the sculpty map in Sculpty Maker.

After mirroring the object, recreating your subdivision levels and doing your sculpting and texture changes, be sure to bring the object back down to level one to export for the sculpt map. You may not actually need to go as far down as level one but you were probably too high up on the subd levels for Sculpty Maker to work.

I was unable to use Marcus’s zsculpty plug in to make a map of the flipped mesh (It caused a crash), but I was successful at mirroring the mesh, reworking it, exporting it as an obj to produce a sculpt map via SculptyMaker.

Pretty sure I switched it back down to 1 but I retried and I had the same results, not sure what I’m doing wrong. They are both at 1024 polys and 1056 points.

I tried a few more things including your method of removing the lower subd’s for mirroring and restoring them (which I thought might have been the problem as I originally deleted the high). I can’t seem to reproduce the error.

Another thought might be in your naming of the subtool. I seem to remember Sculpty Maker is a bit picky about long names since it attaches position data used by Sculpty Rezzer. Try using a very short name and see what happens.

And the only thing you didn’t mention whichI added to the work flow is I offset the first ear before mirroring it…in my case offset on the X. Perhaps that was the key to my success, but I doubt it. It may be the name.

I realized I forgot to use the initialilze settings you mentioned. I was using the generic sphere 3D. I tested the intialized 32x33 sphere you described and found that if you intialize a sphere and then attempt to turn it into a polymesh via Marcus’ Zsculpty plug-in (his plug in corrects the change in the UV’s in ZB4 so the polypaint transfers properly) you cannot use Sculpty maker, but you can of course use the sculpt map function from his Zsculpty plug-in. I had difficulties then using the mirror function. If I tried his plug in for the sculpt map I crashed.

It does seem that the generic sphere 3D turned into a polymesh using Marcus’ plug in WILL be accepted by Sculpty Maker (not sure why), BUT the mirrored mesh will only work if you delete the HIGHER subdivisions, not the lower ones. Deleting the lower ones creates a sculpt map with black lines.

Again as discussed on previous postings, the polymesh created from the tools palette cannot transfer polypaint correctly. So I would suggest you use the standard sphere 3d (NOT initialized), use Marcus’ plug-in to convert it into a polymesh, and delete the higher subds before mirroring. Then use Sculpty Maker so you can create a map of the mirrored mesh.

Thank you :sunglasses: . The problem was as you said, I deleted the lower subdivision levels rather than the higher ones. I was also using the “Reconstruct Subdivision levels” button and that wasn’t necessary because I could simply Divide as the original sculpt.

I’m glad it worked for you! Just a reminder for anyone who follows this procedure, save a morph target at the highest subdivision level that you want to return to and reapply it. Just deleting the higher subdivision levels and re-subdividing won’t bring back the detail in the exact way you sculpted it and you may want that detail to bake into the texture.

I'm totaly noob! :roll_eyes: I do all like you say instaling ZSculpy tool for Zbrus 4, and whenever i want to make polimash or something else it say for me "Error opening file".

I check everything from previus treats and this don’t work for me. I’m on Windows 7. With this error i can’t learn more and this is very confusing :grimacing: for me. Please help me, Tnx.error.jpg

Attachments

error.jpg

Sandra, I’m assuming by “Zsculpty Tool” you mean one of the plug-ins. Its important to use the correct terminology to avoid confusion, since meshes in Zbrush are often referred to as “tools”. I believe this is because before you hit the “make polymesh 3d” button and convert them, they are tools for drawing on the 2.5d canvas.

Which zsculpty plug-in are you using? The one from Zbrush Central authored by Marcus or the older one from the Shiny Life website?

I’m a zBrush noobie and I hope my question is not off topic, but before I try zSculpty I thought
I would ask if anyone has had success creating a decent, painted zBrush tool in zBrush 4, using
UVMaster, and then running the .obj through SculptyMaker and having it come out looking decent
in SecondLife.

I have been studying the Aminita mushroom tutorial on ShineyLife (thanks very much to Vlad for that!).
I can create an Aminita tool that looks pretty close to the one in the tutorial, including the painting.
Also, I can export the tool to an .obj, run it through sculpty maker, and the shape comes out just fine
in SecondLife.

Where things go awry for me is with texturing the sculpty in SeccondLife. The ShineyLife tutorial
was done with an earlier version of zBrush that had a Tools > Texture menu with a Color To Texture
button. Since I am running zBrush 4, I don’t have that option. As I understand it, the zBrush 4
replacement for “color to texture”, is the UVMaster plugin, is that correct?

So, I installed the UVMaster plugin and I got to where I can Work From Clone > Unwrap > Copy the UV’s
> Paste UV’s > Texture Map > Paste from Polypaint. When I export the texture, it looks right in 2D,
but it doesn’t wrap around the sculpty properly. I’m guessing the problem is with the seams, which I
only have a basic understanding of.

It looks like everyone is moving toward zSculpty as the best way to both create the object, and texture
it within zBrush 4. But, before I try zSculpty, I thought it would be a good learning experience to see
how close I can get to properly texturing the Aminita mushroom with UVMaster. Is it possible, or am I
just wasting my time and I should just delete UVMaster and go straight for zSculpty?

Hi sdc, you are making a simple process way too complicated. :slight_smile: With SL sculpties and this plugin, you need never touch UV master at all, this plugin does the creation of the correctly sized and scaled UV for you, all you need to do is texture it and export it, using either sculpty maker, or the built in sculpty exporter in the plugin (though my sculpties exported using this plugin are terribly lumpy so I use sculpty maker exclusively).

Where I think you have gotten confused is the texture menus have changed between V3 and V4 in Zbrush. To convert your polypaint to texture, in Z4, unless you have used the “make Polymesh” button included in this plugin, you will get a flat colour texture, not your painstakingly created polypaint. Hitting “scale UV’s” in this plugin will correct the problem, and then you just go to the “tools - texture” palette on the right side of the screen in the default UI setup, and press the “new from polypaint” button to create the texture. Then you clone it in the same palette, and from the top texture menu, you can export it to PSD.

Zsculpty started as a way to correct the incorrectly scaled UV that is created when you use the standard “make polymesh” button after you’ve initialised the sculpt using the standard process that you’ve already found on Shiny-life, Marcus added a few things, but if you want to successfully make sculpties in Z4, you need this plugin, or you have a lot of messing about with UV scaling on your hands.

So… tl;dr version (steps 4, 8 and 9 are the big changes between v3 and v4)

1 - Download and install the Zsculpty plugin contained in this thread
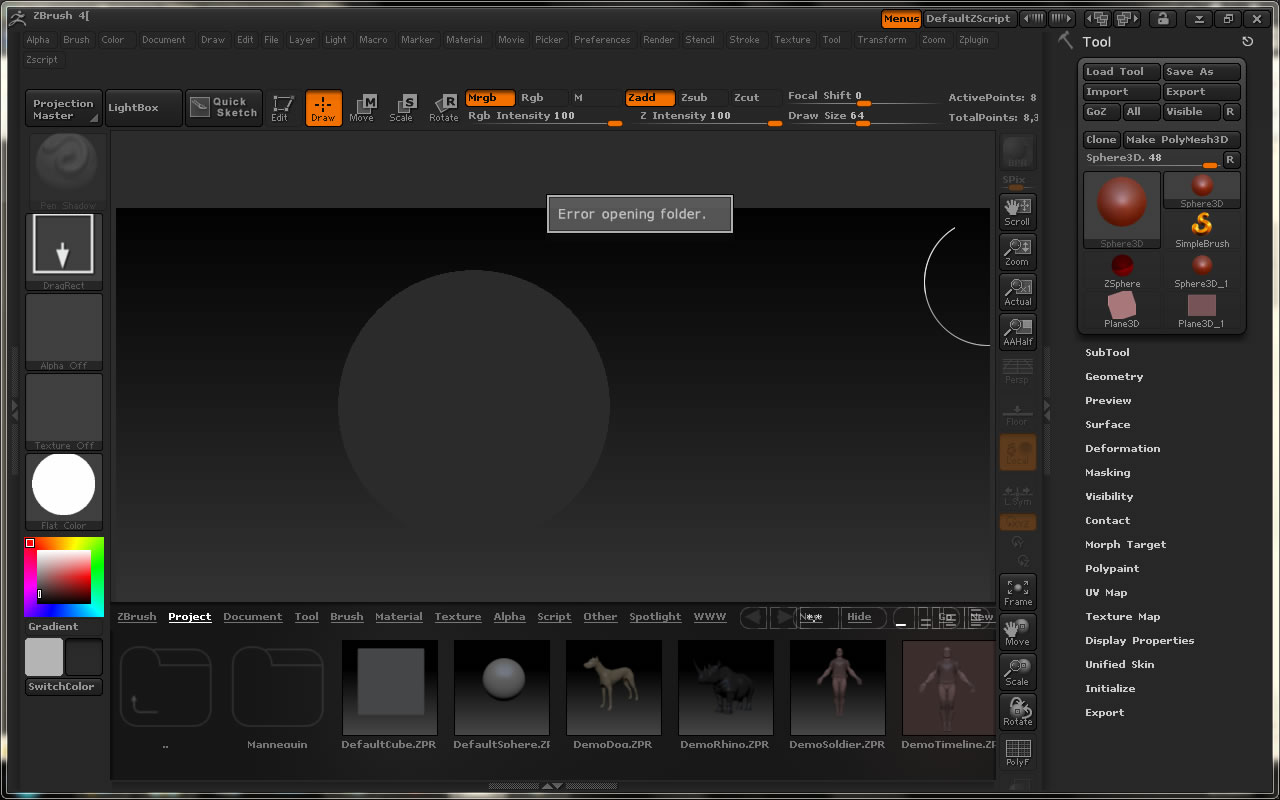
2 - open Zbrush and hide the lightbox menu
3 - select a sphere 3d and initialise it as usual
4 - go to Zplugin, Zsculpty tools, Make Polymesh
5 - sculpt your sculpty to your hearts content without cutting the mesh or adding geometry through extrude or similar
6 - export your sculpty as an .obj and run it through sculpty maker - upload to SL to test that it works
7 - subdivide your sculpty and texture it with whatever method you like
8 - Tools, textures, New from Polypaint
9 - clone the new texture, then texture - export.

10 - clean up/resize your texture in an image editor, save as .tga
11 - upload to SL and test on your sculpty.

Couple of things to note - the texture may need to be flipped horizontally to fit the sculpty in SL and your sculpty may come out inside out, you can fix that in the SL build tools.

I hope this helps you get on the right track :slight_smile:

This is great! Thanks Iridescence for such a detailed and yet easy to follow list of instructions. Everything worked perfectly! Here is what it looks like:

![SecondLifeAminita3_001.jpg|768x461](upload://rNNSwk40pCrJYdT0OiDBcoYtiRQ.jpeg)

nice sculpty 'shrooms!