ZBrushCentral

Sean's Sketches (Anatomical Nudity)

@SolidSnake: End product will be less, or maybe more revealing, unsure of where I’m going with her skirt still, maybe I’ll split it up the side, depends I think on her pose, will see when I get there I guess heh.

@ John: Hi, not sure of your native tongue but “japs” is an extremely derogatory term used as a slur against Japanese and those of Japanese heritage. I’m going to go out on a limb and say you probably didn’t know that as this is a mult-lingual board here, but as my fiancee and her family are Japanese, well you can see I would be a bit put off reading that here. But I expect it wasn’t intentionally meant to be harmful but you just probably didn’t know that. I just don’t want my in-laws to read this thread here and feel uncomfortable at seeing a racial slur here. It’s the internet I know, but still a little tact goes a long way.

[shoerender1.jpg](javascript:zb_insimg(‘190306’,‘shoerender1.jpg’,1,0))

Some work on the shoes, probably will make the buckles a bit less shiney and maybe a bit less skewed, straighten them out a bit. Probably work on the texture in photoshop now, that was all zbrush so far but I think I can bring a little more oomph to the wear and tear and some vibrancy to the hue in photoshop, should be easy enough.

Some great experimenting going on here! Cool of you to share your workflow :sunglasses: :+1: ! Thanks.

Enjoying your sketchbook alot…:slight_smile:
Thanks for the useful tip on how to make the mesh more workable in that ornament piece example…Will be very useful to me in some areas where i’m having trouble with the mesh as I sculpt on it…:+1:
I also like that room that your working on…Is there a reason that you built it in the other program, and not in Z Brush…Just curious on my part. I only have Z Brush, and was thinking of making a 3d room to place my 3d figures in,but have yet to try it…mostly out of fear that it would suck up too much memory on my computer.
Also like that play with the new brushs on the terrain plane…also something i’ve yet to try out, but have been thinking of doing…:slight_smile:
Anyway, very inspiring sketchbook you have going here…Thanks for sharing your ideas and experiments…Great :+1: :+1: :+1: :+1: :+1:
CHEERS

Beautiful crest/medallion! Thanks for the tips and description of workflow: VERY useful.

Hi guys, thank you very much.

Spiritdreamer, I would say the biggest reason to create a boxy kind of model such as the room I created there in another application other than Zbrush would mainly be the speed at which you could get a project like that done, and secondly the ease of frustration of doing it.

Zbrush is the best sculpting program made in my opinion, but there are other programs that make creating clean base geometry as easy and problem free as zbrush makes sculpting, if that makes any sense.

I would like to advocate for Hexagon, the program I used there to create the room, however I really can’t do that in good conscience for a couple reason, I’ll weigh in with some pros and cons, with the cons first, since they’re pretty big cons.

Cons:
They may never develop for the product again. It is in Limbo right now as the company that made it is focusing all of the attention on other applications in their line.
If they do not update Hexagon, then as technology advances and operating systems, drivers and workflows evolved, this program, like others that have died out will become obsolete and may not even run on systems in the future. It’s got the potential to become obsolete, and that’s the biggest con.

Secondly, it’s unstable and has several critical bugs that cause it to crash frequently unless you know how to finesse it and work-around all those bugs that can cause it’s instability. Imagine if they stopped updating Zbrush at version 2, and then just left us with all that potential, never realizing the modern workflows that people would need and how things change and how bugs need to be fixed to prevent frustration, well that’s what is happening with Hexagon, so I don’t really recommend it on those grounds.

Now the pros of the software are that’s it’s really affordable, slick interface, simple to learn and once you get good at it you can zip through creating simple geometry in no time flat for use in other programs. It has rudimentary displacement brushes, smoothing brushes and all of the barebones tools you would need to create simple geometry. However, it suffers from so many little bugs that things that would simple in other more expensive packages are completely maddening to attempt to do in Hexagon. But for what it’s worth, and the cost it is acquired at, there is alot you can do with once you realize it’s limitations.

If anything it’s taught me the fundamentals of geometry creation in a package outside of zbrush, such as box modelling, spline modelling and extruding faces, making edge loops and such without too much headache and integrates very well as a “base modeller” for zbrush.

Now, there are other options out there and I’ve tried most of them along the way and there are even free options such as Blender and Milkshape to explore. But for me personally, Hexagon was a good fit at the time I needed an alternative to zbrush and it really opened the door for me into the realm of creating 3d objects outside of zbrush in a more “traditional” manner. Unfortunately it may not be developed for again in the future which severely limits usefulness in knowing the software in this ever-changing hobby/field/adventure.

But all that being said, hey, it’s good enough right! Gets the job done quickly and efficiently and I can always model out quick stuff very efficiently with it and when all is said and done, that’s pretty much all I need (for the most part). One day another option might come down the line at that price point, or who knows, by the time Hexagon is obsolete, Pixologic may have broken down and given us a “box modeller” and “traditional modelling” solution directly in zbrush to finally bridge the gap once and for all between having to use other apps to get the easy jobs done quickly. They work on so many things and come up with so many cool workflows but at times I’ve felt they could implement as well “rooms” such as the painting “room” we jump into with the Paintstop plugin when we want to do certain tasks.

I would love it, love it …if Pixo put in some kind of traditional “geometry room” we could jump in to to create in a more fundamental approach, directly in zbrush, the base geometry we like to start out with. Creating something as simple as a polycube for instance takes an extreme amount of abstract thinking in zbrush whereas it’s as simple as drawing a cube and changing one or two numbers in all other apps. They’ve pushed the envelope of 3d creation so far here, but on the reverse side, have had to regain lost ground as they didn’t also keep in mind the simple things.

Like my colorize brush not even working now haha. I used to LOVE the colorize brush, but I think with all the new changes they just get overwhelmed at times and leave some of the older functions in the dust. Like Multi Markers, and how it works about 50/50 now. Or never giving us the option to use x y and z symmetry in 2.5d paint mode, so when we go to projection master we lose all of our beautiful symettrical functions and such. Stuff like that, you always got to have a backup plan, other software to use because I honestly think it’s better to know more than one, to keep your options open for the day the program you’re using just loses sight of things that another program excels at.

Man I wish I could have said that more simply as it’s alot to read and might not make alot of sense. If I were to say it simply I would say “One thing for one thing, another thing for another.” Traditional modelling software for roughing out clean geometry and Zbrush for sculpting and for exploring artistic methods of creating and realizing ideas rapidly. I wish (along with probably so many others) that Zbrush did do it all, but they have enough on thier plate and they have boundaries to push so I think at times the simple things get overshadowed by the new and amazing ways they come up with for us to work. Oh well, back to learning, thanks for asking a question here, and have fun

Zbrush crashed on me when I hit Best Render on this little image, but I just screencapped it after moving the error message out of the way, so I was able to at least salvage it somewhat. Luckily it wasn’t anything major just some playing around with an even quicker method of making cartoony hair.

[cute-elf-face.jpg](javascript:zb_insimg(‘190669’,‘crazy-skirt.jpg’,1,0))

I love UVMaster. Lets me work “freely” without any problem between a 3d mesh and getting a texture painted without any of the bs standing in my way. With all the improvements in 3.5, UVMaster is by far and away the game changer for me, the one thing that just sits as king for what I personally needed out of this program to just break that barrier between imagining stuff and getting it realized in 3d. Love love love UVMaster.

Attachments

crazy-skirt.jpg

Hi Extra Dimensional :slight_smile:
Hey,… thank you for the great explanation of why you use other software to create things such as that room that you are creating and posted on the previous page in here…Really great explanation…with alot of insight as to the pros and cons of softwares…:+1:
I was laughing to myself as I read above how you just moved the error message and then took a snapshop of your work, before you lost it…It never occured to me to just move aside the error message…:smiley: 
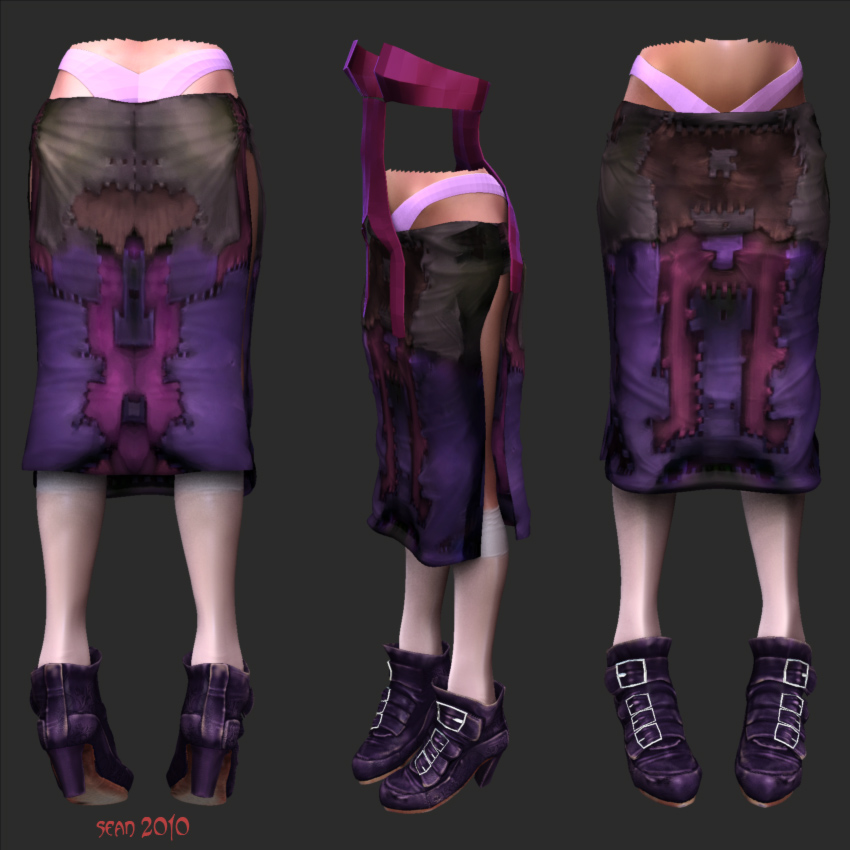
I’m always loseing stuff with that error message…really pisses me off, but now I have something new to try out next time it happens to me…THANKS for that useful tip…:+1:
Great job on that girl your working on by the way…I like the colors that your choosing for her…Very feminine and really enhance her look and style…:+1: :slight_smile:
CHEERS

Hey thanks Spirit Dreamer. Yeah that crash on Render, I should know by now to save document first heh.

[elisa-temp-render-1.jpg
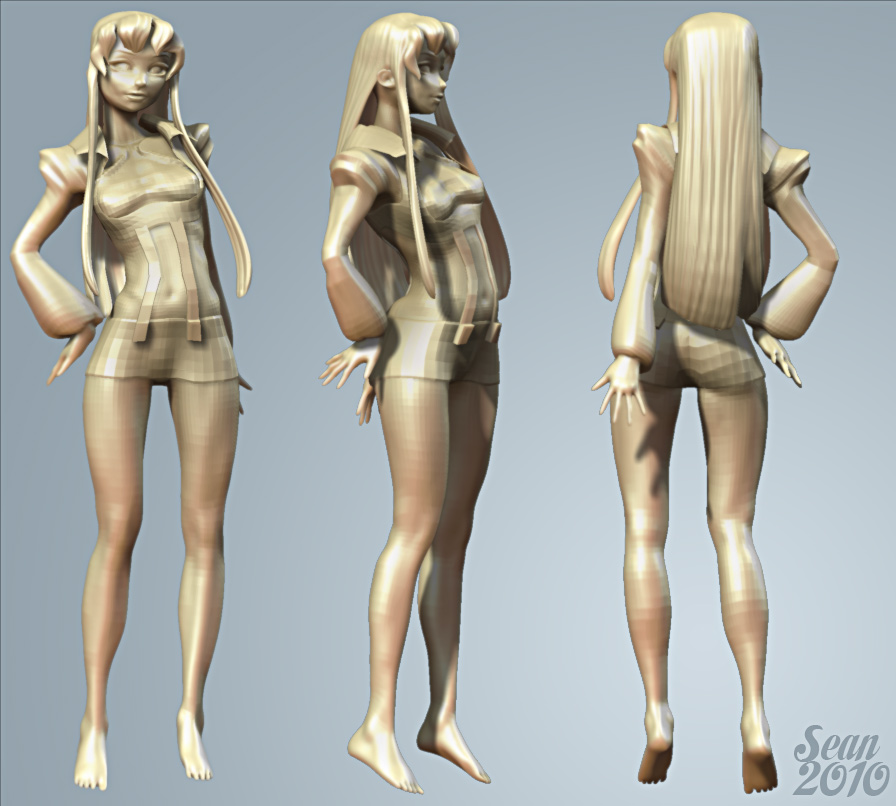
](javascript:zb_insimg(‘190995’,‘elisa-temp-render-1.jpg’,1,0))

Some more work. Going to model in some laces connecting those gaps in the corset, and connect the bows with some ribbon type deal.

Very nice update…she’s looking very lovely now!

Hey thanks Solidsnake

I had to test out a simple pose in Transpose Master to see if my work would blow up on me, haven’t used it at all in a couple of years (since it first came out actually) so I was wary, but actually it was pretty painless for this test.

[

](javascript:zb_insimg(‘191009’,‘elisabits-render-final.jpg’,1,0))

I know the wrists/hands and other stuff is pretty messed up but it was just a quick and dirty test of Transpose Master. Probably won’t do too much more to this figure.

Learned alot from this session, a whole lot actually. From texturing to modelling to what to look out for when doing all of that. Next I need to work on my speed and time management. For the next project that is. I’d like to be able to do something like this alot faster as it almost seems a waste to spend all this time on a single figure when thousands of ideas are in my head. Especially since the figures aren’t really “for” anything or about anything just…dicking around in zbrush learning pretty much.

I feel the need for speed, modelling, texturing, all needs to be done faster so I think I’ll work on that next, eliminating things that slow me down and searching for secrets to speed up the flow of all this. Too many ideas, not enough time to be dicking around being obsessive about the way I’m making them. For instance the shoes probably took me about 8 hours. Just the shoes lol. I could have sculpted an entire 8 inch figure in 8 hours of work out of plastilene, had one pretty much mostly done. The thing is, computers and such as a tool, need to aid me to be faster to make the most of my limited time and so I set out focusing on ways to get that done. I could have crafted a pair of real shoes out of leather and hide in the time it took me to make these virtual ones! hahaha

Peace until the next wave of inspiration hits me, learned a good deal here this month, going to get busy with real life again now. Painting and sculpting a finished product “in the hand” is calling me now. There’s still nothing like the real deal.

Really hoping to see some more of that SOB character stuff you did… The model and techniques blow me away. Cutting edge stuff.

nice works done!

may’be something for you :wink:
http://www.zbrushcentral.com/showthread.php?t=85476

interesting thread, i like your stuff!

[zbrushanime1.jpg]

WIP from the last couple of days learning Z4. A couple months ago I made this anime style basemesh from scratch, but never did anything with it so I decided to use it while playing with the new stuff in this release.

The material is sort of a funky waxy resin deal, love the new BPR.

Let’s see, just a WIP I’ve got loads to do on this still, the hair was done with ShadowBox, then retopo’d quickly directly in zbrush. The shorts, shirt, belt etc…were just quickies done with goz and max, goz is a dream come true for this sort of thing, much cleaner than pulling meshes from extractions.

hello cool anime,
Cold you please define what was the process involving goZ u were talking about here? isnt that for topological changes and for connecting models? for the cloth here you more or less extracted part of the mesh right? so how was goZ involved?

trying to wrap my head around these new tools
cheers
S

Using goz I sent over my basemesh of the female to max. Then like you said I simply “extruded” the pieces using the geometry of that model, by selecting faces and edges and detaching them into their own meshes.

I reset pivot points and sent them back over to Zbrush using goz. Now they are ready to be sculpted.

Previously I would have use Extract in zbrush then spent a long time cleaning up the extractions and dealing with the funky topology from the extraction process, now I can get this sort of thing like belts, clothing etc…done in no time at all, at a whim by simply hitting goz, painless.

basically put, It’s faster for me to get make things like this in max, and now it’s painless to transition between the two, just jumping out to a traditional modeller like that is something really convenient, love it.

[zbrushanime2.jpg]zbrushanime3.jpg

More work on this, getting to know Shadowbox for hard surfaces, also made her cowboy hat in Shadowbox, very versatile.

More BPR fun, gives me a good sense of where to take the project when I can see it so clearly as I go, addicting.

Attachments

zbrushanimegun.jpg

Looks good:) Use higher Res value in the BPR shadow sub palette and you’ll get crisper shadows.

Thanks Zmentor

Concepting a succubus style android/mech dealy yesterday and this morning:

[succubus.jpg]

The wings were done in 10 to 15 minutes using zspheres with mesh insert, using a simple ring/torus as the mesh for the insert. Then using deformation palette and move elastic/topo to reshape them. Made the basic structure which is the center part of the wing gear, then duplicated them 2x and mirrored one, then deformed to get the wing shape. In essence it’s just one zsphere subtool, duplicate 3 times.

The actual wing fleshy/fabric part was a quick two minute zsphere retopo and skin then move elastic/topo to get it to drape.

I left the hands blank for now since we have that new zsphere hand rig as a ztool, I can just add those in last when I’m ready for them without worrying about hands and fingers for now, very convenient.