ZBrushCentral

Seamless UV on spherical surface

Hi all,

Pls find attached my apple sculpt with UV texture.

If you look carefully, there’s a line that divides the apple texture and it’s not seamless.

For the UV process, I followed this vid here and used the UV Master: https://www.youtube.com/watch?v=2Jl004CjUXk

Is there any way I can fix this?

Tks!
Nik

Attachments

SS1.jpg

What does your polypaint look like…i’m going to say there is a seam.

I believe this is way to go about it:
Step 1. Turn the UV texture into Polypaint on your model
Step 2. Sample colors left of or right of the seam
Step 3. Use Color Spray stroke and a spray alpha and then spray on top of the seam to make the seam disappear
Step 4. Repeat Steps 2 & 3 from top to bottom of the entire seam
Step 5. Convert the newly seamless Polypaint back into a UV
I’m new so anybody that’s an expert feel free to correct me

@ Beta_Channel: Hi, if you have the time, maybe you can download my ZBrush project file and textures here: https://www.wetransfer.com/downloads/57b646cccf22aed2dfe1dde70d0cfde120141020154743/44a3c79ab39775df10250c66ce15216020141020154743/259dcf
(it’s 64 MB though)
Not sure what you mean by polypaint, since I just apply UV and didn’t paint anything manually on the mesh.
Attached is a detailed view of the UV texture: http://gyazo.com/b6a5abba68b1d599865c696807280ae5

@ Godless Dog: Tks for the idea, but for future cases like this, it might not always work especially if it consists of discernible patterns, like those bedsheet patterns, which is almost impossible to sample and paint. :smiley:
( http://i00.i.aliimg.com/wsphoto/v3/983978118_1/Chinese-wedding-satin-silk-bedding-set-font-b-dragon-b-font-pattern-font-b-bed-b.jpg )

Godless Dog nailed the workflow I would suggest. Nine times out of ten you wont be able to slap any image onto a 3d object and end up without any seams. If you’re using a direct photosource then you will have to go in and manually fix the problem areas, either by painting on the 2d image itself (old method, very time consuming) or by painting on top of the model (polypaint, projection painting, or similar). The bed sheets might look confusing at first, but they shouldn’t be hard due to the original planar quality of the fabric

Hi tks a lot everyone, and tks Godless dog! LOL

I’ve finally managed to fix the seams, but there seems to be a new problem.

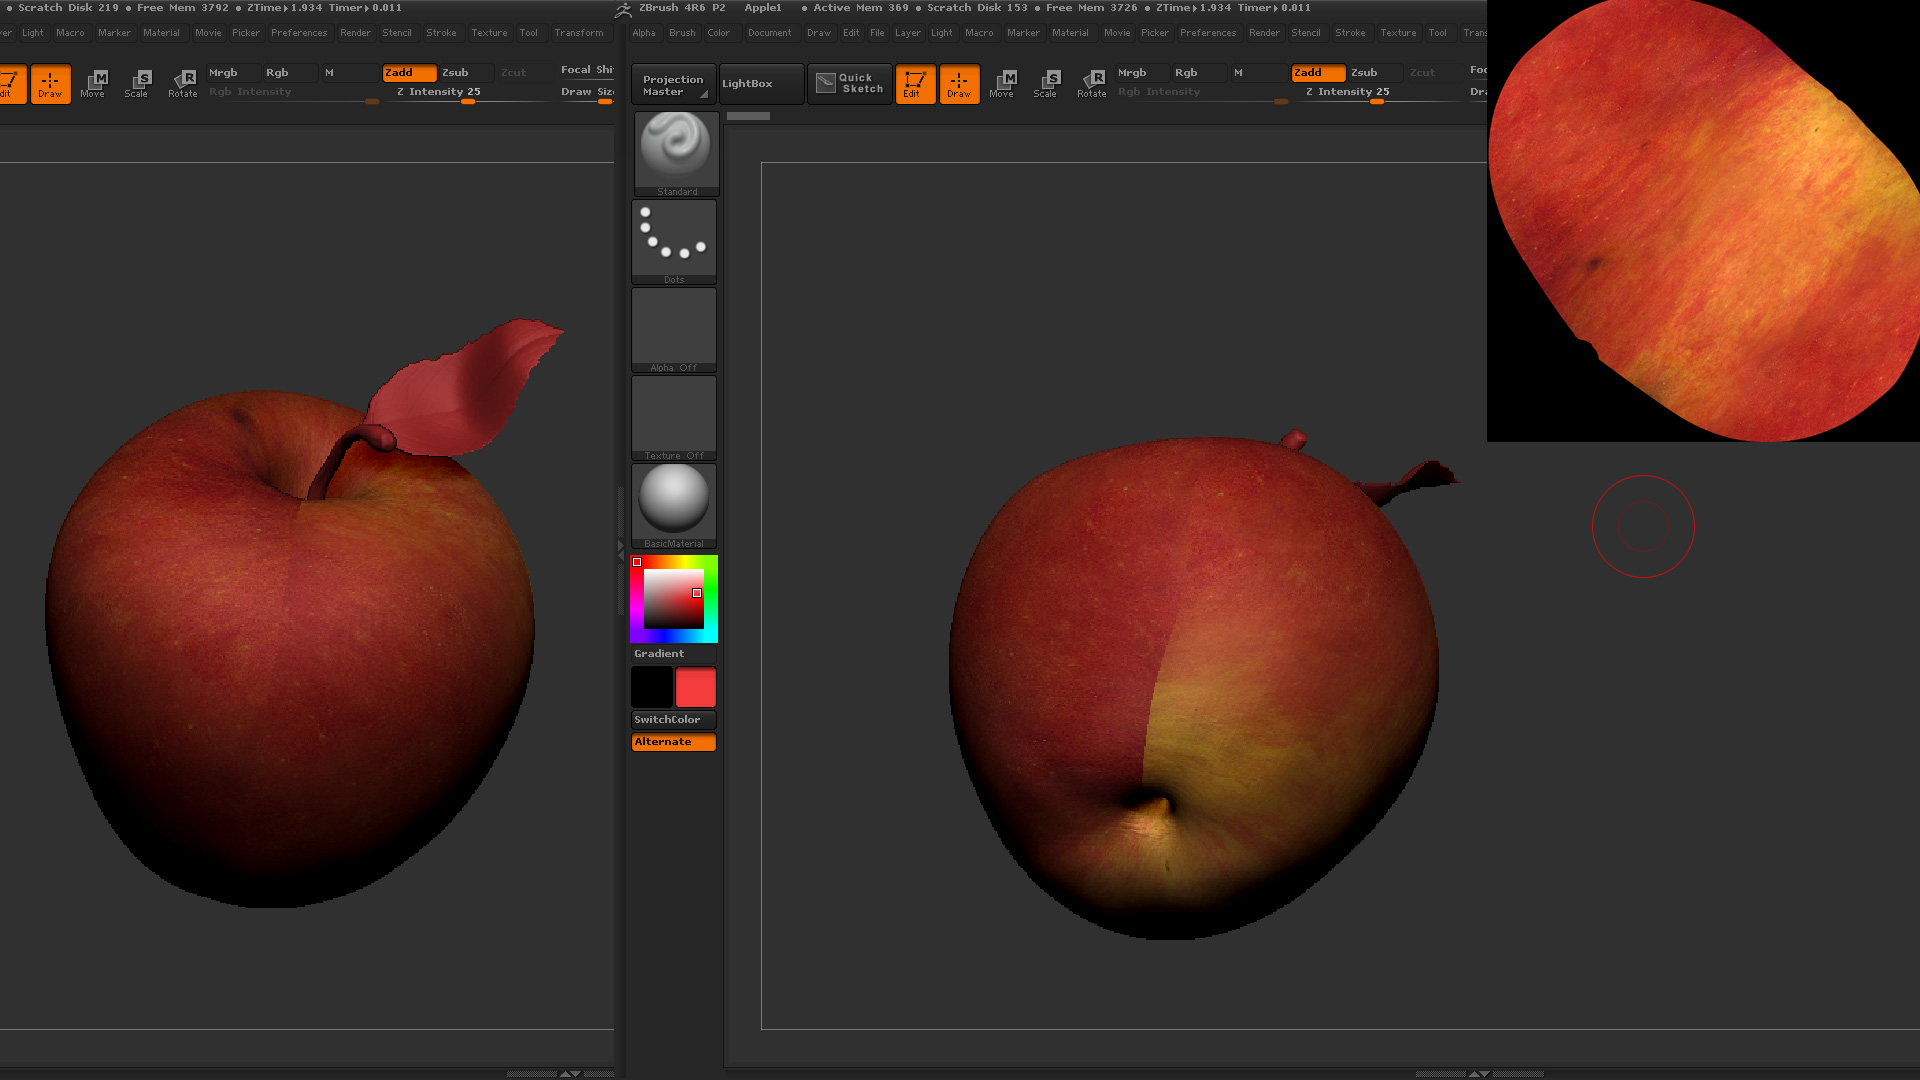
After applying UV texture onto the apple, I can’t seem to change / set materials for the different subtools of the apple (the main apple body, the apple stalk and the leaf).
Meaning, regardless of what I set (even turning MRGB on and using the Color > Fill Object menu for each subtool), the same material gets applied to ALL subtools.

I did a test on a new project with various primitive subtools (all without UV textures) and it works, but the moment I try it on the apple, then this same problem occurs.
I wonder if it has anything to do with this post here: http://www.zbrushcentral.com/showthread.php?129447-Help-for-Color-gt-FillObject-and-Subtools-Master-gt-Fill&p=838064&viewfull=1#post838064

Any advice?

Tks!
Nik

If you have textures applied to the subtools and you want different materials for each subtool, go to “Tool > Texture Map > Fill” and click “Fill Mat” after selecting the material you want to use. This will embed the material into the texture map.

Awesome! Tks! :slight_smile:

No problem! :+1:

Hi guys,

I’ve another question. As I’m using UV Master and I’ve export the UV to a PSD file, one thing I noticed is that the exported image is just black and white (white being the UV island itself).
Is there a way to change the settings somehow so that I export the wireframe lines as well?

Tks!
Nik

Bump