Thank you so much guys! 
Andreja:
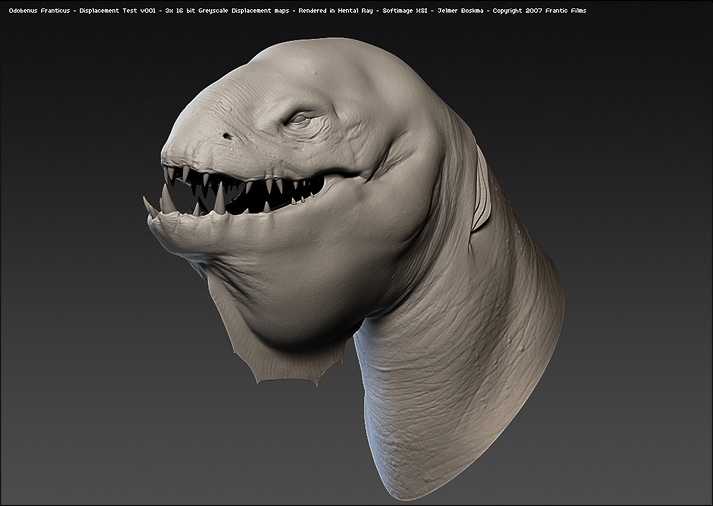
Applying 16bit ZBrush 3 Displacement Maps in Softimage XSI
Plug in the image map, in the displacement slot, and insert a ‘change range’ node in between. (If you haven’t flipped your image vertically in Zbrush, you can do this in the transform tab in the image properties.
I have divided the model up in cluters beforehand, so I’m able to assign a different displacement map to the various parts of my model.
My render tree for every part looks somehat like this:

For the ‘change range node’ I used the Alpha Depth Factor from Zbrush.
To figure out what the values for the ‘New Range start’ and ‘New Range end’ are, divide your Alpha Depth Factor by 2.
Mine was 0.7447
so 0.7447 /2 = 0.37235 (0.372)
New Range - Start will be: -0.372
New Range - End will be: 0.372
For the remaining settings I tweaked the Geometry Approximation settings of my model (found under the selection button)
The following settings are important:
under the Displacement tab, I haven’t touched too much besides the Refinement Settings, which I have set to 6. I am in Parametric mode and kept the Max Displace at 1.
Under the Polygon Mesh tab, I have disabled the Discontinuity, by checking off the ‘Automatic’ box.
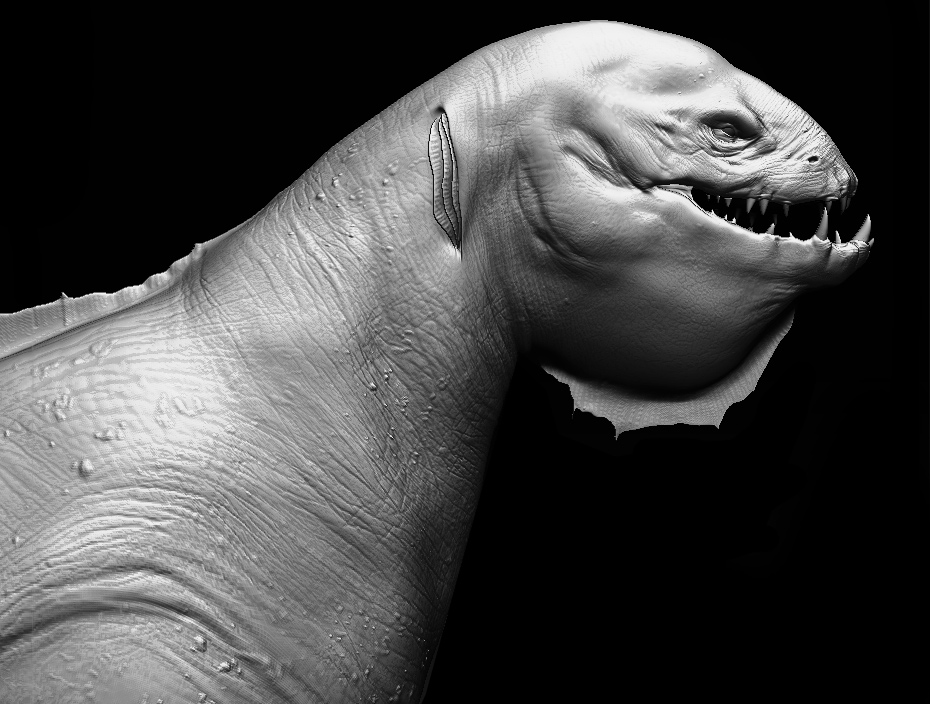
The subdivision Render Level is another import setting I found, when working with Displacement maps in Softimage XSI. I did some tests with different numbers of sudvisions and it appears that level 2 was the most desirable for me. level 3 only slightly sharpened up the details in the render, but the quadrupled render time, made it not worthy.
The diffence between level 1 and 2 is quite big.
That’s pretty much everything I did. Hope it helps
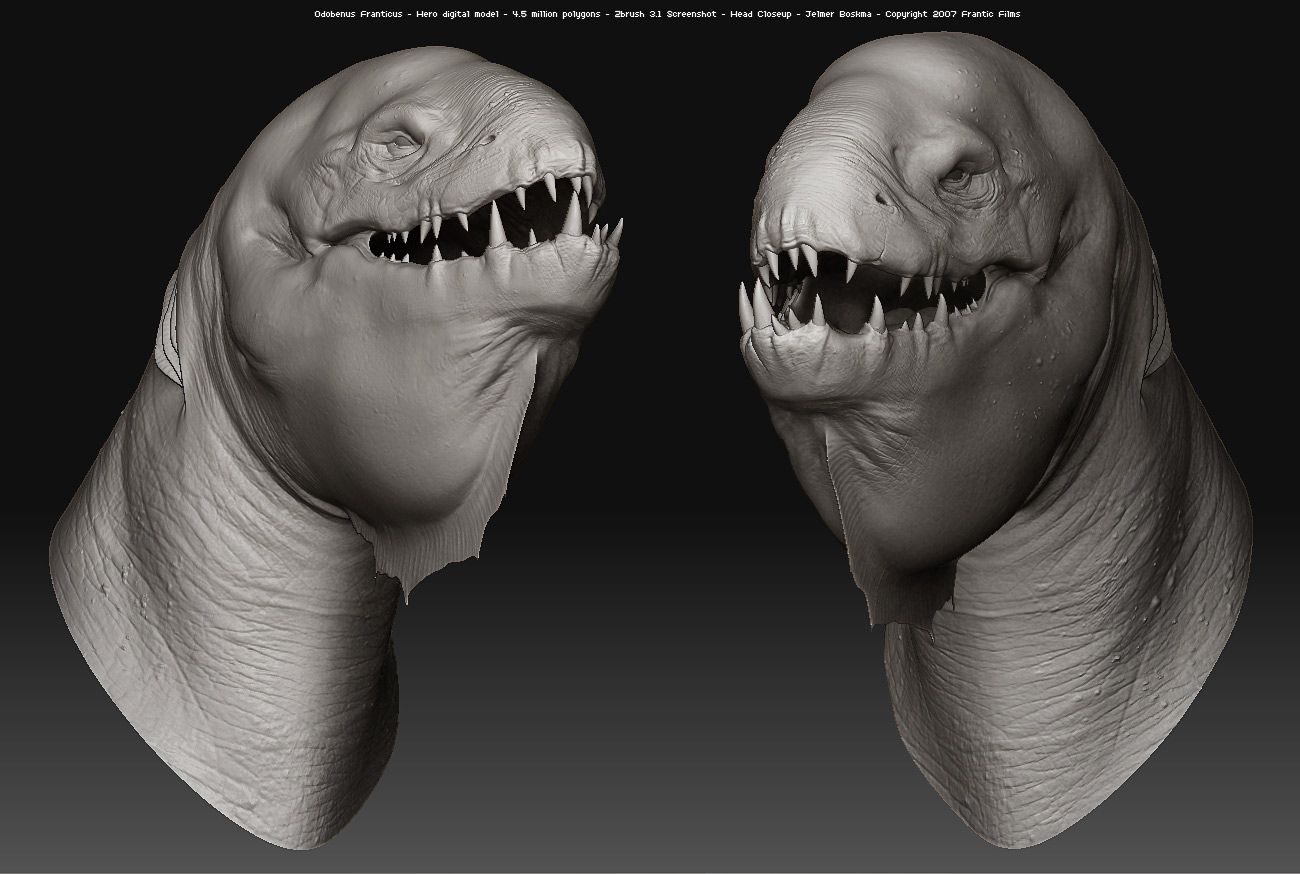
 The final model is sitting at 4.5 milion polygons, screenshots were taken in Zbrush 3.1. Basemesh was done in XSI.


 that’s damn good