I posted this on the UDK forums as well, full post can be viewed here: http://forums.epicgames.com/threads/823302-Sci-Fi-Scene
I’m working on updating my portfolio (haven’t updated since about 2005). I have worked in advertising, product and arch viz, as well as providing CG training and instruction, but I’d now like to make a career change and join a AAA game studio (games are what got me into 3D in the first place). With that in mind I decided to create a reel centered around game art. My first portfolio piece is a SciFi scene/environment completely built for real time; I decided to use Unreal Engine 3 due to its very powerful realtime rendering capabilities, DX11, performance, etc.- it basically makes good work look better. I also decided I wanted to sculpt the entire environment in ZBrush and go all out; just give everything from major parts to minute details, give it all the ZBrush treatment, always a good thing.
Design wise, I was heavily influenced by Mass Effect, in particular Mass Effect 2, which is an epic game. I just love the environments, the lighting, the original style. I can only wonder how much fun it would have been to work on those games. I wanted to go with a similar style to my env., try to make it look like it could be a map included with some new DLC for the game.
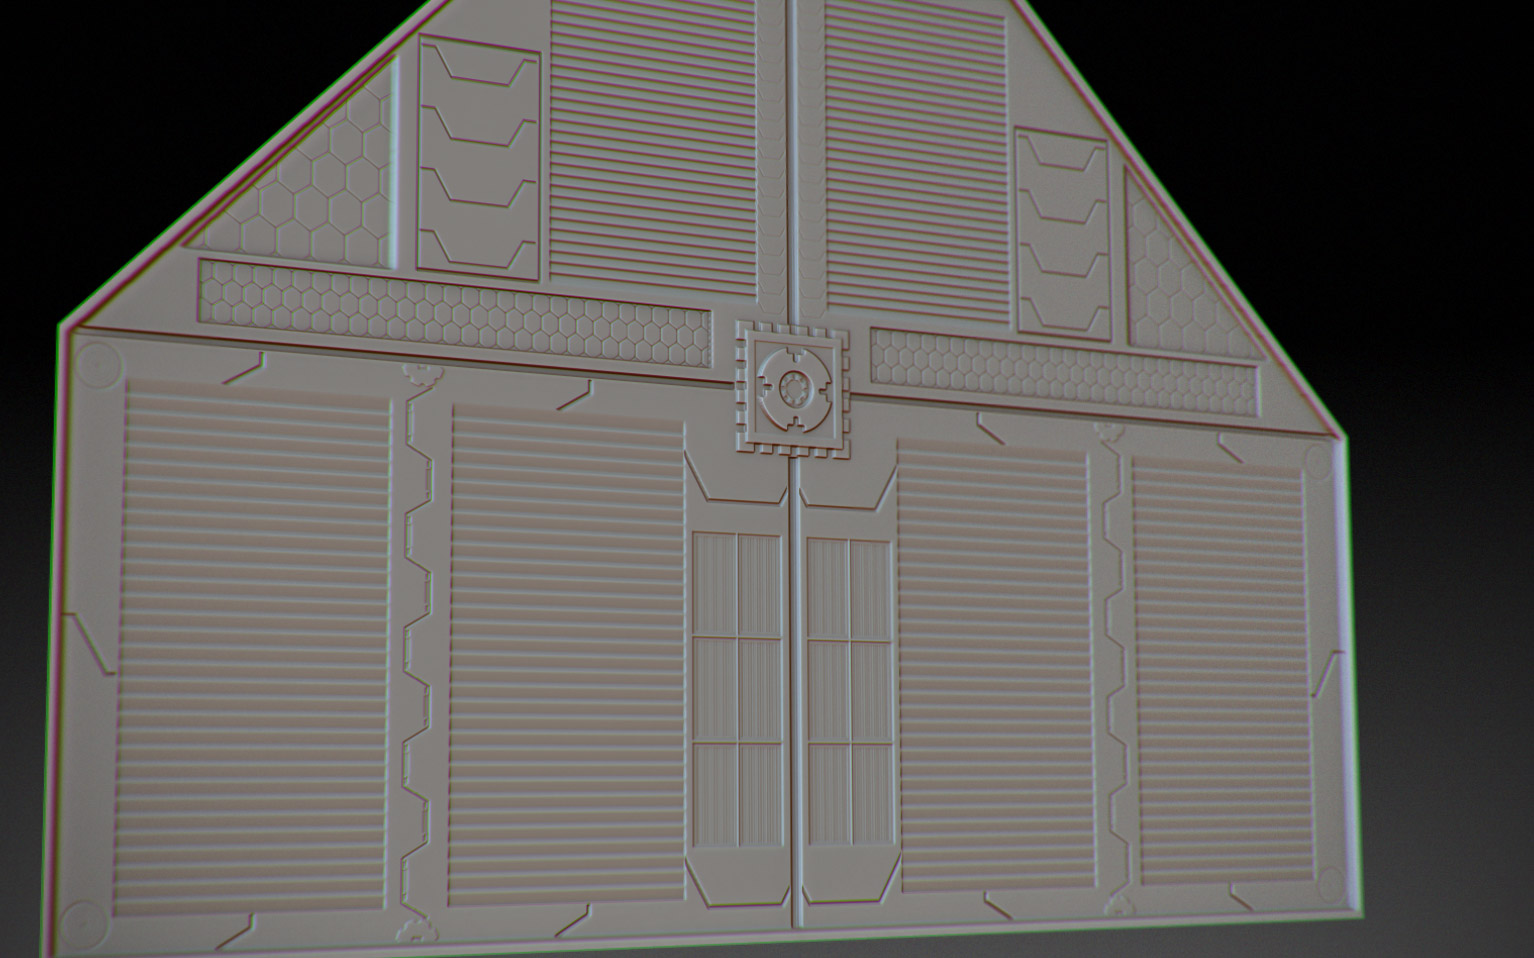
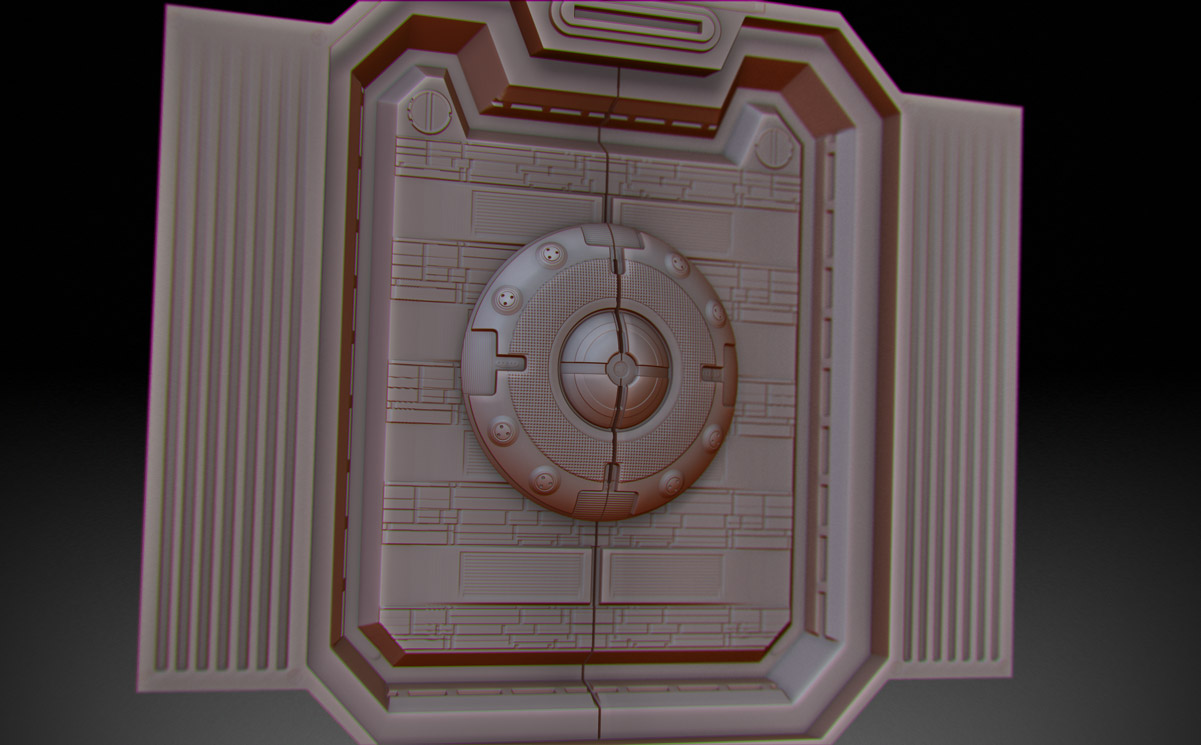
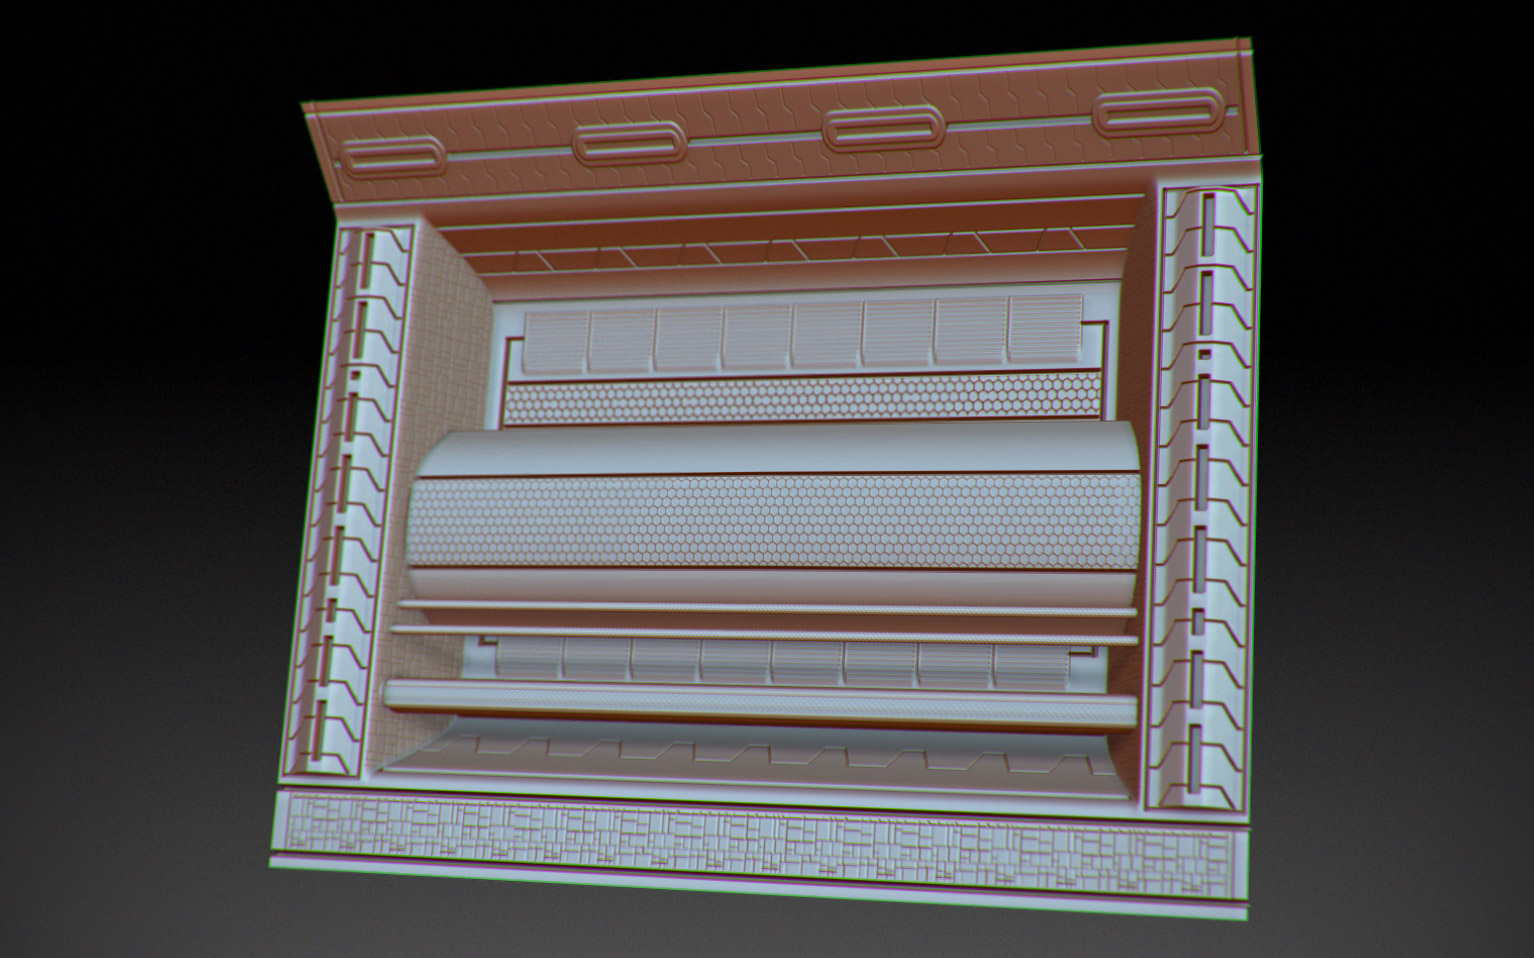
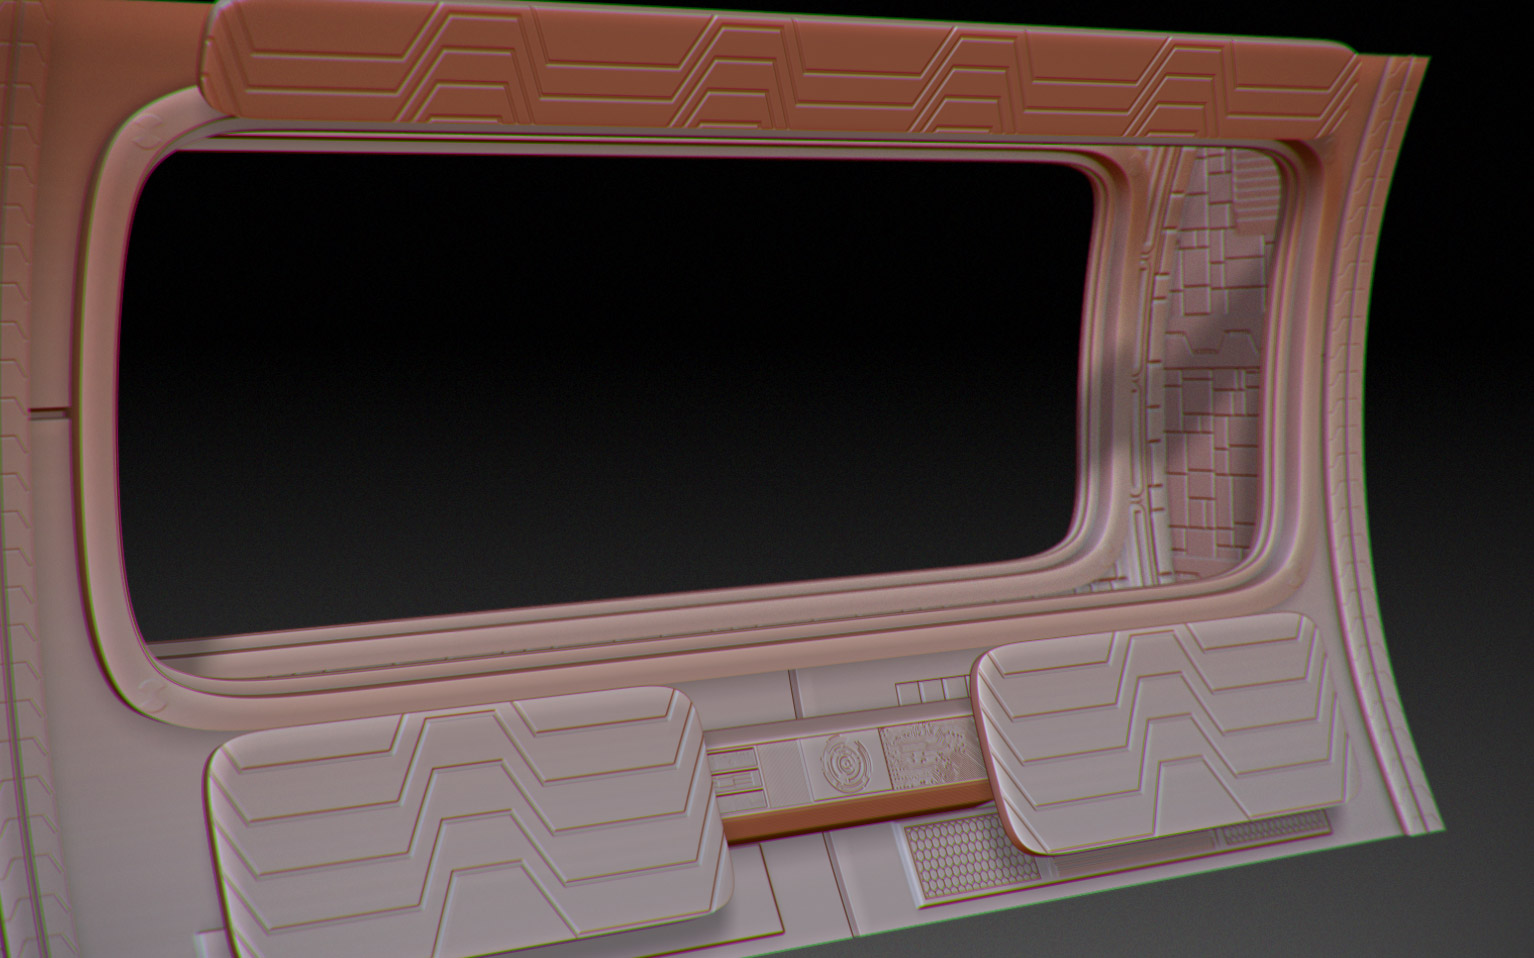
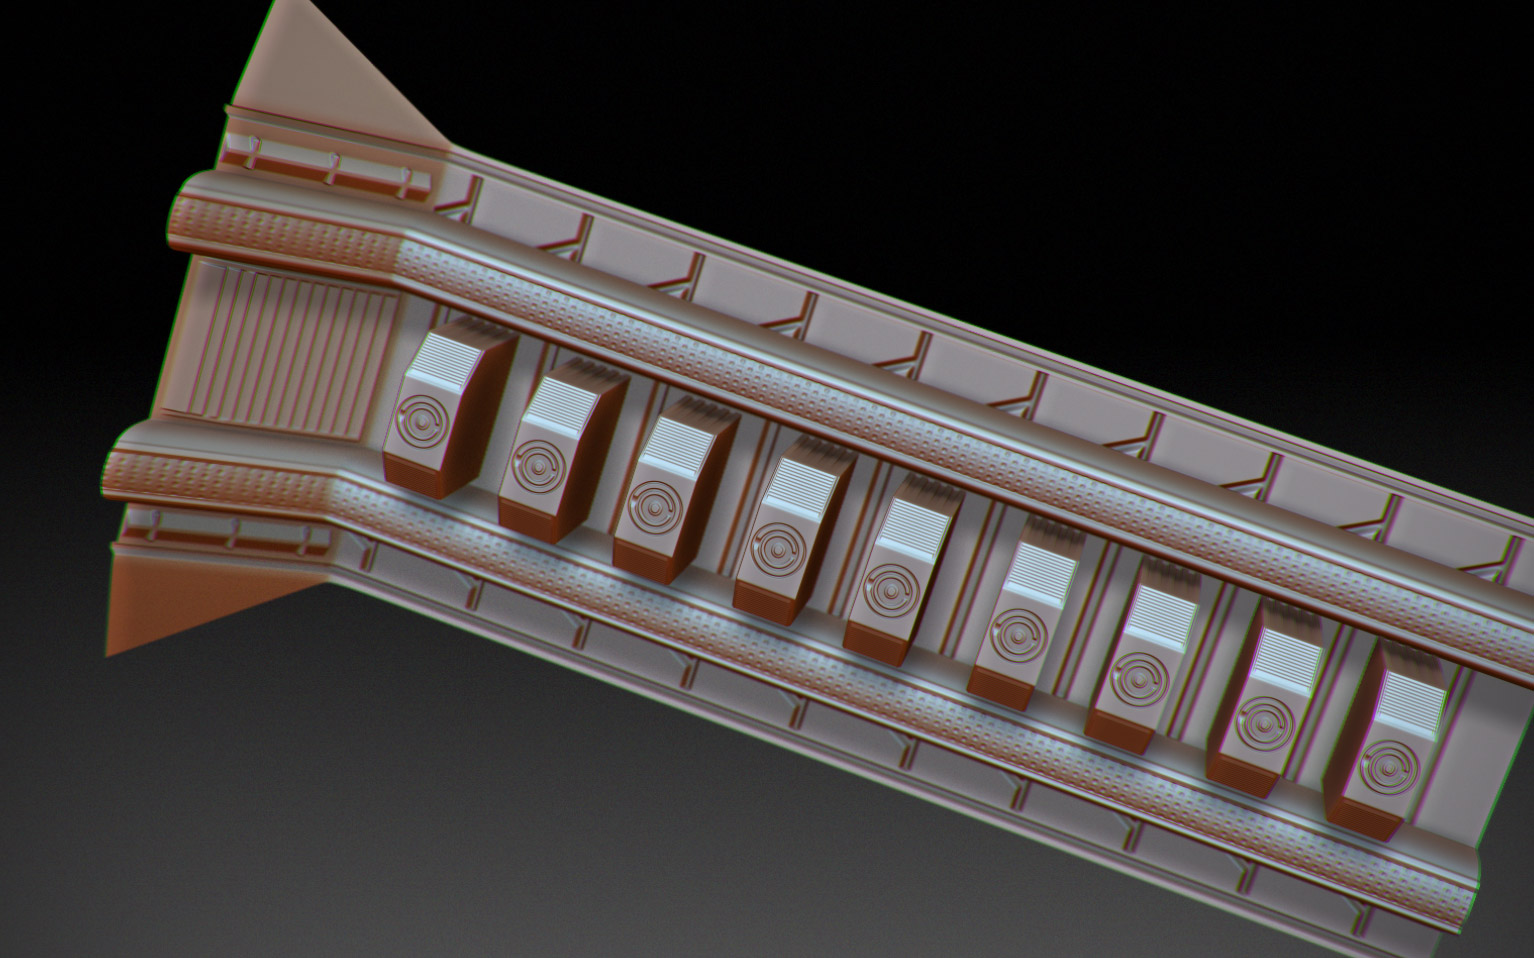
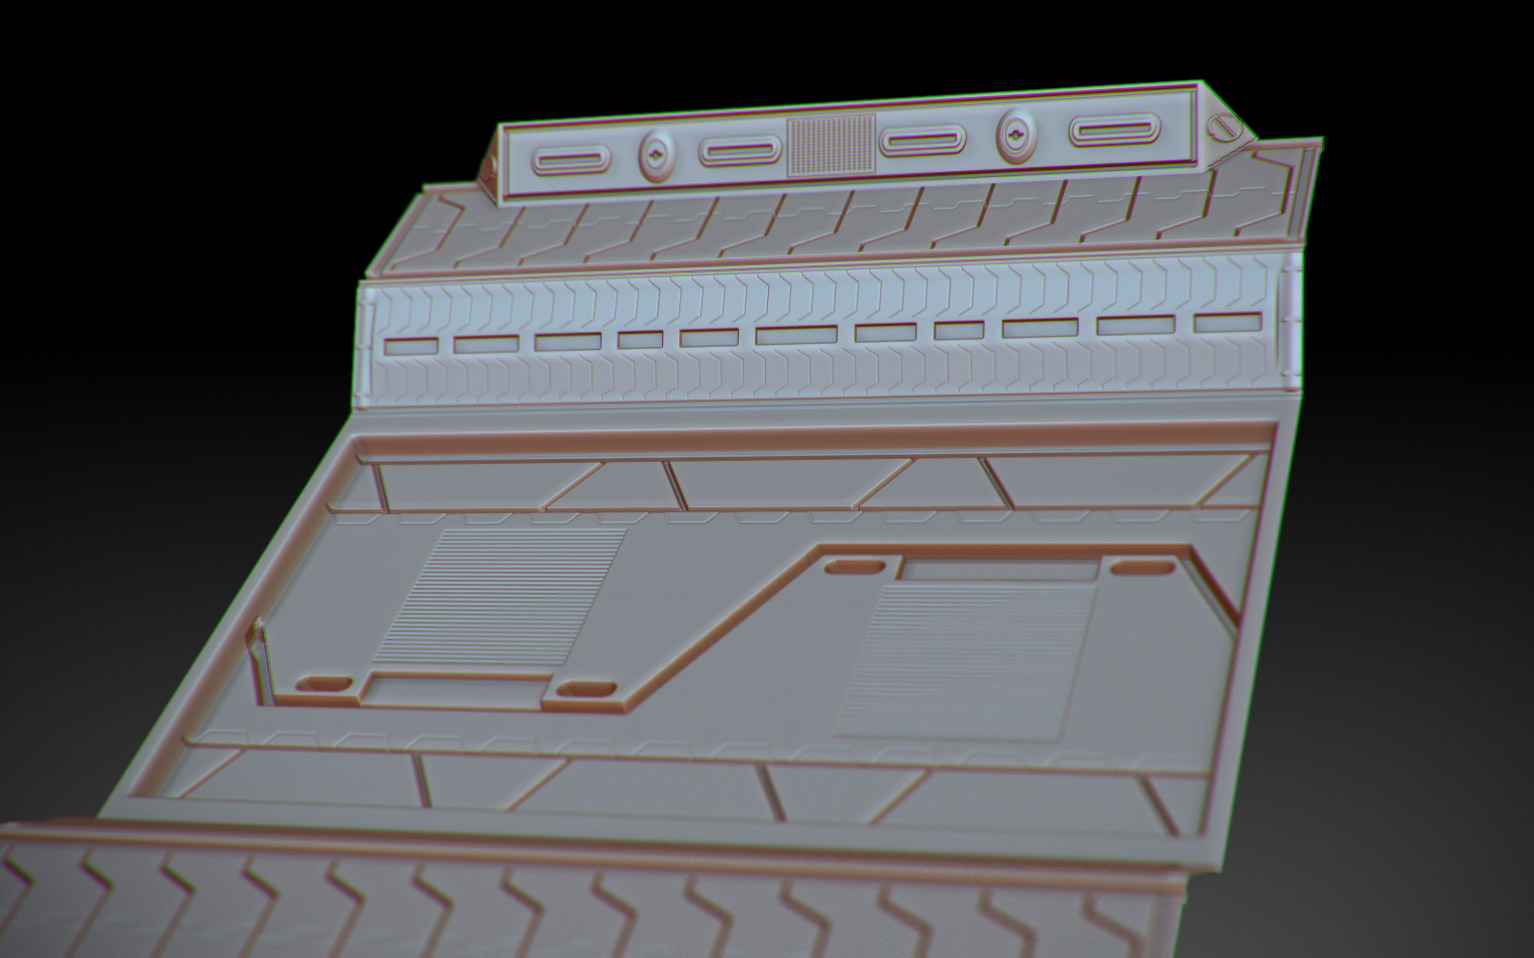
So first up some ZBrush renders of the sculpts:
I used a lot of alpha brushes, some I downloaded from Pixologic’s resource area, others I got from this great forum, and some I made myself to get specific details done.
I took advantage of sculpting in layers, something I always do as I never like working linearly in any 3D program. I created many layers per object and did a lot of iteration. This workflow allowed me to try new things, change things up easily, and iterate my way to final sculpts I was happy with. ZBrush is such an amazing piece of software, without layered sculpting I don’t know what I would have done. Thanks Pixologic!
In order to not have a random look across the environment, it was important to give everything a cohesive style and keep everything following a set design. To achieve this and make it look more natural, I made sure to repeat specific patterns and details across most of the main structural pieces, like floors, walls, ceilings, doorways, etc.
I also made sure everything was modular so that working with the assets in Unreal would be easy, simple, efficient, and fast.
On average my sculpts were about 2 million polys, which allowed for sufficient detail to be achieved. In some cases, certain objects when well over 10 million polys. My new system was able to handle it, though I will probably add more memory so I can keep pushing ZBrush further. I still don’t understand the magic behind ZBrush or how it handles such hi-res models with ease, so I’m assuming it’s magic and leave it at that. Or maybe Pixologic comes from the future and they happen to love art as well? Hmmm…
So I would love to get feedback and crits from this great community. Again, my goal is to move somewhere new and work for a game studio working on games, preferably XBox, PS3 games, etc. games in general is where I want to focus my craft completely.
Attachments


 ) creating games like this for Xbox, PS3, PC, etc. Thanks again.


