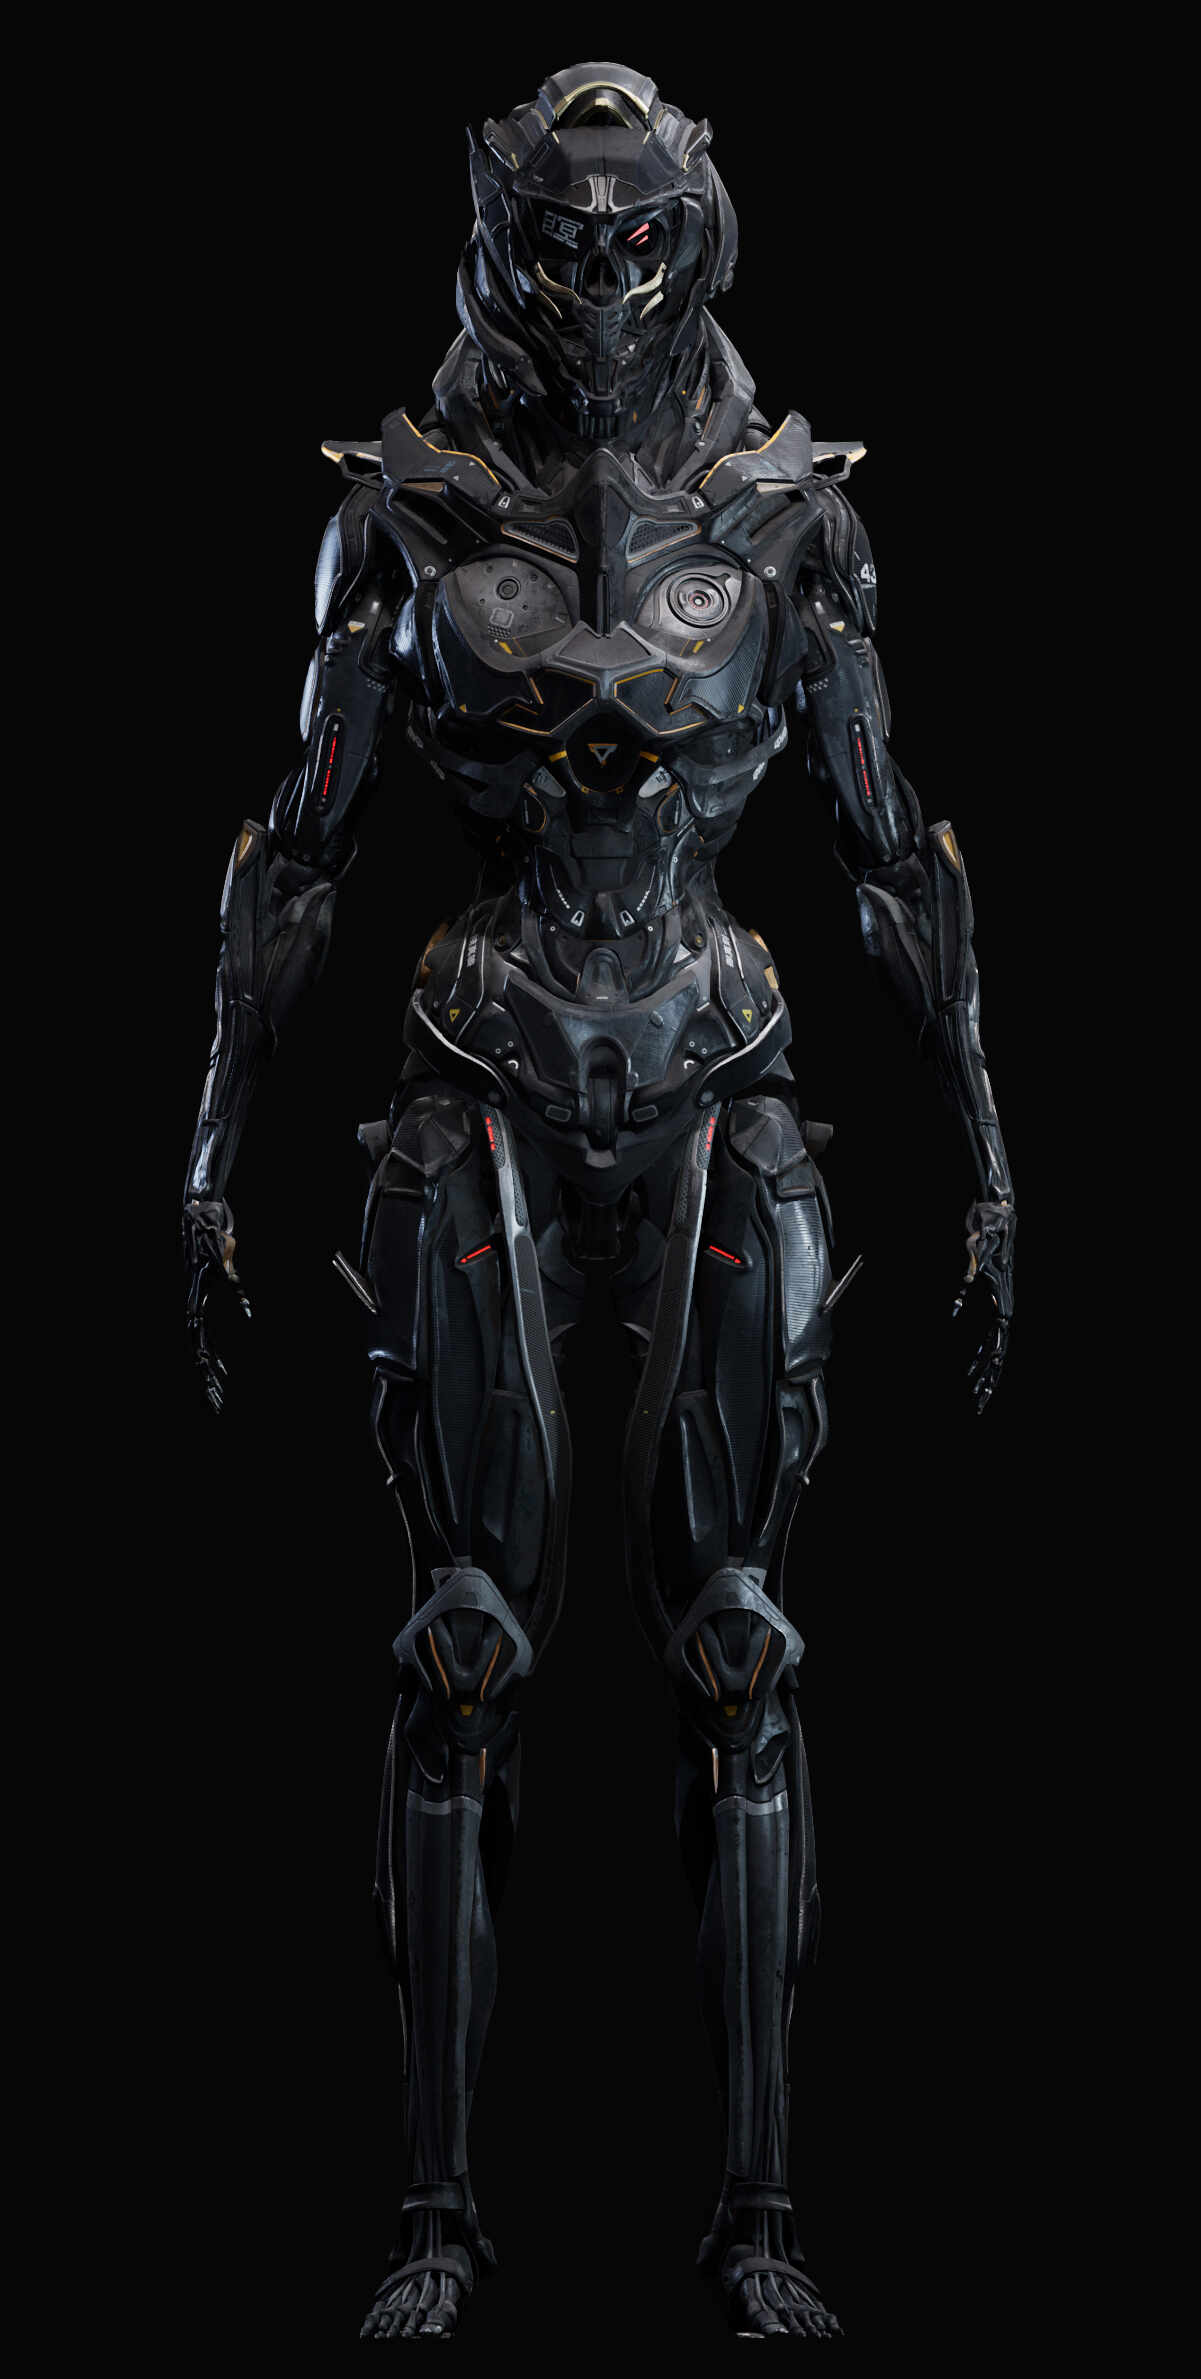
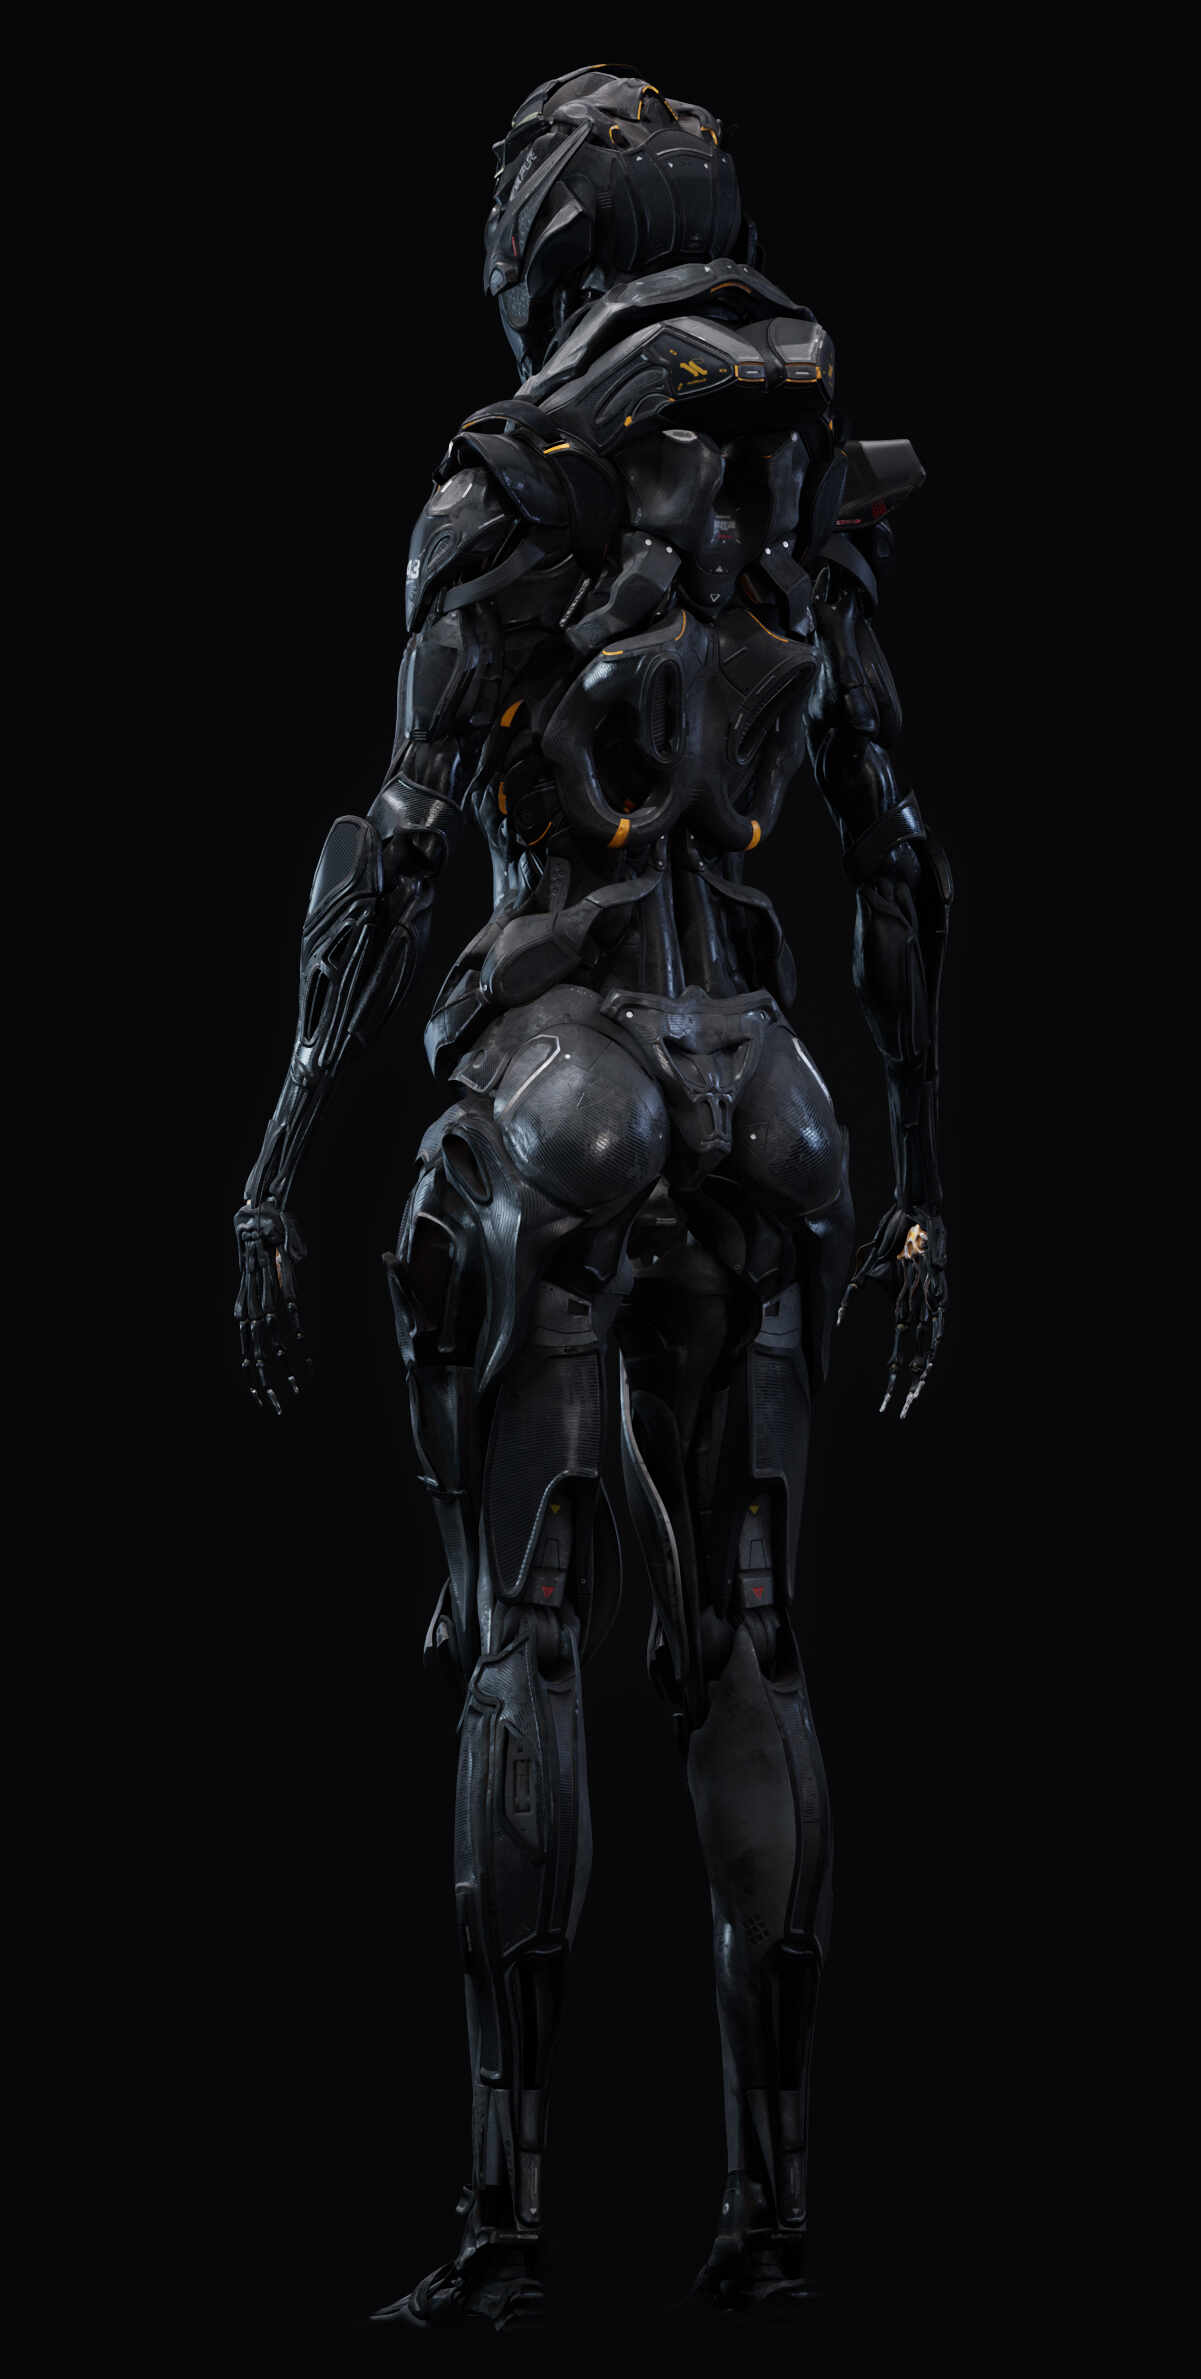
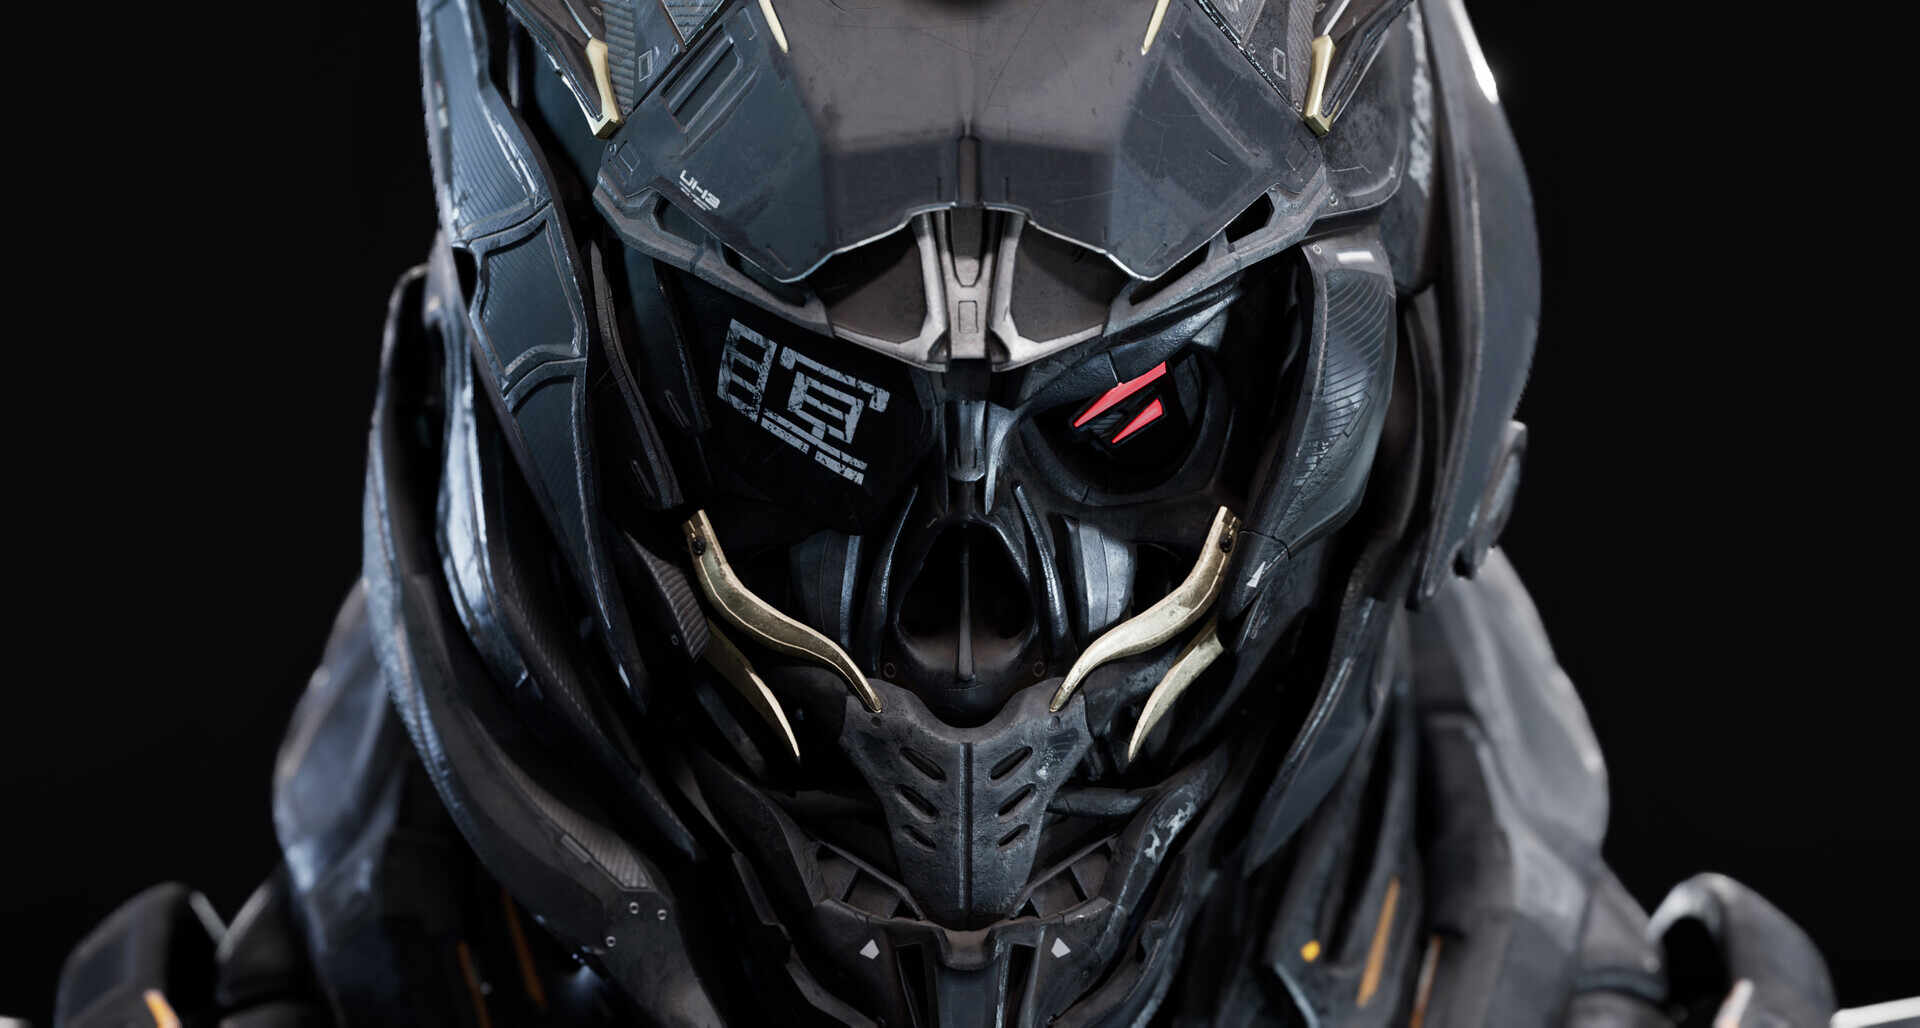
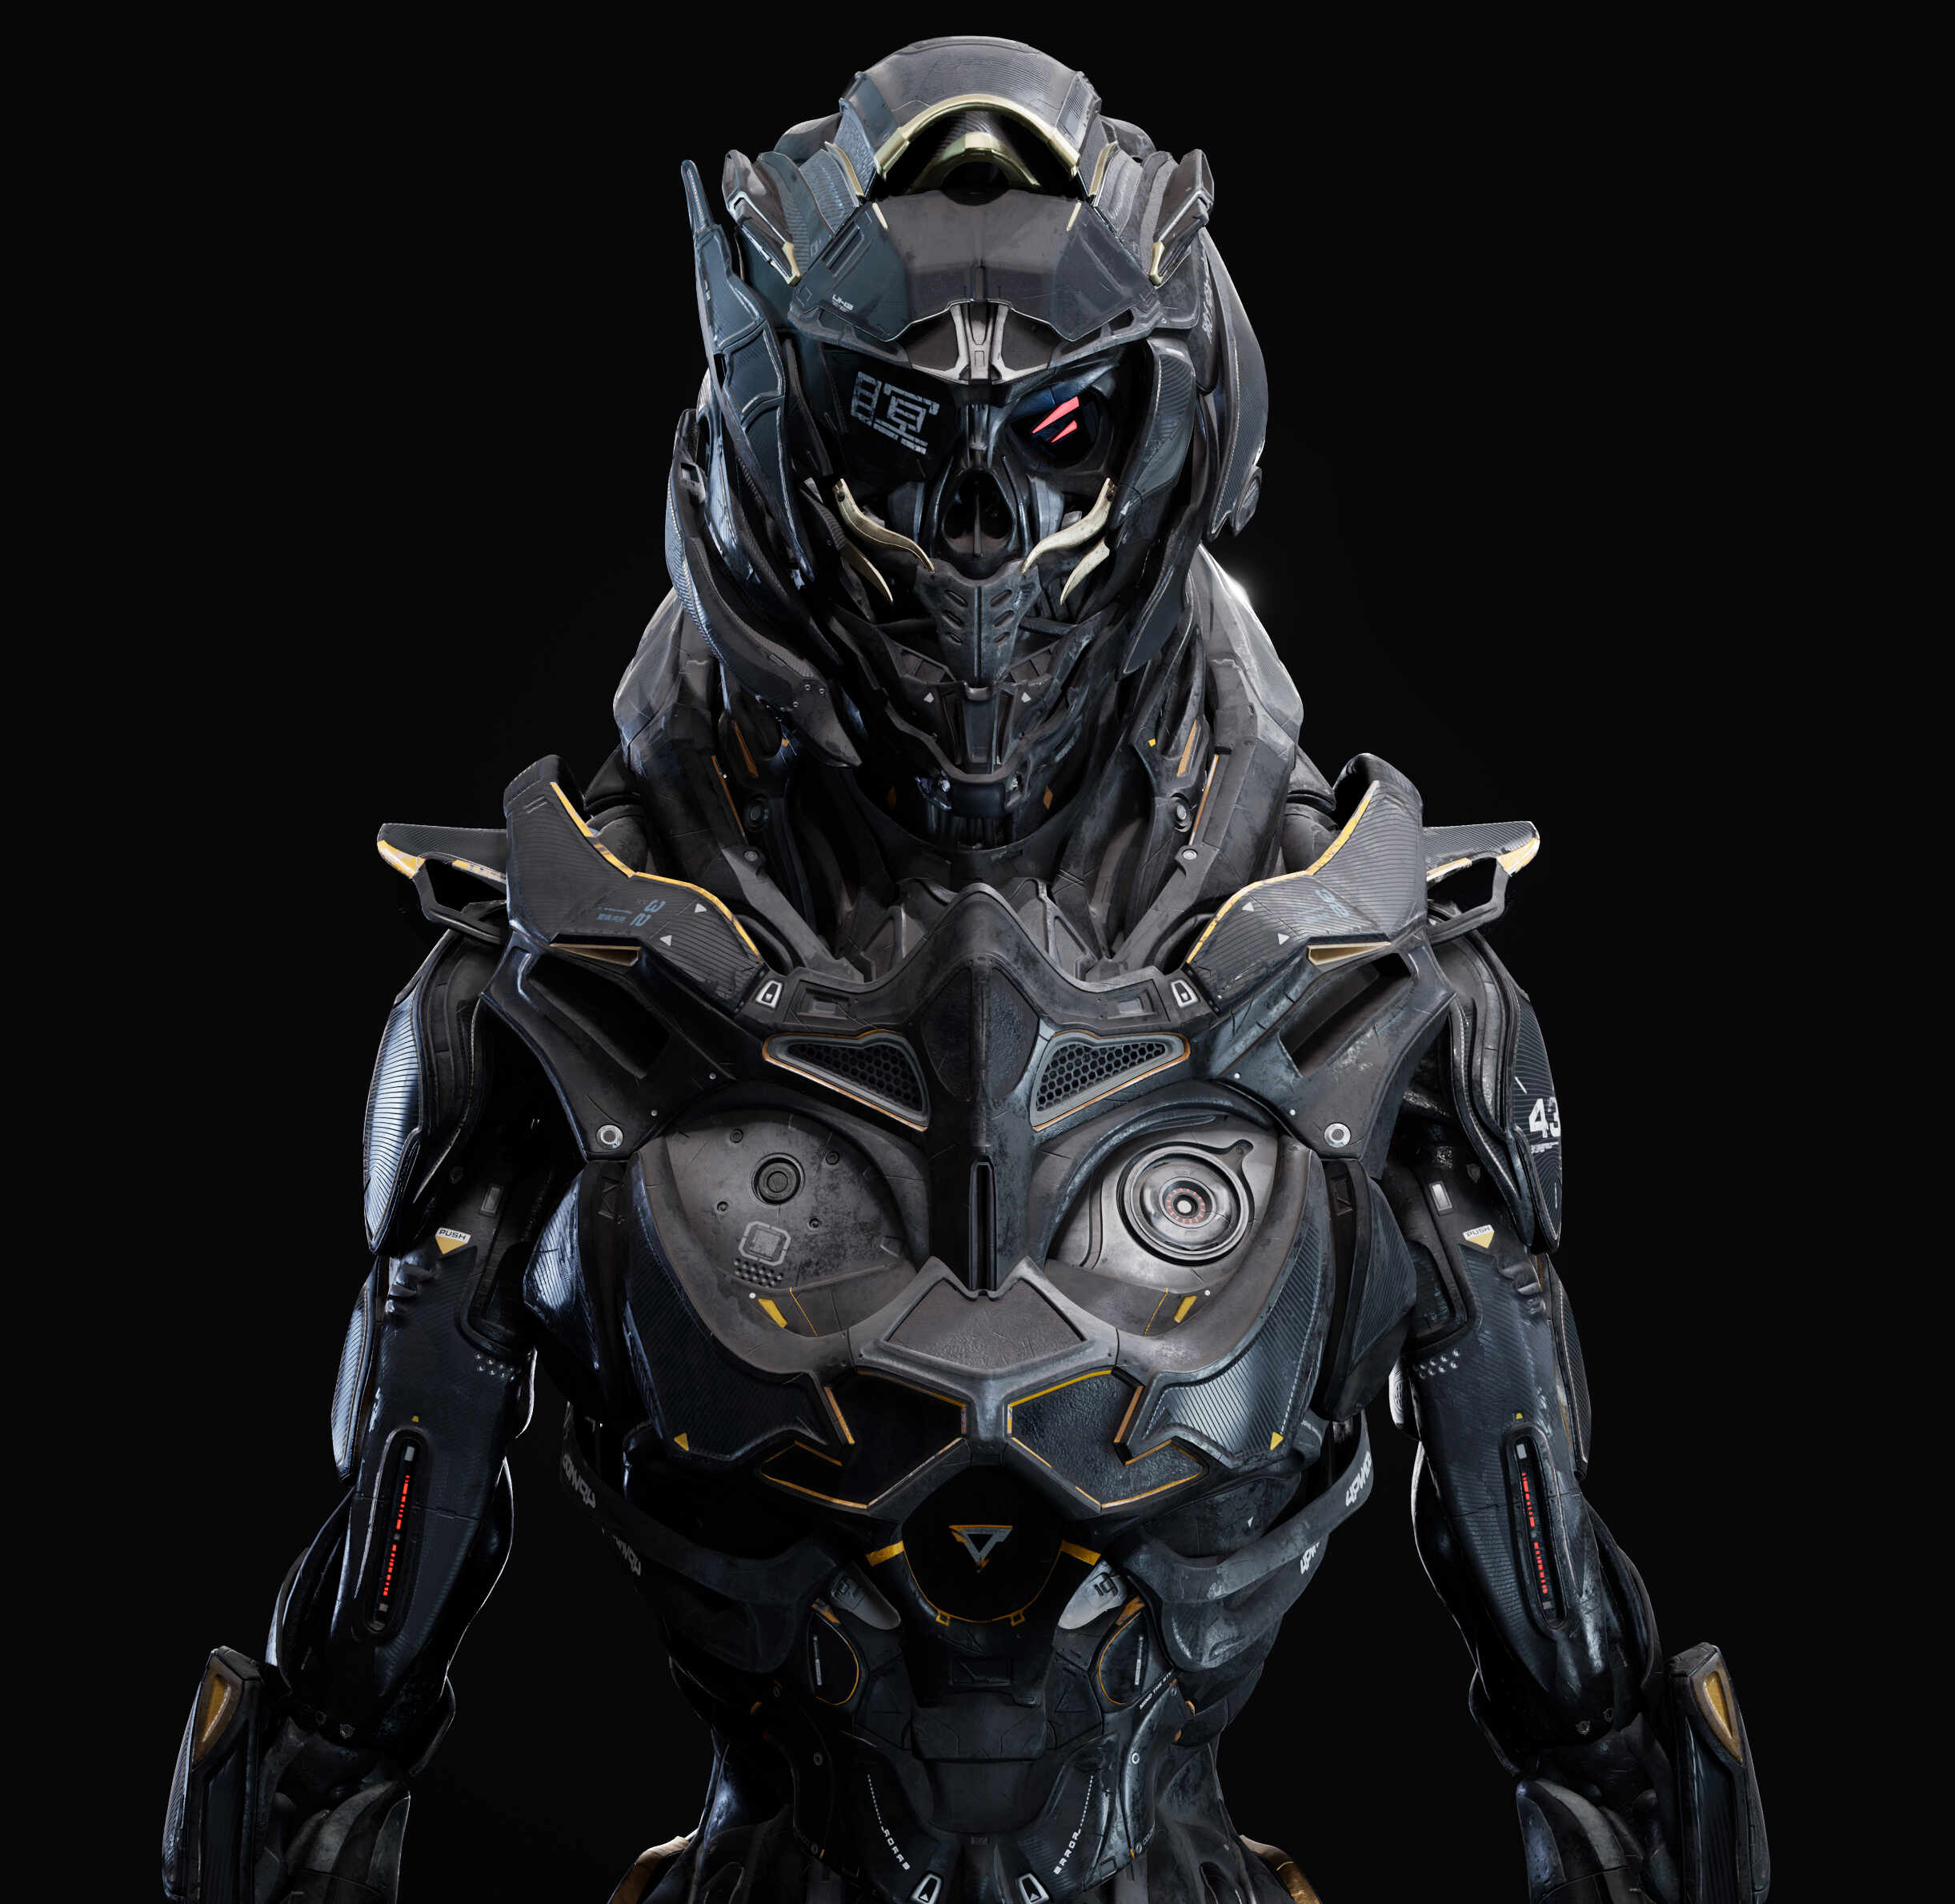
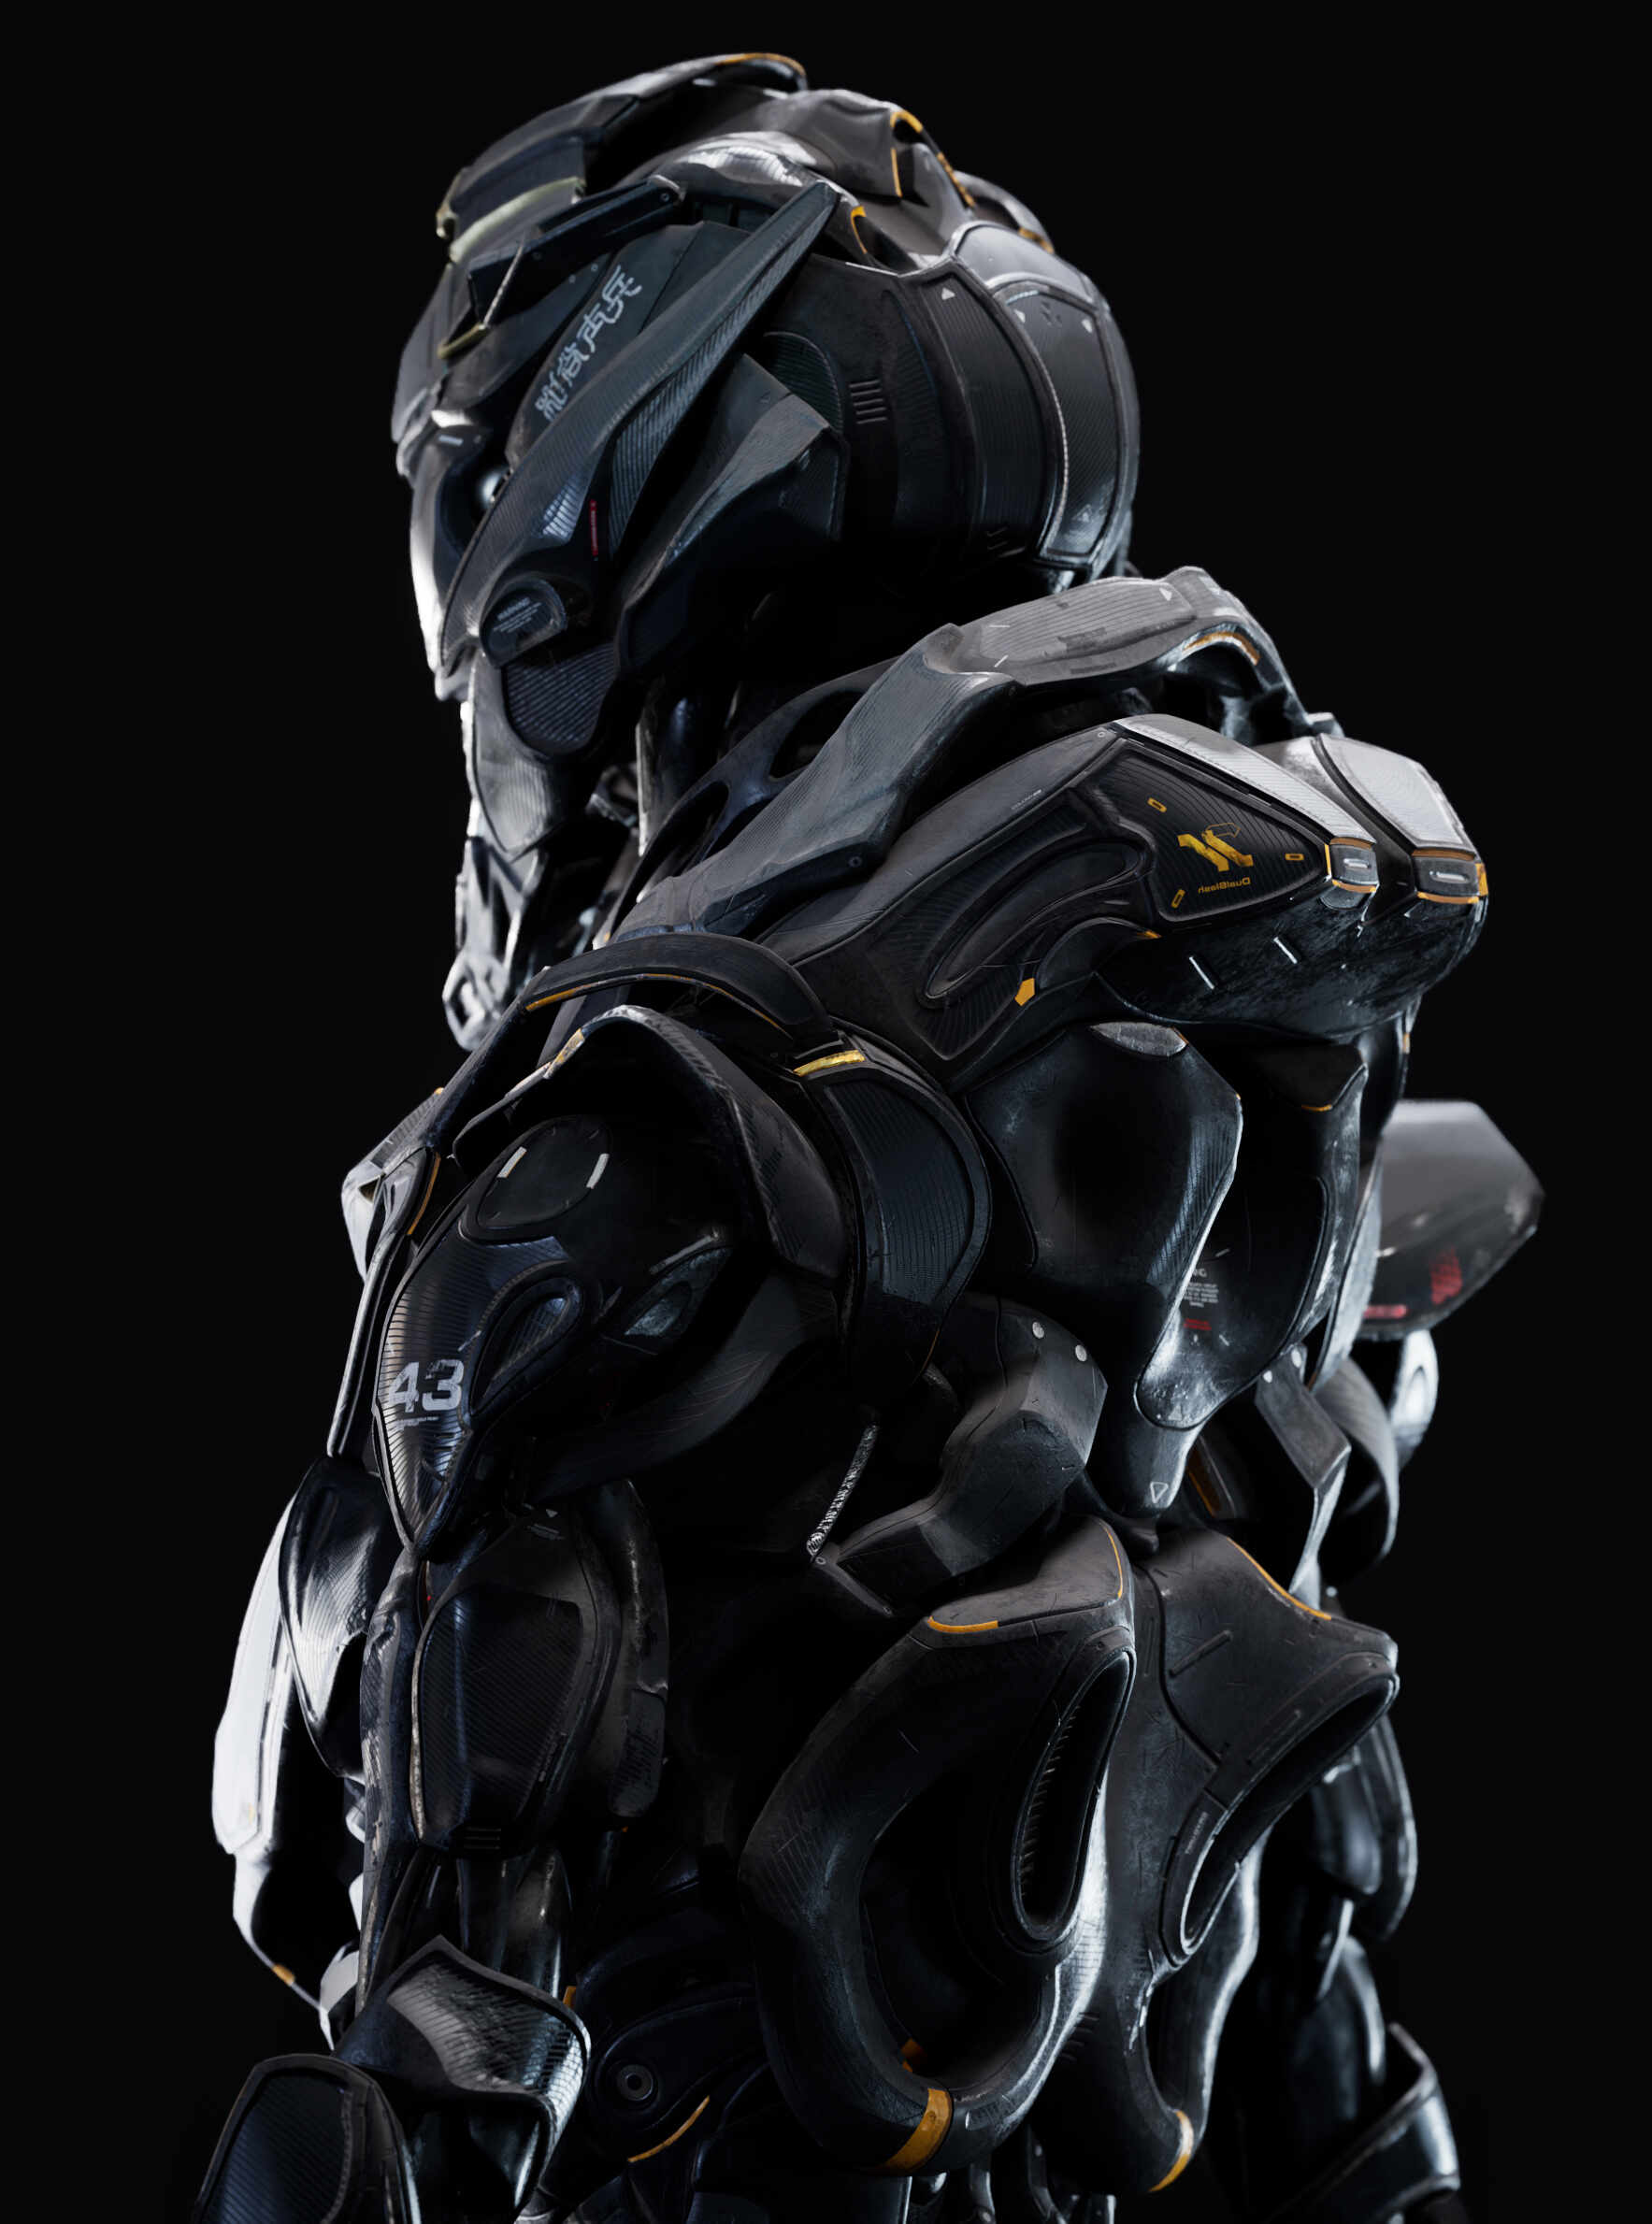
This artwork is my This is a look dev of Sci-Fi_Sangha from my personal project
https://www.artstation.com/artwork/q9Vg0e
![all|999x1980] ![sci-fi_sangha|1000x535]
This artwork is my This is a look dev of Sci-Fi_Sangha from my personal project
https://www.artstation.com/artwork/q9Vg0e
Dope design!
cool SF armor! 
Thank you!
Sick slick !! Would love to see this guy posed !! 

 !!
!!
Not sure if it’s a robot, or android, what ever it looks cool! nice sculpt 
Thank you for everything!
This character will appear in a short film for a personal project. It’s in production now!
Thank you!
Thank you for looking at my art work!
I will continue to upload my works, so please keep an eye out for them.
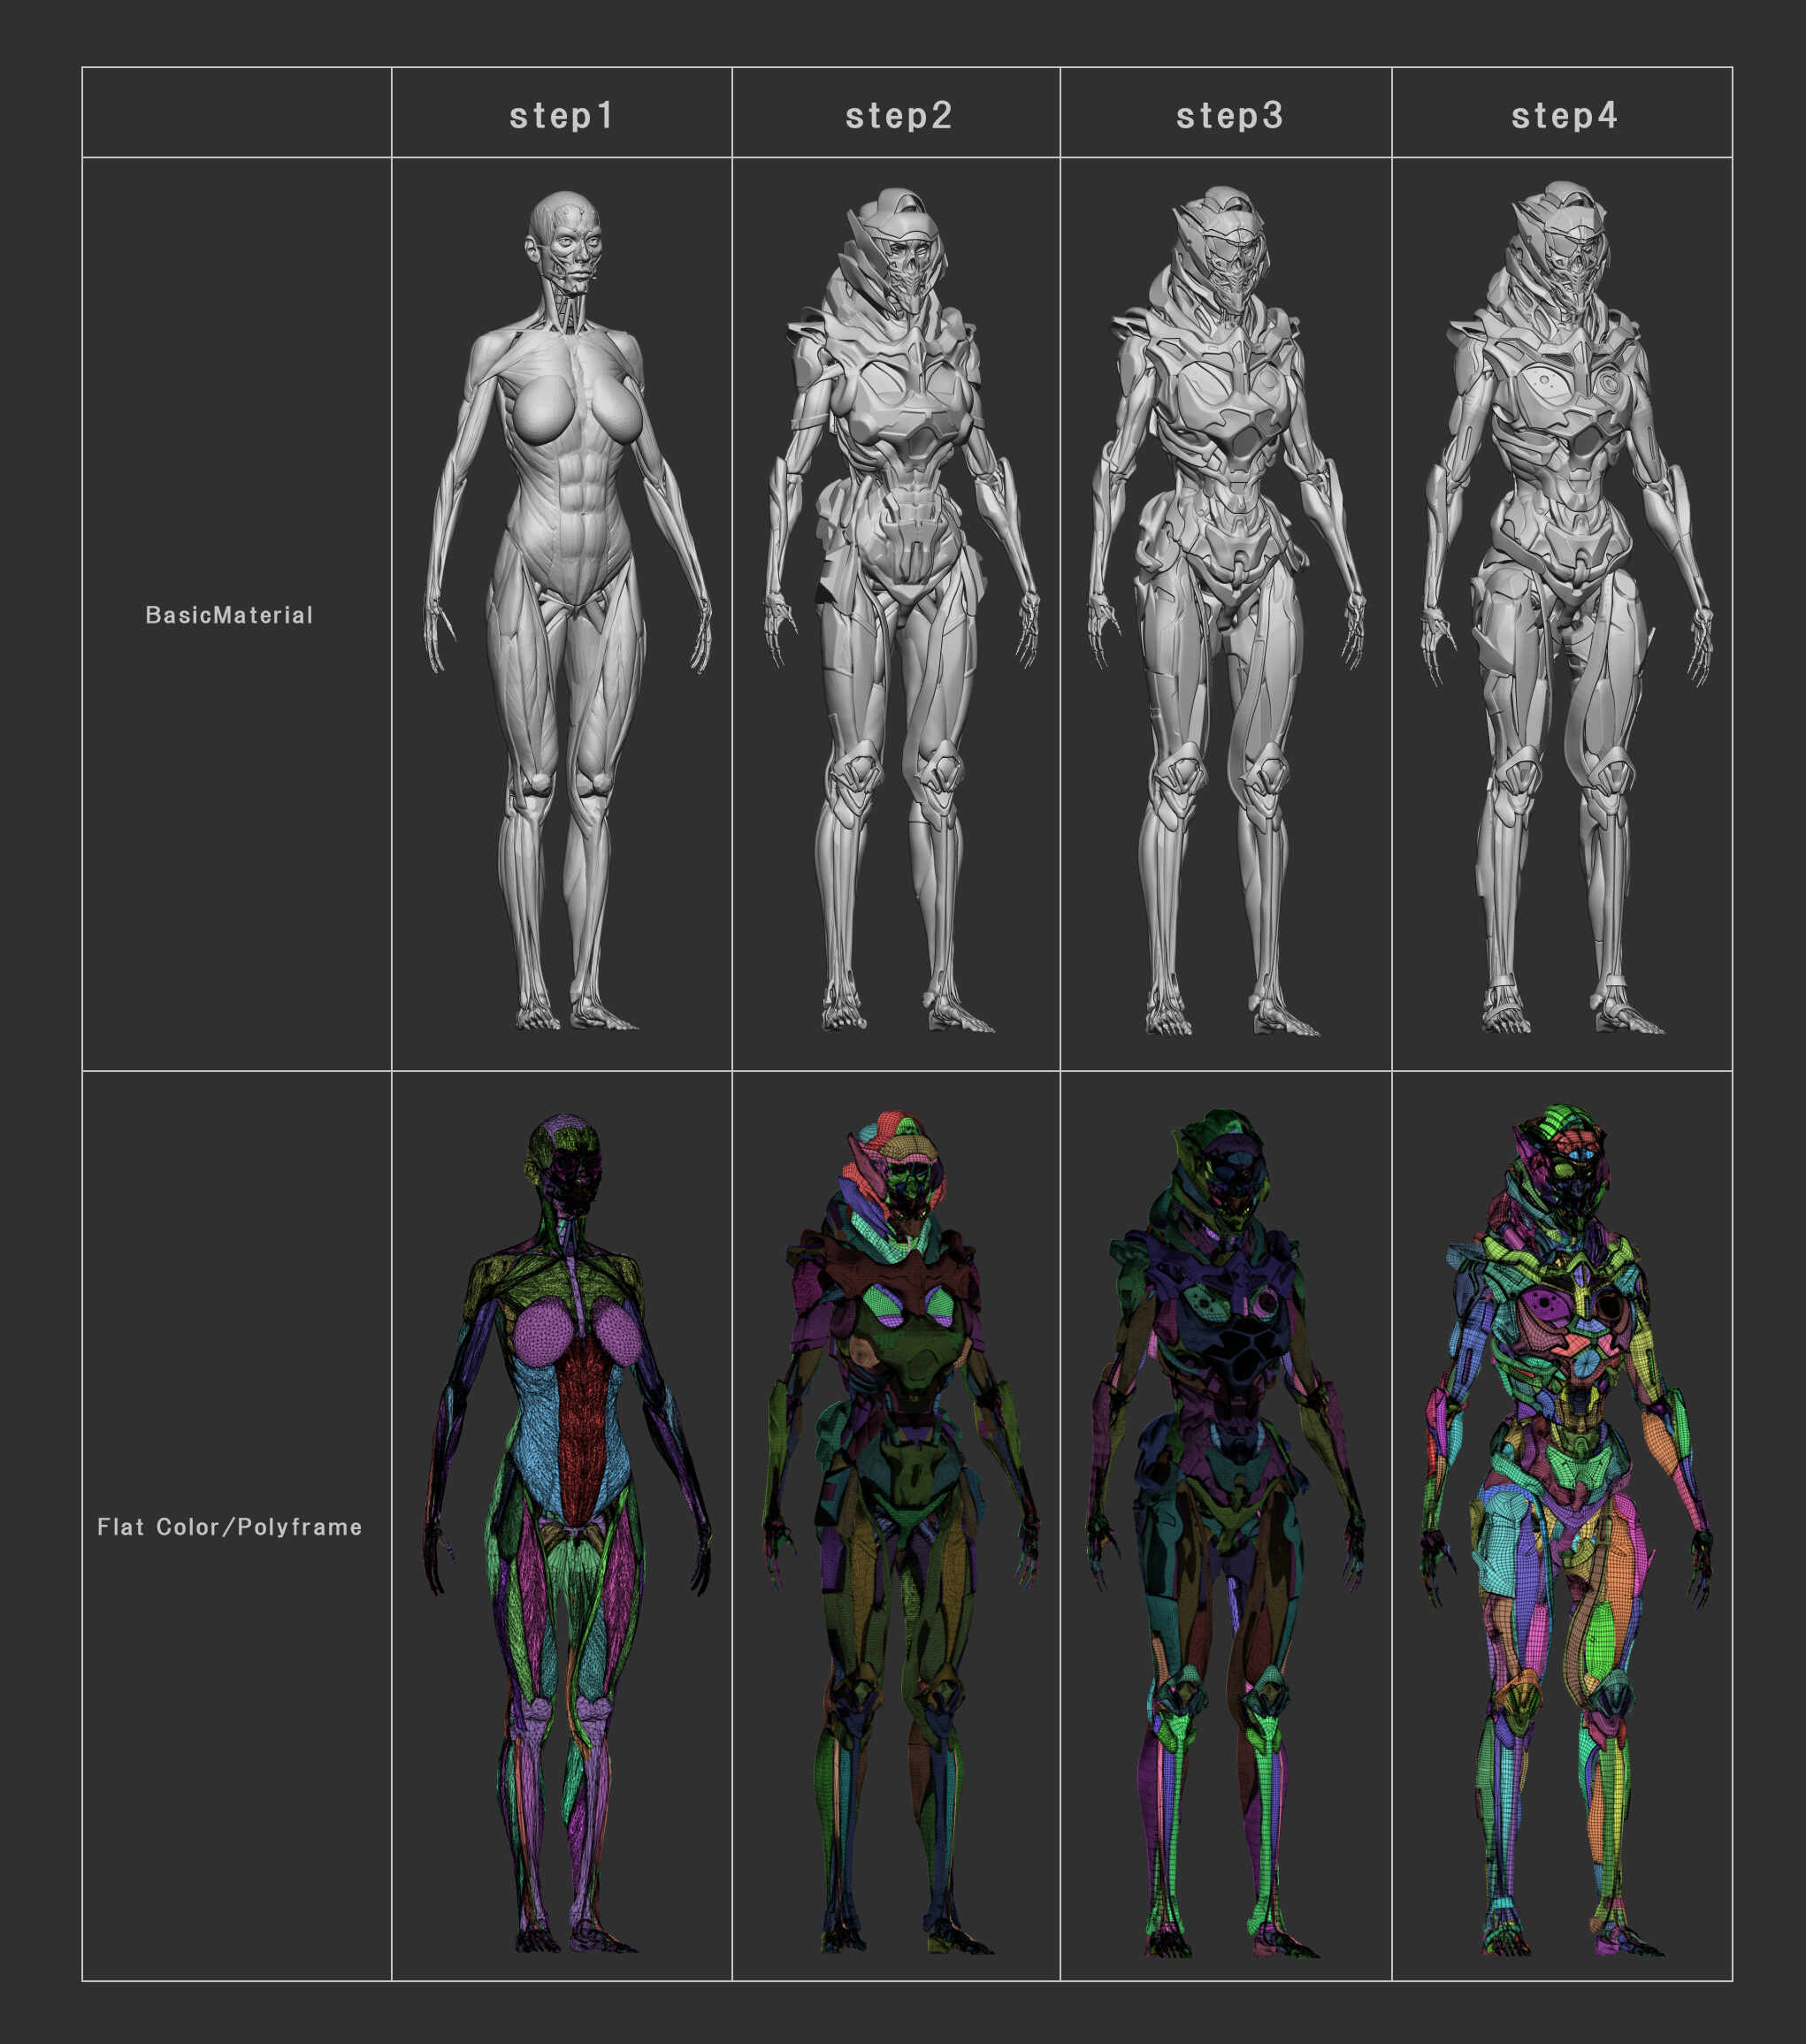
This is a summary of how ZBrush contributed to the creation of Sci-Fi_Sangha.
I started by creating a concept model in DynaMesh with a Sci-Fi armor on the Kingslien_Anatomy_Model in Ztools. (step1,step2)
As you can see, ZBrush has a lot of different projects and tools that are included in ZBrush from the beginning, which is very helpful.
The next step is to continue sculpting the details in DynaMesh, and then create the shape using Live Booleann and SliceCurve. I like the way DynaMesh allows me to sculpt interactively. It also allows for quicker trial and error. (step3)
The last step is to retopology the concept model created in step 3. I mainly used PolyGroupIt.This is a very powerful plug-in, and it does what no other DCC tool can do. Finally, I used PanelLoop and ZModeler to add fine details to the model. (step4)
As you can see, for Sci-Fi_Sangha, ZBrush was used for most of the process.
I didn’t mention how ZBrush was used in this piece, so I know it’s none of my business, but I’ve posted the workflow!
Thank you for reading.