There is always a better way! Your first problem is a simple fix. QRemesher, as I’ve discovered, isn’t good with keeping high level detail. When you’re in the millions of polys it’s best to retopologize the whole thing and then project your high detail mesh onto your subdivided retopo. It’s a lot more work but the end result is better. I think it’s easier to use QRemesher on organic shapes early in the sculpt. Usually after I start sculpting a human or animal and I’m below 500k polys I might clean up the mesh with QRemesher. But when I have very fine detail I would much rather retopologize and then project. Plus, running QRemesher early might save you the trouble of having to retopologize later. If you use QRemesher at the start of your sculpt you can basically create a working mesh from the get-go. If you’re still getting the holes and messed up geometry then you might want to look back at your mesh to see if there’s a problem. Look for reversed normals or holes in your mesh.
You could definitely use insert brush to add horns. There is a great tutorial covering the insert mesh brush at ZBrush Workshops. It’s featured right under the top row. It was very helpful in covering all of the new features in ZBrush 4r4. Personally, I find it easier to use insert mesh brush and immediately split it into a new subtool. It’s sometimes easier to work with that way.
As for getting a lower poly mesh, there are a few options. You could use dynamesh with a very low res. That could take a while if you start with a high res and you’d lose all of the detail without a doubt. The second is QRemesher and lower the target poly count. Again, that could take a while if you start with a very high res and you would lose all of the fine detail. There is retopology, which you mentioned not wanting to do. Although it can be tedious and frustrating at times, it’s still the best method if you’re trying to get a mesh that you want to animate. Retopologizing manually, projecting, and creating a normal map/displacement map is the only way to completely control the outcome of your model. However, if you do not want to animate and you only want to render, Decimation Master is what you’re looking for. It’s a plug-in that should come with ZBrush. I believe there are some tutorials in ZBrush Workshops for it (I may be mistaken). It’s simple, though. It will delete all of your subdivisions but you can always undo if you don’t like the result. You basically just let Decimation Master process your mesh. When it’s done (and it may take a while) set your target poly count and then decimate. It will retopologize your mesh in seconds, usually. It will do its best to get your high level detail onto a mesh with low poly count. Many times I’ve gone from a 4 or 5 million poly model and not lost a single bit of detail by bringing it down to 200k - 300k polys. Probably my favorite plugin. It’s worth noting, though, that it turns your neat quads into chaotic tris. Once you decimate it your model can get frustrating to sculpt on. You may want to use it after you’ve finished detailing your model.
You mentioned that you merged and lost all of your subdivisions. That happens. You can’t undo that which is unfortunate. An easy way around that is saving often. I know, it’s common sense. But I usually save before and after every major step. Before I do any work on a mesh, I save it. Before every subdivide, I save. Before QRemesh, before retopologizing, before merging/splitting/deleting, I save. By the end of my work I usually have around 50-80 files. Each of them are named “file001.ztl, file002.ztl” etc. If it’s something specific, like a retopo and a deleted model I would change the file name to something like “fileRetopologized001.ztl” When my model is finally finished I keep the first three iterations of the file, the last iteration, and any that I feel will be needed in the future. The rest I delete. It really helps when I merge something on accident. If something undoable happens that I don’t like I can simply just reload the file from before.
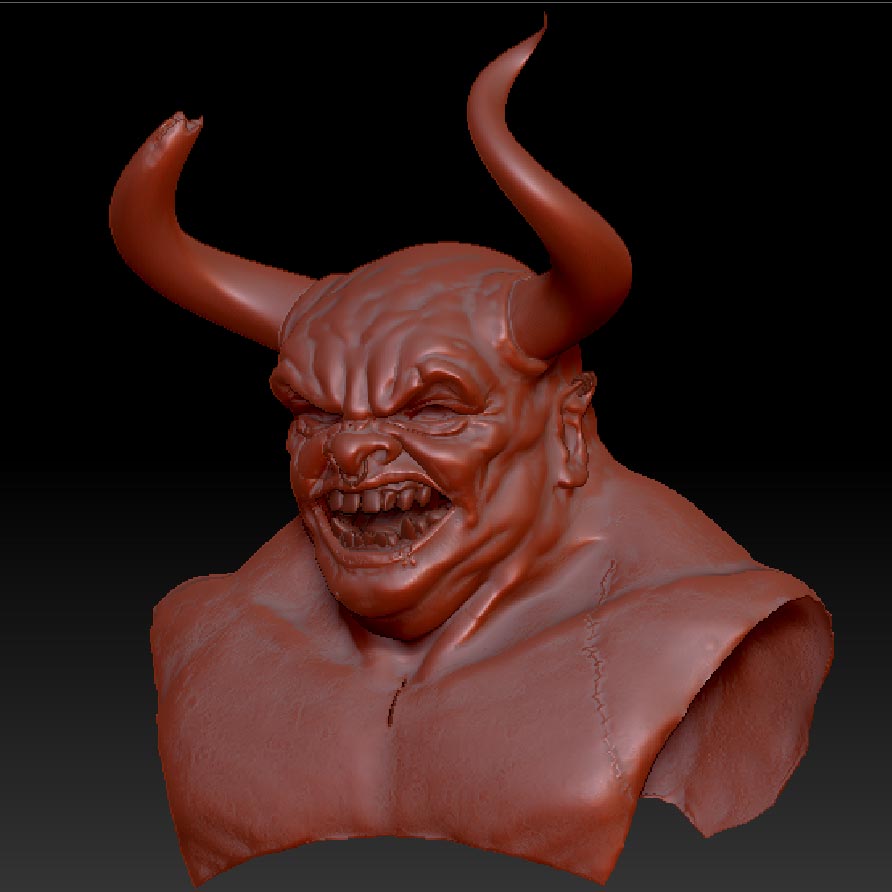
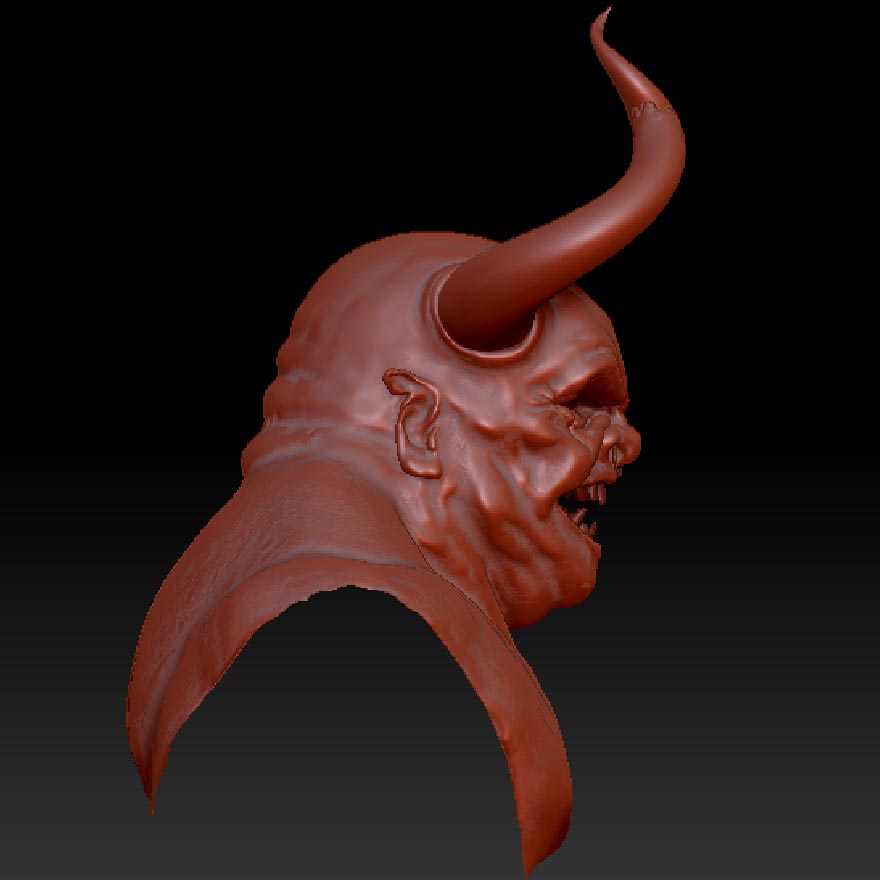
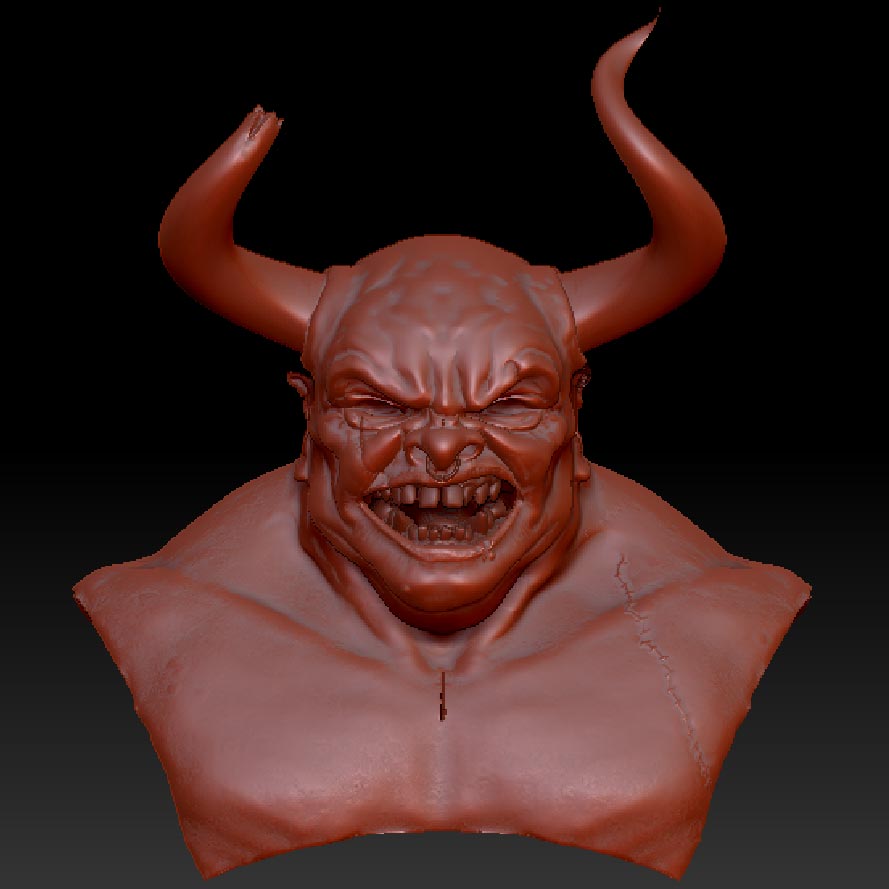
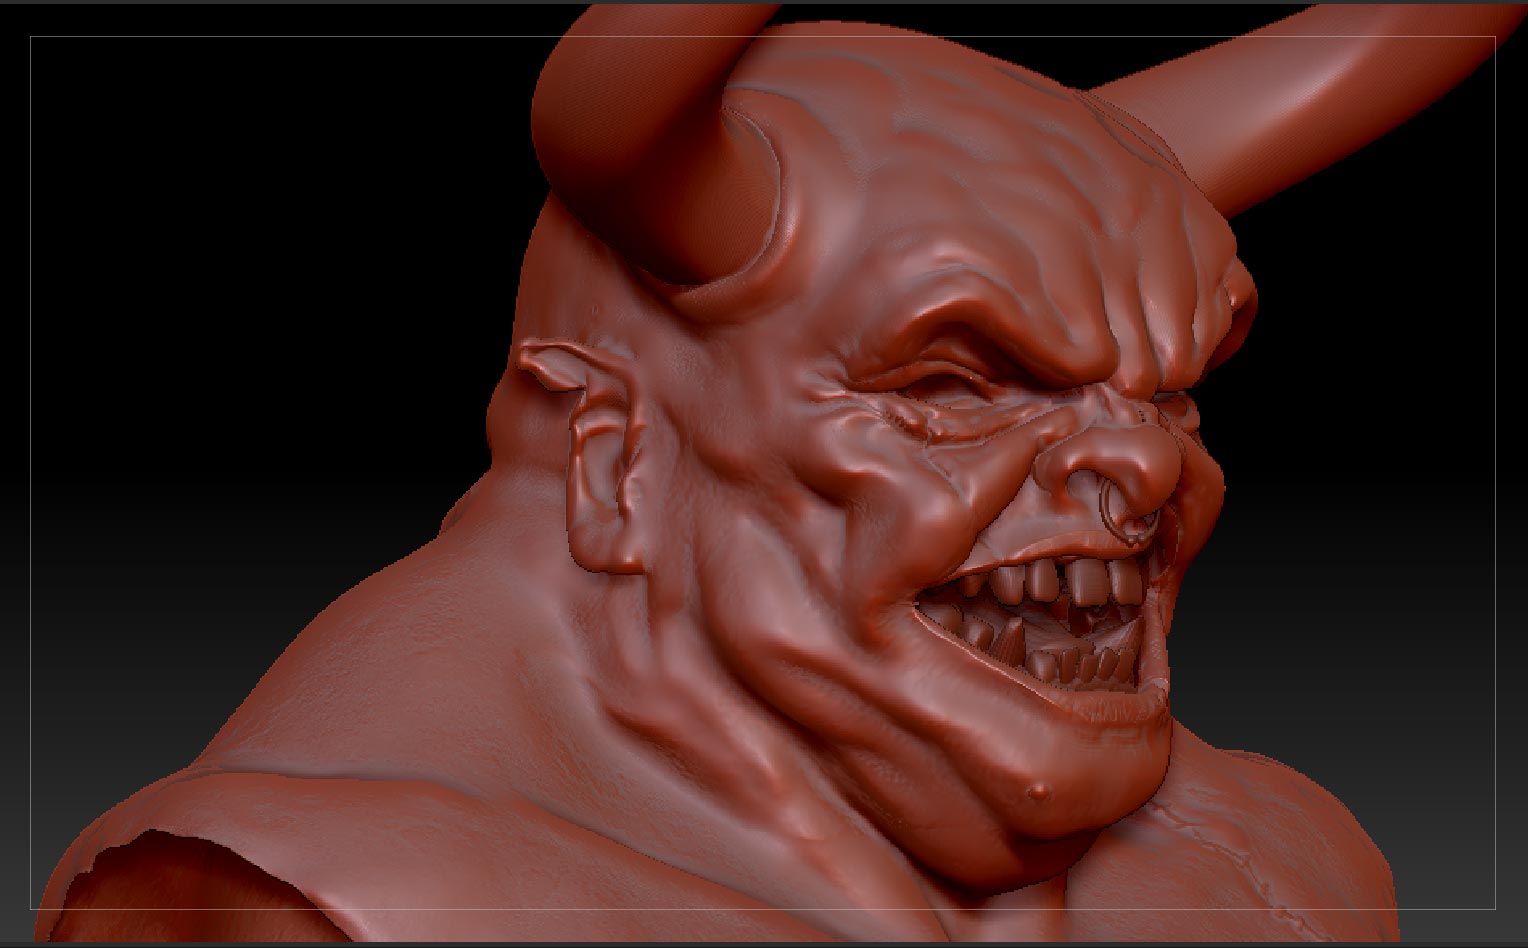
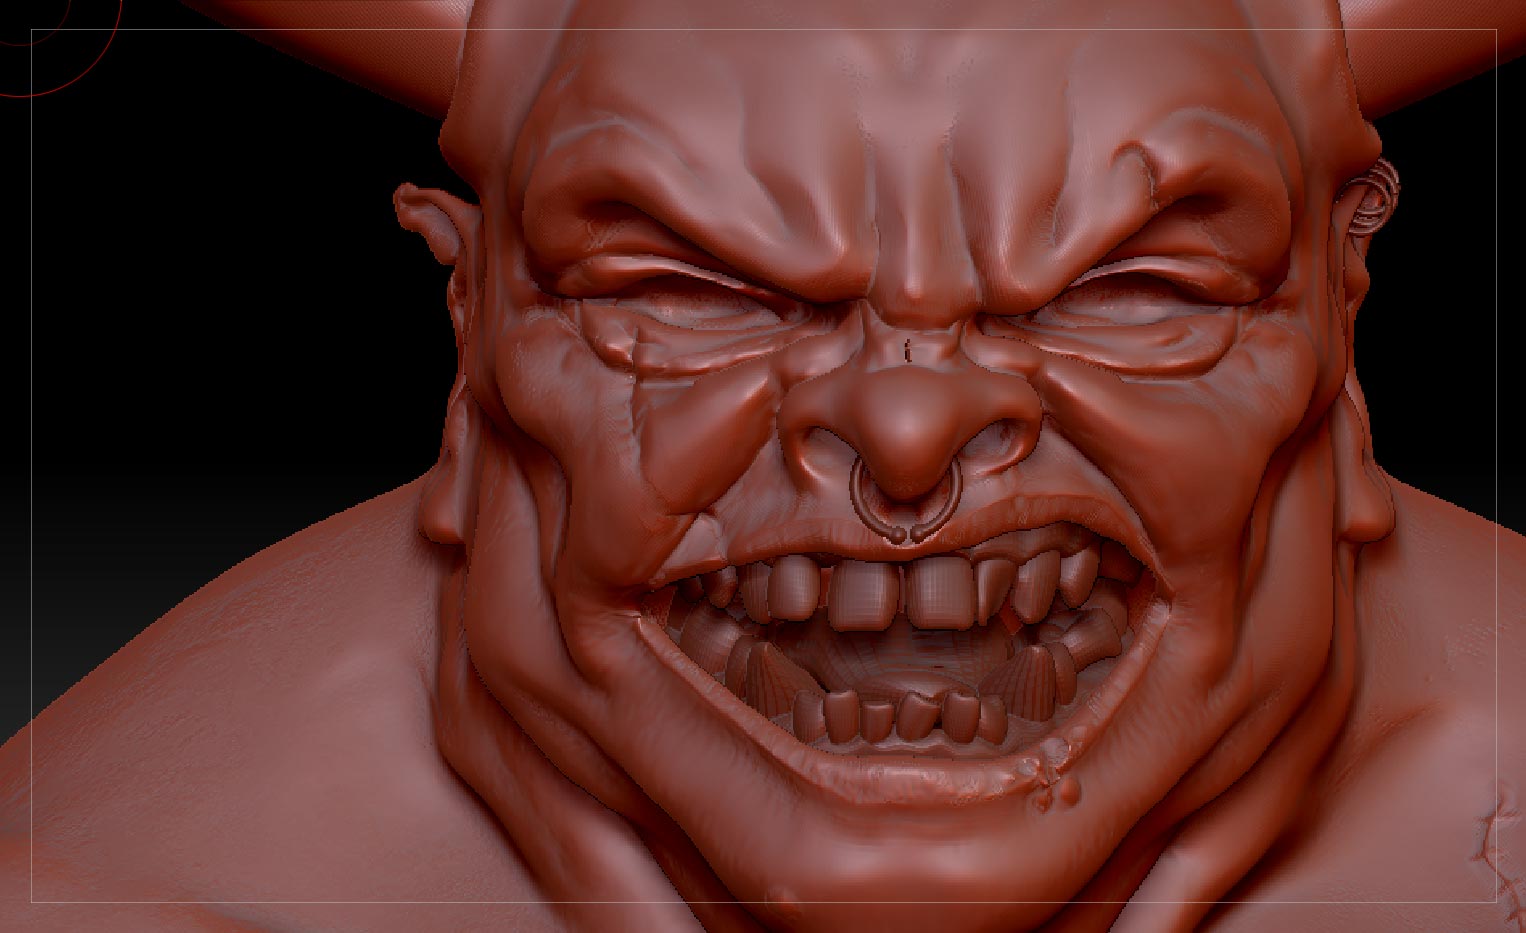
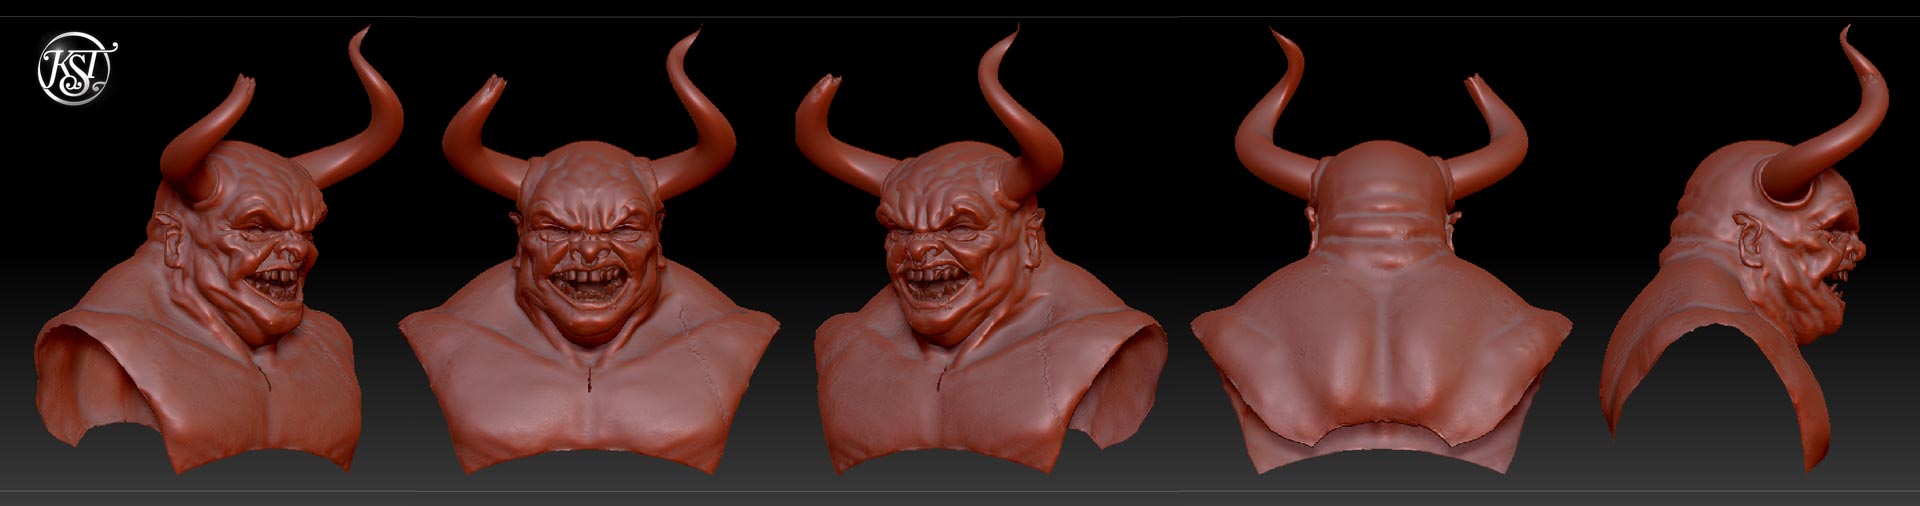
Looking at your model, though, it doesn’t look like you ran into too many problems. You did a great job patching him up!