Hello people, been a long time since I’ve posted anything.
Have been working on this project for the last few days on my free time.
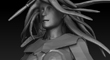
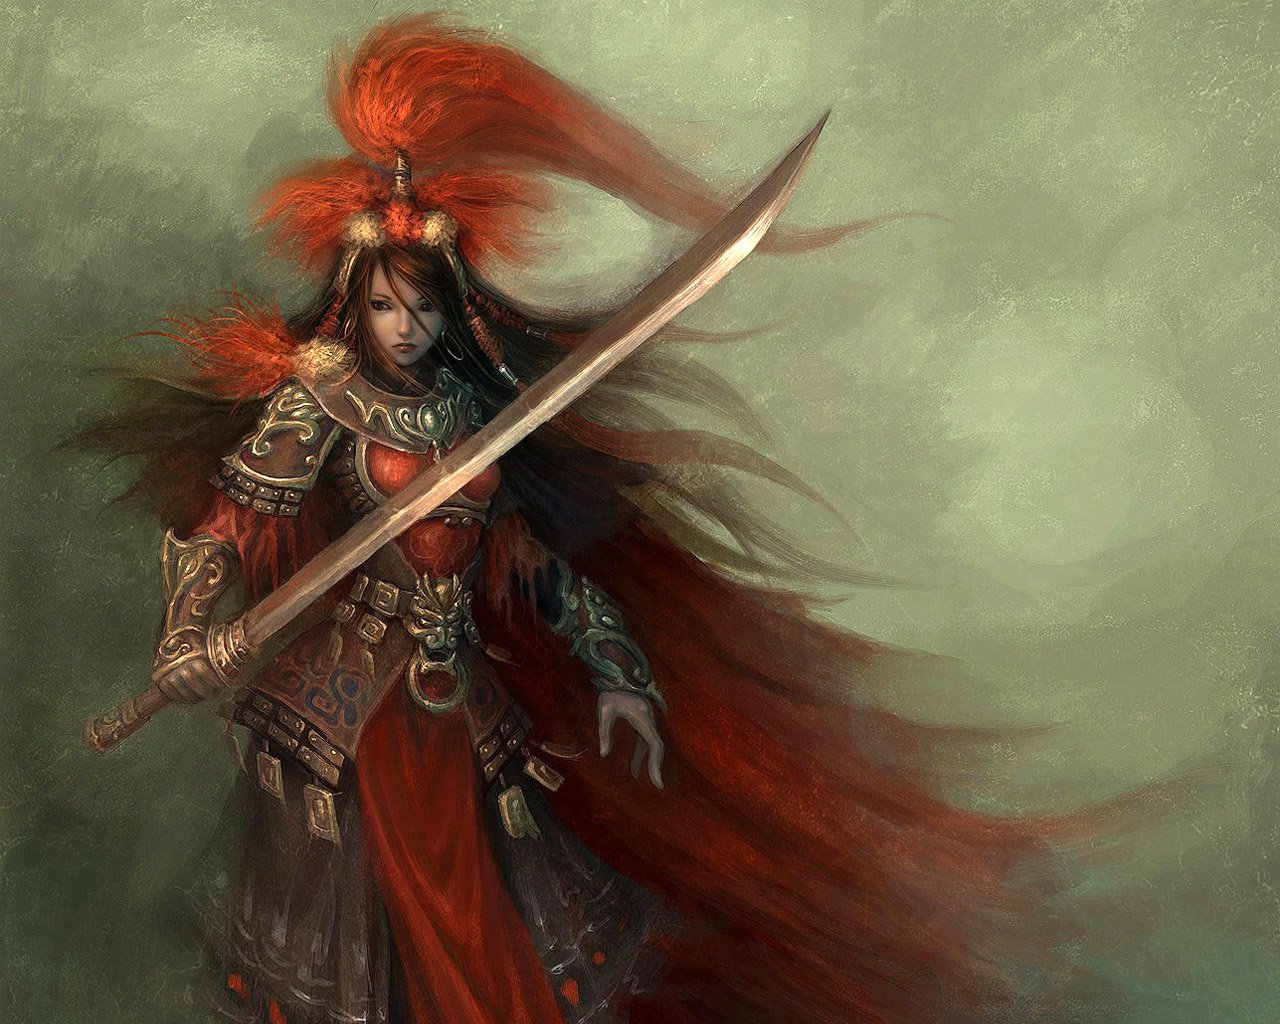
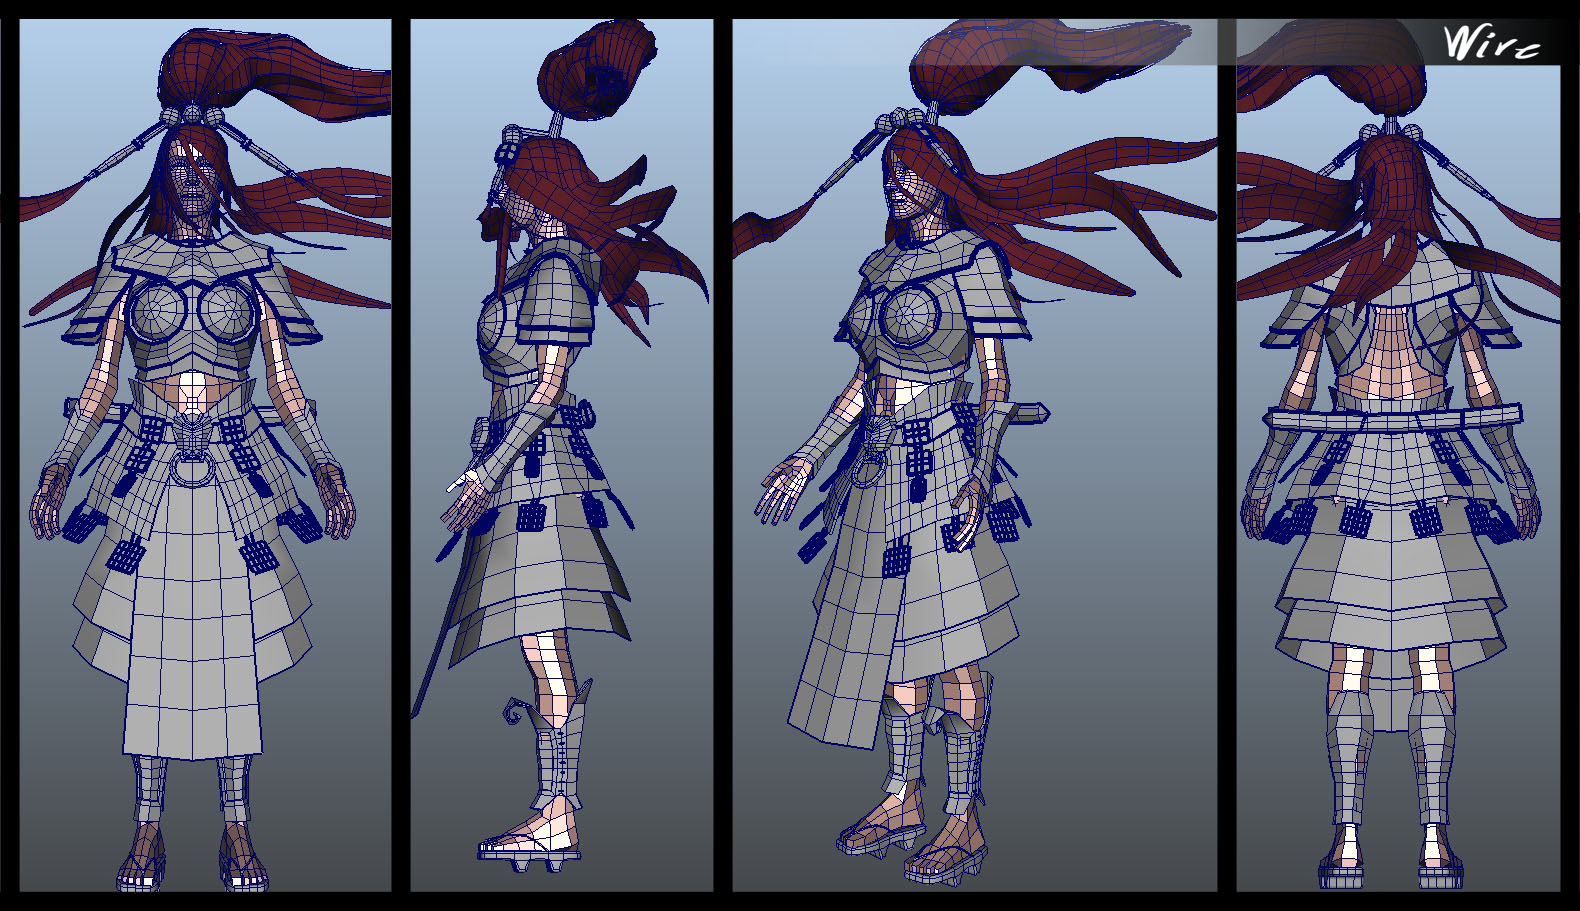
Started with a google reference search and build the basemesh in maya.
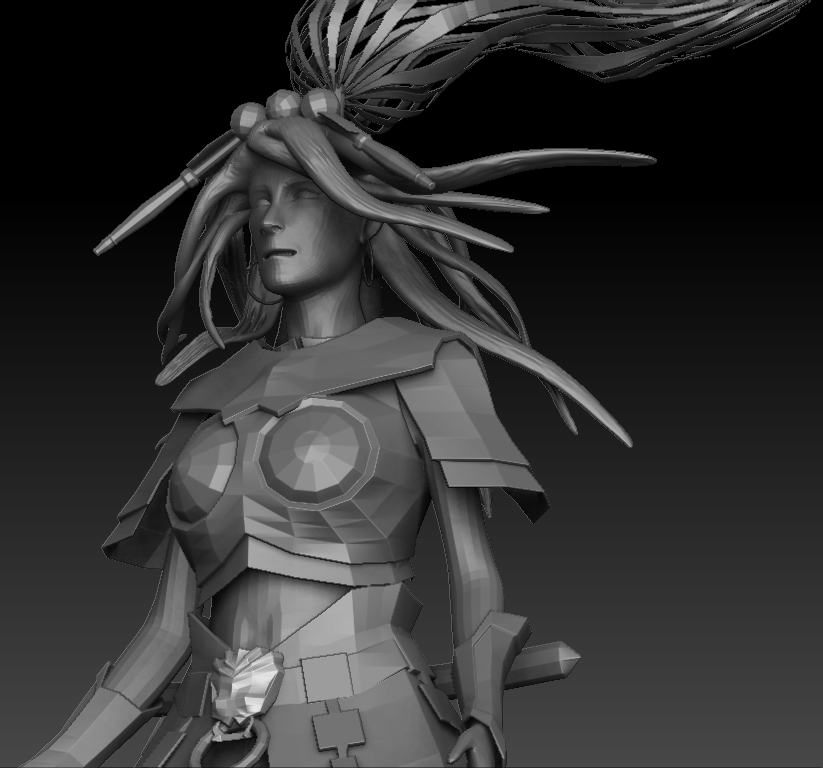
Today I did last basemesh and uv refinement, and lastly imported all the objects into zbrush and did some preparing by subdividing 1 or 2 times depending on subtool.
[ ](javascript:zb_insimg(‘200610’,‘samurai-female-warrior.jpg’,1,0))
I have two questions.
When in maya I add crease property to edges am I able to preserve this in zbrush when subdividing?
Hair that seems to be very hard to get right. As you see in the reference any suggestion to how to approach this?
Attachments


 ]
]
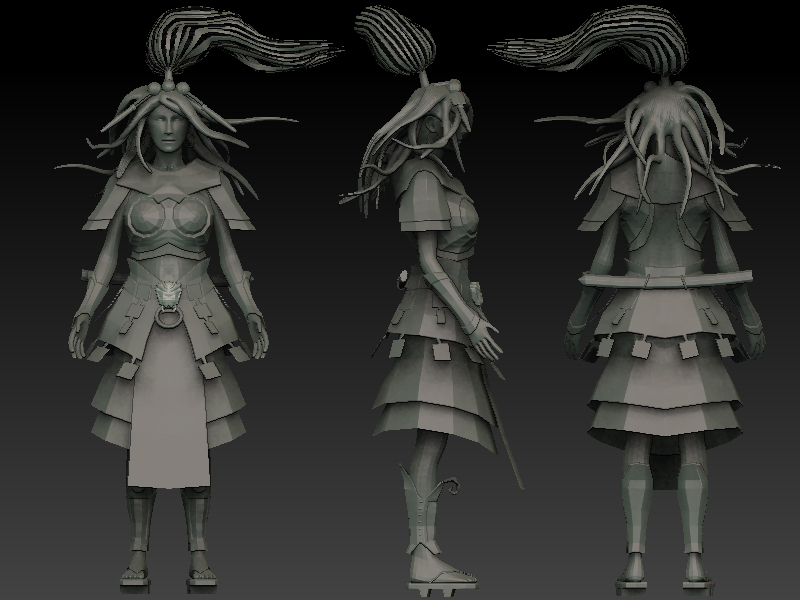
 ](javascript:zb_insimg(‘201433’,‘samuraiGirl_Image05.jpg’,1,0))

 I’m sure many of you know how that is.
 ](javascript:zb_insimg(‘204686’,‘samuraiGirl_Image06.jpg’,1,0))
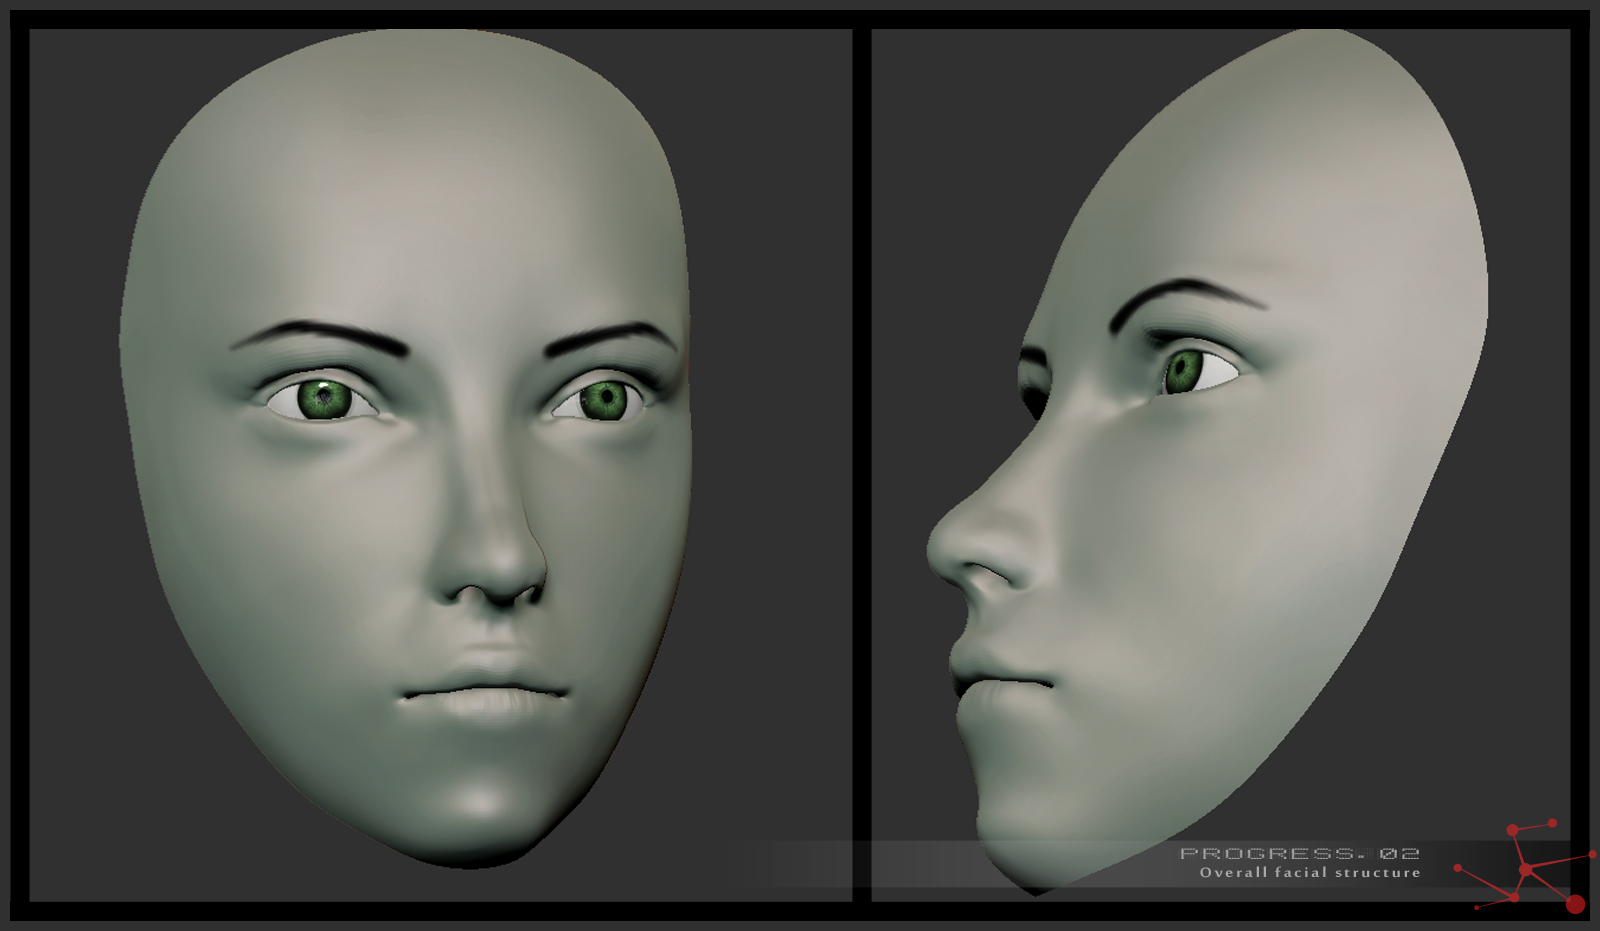
 ]
]

 ]
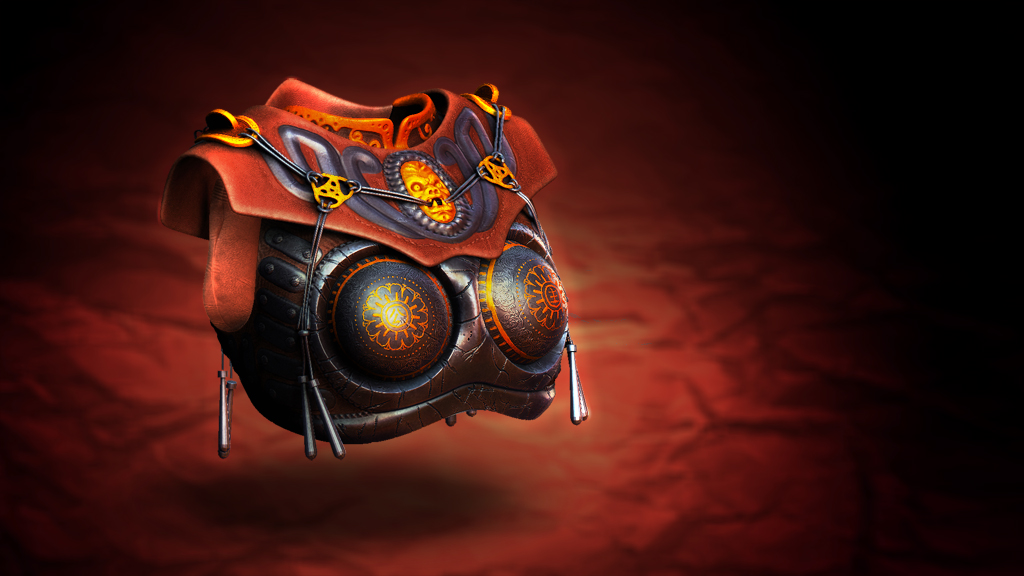
] but I just want to say the amour bust looks incredible
  ]
]