Thank you very much for your kind feedback and support! Appreciate it very much. 
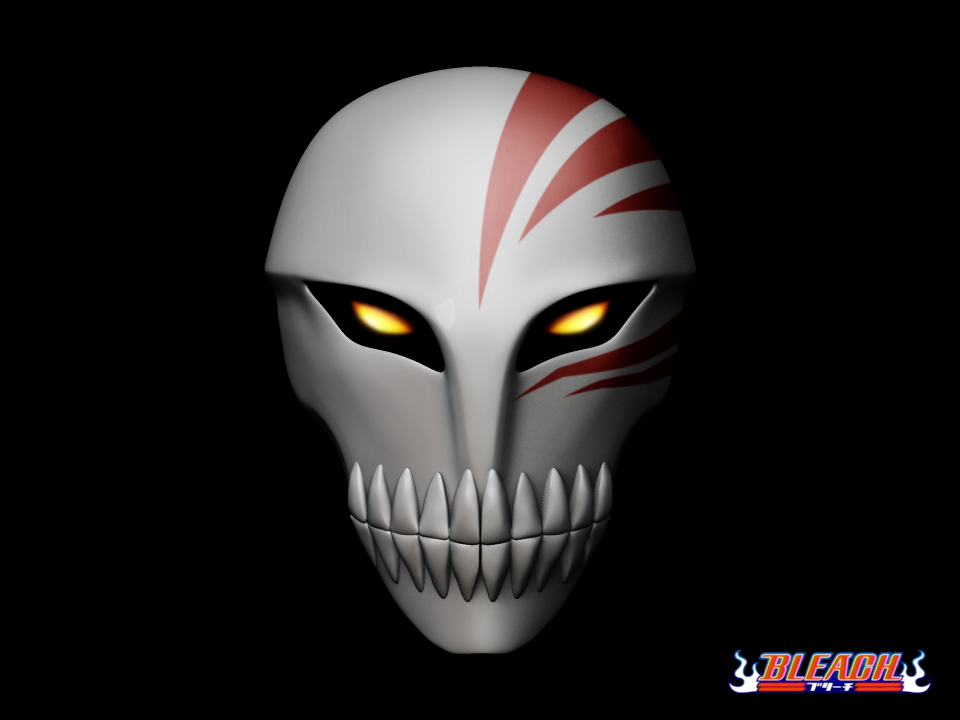
Ichigo Hollow Mask | Bleach Anime
Attachments

Clean Model. The cyborg Ninja is really nice!
nice anime renditions! what other anime are you interested in?


That is horrifying.
i second that. this is some F***** up S*****:eek:
hawt
Attachments
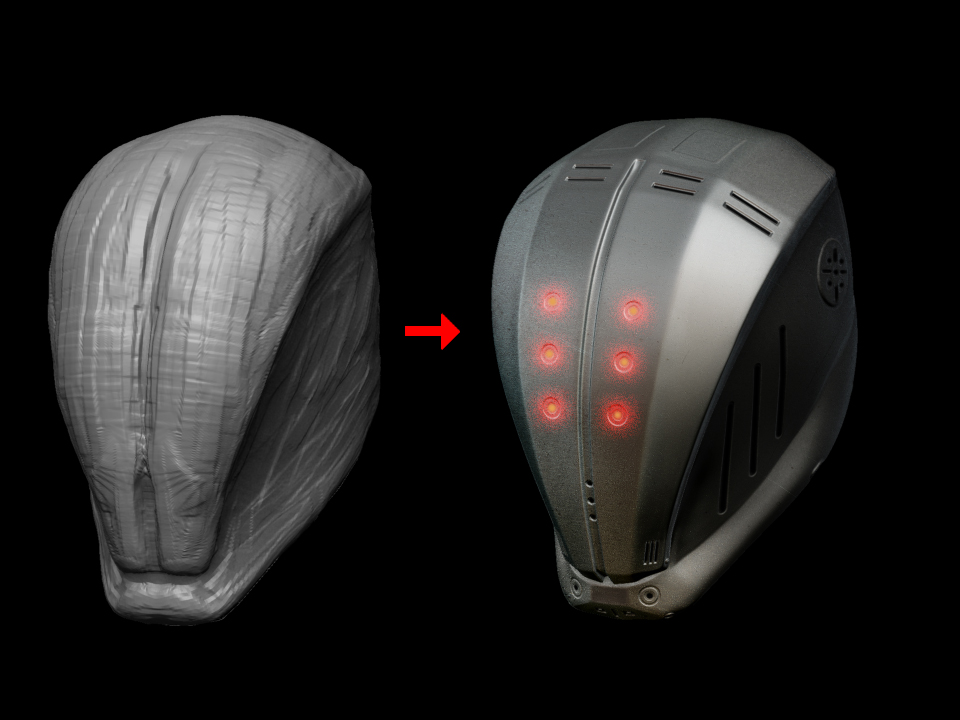
I like the helmet a lot! Could you post more in-betweens? Quite a jump from clay to the hard surface.
Hi! Phhmlw, Thankx for ur comments.
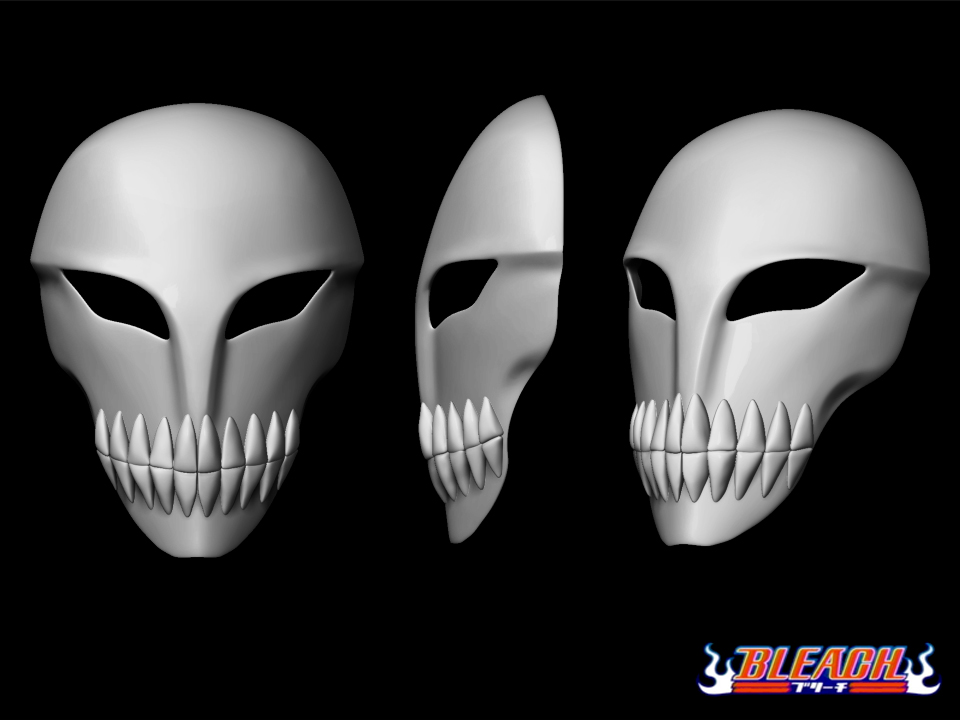
- sculpt with Clay Tubes brush and Move brush. (Rough Shape)
- Retopology half of the rough shape. (no need to use ‘x’ symmetry) then make Adaptive skin and export the half model.
- Import the half model to 3d software such as 3dmax, maya, xsi or silo. (I used 3Ds Max)
- Remodeling the model using edge loop tool and symmetry modifier.
- When you satisfied your model then export it again. (.obj format)
- Use Zbrush again! Make more detail as you want.


It takes only 2 hours to make it. It’s easy! because of Zbrush Retopology Function.
Zbrush is very powerful and nothing is impossible. I love ZBrush!
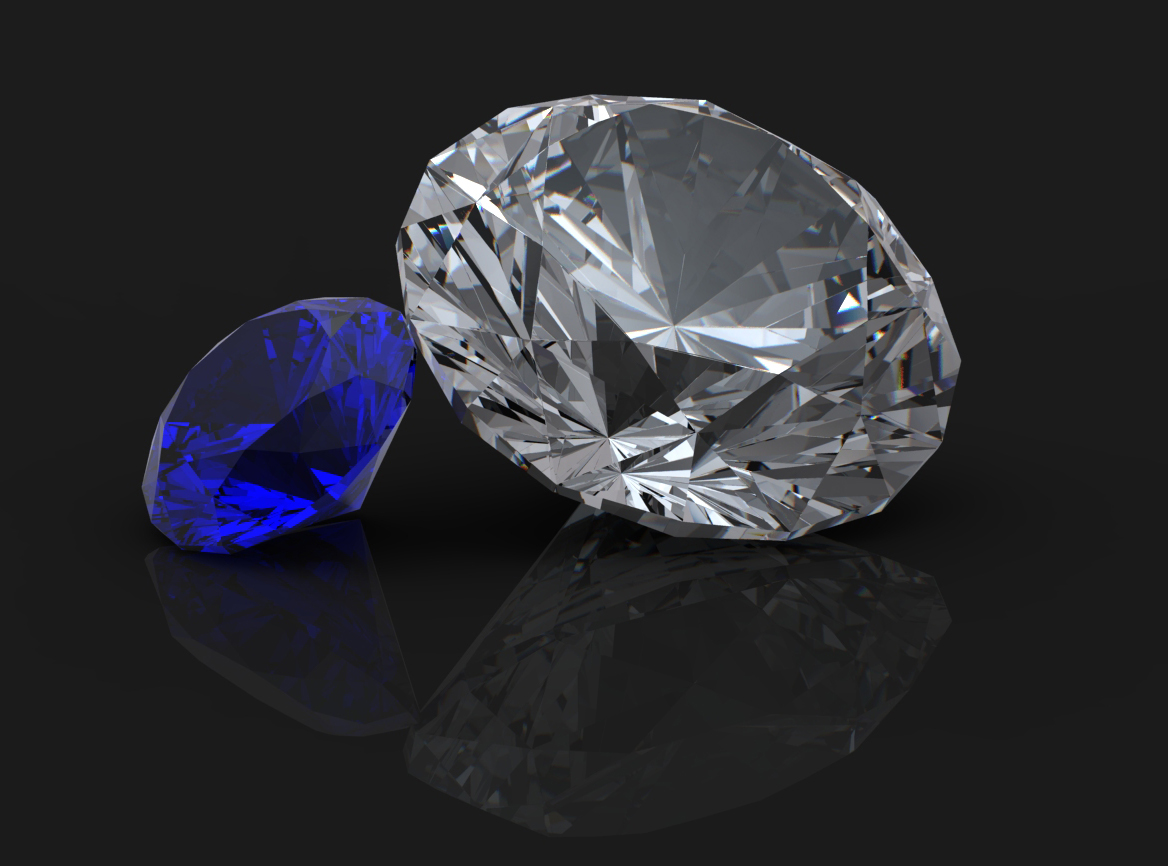
Step 1 Setup the imageplane using Reference images inside 3Ds Max software. (such as top,side(left,right),bottom).
Step 2 Change the Geometry tap to Shapes tap. In “Splines” Mode, I use “Line” mode to make the Diamond Frame.I used alot of “vertex” snaps toggle(short-cut “s”) and fuse.
Step 3 Making line frame to poly mesh. In Rendering tap, check “Enable in Viewport”. Click Rectangular radio button and Make it thin.Then convert to poly and export it as *.obj.
Step 4 Import in to Zbrush. In Adaptive skin tap change the density to 1. Then I start drawing the Topology using ZBrush Retopology function. (make it draw size “1”)
step 5 After Retopology, Make Adaptive Skin. ( Don’t Change anything during Retopology ). When you get the skin export it out as *.OBJ format.
Step 6 Import the file to 3Ds Max and adjusting the shape using Edit Geometry tap from the Editable Poly. (I used alot of “x” “Y” “z” tool and Make planer tool.“Cut” tool also.)
Step 7 Render it out. Using Mental Ray. It’s done. Fast and Easy. Incredible Zbrush!
Now I can sale my diamond! Ha Ha…


Attachments


why would you need zbrush for that ?;f

I will try that workflow next time I create something that has a hard surface thinks a lot.
slocik:- Thanks for asking that kind of question? But I dont know how to answer that kind of question. Let me think of it.  …
… 
I like your “earth elemntal wip”. Nice idea and sculpt.
Big Loufeez:- Thanks alot. Plz try. I hope will be useful to you.
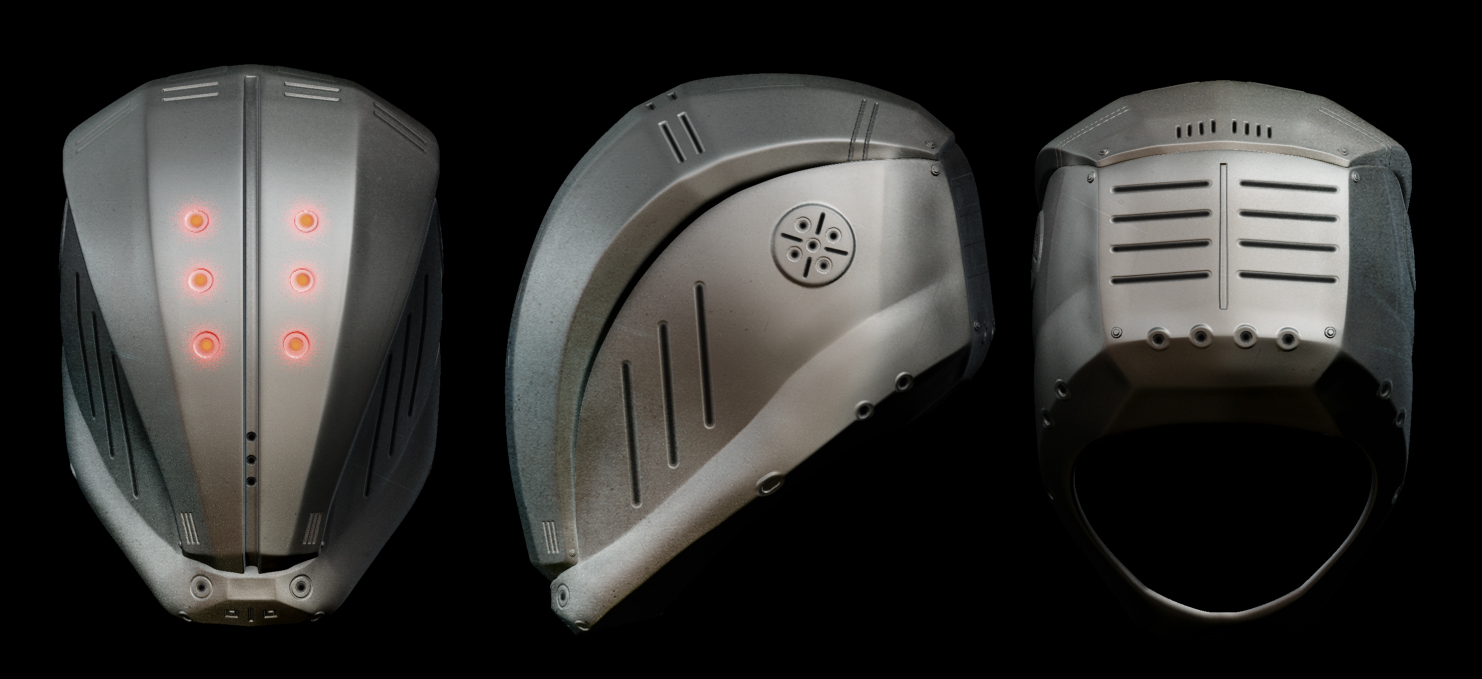
Here is my test render helmet, Plz check it out! I used different materials.

your sci fi helet is awesome. it reminds me of this anime film i saw once. i think it was called “elfen lied” or something. any way awsome sculpt dude. oh yeh what material did you use on the clear blue render?
slocik:- Hi, slocik, This is my answer. 
LeoAMD:- Hi leo, Thank alot! That correct. I took reference from elfen lied anime. it is scary anime. ha ha. that material some kind of x ray material from 3ds max. other materials are from zbrush. I like your hulk vs wolverine concept. I cant wait to see it end result. Keep it up.

 or
or 
Attachments


amazing iron man helmet, im still trying myself to leart the whole hard surface modeling in zbrush… and pointers?