Step 1 Setup the imageplane using Reference images inside 3Ds Max software. (such as top,side(left,right),bottom).
Step 2 Change the Geometry tap to Shapes tap. In “Splines” Mode, I use “Line” mode to make the Diamond Frame.I used alot of “vertex” snaps toggle(short-cut “s”) and fuse.
Step 3 Making line frame to poly mesh. In Rendering tap, check “Enable in Viewport”. Click Rectangular radio button and Make it thin.Then convert to poly and export it as *.obj.
Step 4 Import in to Zbrush. In Adaptive skin tap change the density to 1. Then I start drawing the Topology using ZBrush Retopology function. (make it draw size “1”)
step 5 After Retopology, Make Adaptive Skin. ( Don’t Change anything during Retopology ). When you get the skin export it out as *.OBJ format.
Step 6 Import the file to 3Ds Max and adjusting the shape using Edit Geometry tap from the Editable Poly. (I used alot of “x” “Y” “z” tool and Make planer tool.“Cut” tool also.)
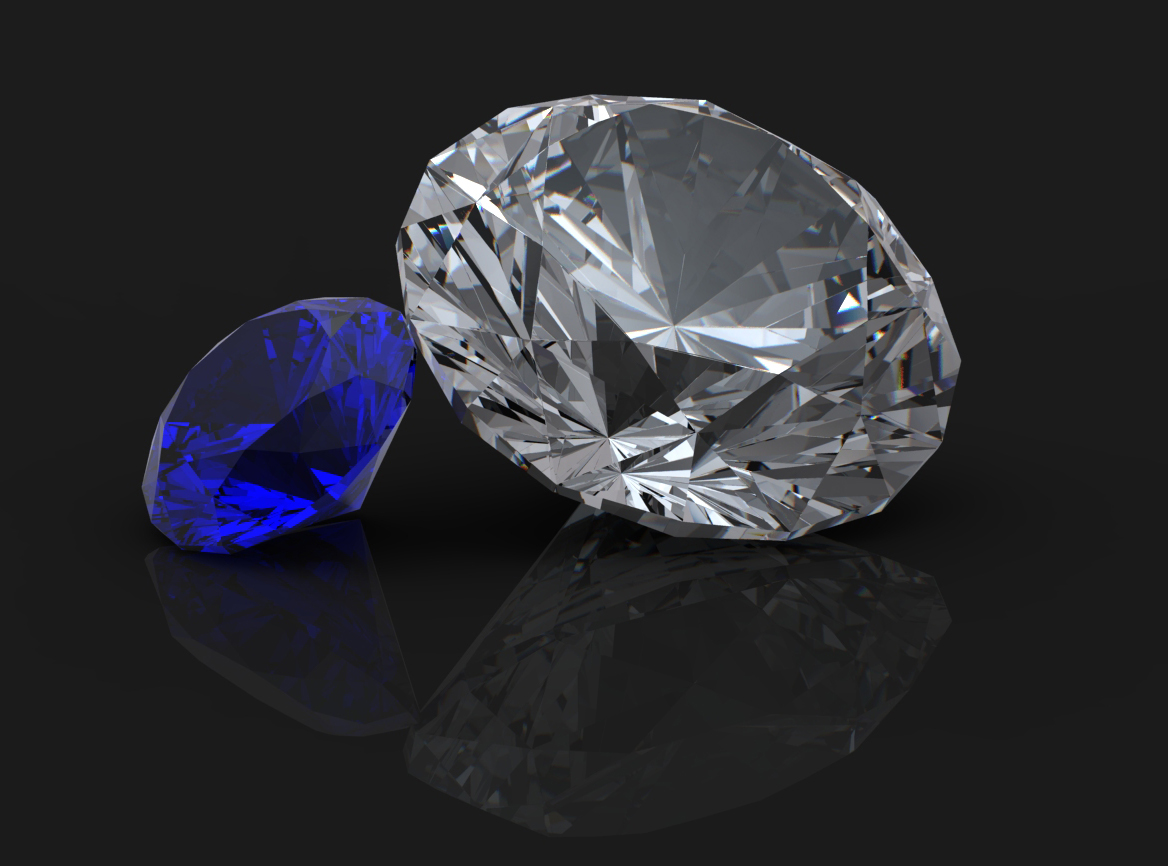
Step 7 Render it out. Using Mental Ray. It’s done. Fast and Easy. Incredible Zbrush!
Now I can sale my diamond! Ha Ha…

Attachments

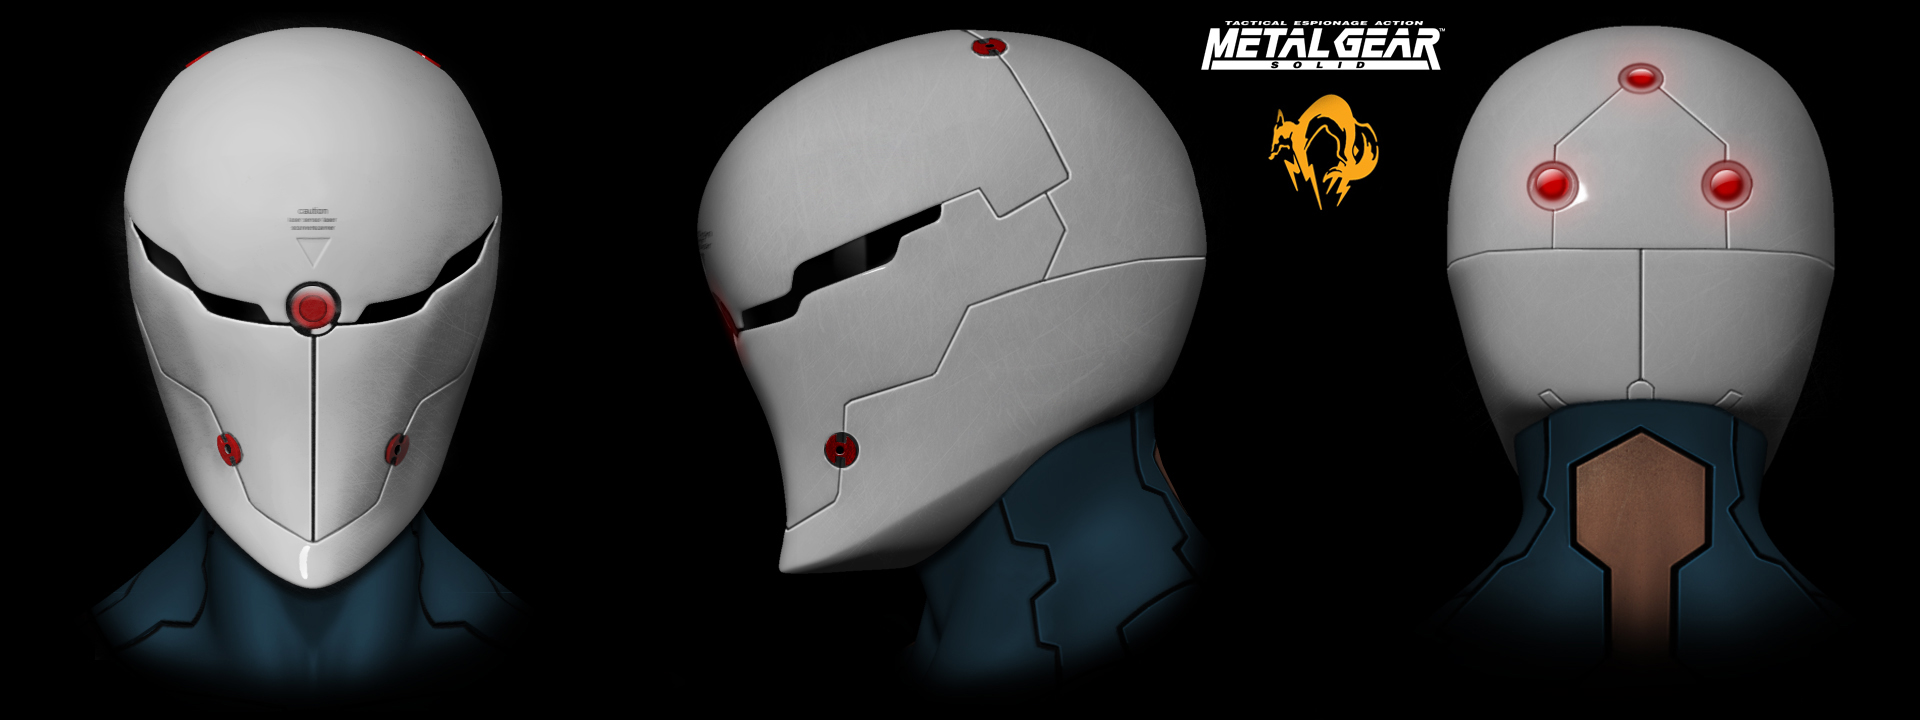
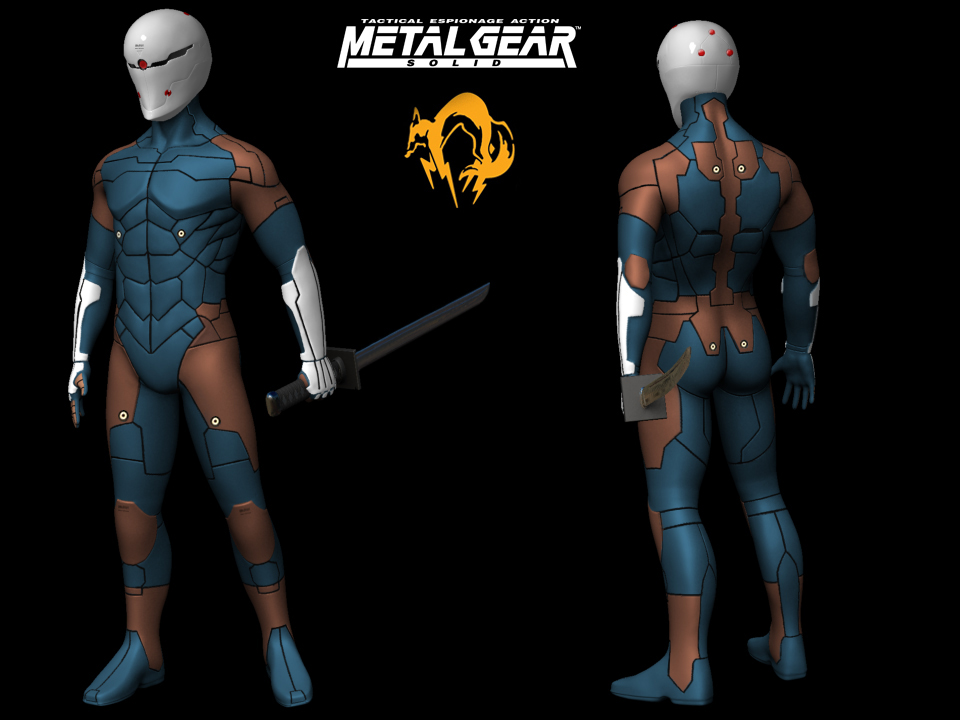
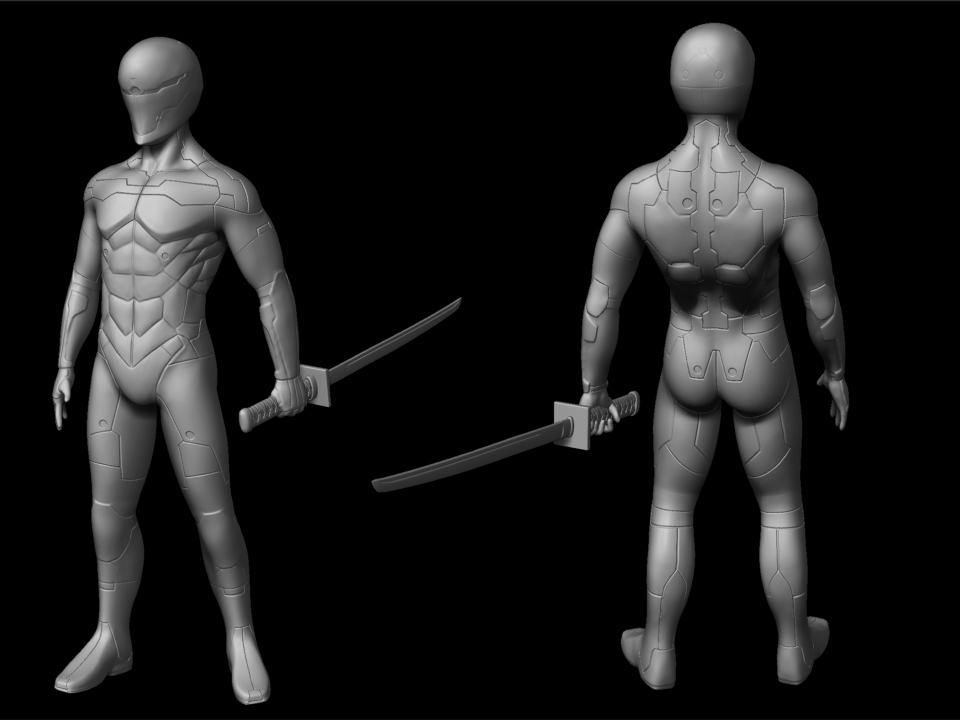
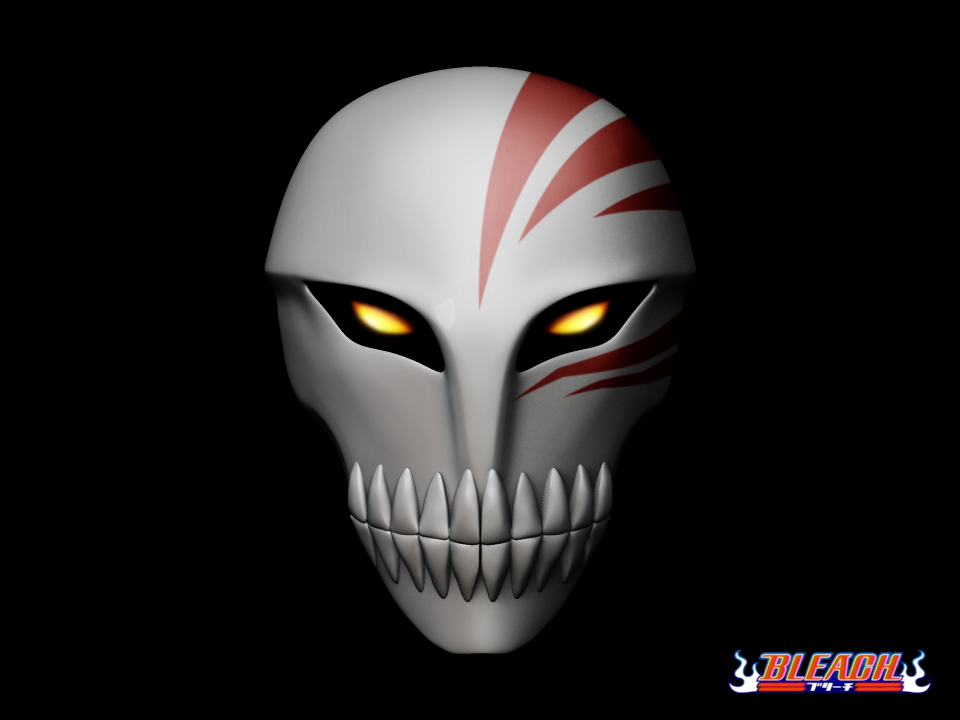
 [attach=147894]cbnj_01.jpg[/attach] [attach=147895]cbnj_02.jpg[/attach] [attach=147896]cbnj_05.jpg[/attach] [[attach=147897]cbnj_03.jpg[/attach]]