ZBrushCentral

Rhino Student Project

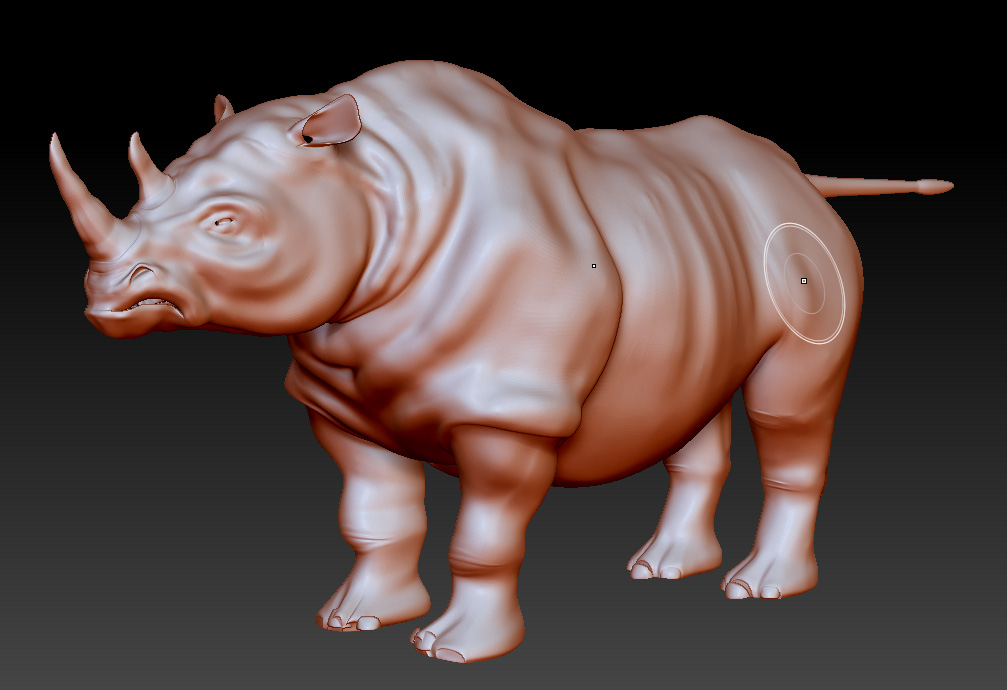
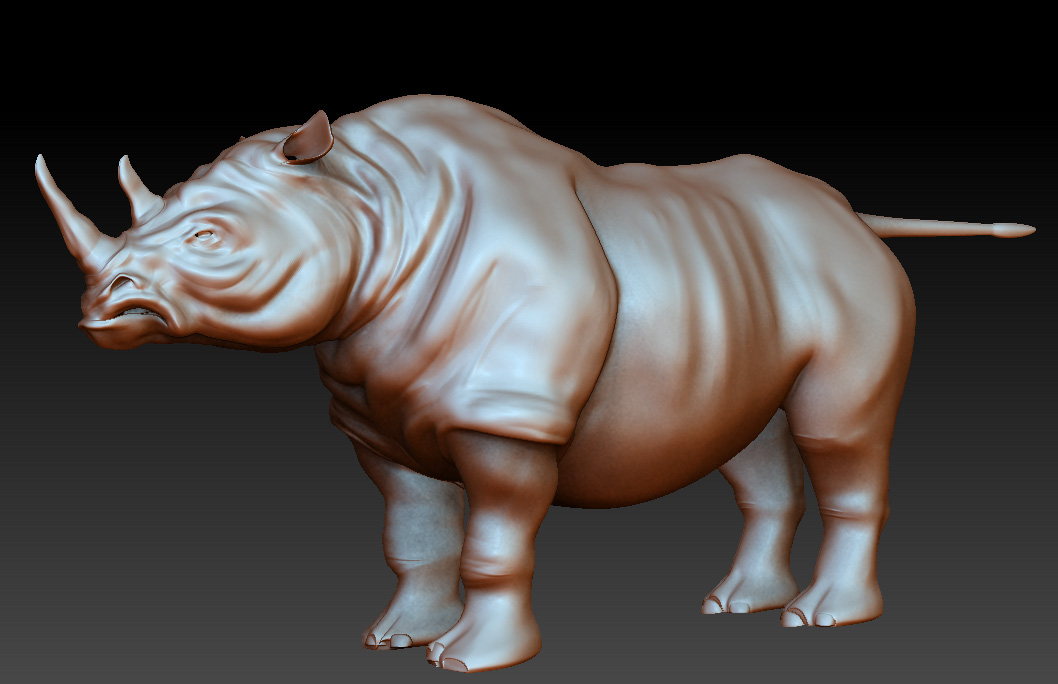
I am working on a sculpt of a Rhino for class. This is my first time trying to make anything in Z-brush, so it is pretty rough.
I started with the standard Rhino base mesh and tweeked it using the move tool. I tried to make my rhino look mean and weathered.

After I altered the base mesh I subdivided and sculpted in the large forms. Then I went up another layer and started working on the creases. I want to do the whole process over, working more heavily from reference. I couldn’t really look at my reference that much while watching a video tutorial and sculpting at the same time. Now that I have the process down a little bit, I feel that I should go back and give it another shot.

Attachments

rhino_01.jpg

rhino_02.jpg

Looks like a good start.

A few things to point out though:
Your rhino’s nails on his feet have either moved or were not unmasked when you moved them. I had to select using the transpose tool and then select the nails with the mask lasso tool in order to move all of it together. Similar to the eye when recoloring.

The mesh looks wavy or stretched in areas. I would suggest starting with a low poly mesh first before throwing up the high rez geo. This helps get the overall need of detail in when it should be there. If you are fighting in an area you want to change around, then its time to bump up the geo.

Thats actually all i can see at this point…and those are minor workflow changes…so yeah…keep it up!

I created the basic shapes in 3DS max. I used two Edit poly modifiers to create both a low and high poly version. I exported the highpoly versions and opened them in Zbrush. It is based off a lamp outside of Ogilvie train station in down town Chicago. I tried to make it look weathered and old, and I replaced the lamps with torches.