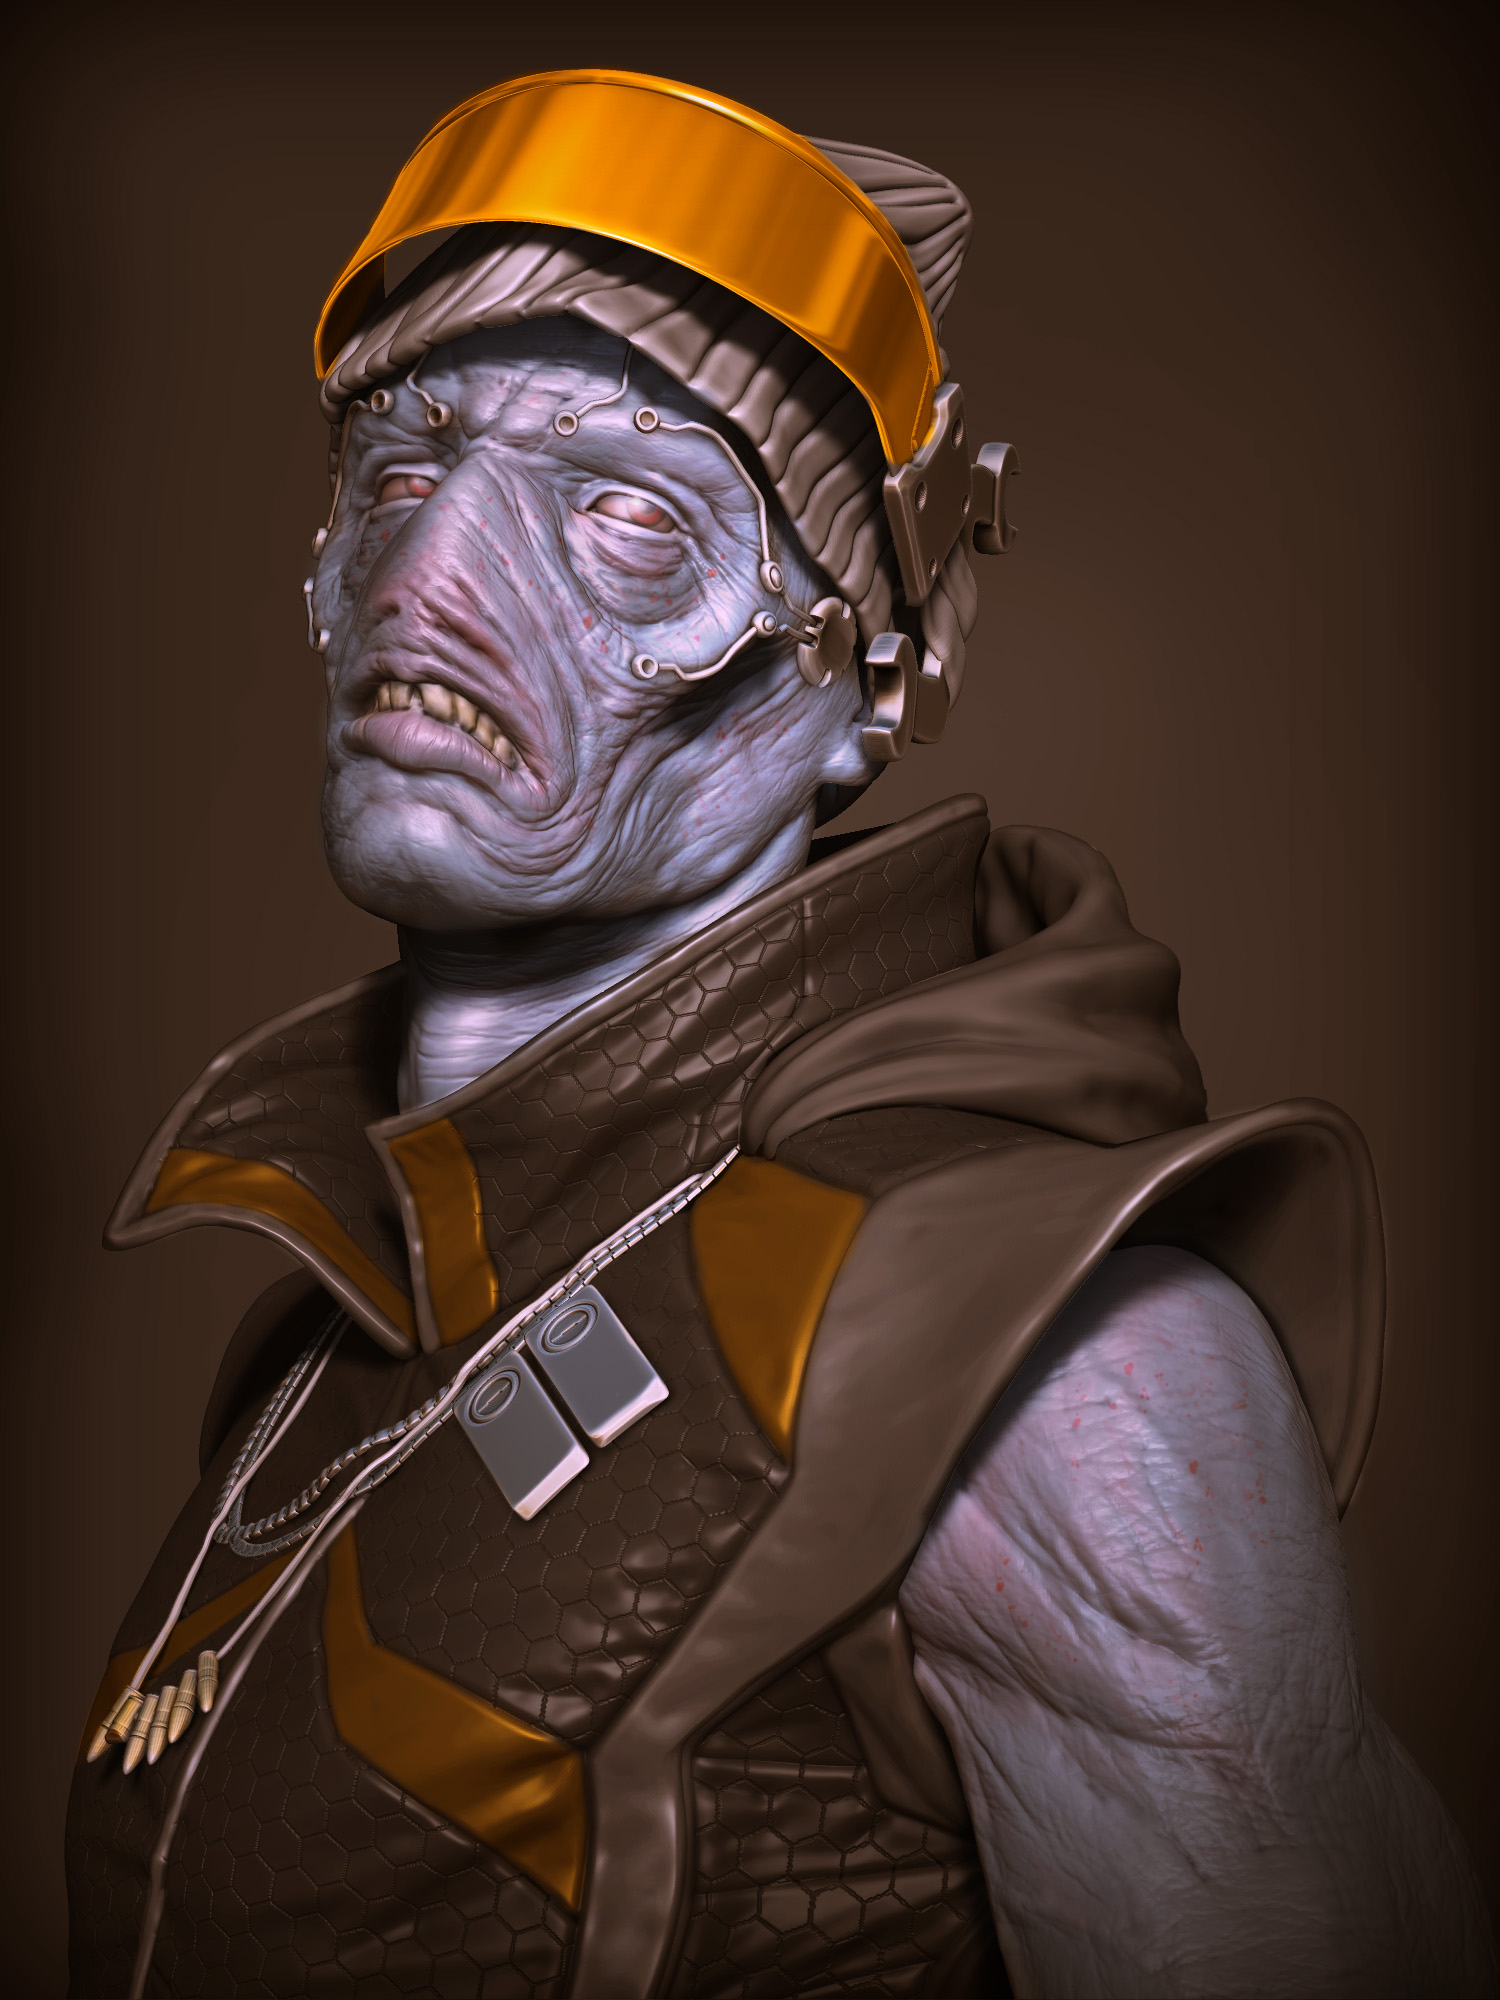
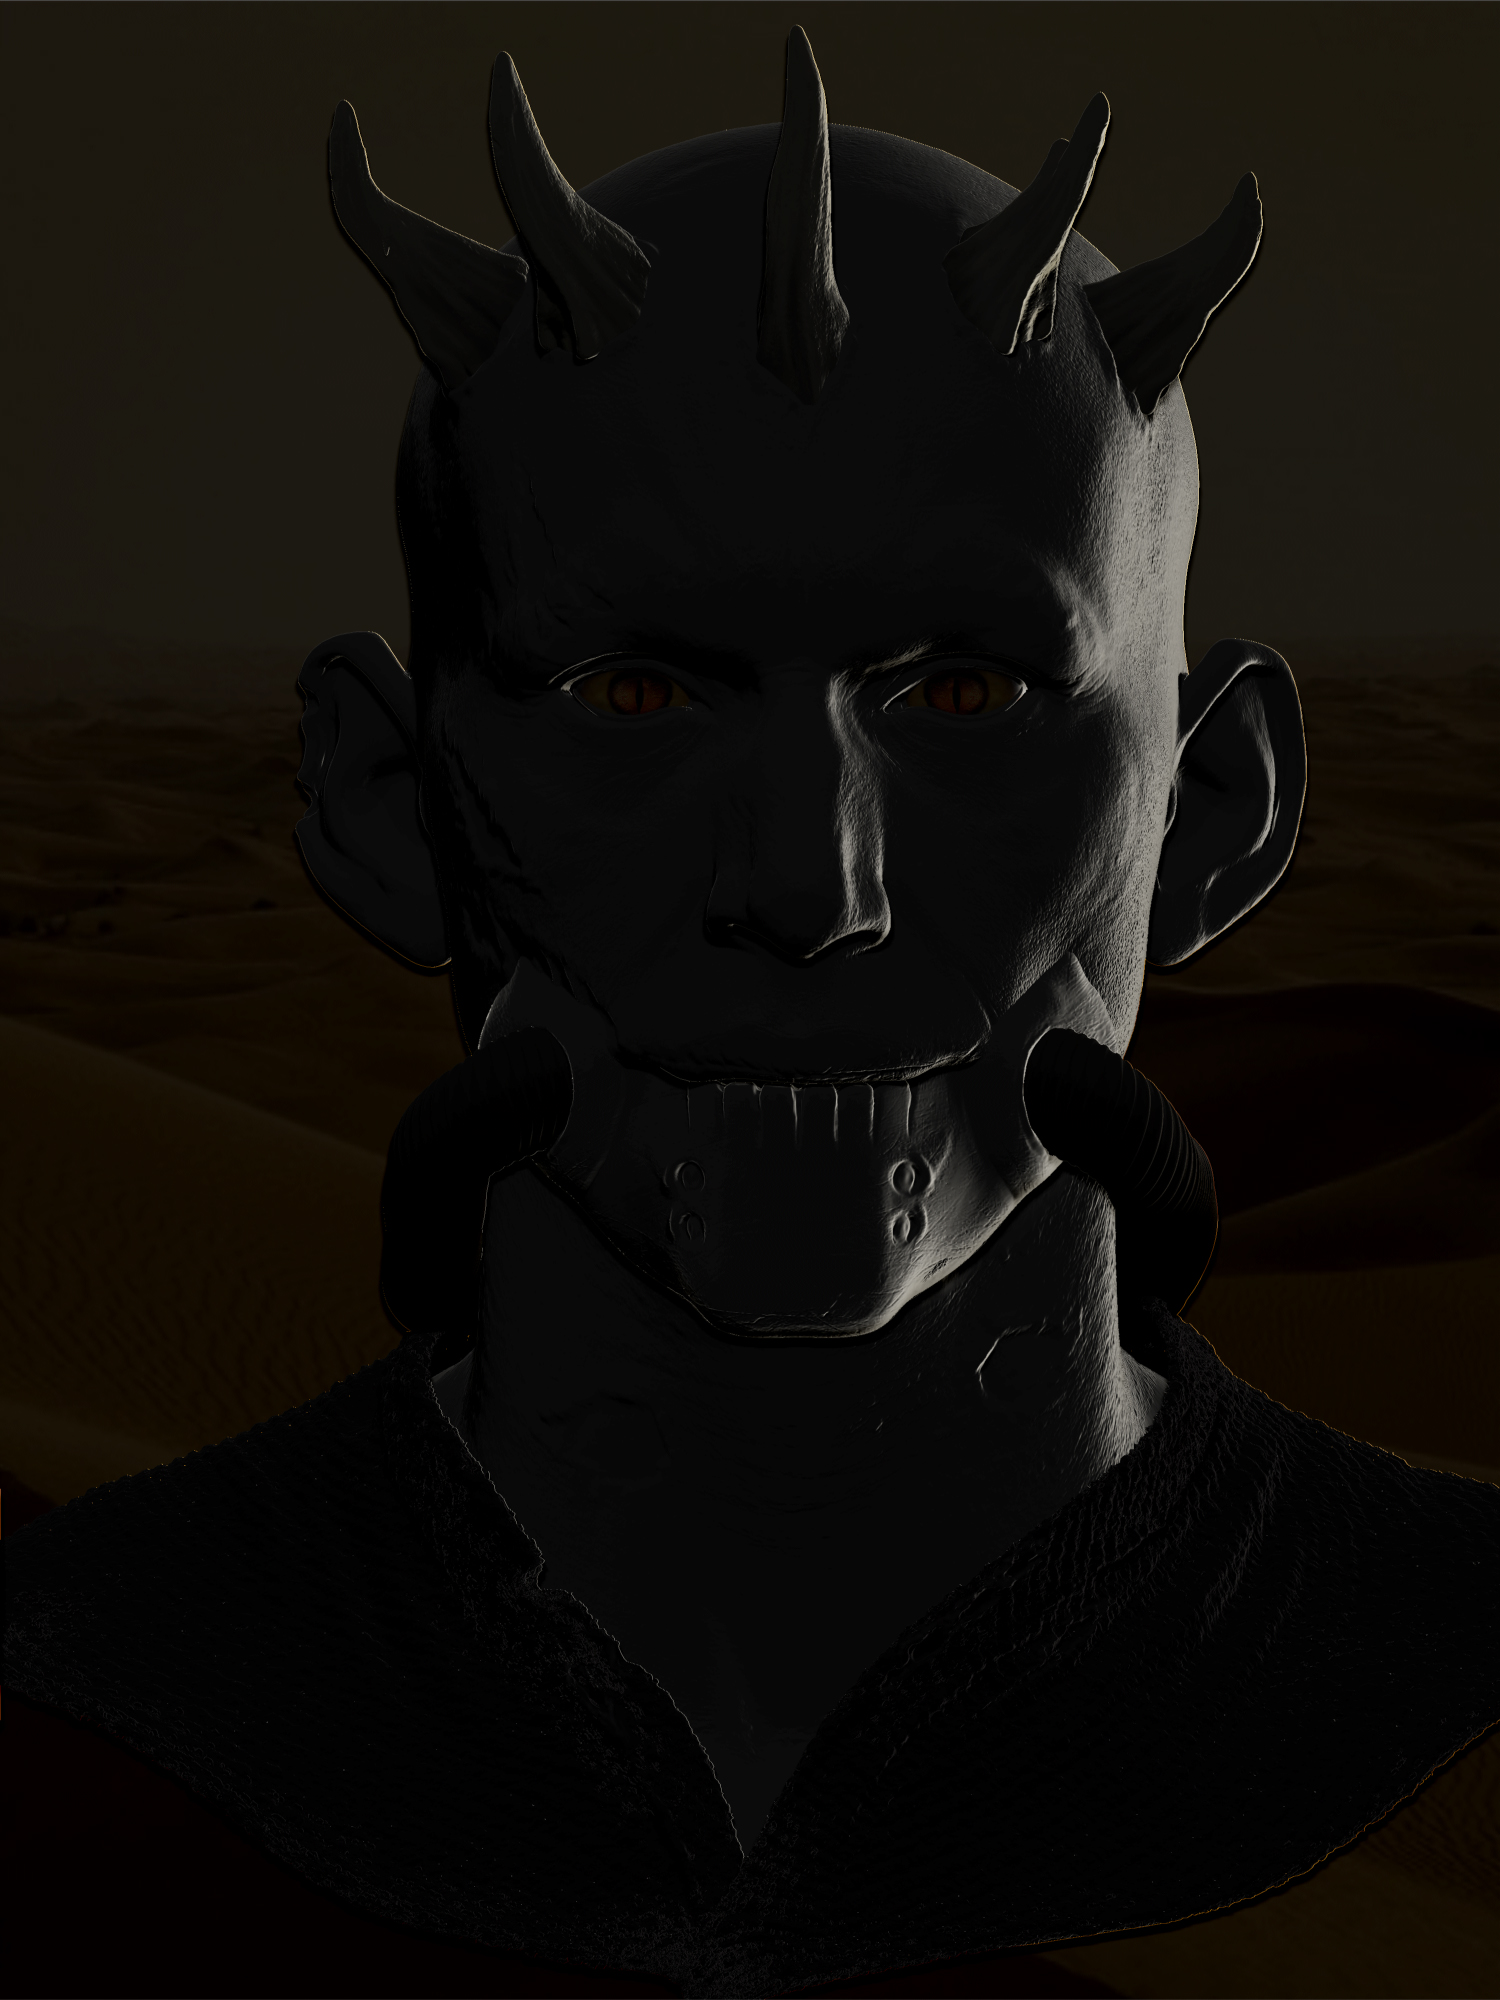
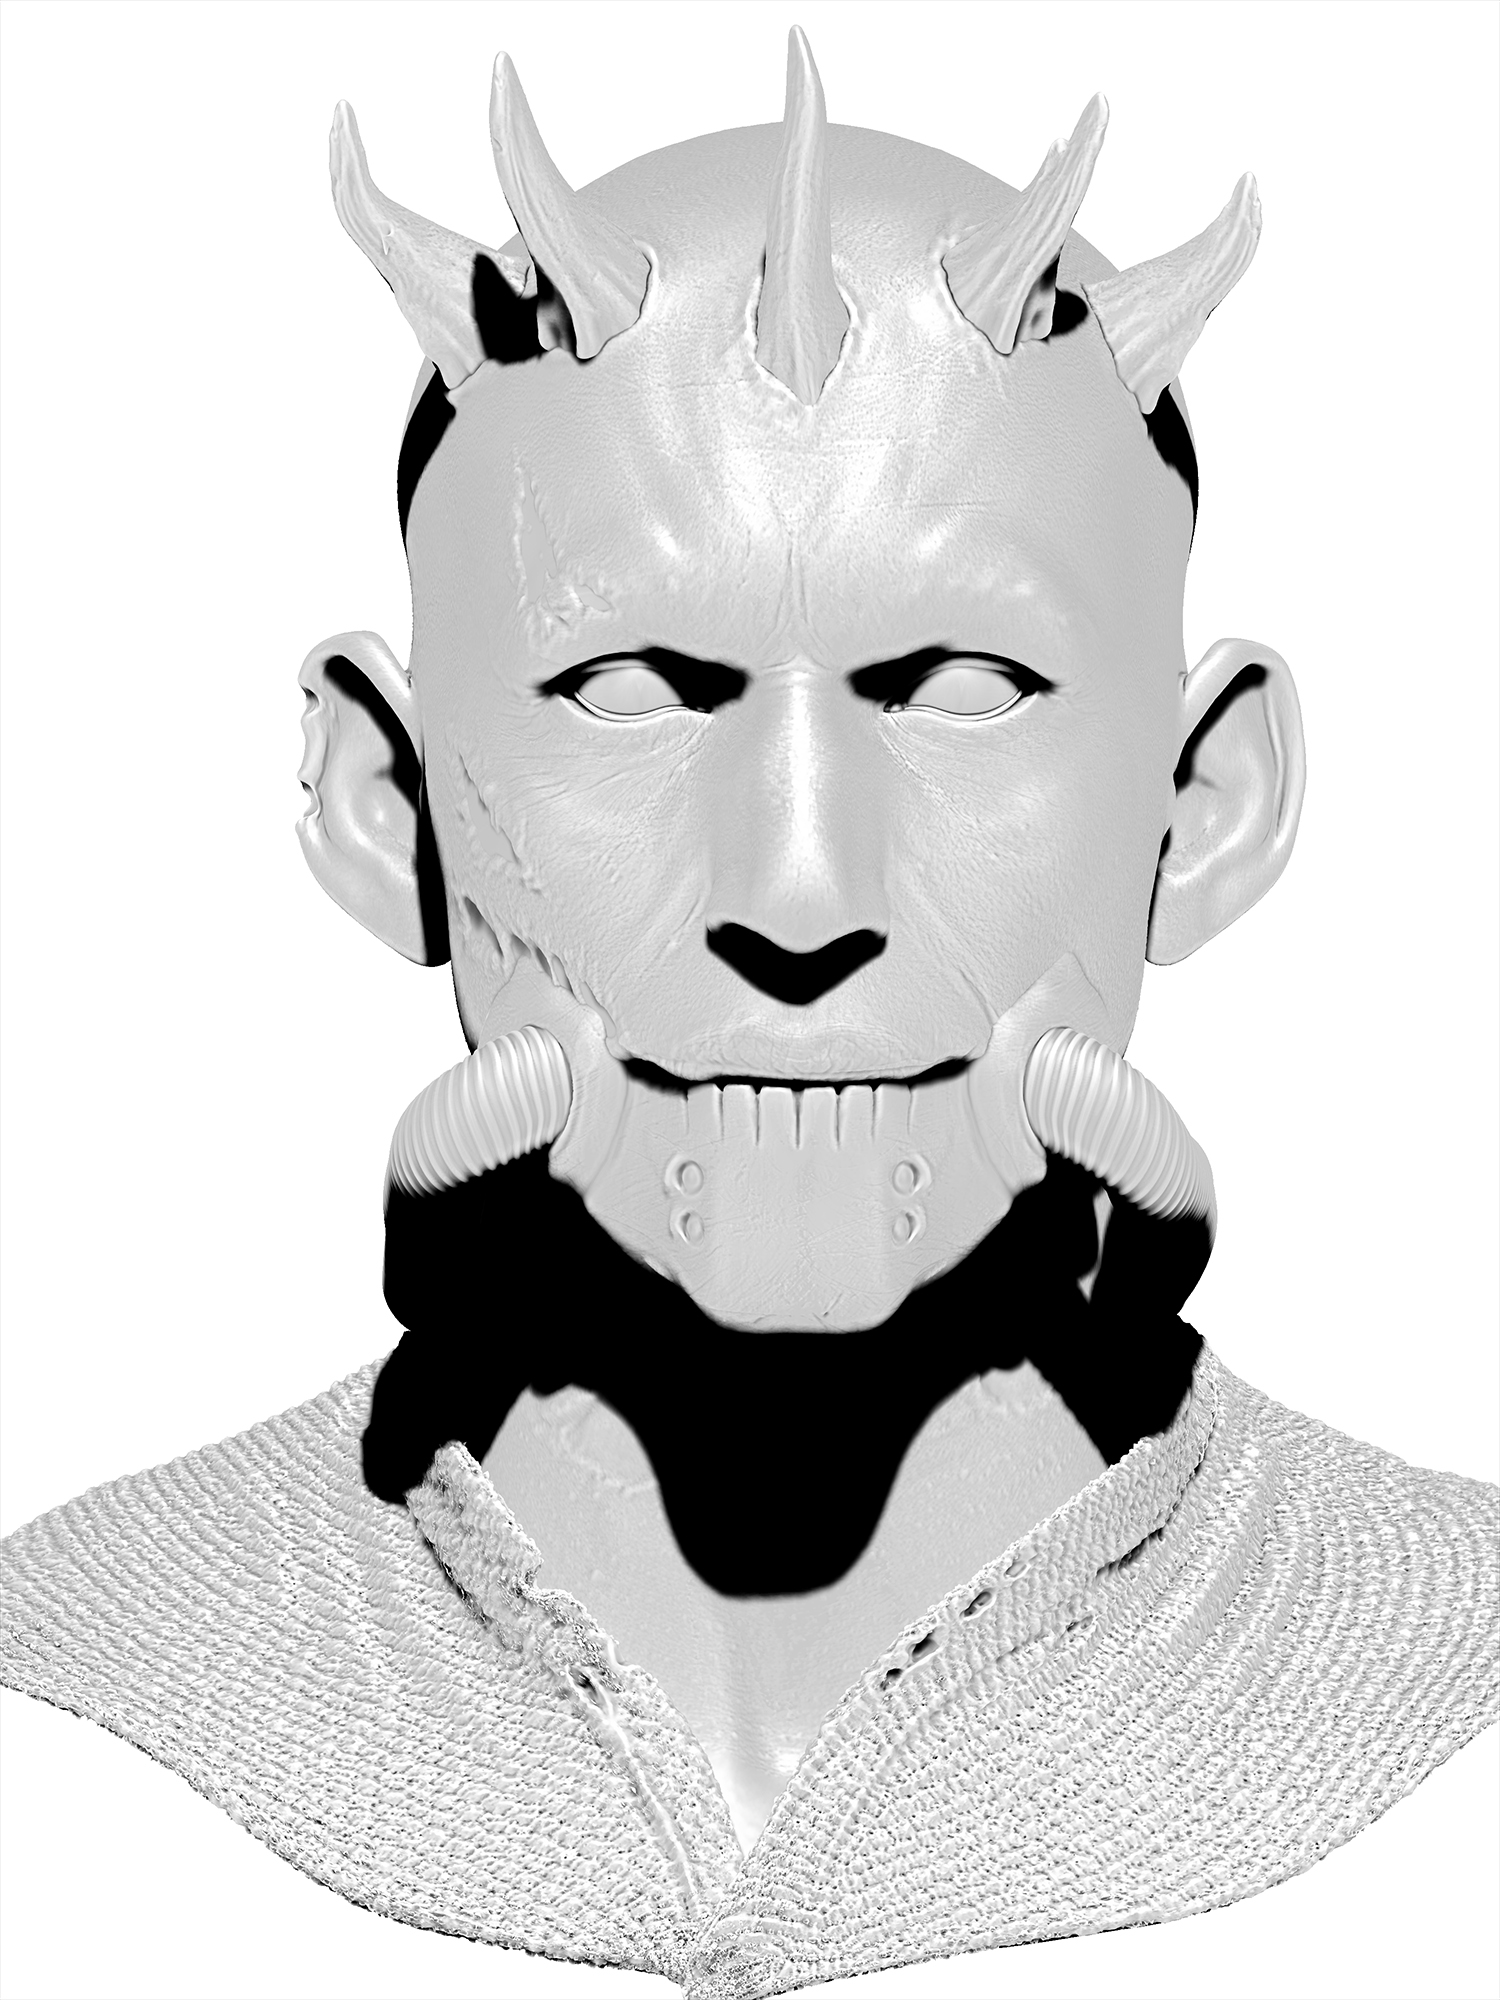
It was an honor to be part of the Sculpt-Off! I don’t have much for a “making-of” but here’s the final version of my guy. Since we were supposed to do Apocalyptic Cyberpunk, I tried to make a creature who was physically disfigured by a chemical release in the atmosphere but dressed in the local cyberpunk fashion. I’m a noob with Keyshot so this is all BPR render layers and Photoshop compositing. Thanks for lookin! - Jesse

1 Like
Dmitry Gaborak aka Neverwintered -Organic Sculpt Off
Here is the sculpt and Zbrush passes(all rendered in ZBrush with BPR) which I combined in Photoshop to get the final result.
Total for this piece I had about 8 passes: Depth, Cavity, Shadow, left light, right light, specular, reflection, main pass. For my opinion this is the most useful passes  especially if you short in time as often happen in real art production heh
Hey everyone. I first wanted to say thank you for the honor of being able to participate in this awesome event! I’m a super ZBrush fan, so this was amazing.
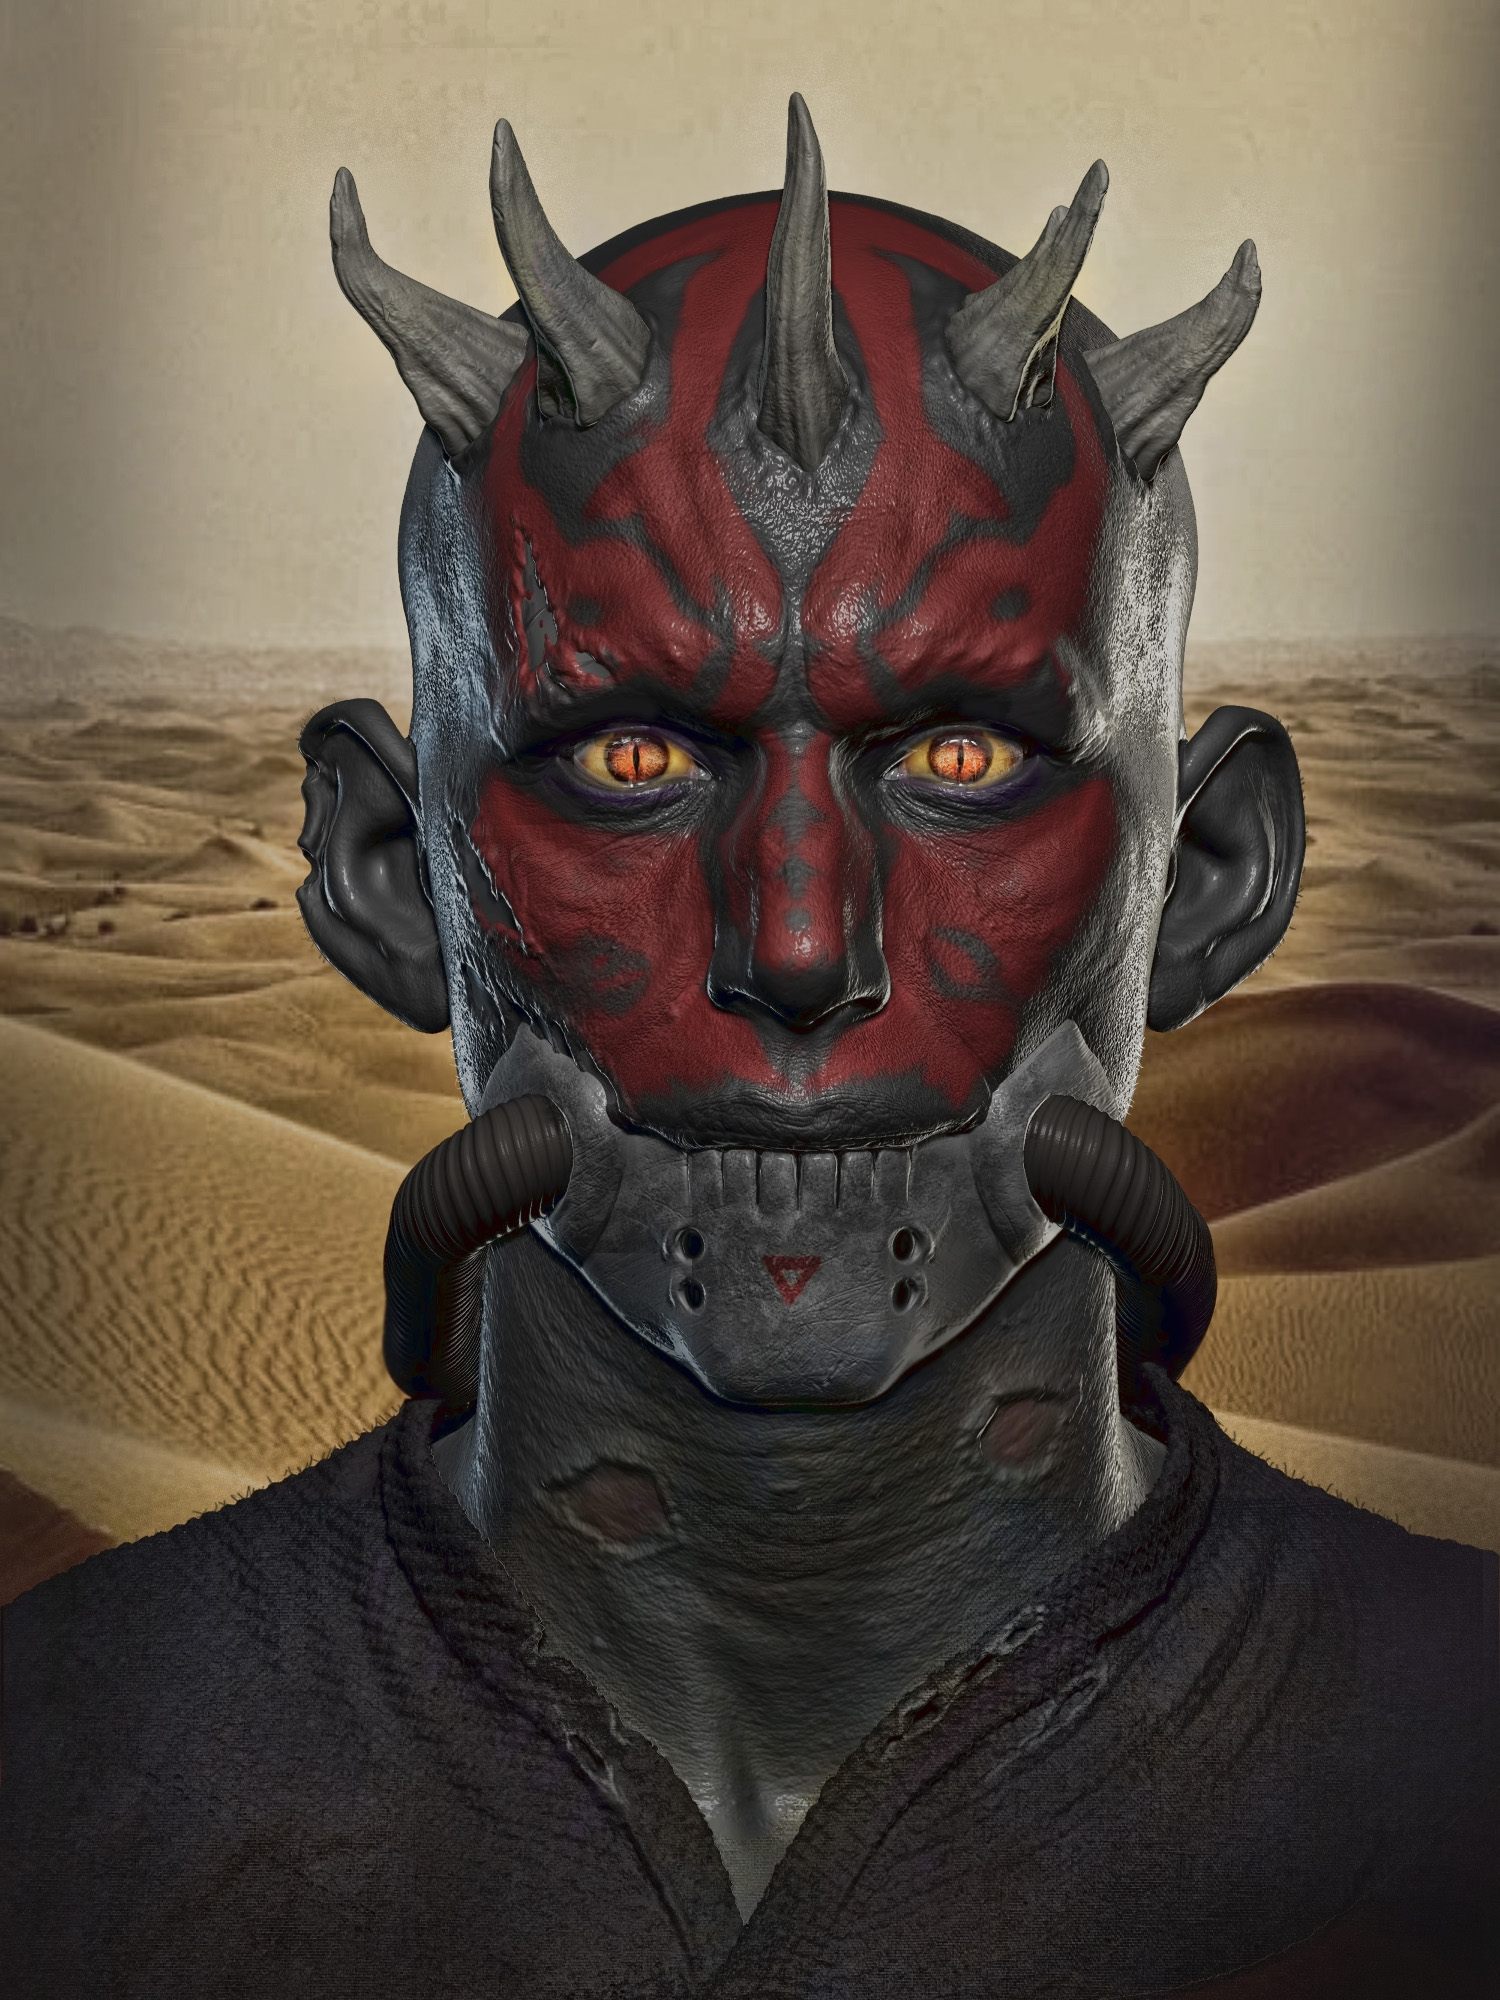
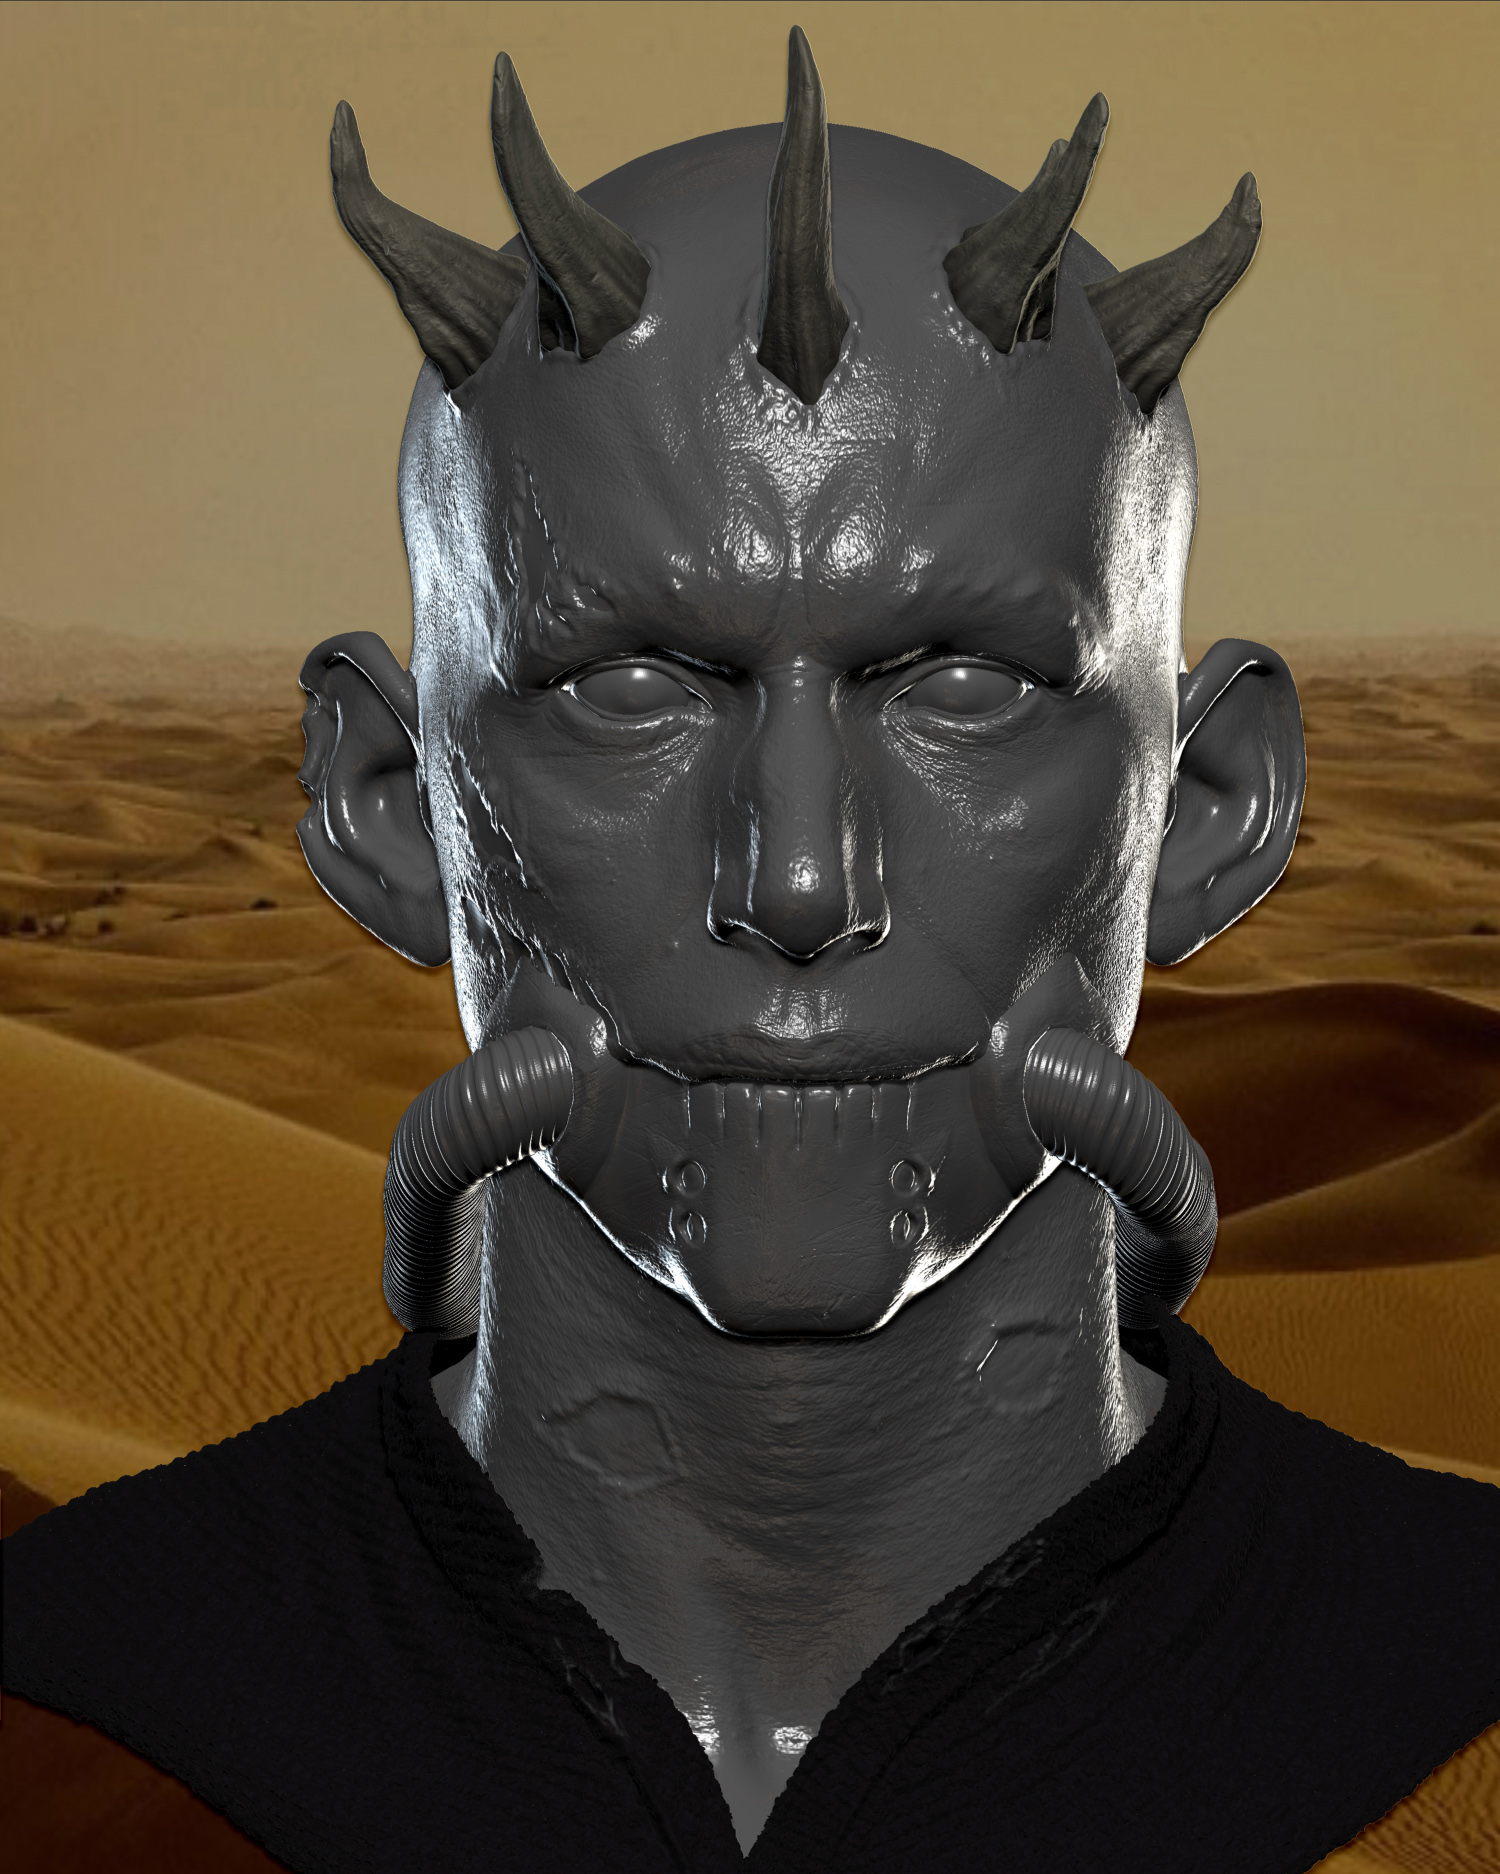
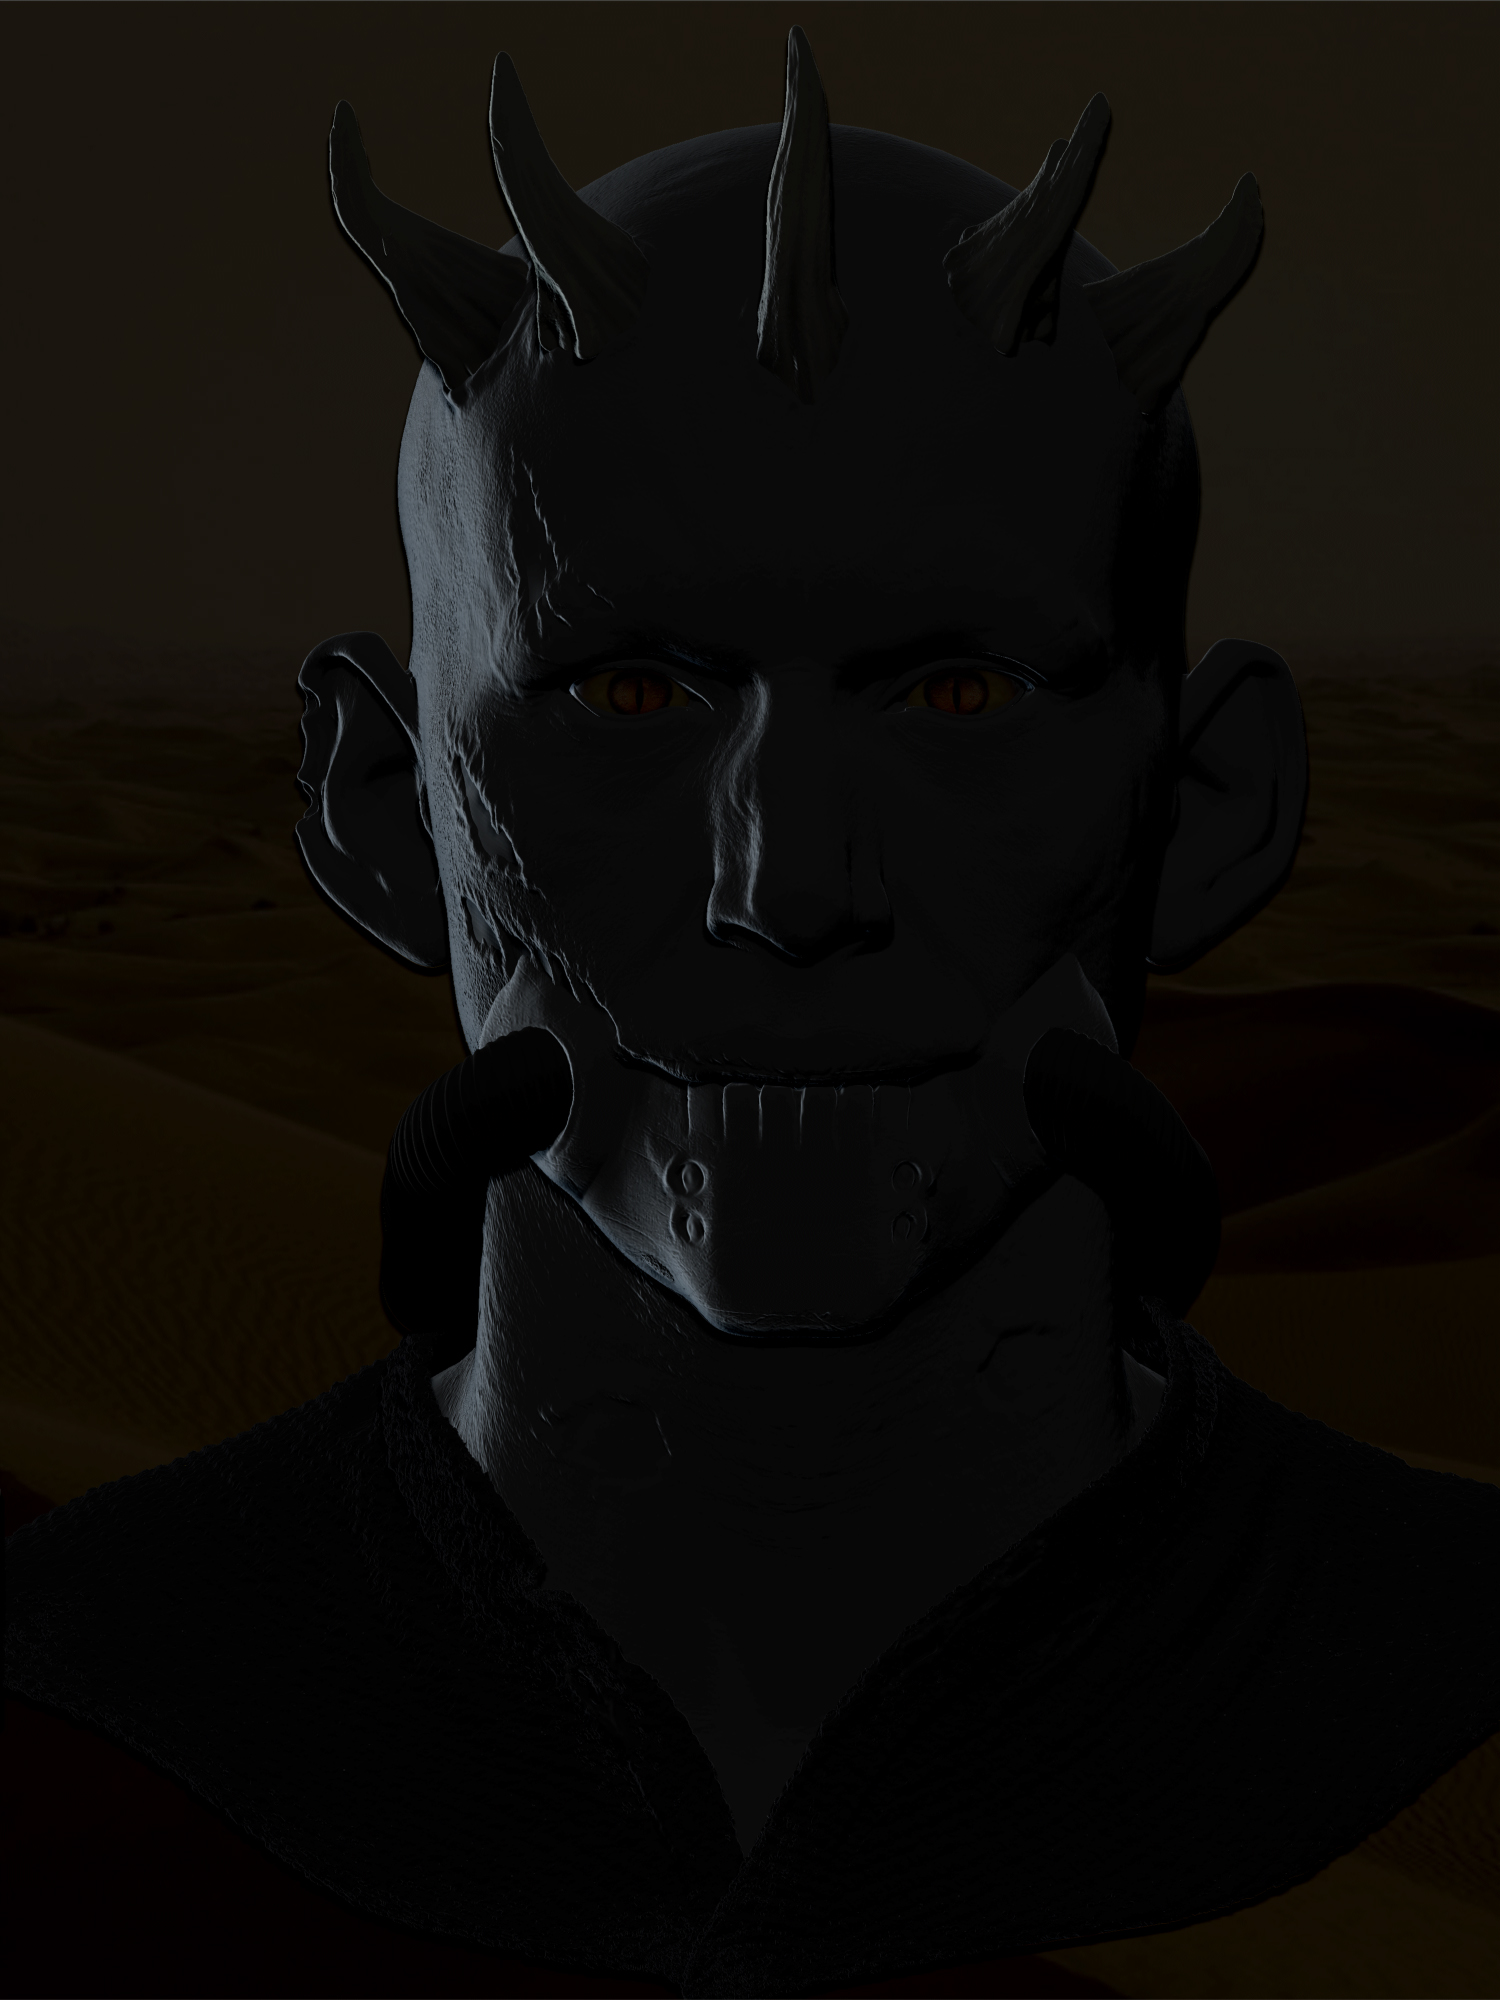
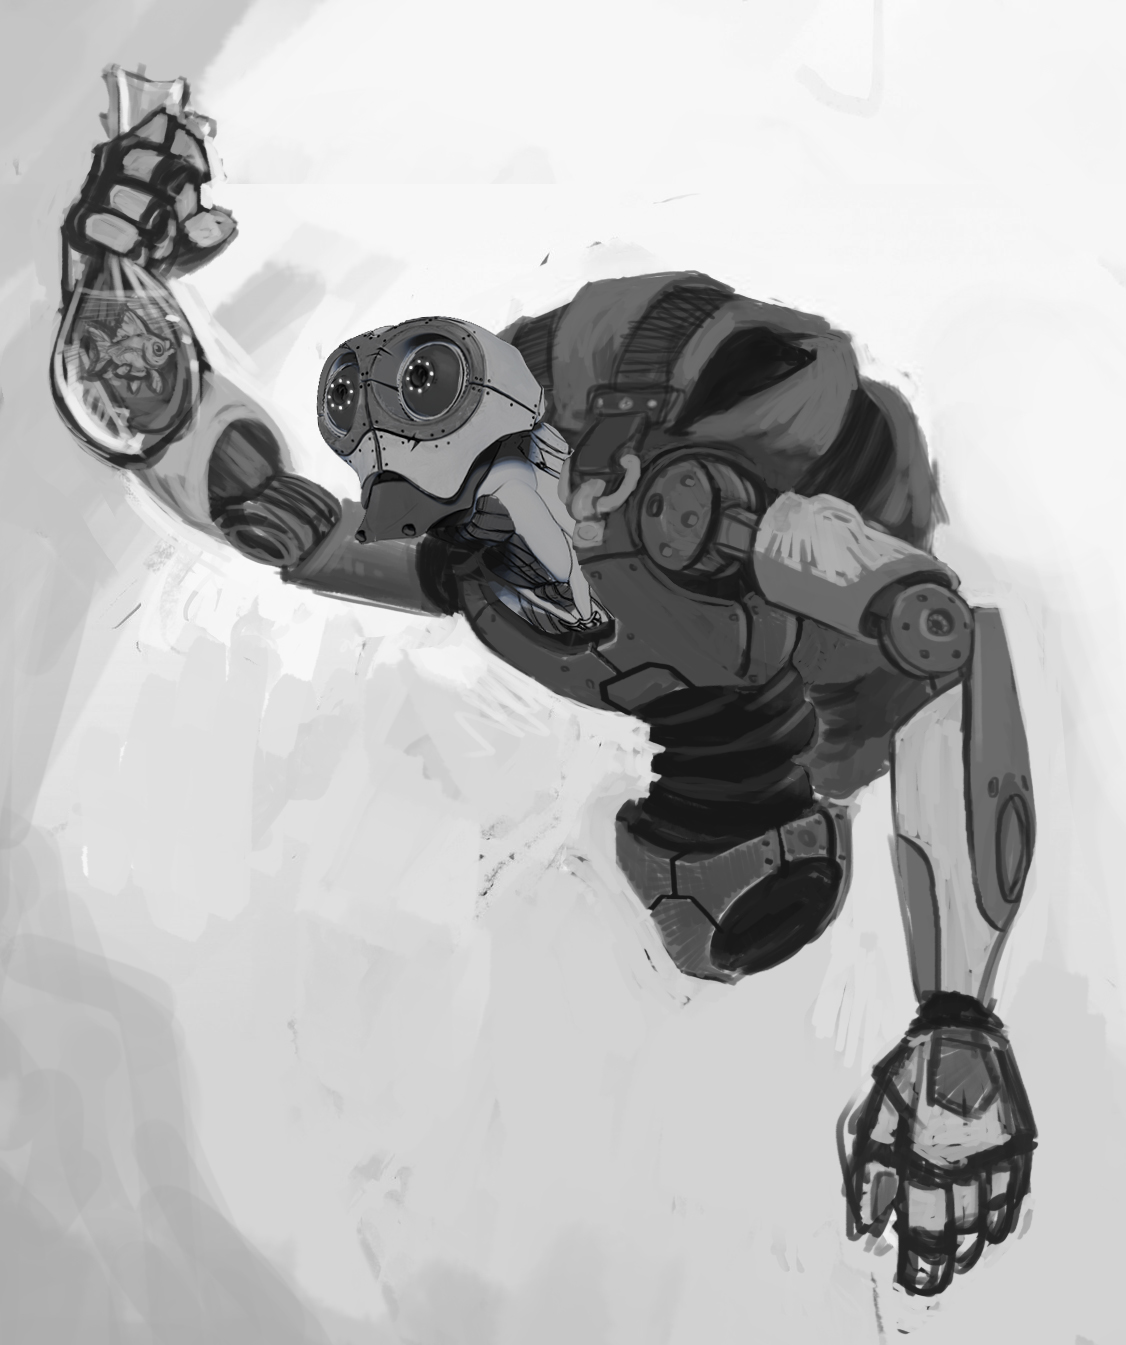
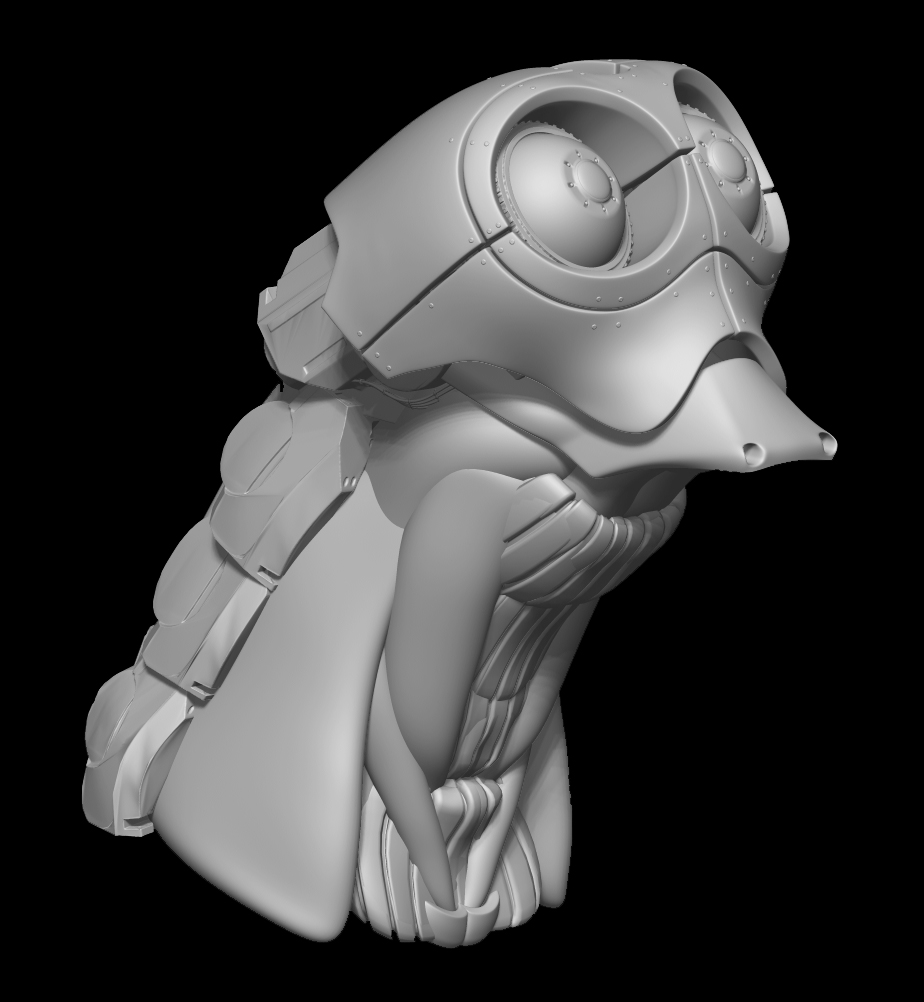
Below, I’ve included my work in progress sketches etc to show a bit of my design process figuring out what I wanted to do for the competition. I’ll also include my submission as well as a refinished version that I did after the competition because some glitches wouldn’t let me go into KeyShot for the competition, so without further ado, here ya go!
Sketches:
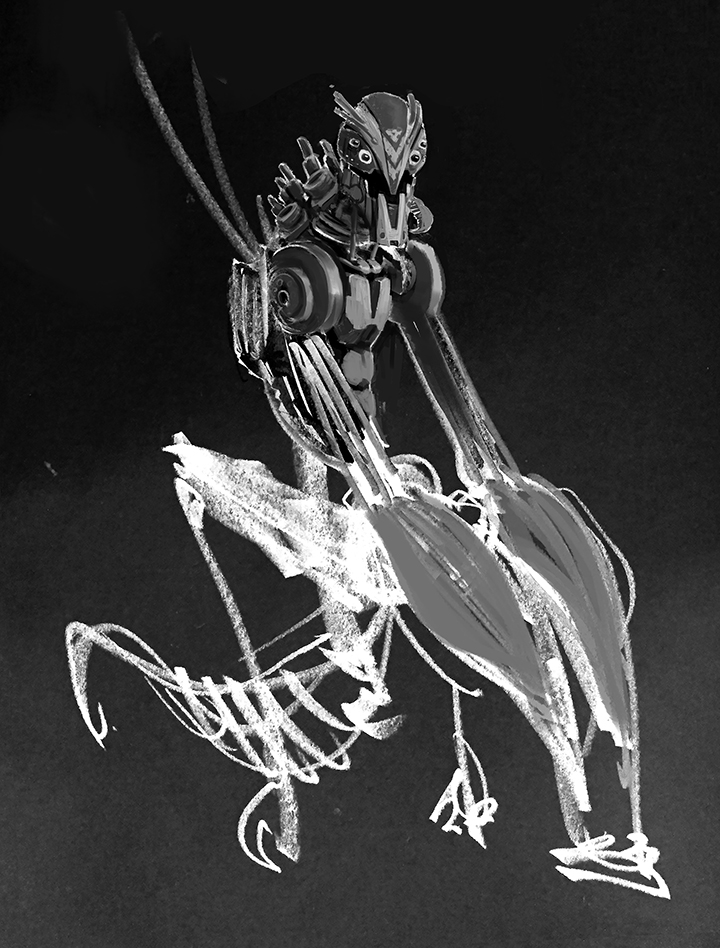
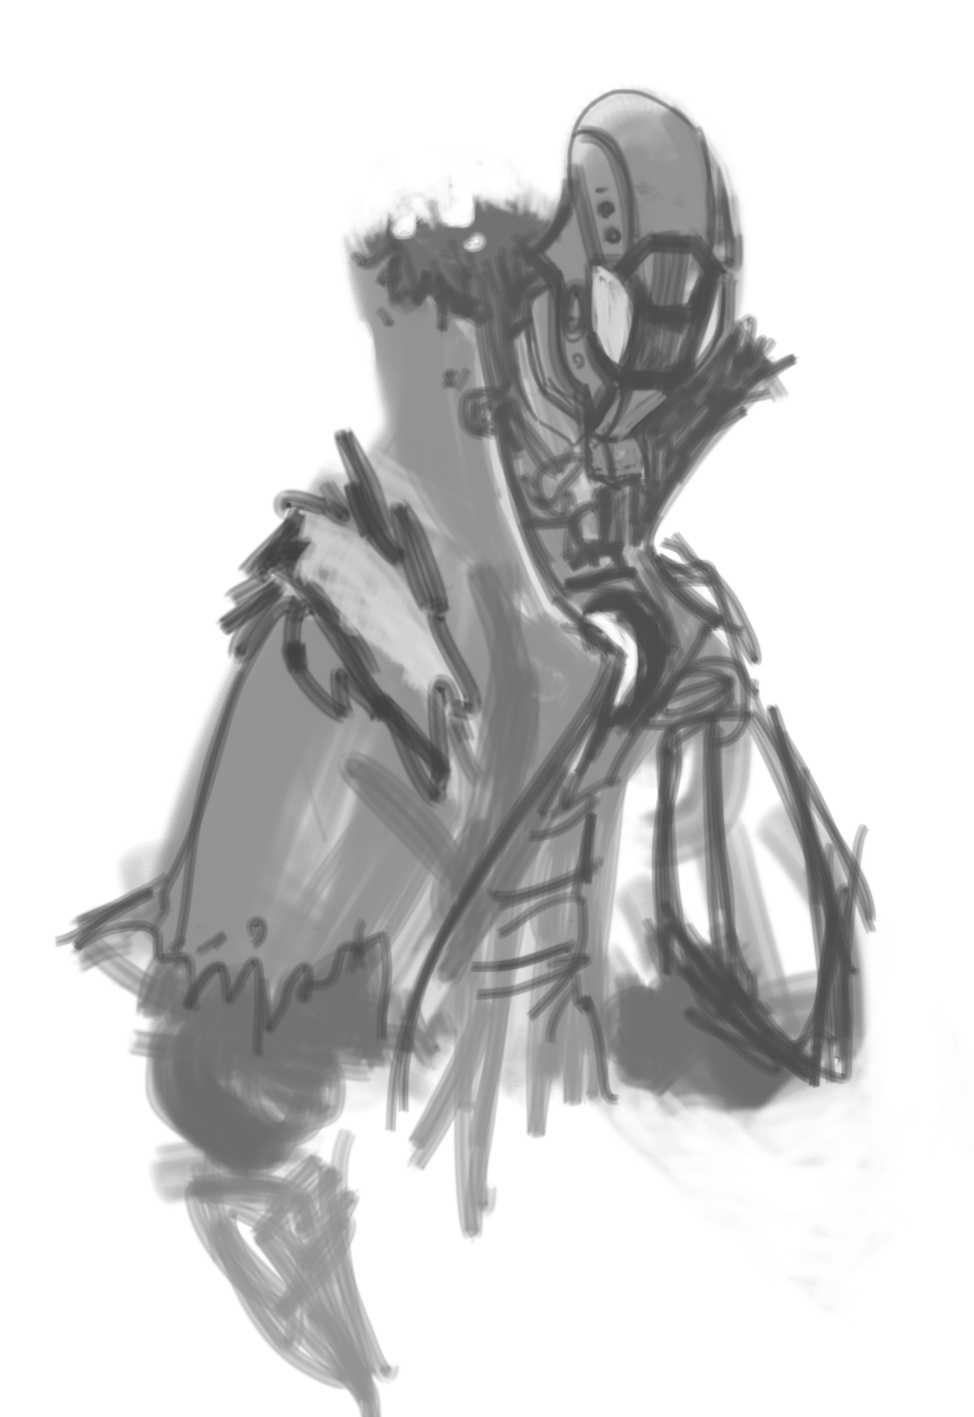
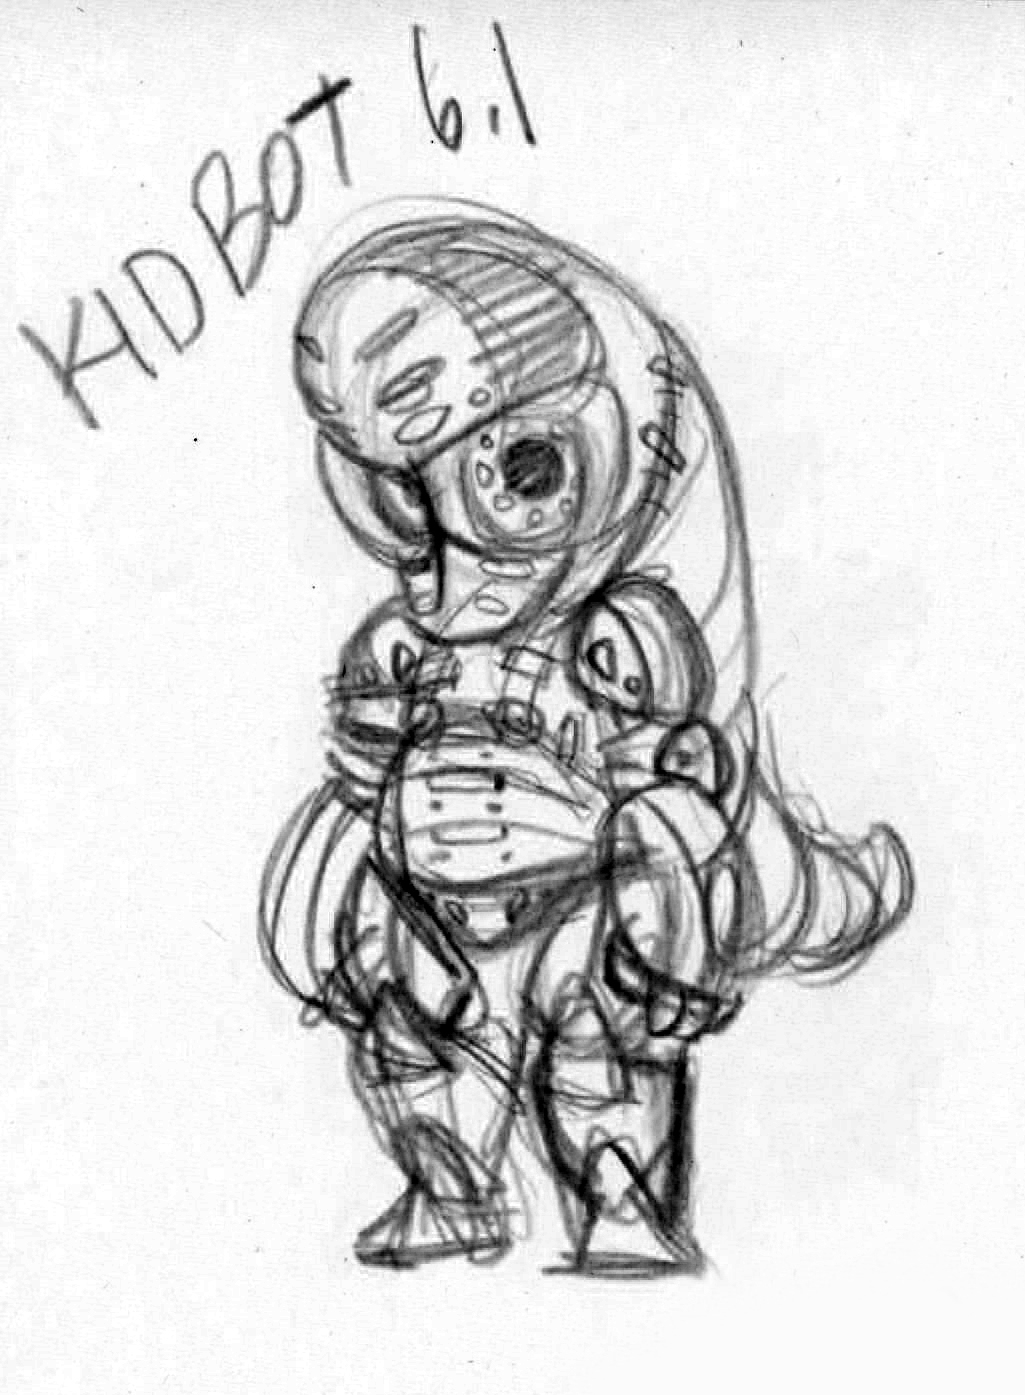
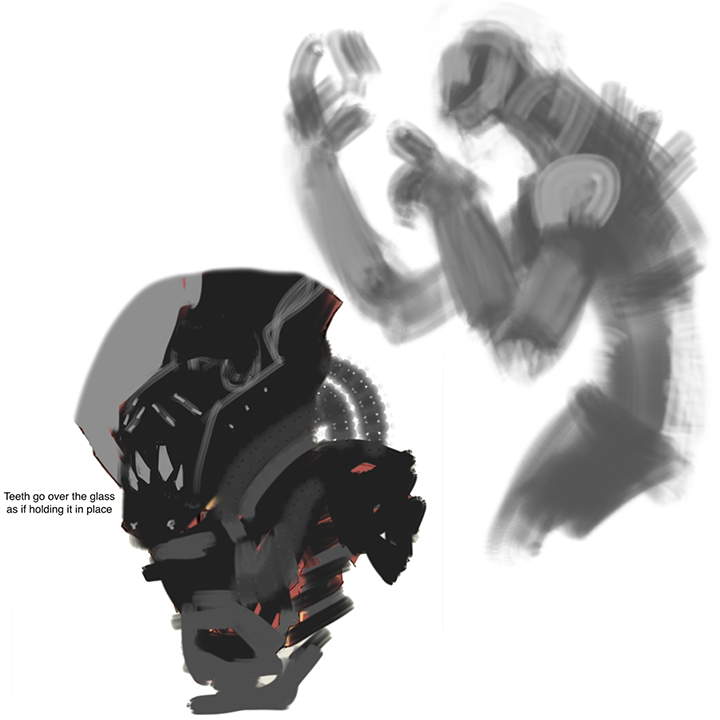
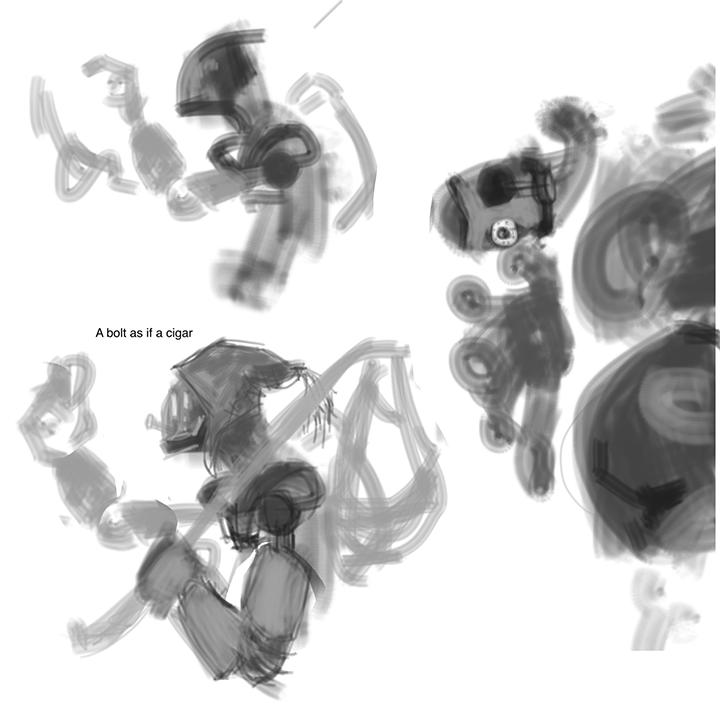
So I started with a route that I felt would ultimately not represent me or my story-telling/character background, so I changed gears over time to start trying to reflect more of the background of the character/robot I was to produce. I researched the theme (taking the aspects of the theme quite literally) and researched post-apocalyptic and cyberpunk to know what they meant and what they entailed. May have been over-kill, but I wanted to do well  So anyway, I discovered that cyberpunk was defined as high-tech low-life. Since the idea of the sculpt off was to have man and machine scavenging for common necessities, I decided to go the scavenger route. The last image shows some experimentation with adding a nap-sack–an idea of him exploring and finding parts he needs.
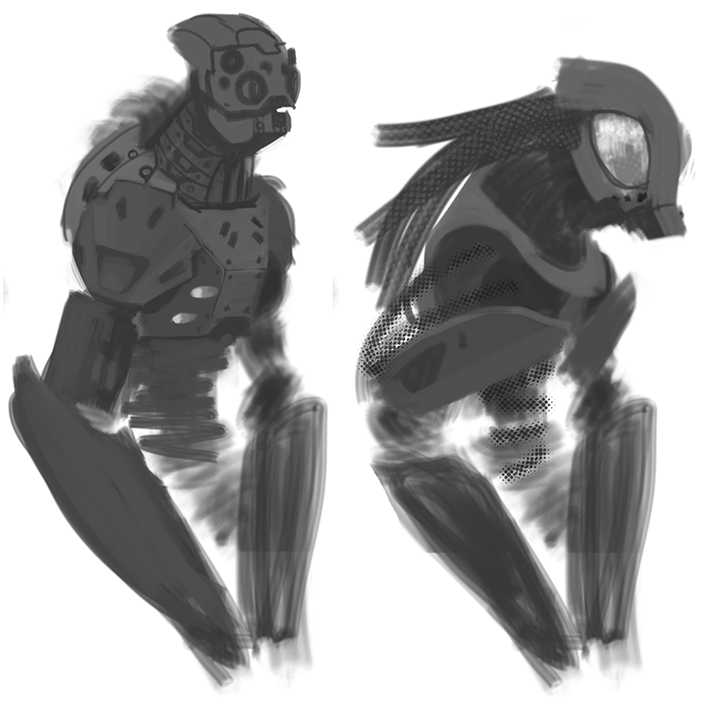
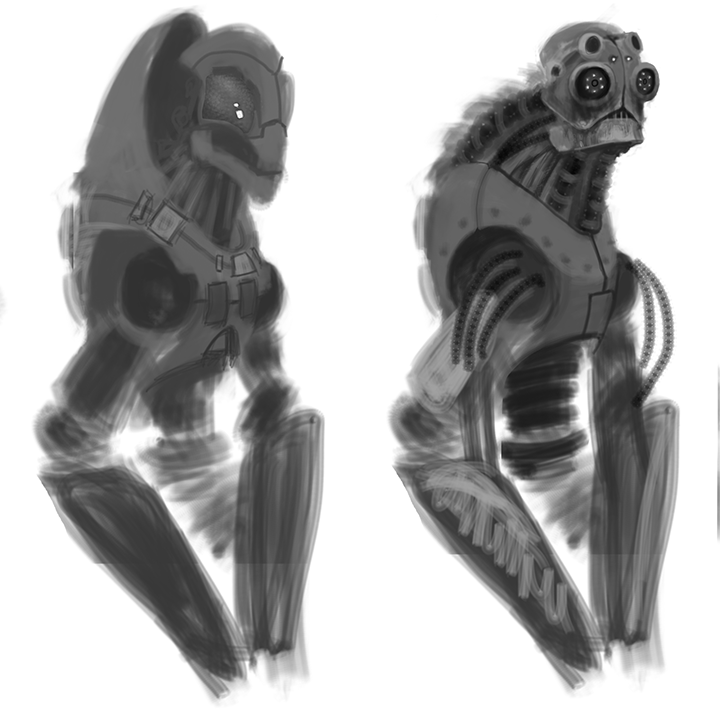
Below is what it started to develop into:
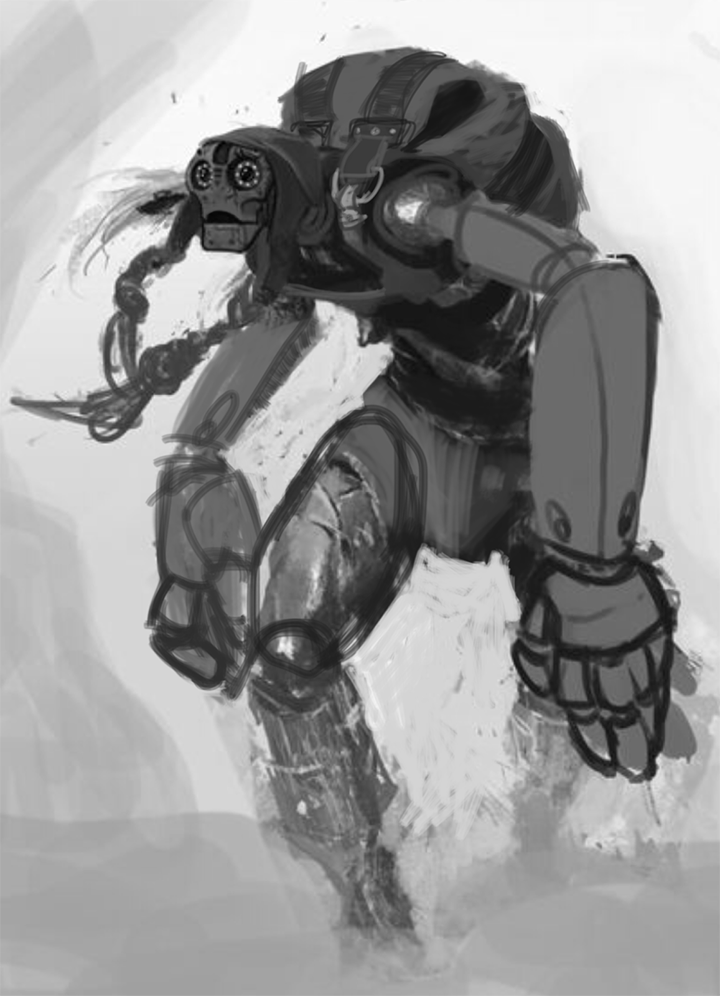
So once I decided on a head design, I designed the rest of the body and did some test sculpts. Those will come in my next reply.
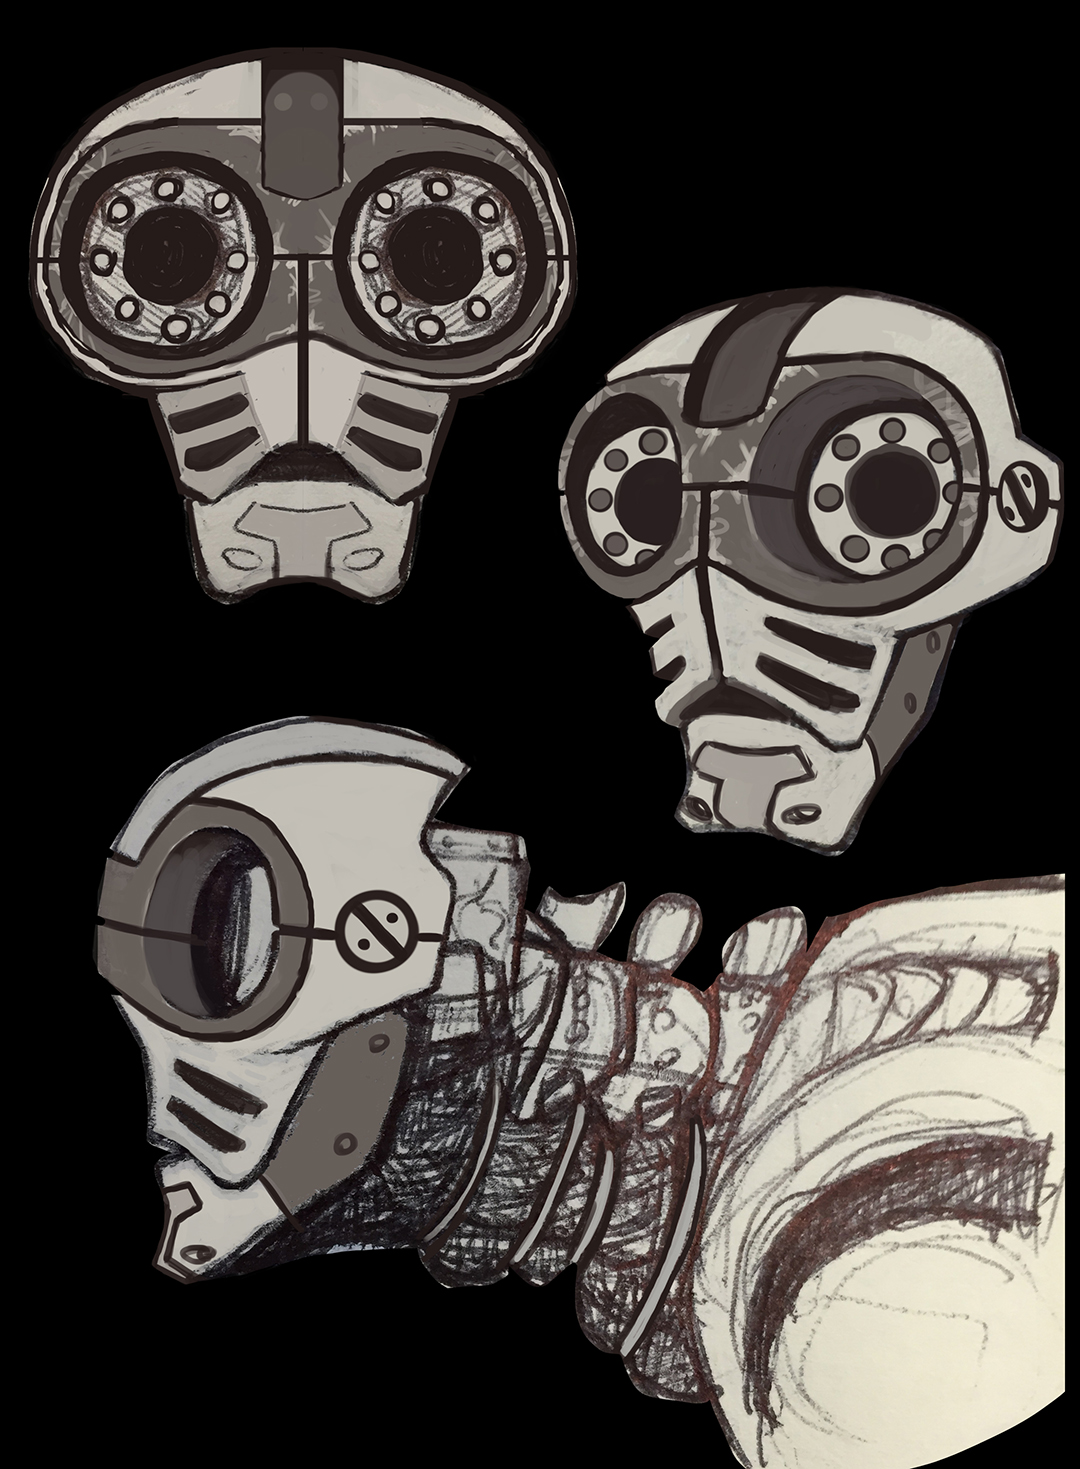
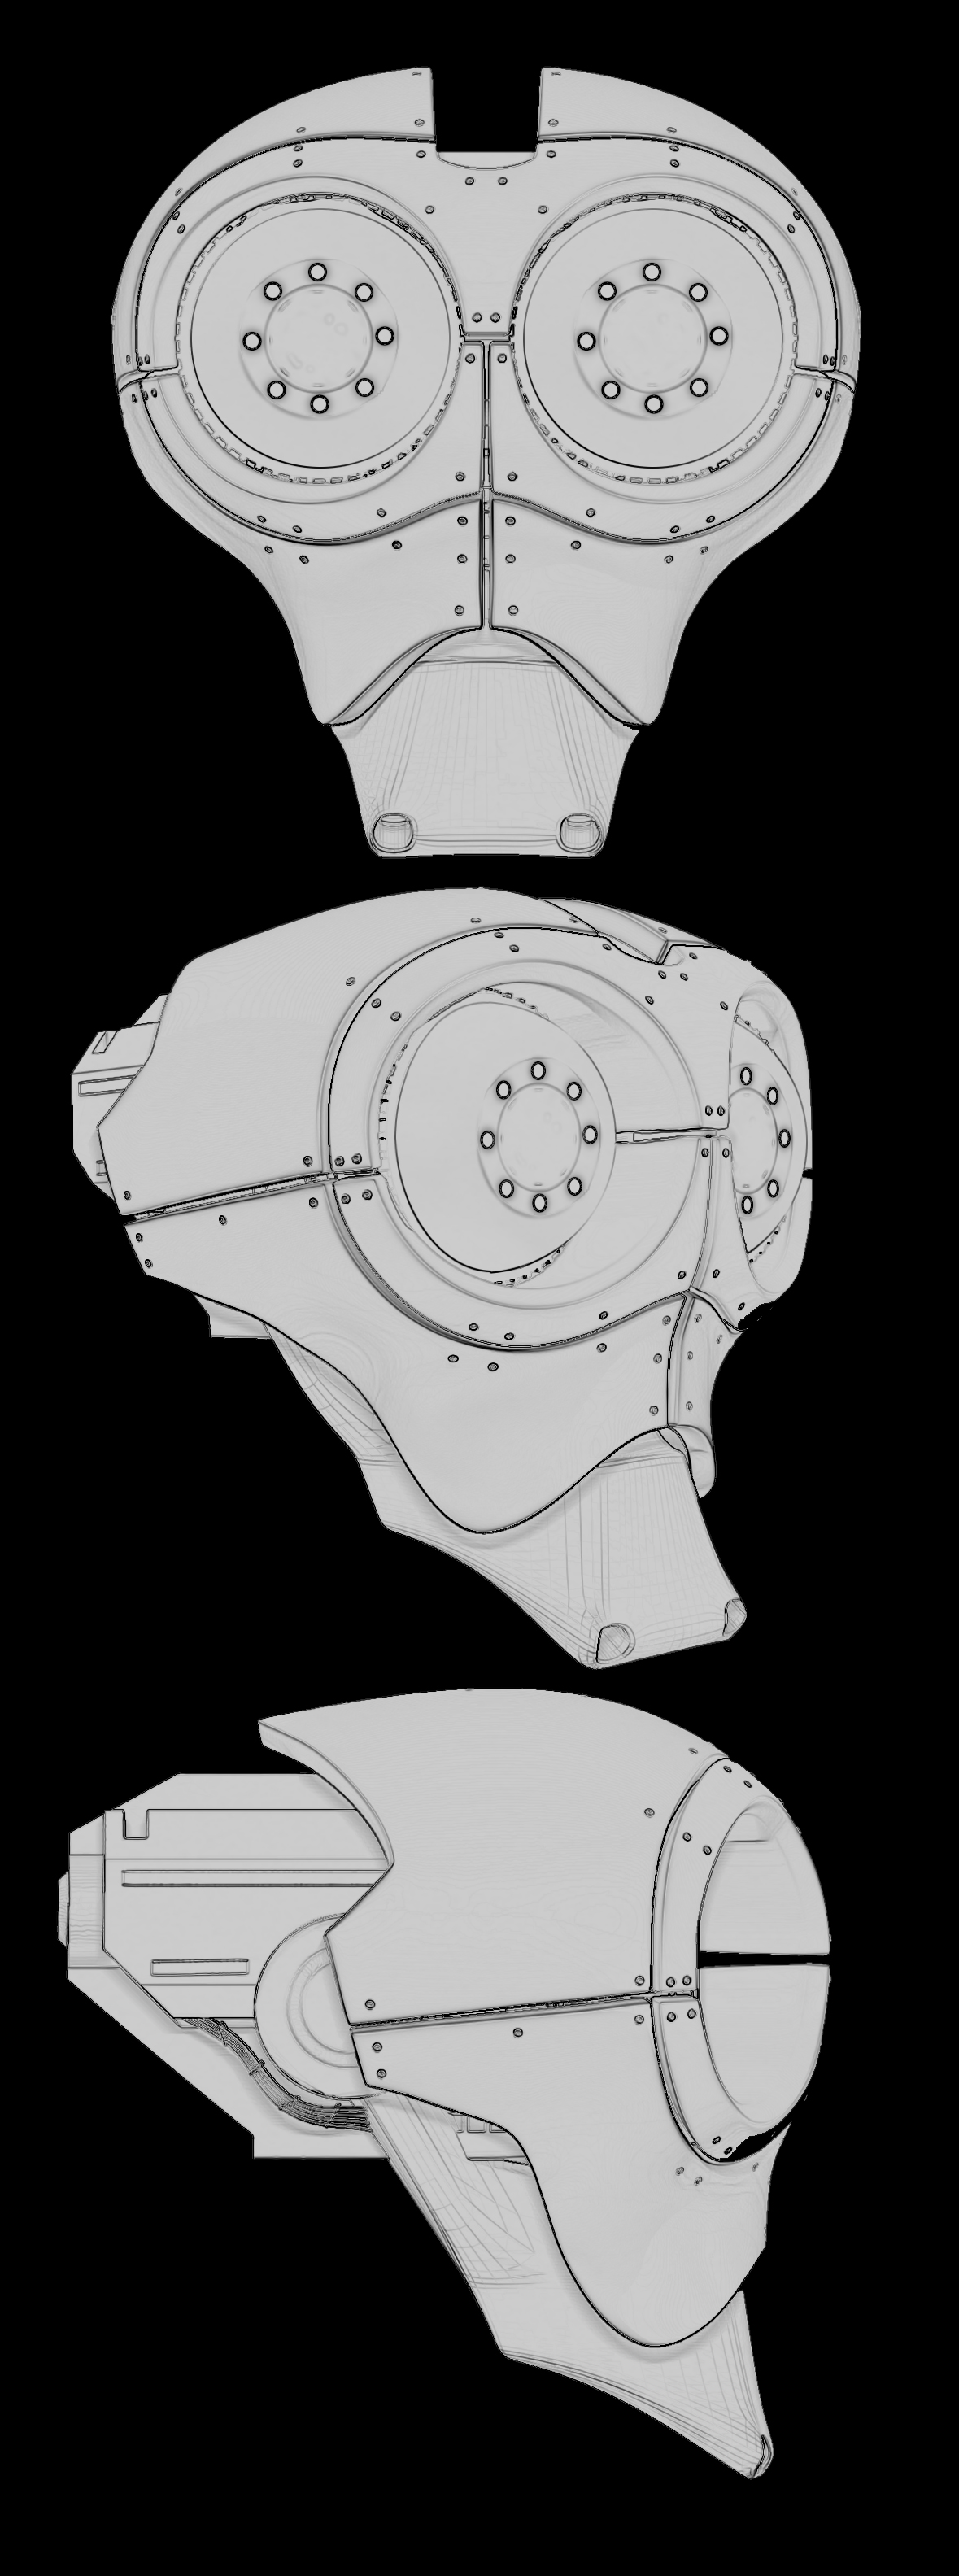
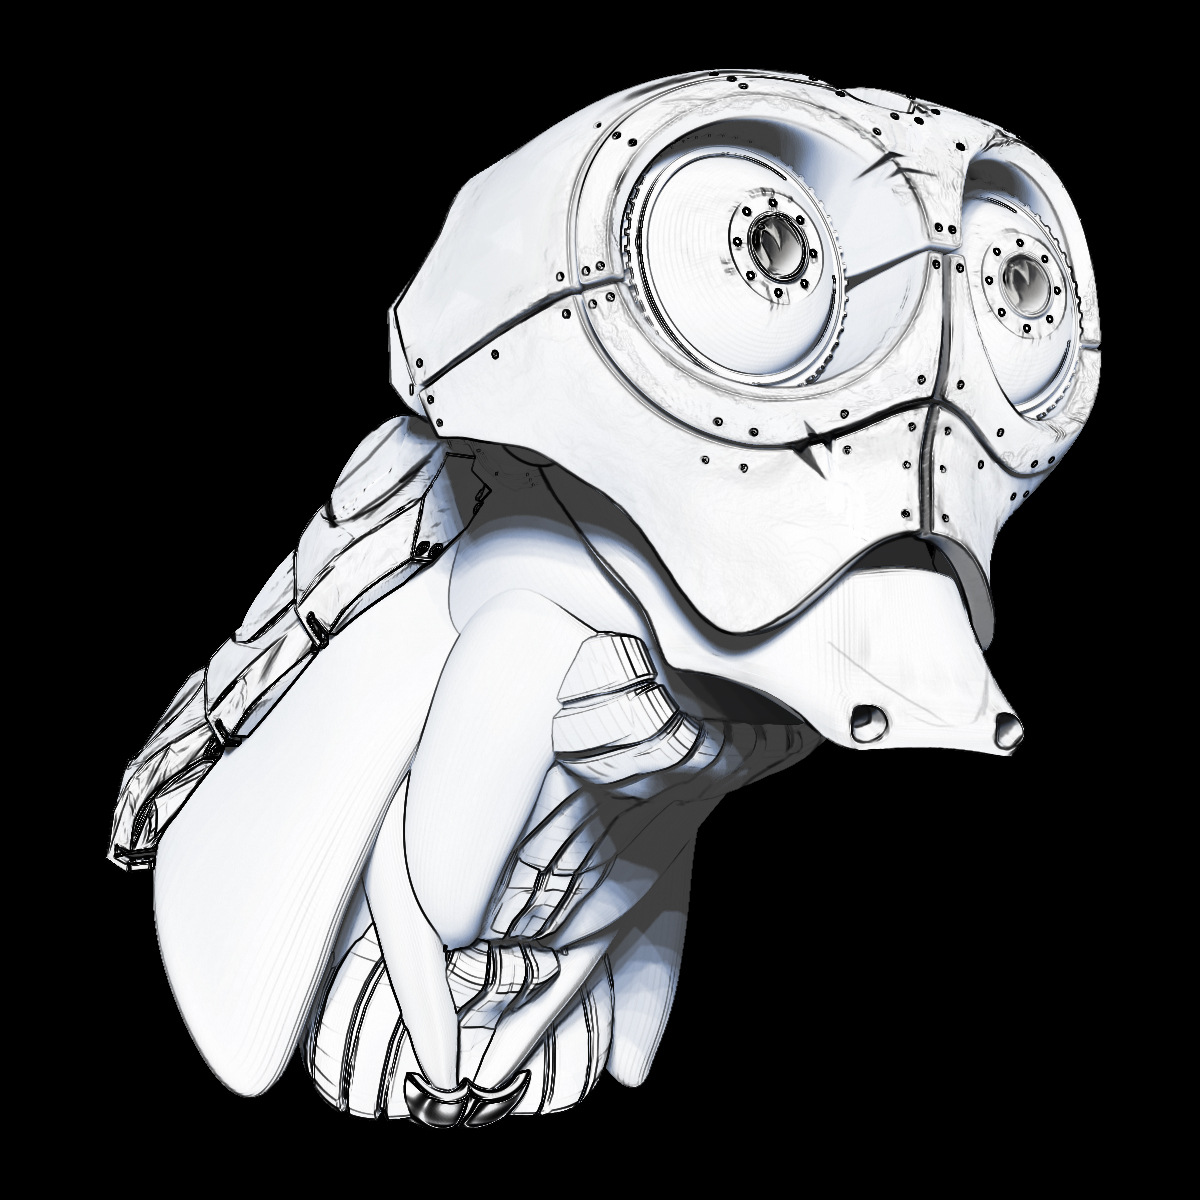
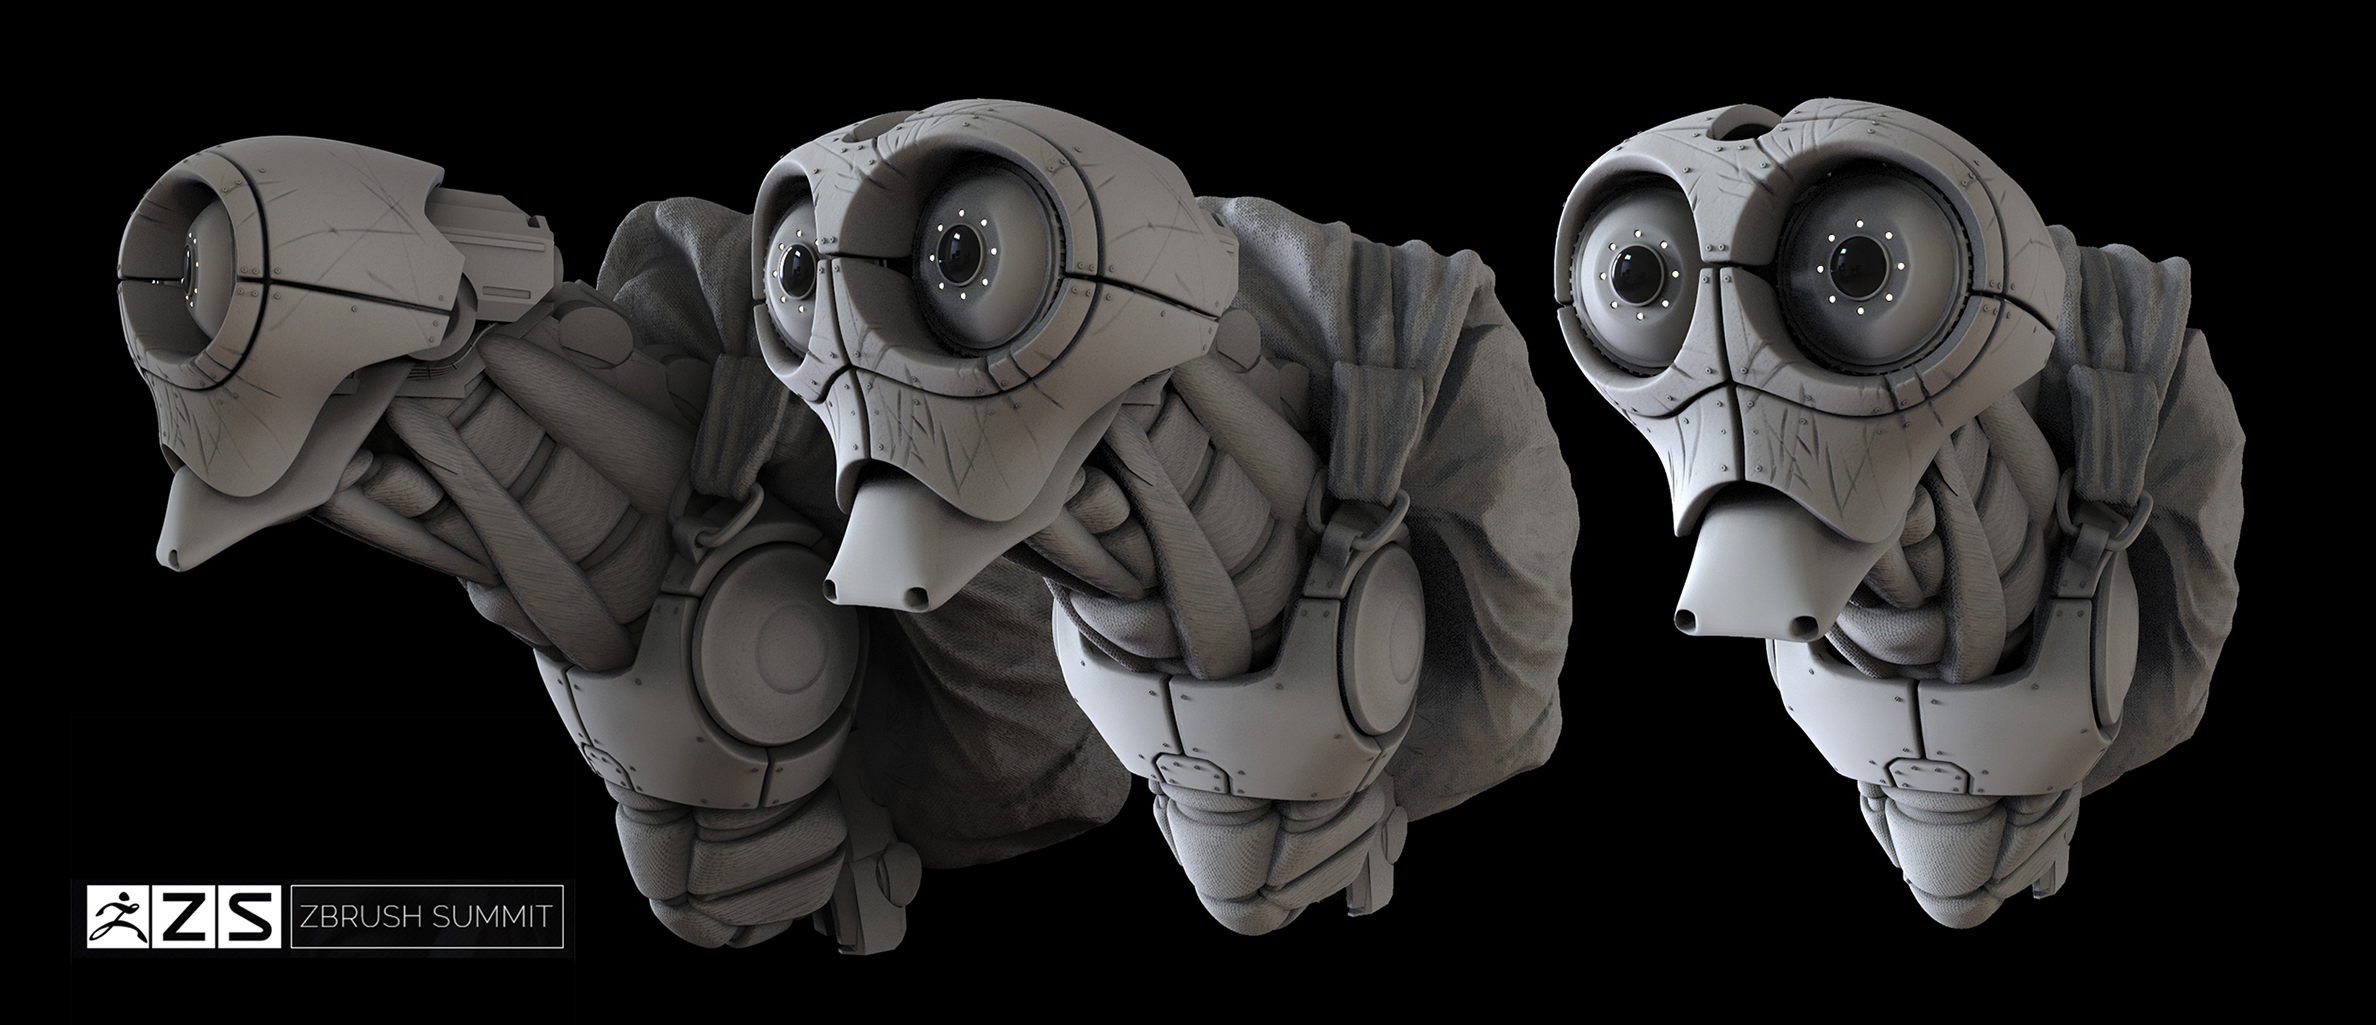
After I made a sculpt, if I liked it better than the current concept, I would render it out, and composite it on top of the concept to update to something more appealing. The image of just the head from the 3 views is the image I used in Spotlight during the competition for reference for my final piece.
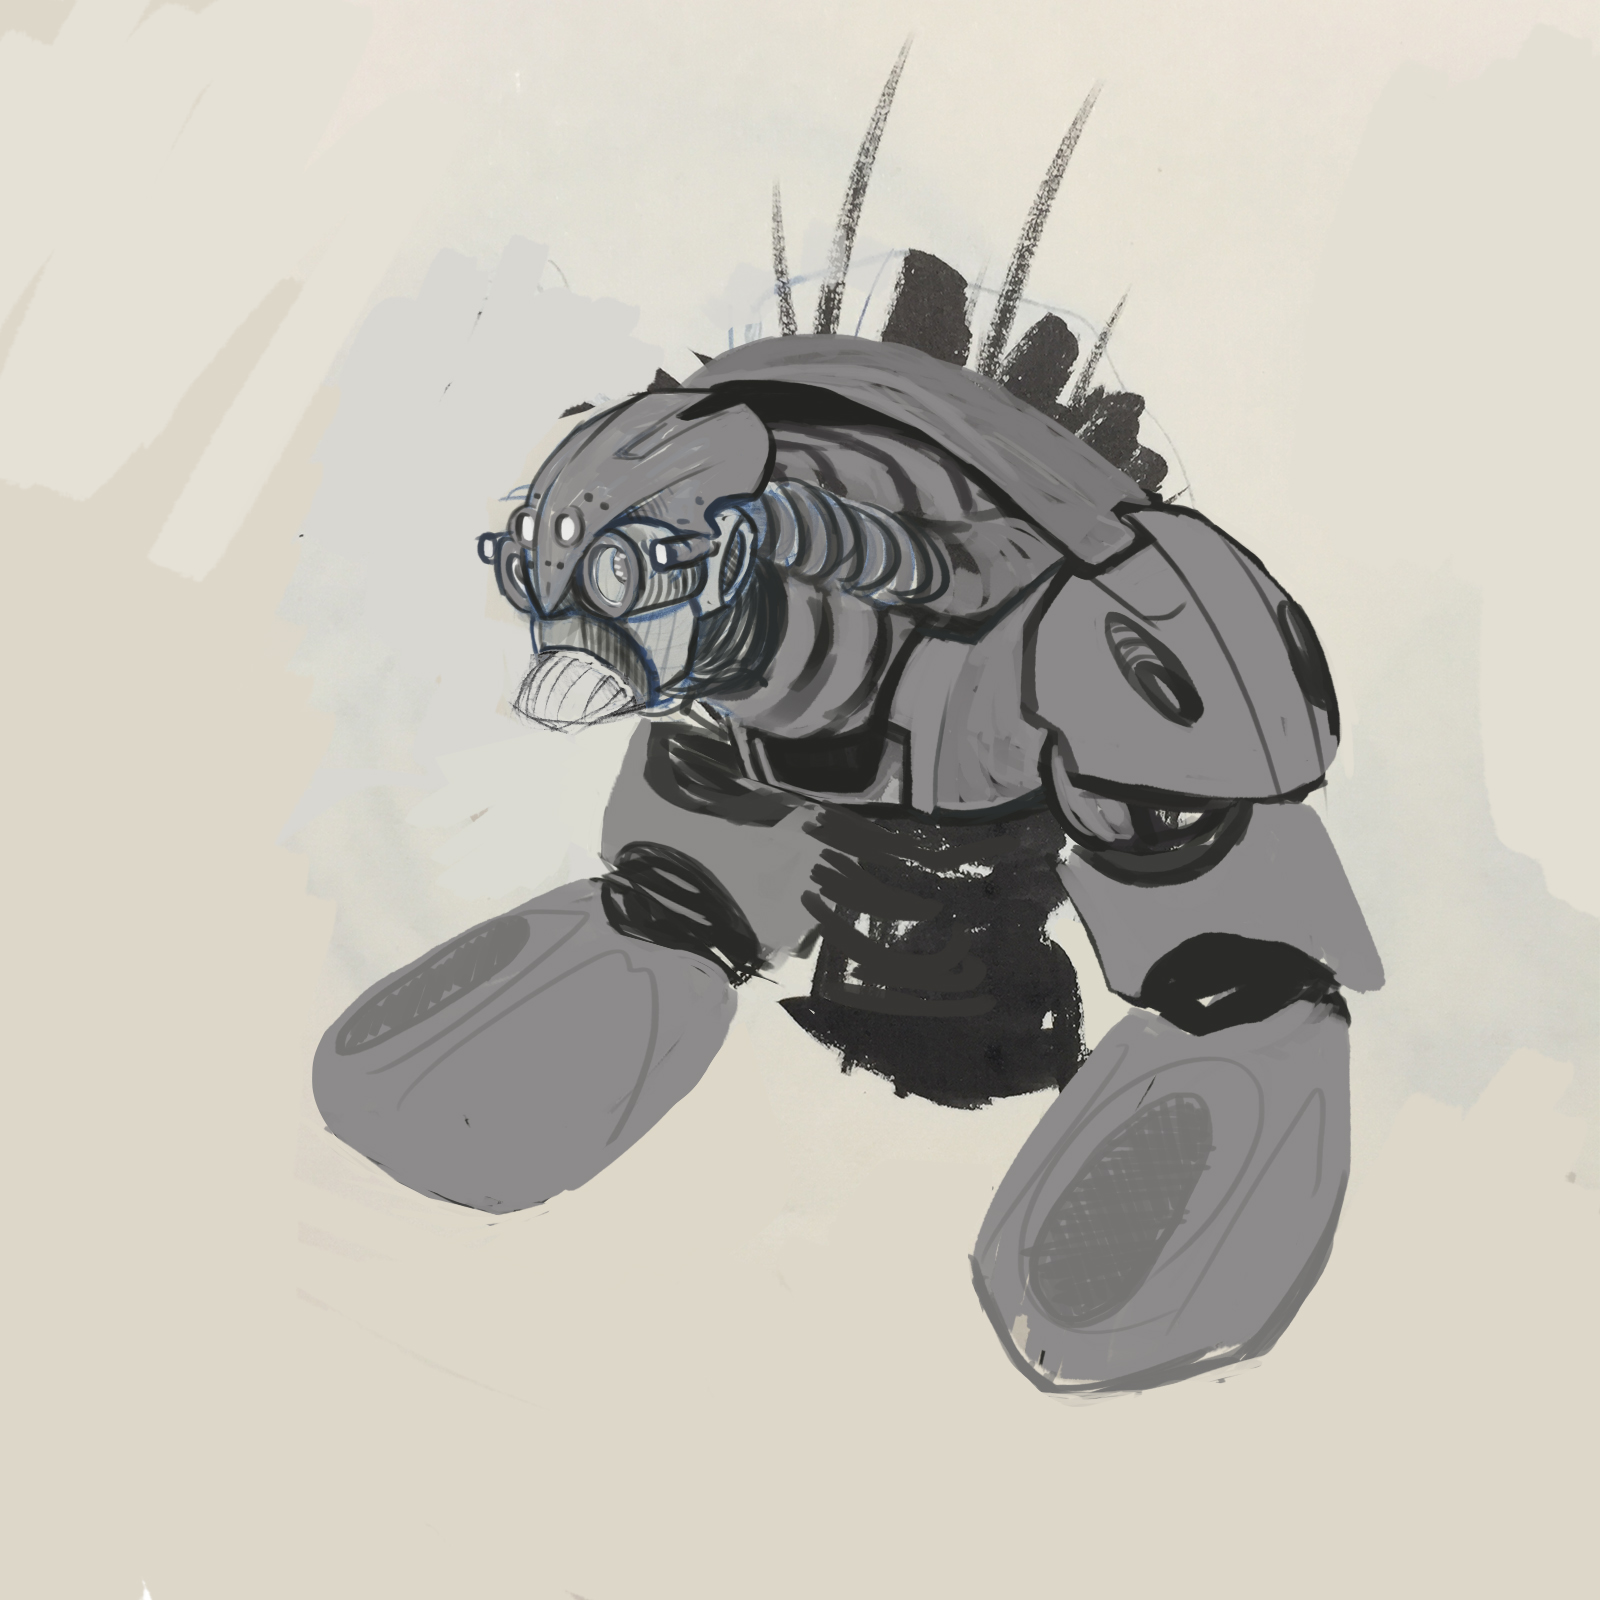
The last two are the most recent pass I did before heading to the competition. I was contemplating a turtle-neck sweater sort of deal for him at one point, but decided against the super sweater look for the final piece (though I did retain some of that texture for the final piece )
I ran into some technical difficulties during the contest that killed me time-wise to some extent. I would have loved to have been able to do a few other things to this, but this is where it ended up in the time given me to work. Just a bit on the adventure, I got in to find that the default keyboard shortcuts had been deleted and some of my major hotkeys had been changed, so Joseph Drust came over to help me troubleshoot that and taught me how to manually set a hotkey. Felt like a live session of #AskZBrush lol. After that, there were some troubles with my Spotlight hotkeys and I never got that fully resolved, so I just made do the best I could. After that, Dynamic subdivision somehow got turned on for all of my pieces. I don’t know how, but it super slowed down my computer. It was kind of like trying to work on my MacBook. Anyway, it wouldn’t let me sculpt my wear and tear details, so I got fed up and DynaMeshed pieces of it. That cleared that right up. lol. My mesh got pretty heavy (due to noise and the still mysterious dynamic subdivision–if I had known what was going on, I could’ve saved myself a butt-load of time. lol), and it wouldn’t go into KeyShot. That was the most frustrating part to me because I was really looking forward to creating material and color separation to make my piece stand out, but nope. Didn’t happen . . . bummer. Oh well. I’ll post the refinished piece next.
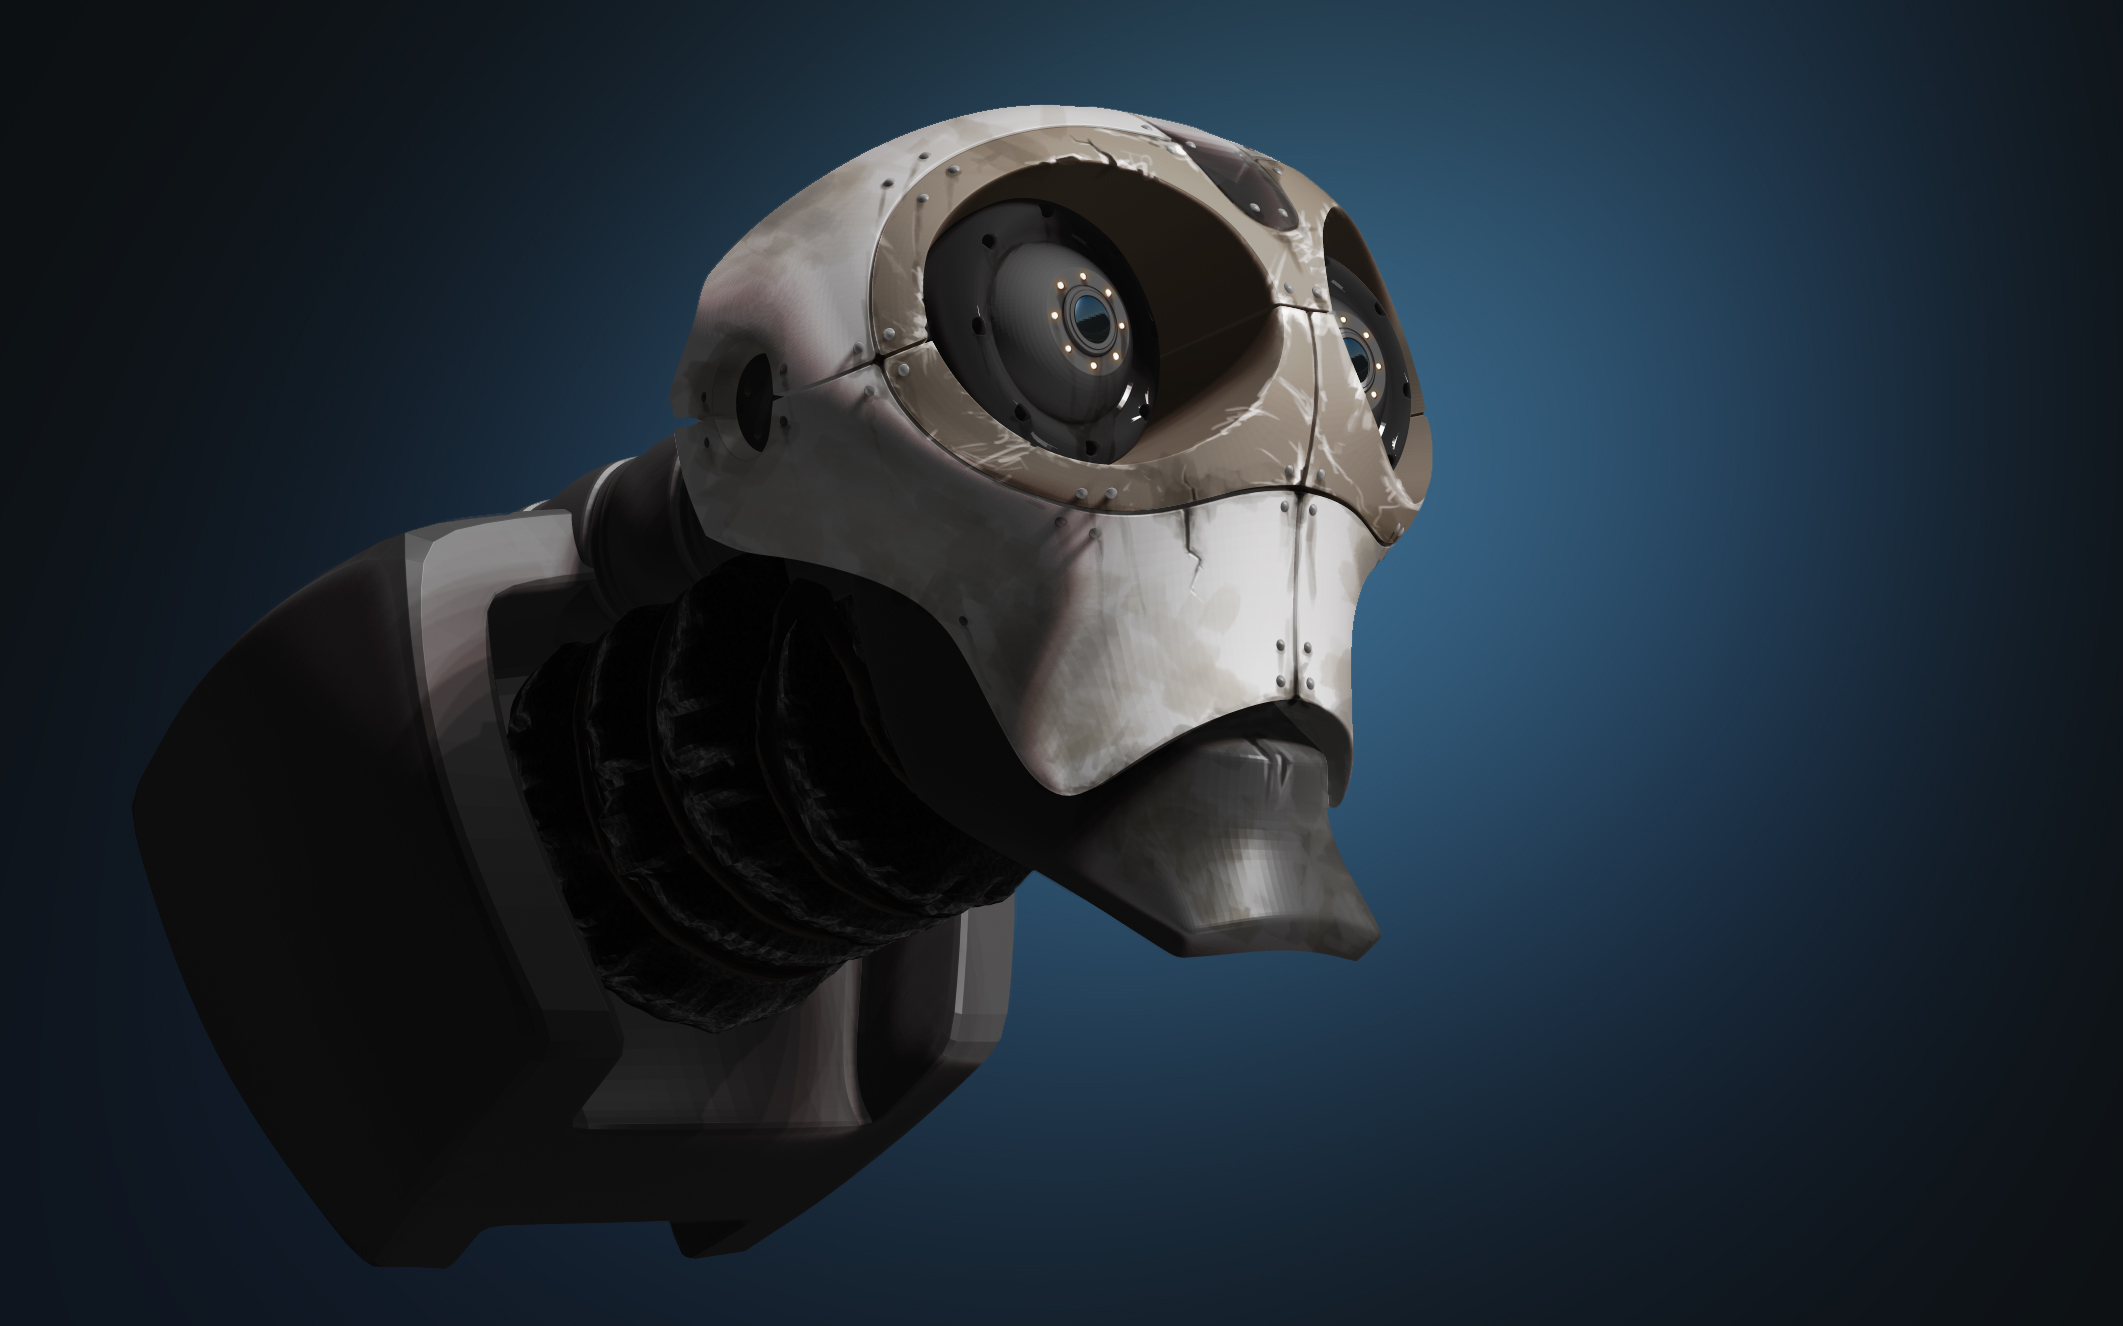
Here’s more what I wanted it to look like. This is the same sculpt with a different head rendered out in material passes in KeyShot and composited in PhotoShop:
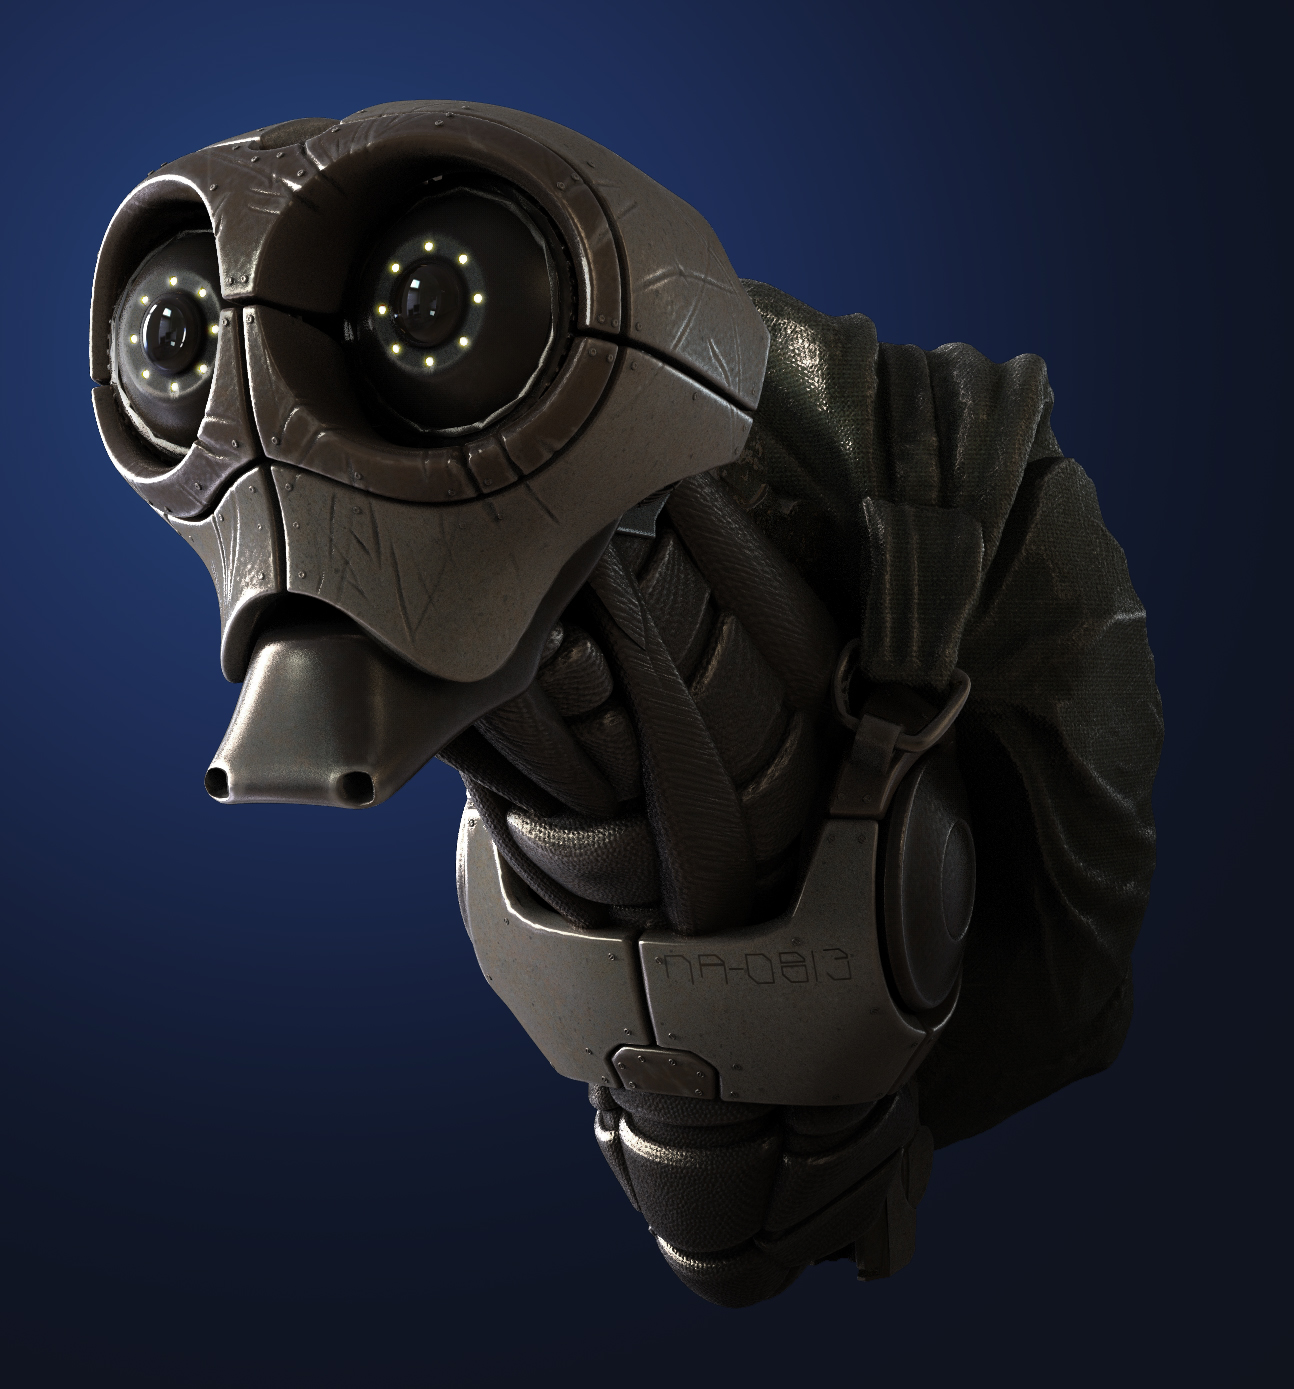
My plan is to eventually take him all the way to finish and possibly prep him for 3D print. I super enjoyed creating this guy, and I hope you enjoyed seeing him and the process behind him.
If you would like to give me a follow, the best place to see regular updates is on Instagram username: @smaartist
Cheers.
I want to take this opportunity to thank pixologic for organizing awesome event! .It was an honor to be part of the Sculpt-Off this year and meet my favorite artists !
I had some technical difficulties while sculpting, My Z brush did crash 3 time and my key-shot render got stuck for half an hour or so and was not able to do Photoshop editing .
The final image is without Photo bashing it’s an raw render form key-shot , I am happy that i was able to complete my sculpt and render by the end of the challenge.
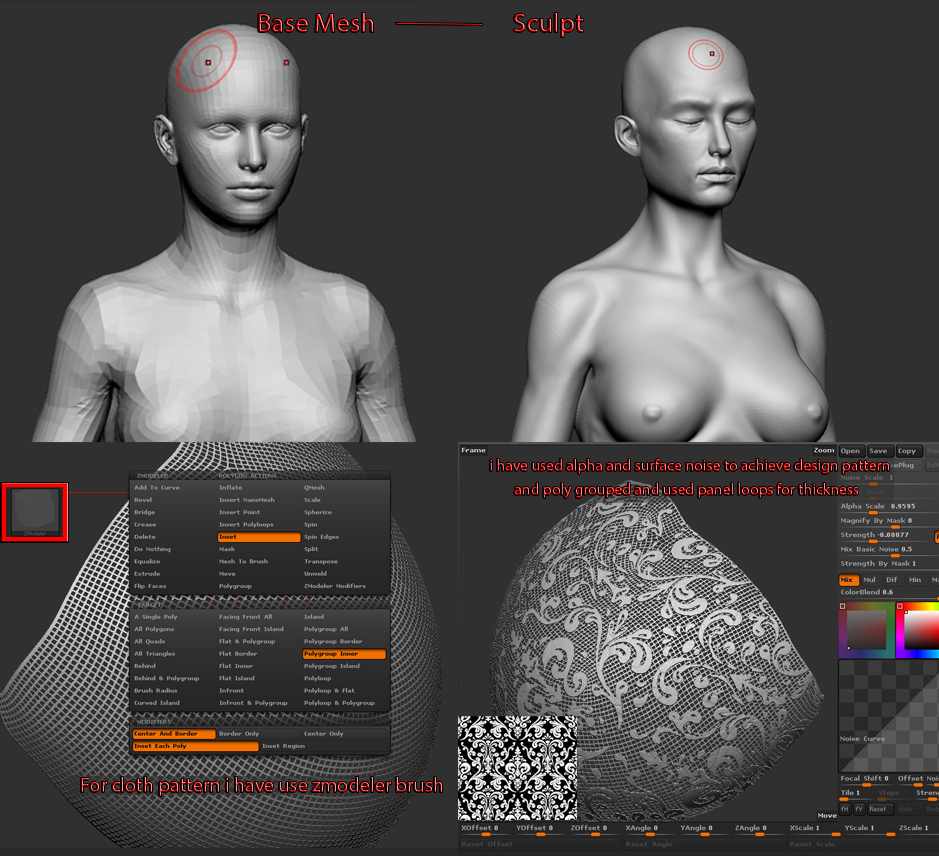
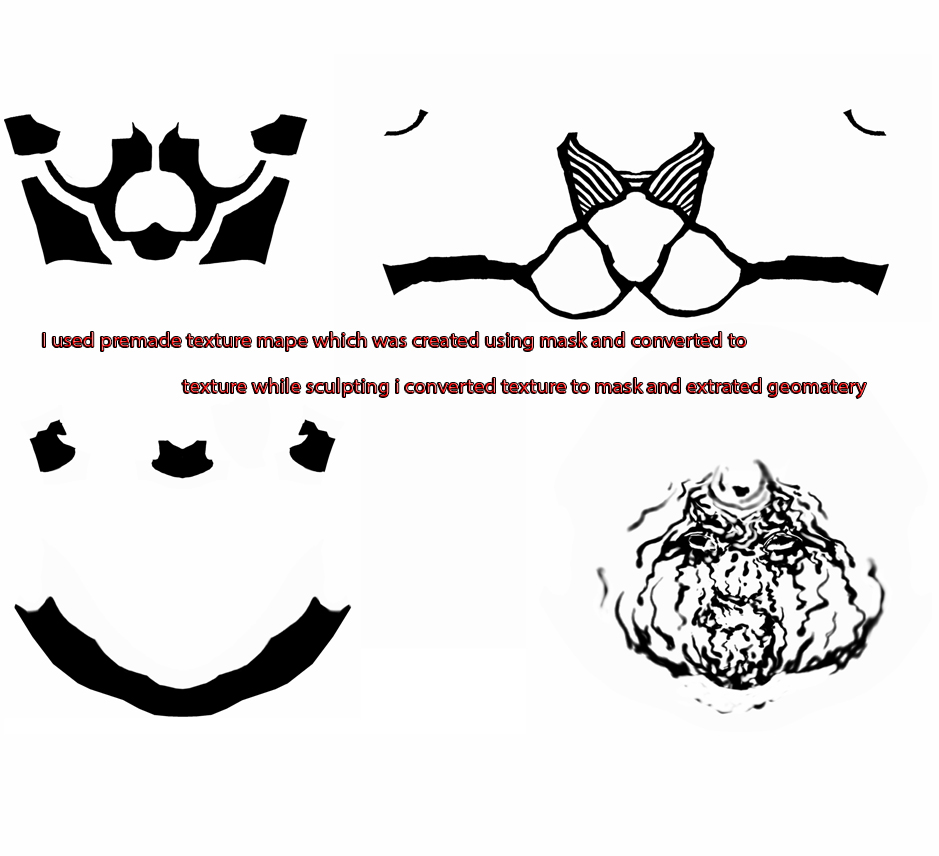
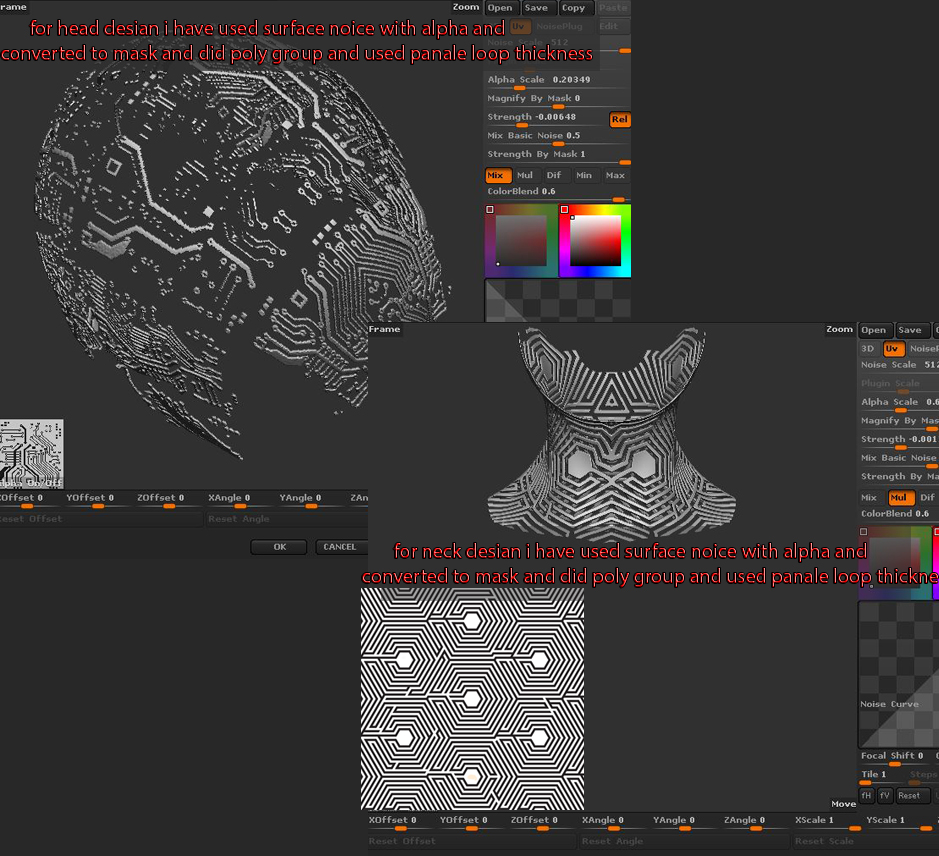
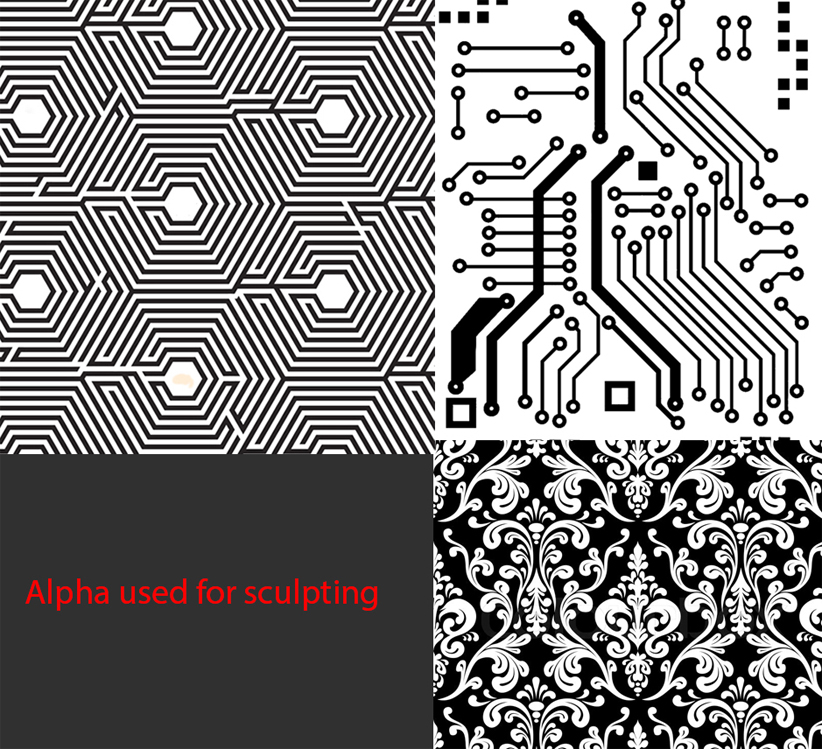
Here is my breakdown of sculpt and process i used for the Sculpt-Off challenge
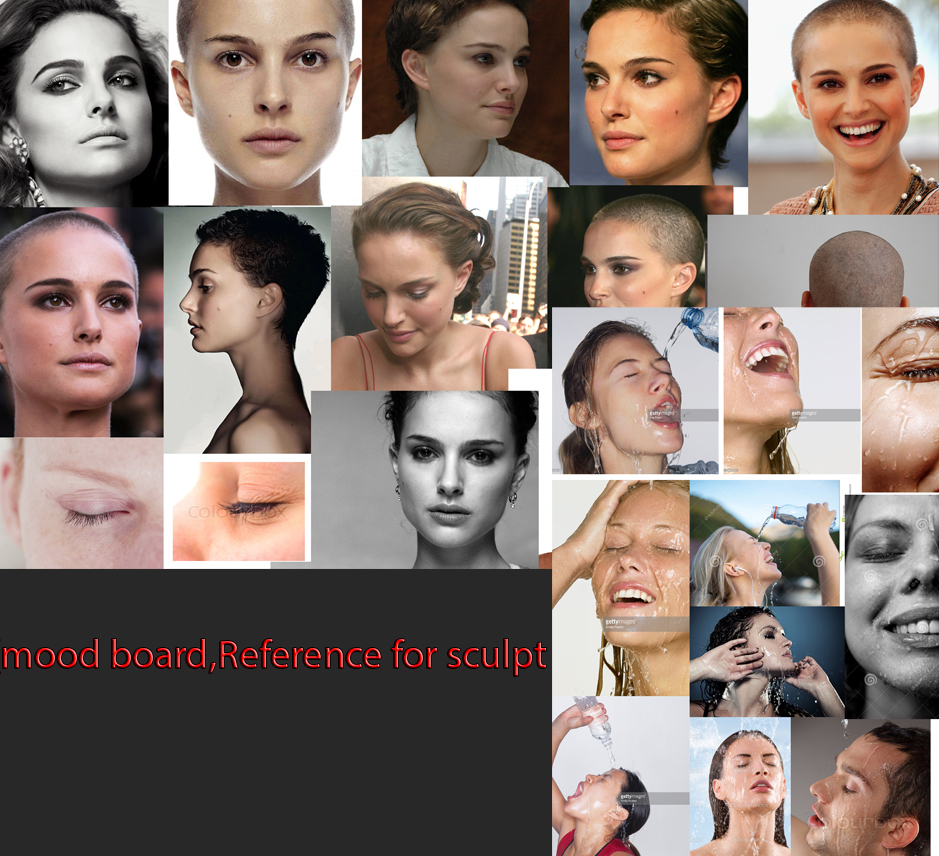
these were my reference images is used for sculpting
Final output
Attachments
Hello there,
here’s my concept designed at the sculpt off.
First image is the one I delivered after 3 hours.
Here’s a revisited image, I made a rear view of the bust (but I didn’t touch the model).
I was so nervous at the Sculpt-Off, so I totally forgot to duplicate the model in the Keyshot’s scene and when I realized the oversight there was no more time!
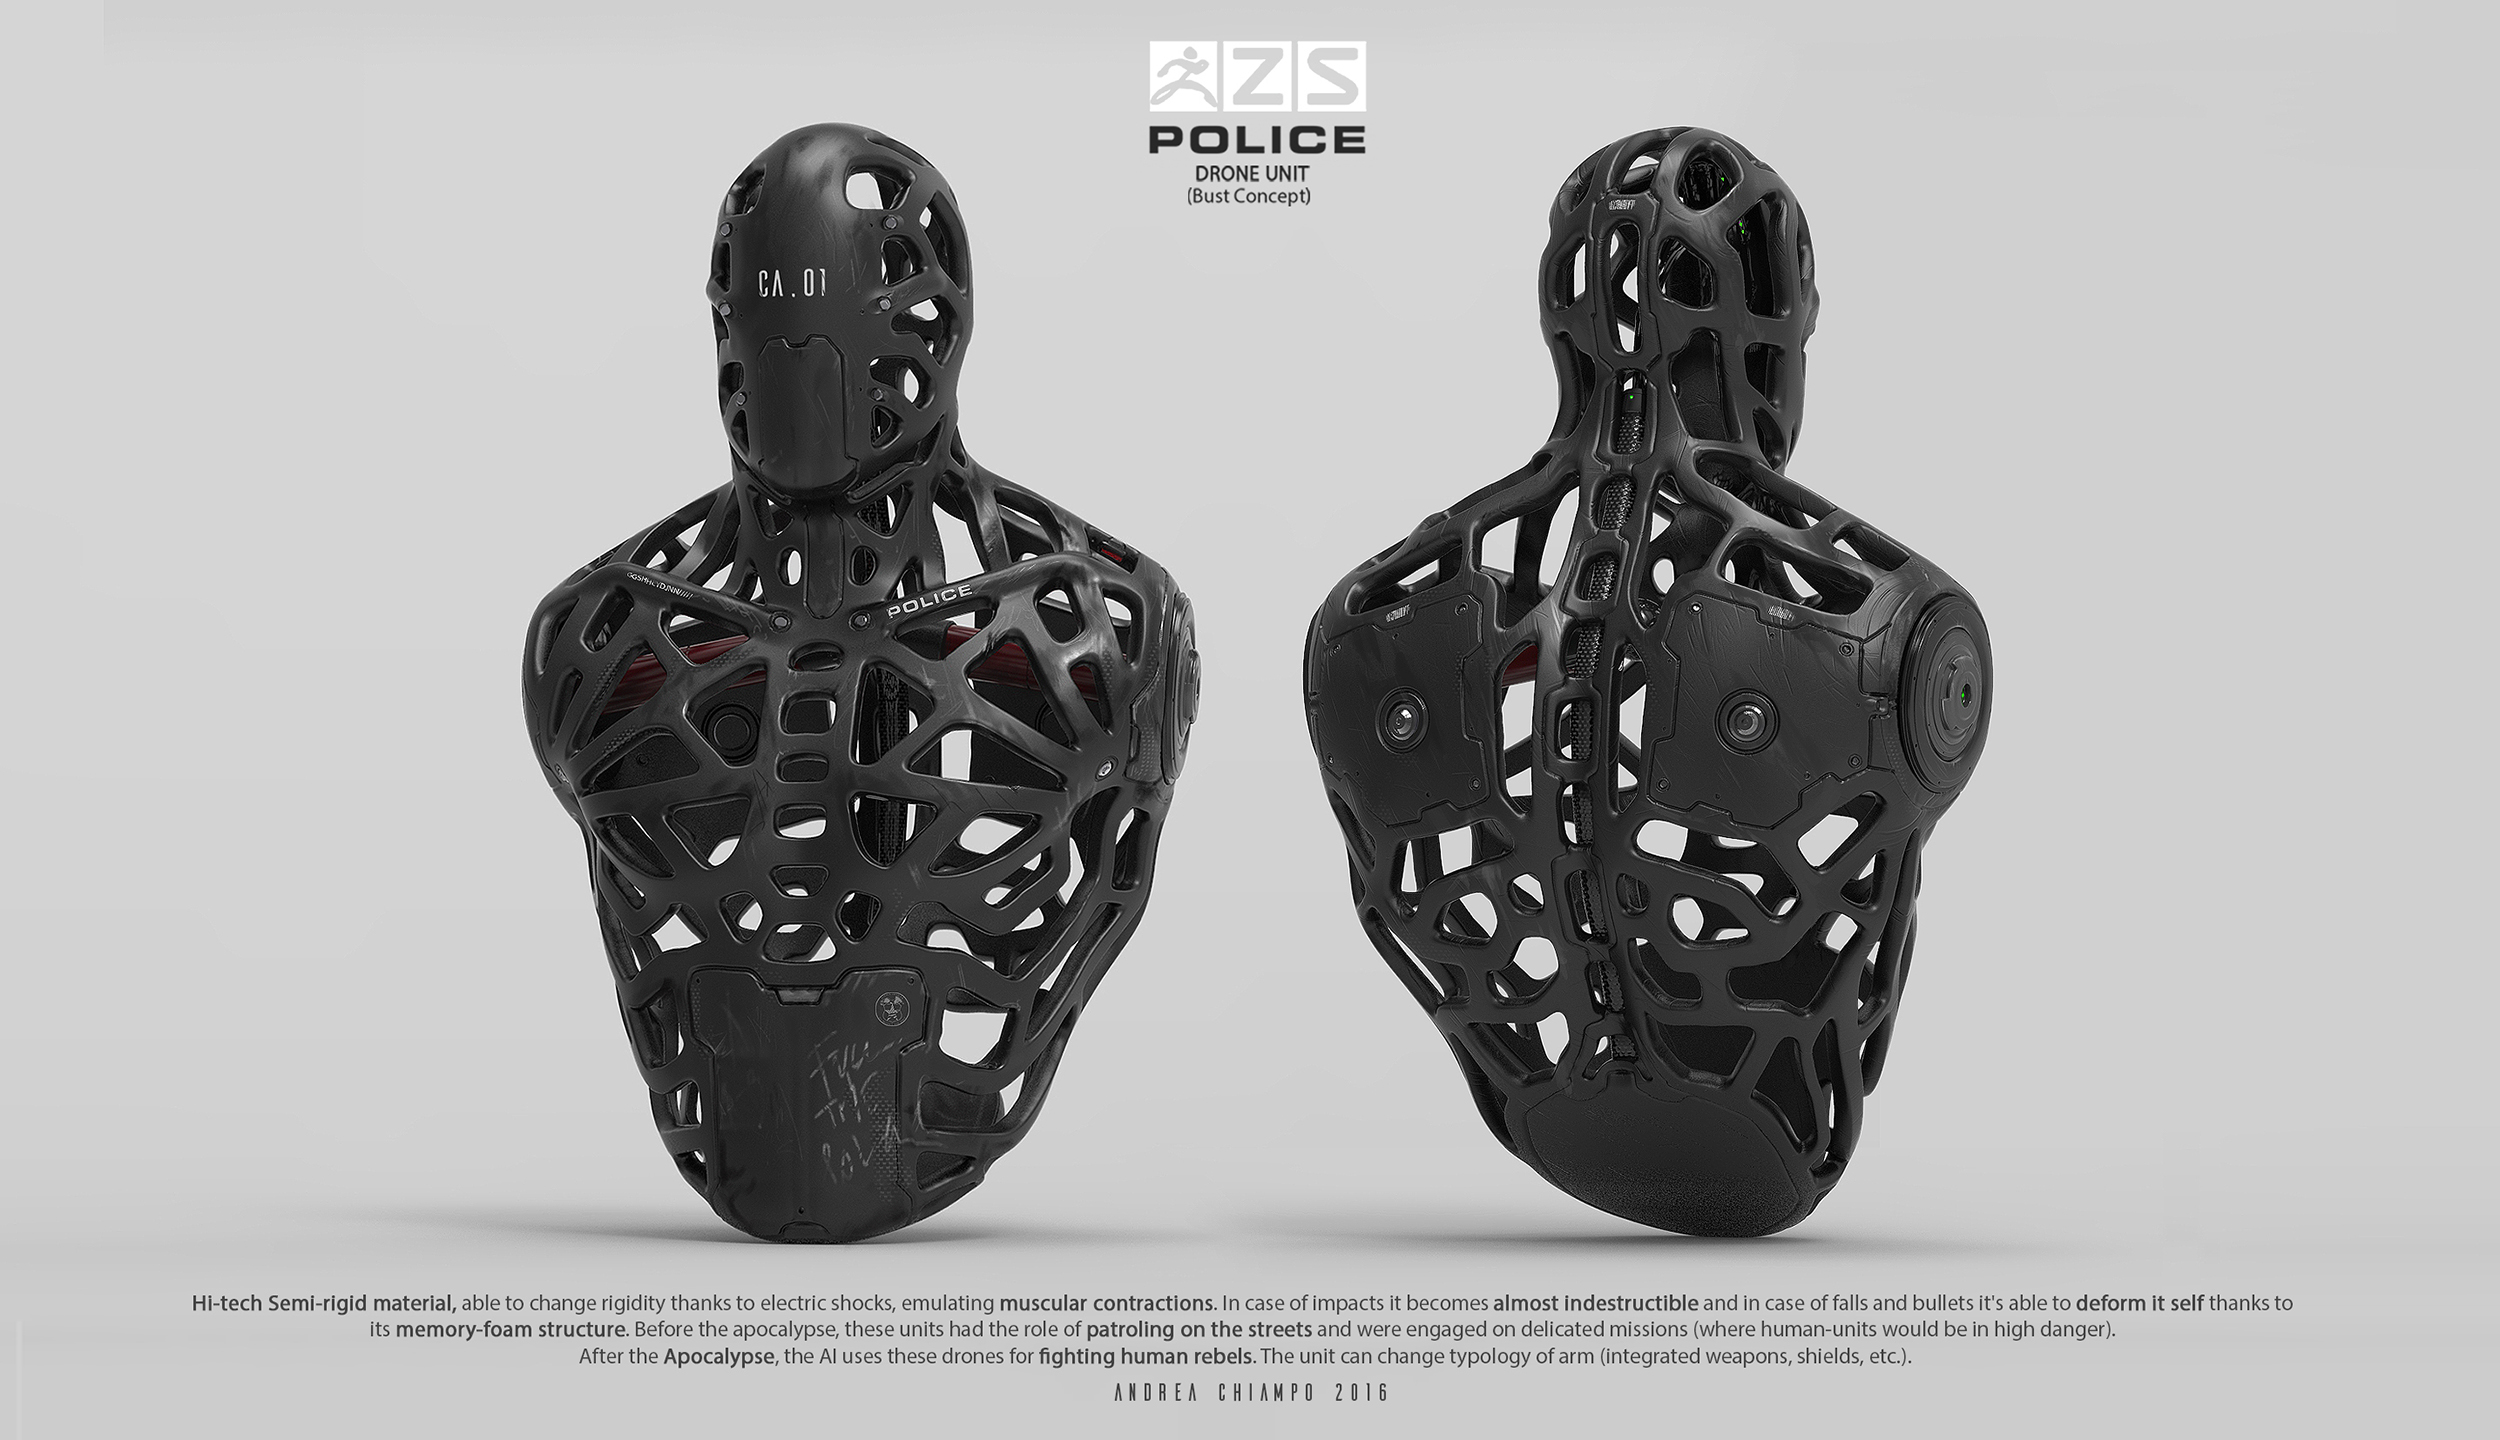
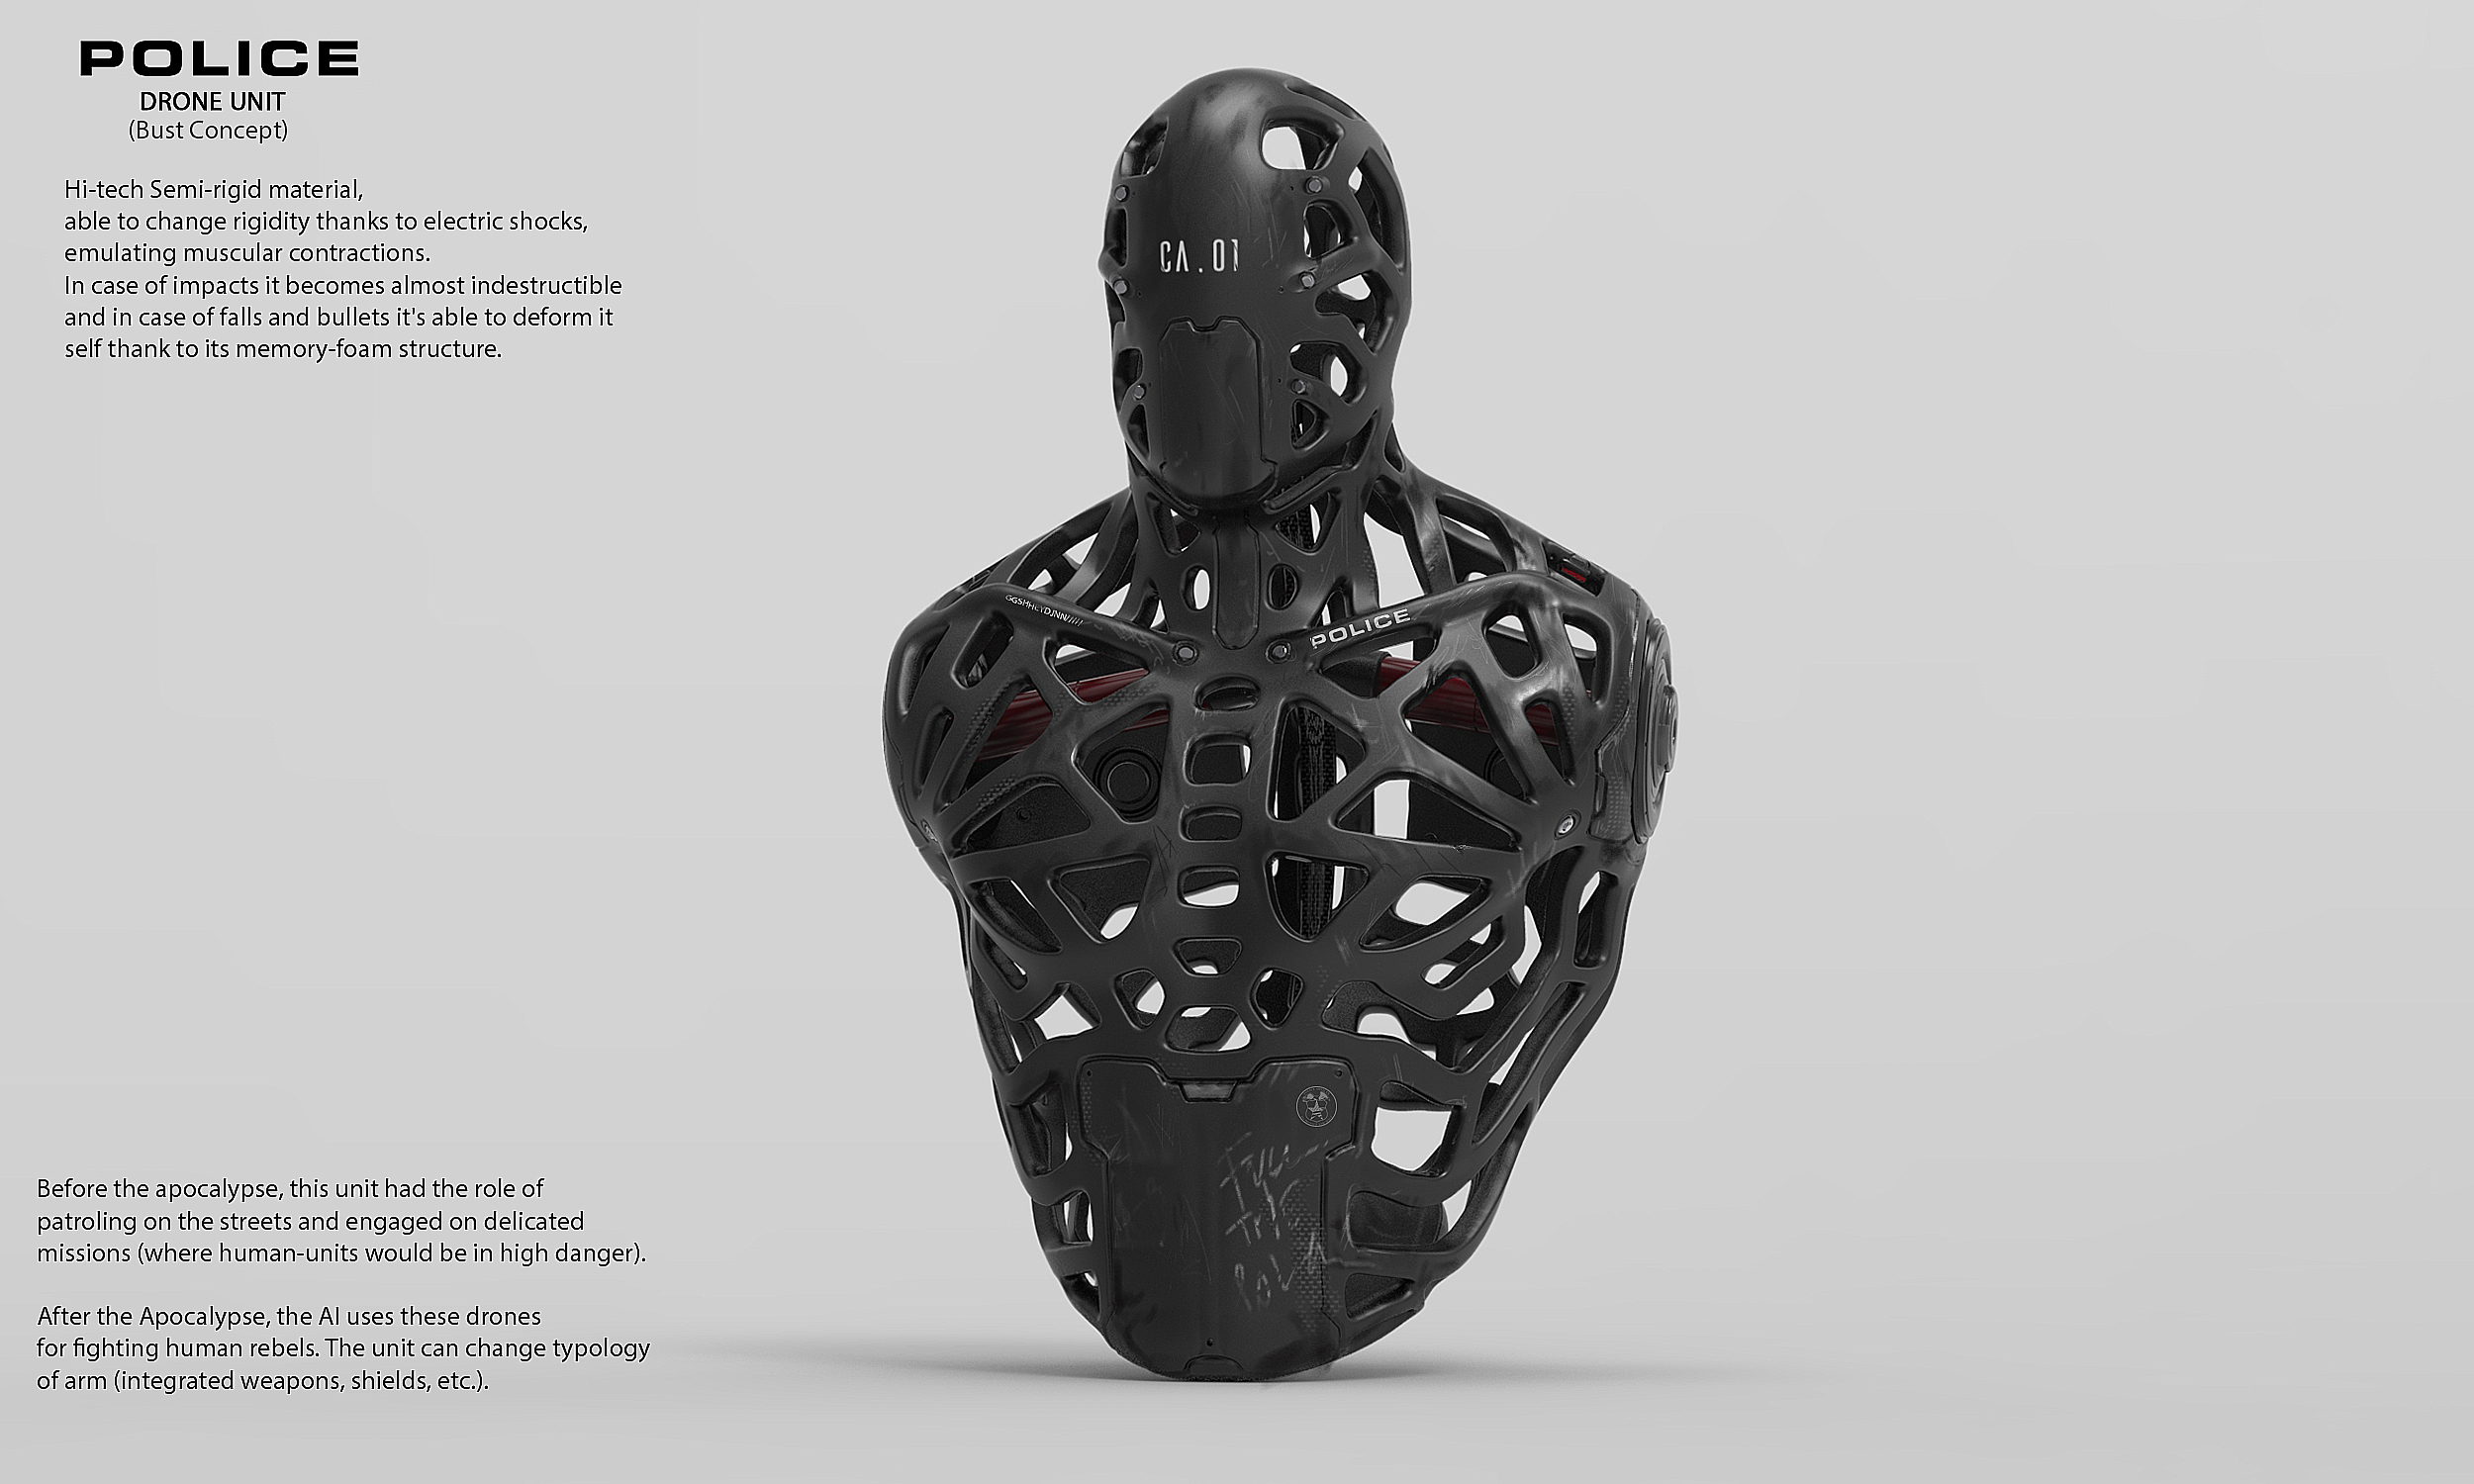
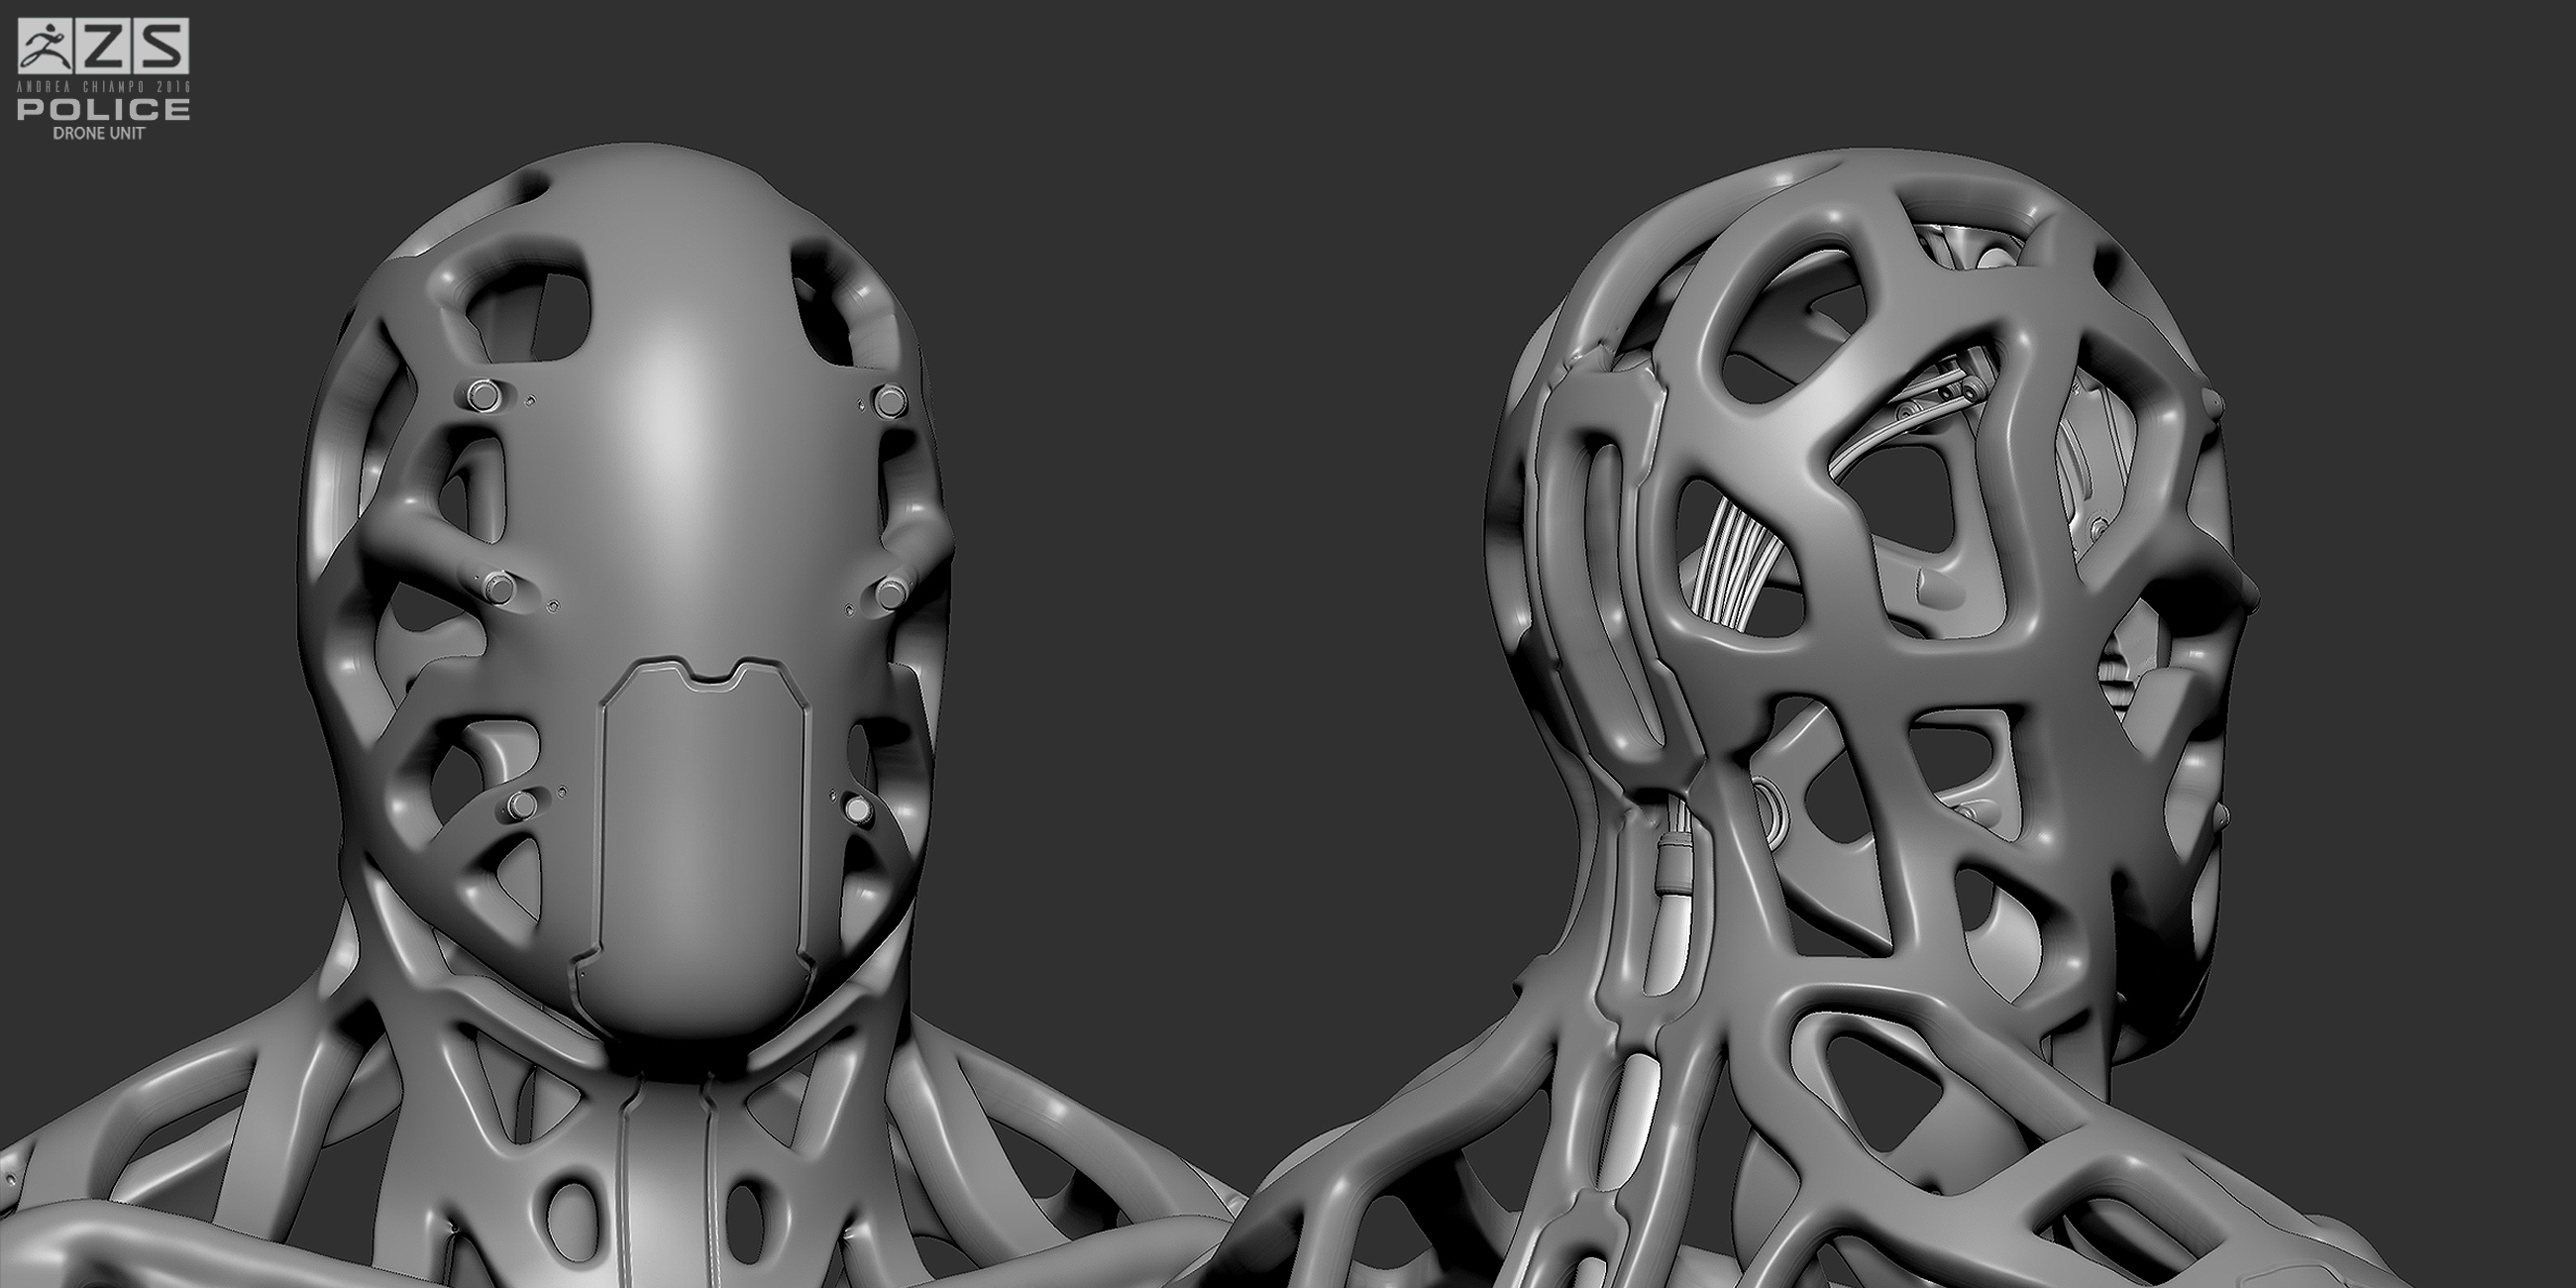
Hi-tech Semi-rigid material, able to change rigidity thanks to electric shocks, emulating muscular contractions. In case of impacts it becomes almost indestructible and in case of falls and bullets it’s able to deform it self thanks to
its memory-foam structure. Before the apocalypse, these units had the role of patroling on the streets and were engaged on delicated missions (where human-units would be in high danger).
After the Apocalypse, the AI uses these drones for fighting human rebels. The unit can change typology of arm (integrated weapons, shields, etc.).
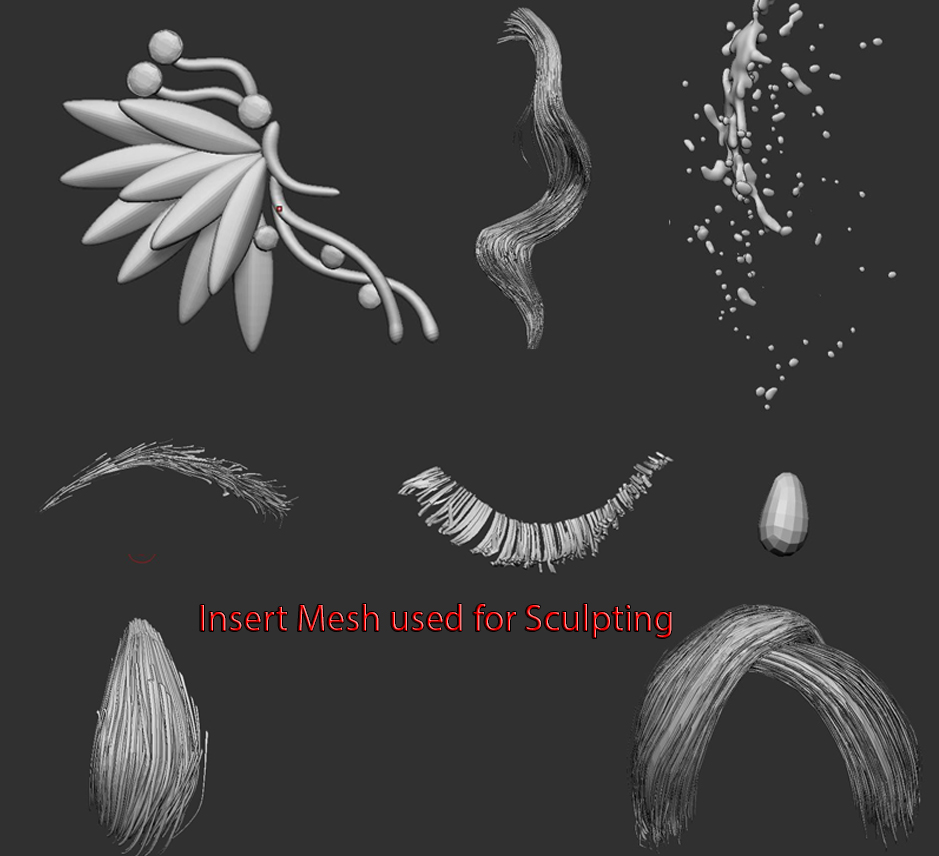
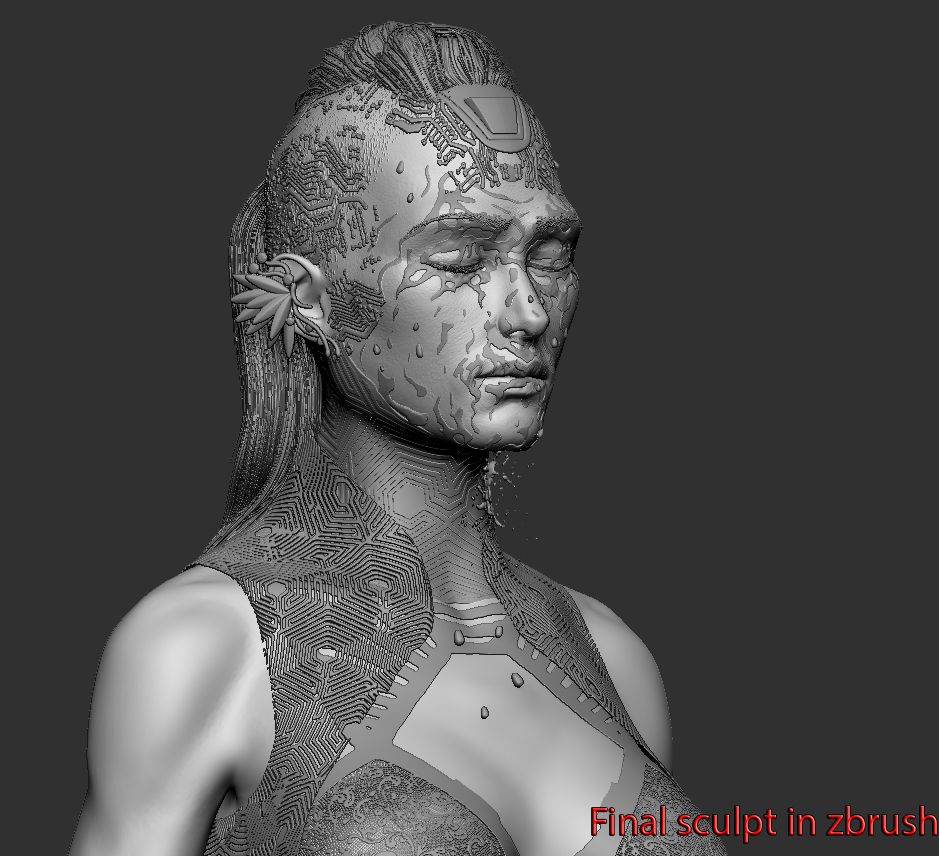
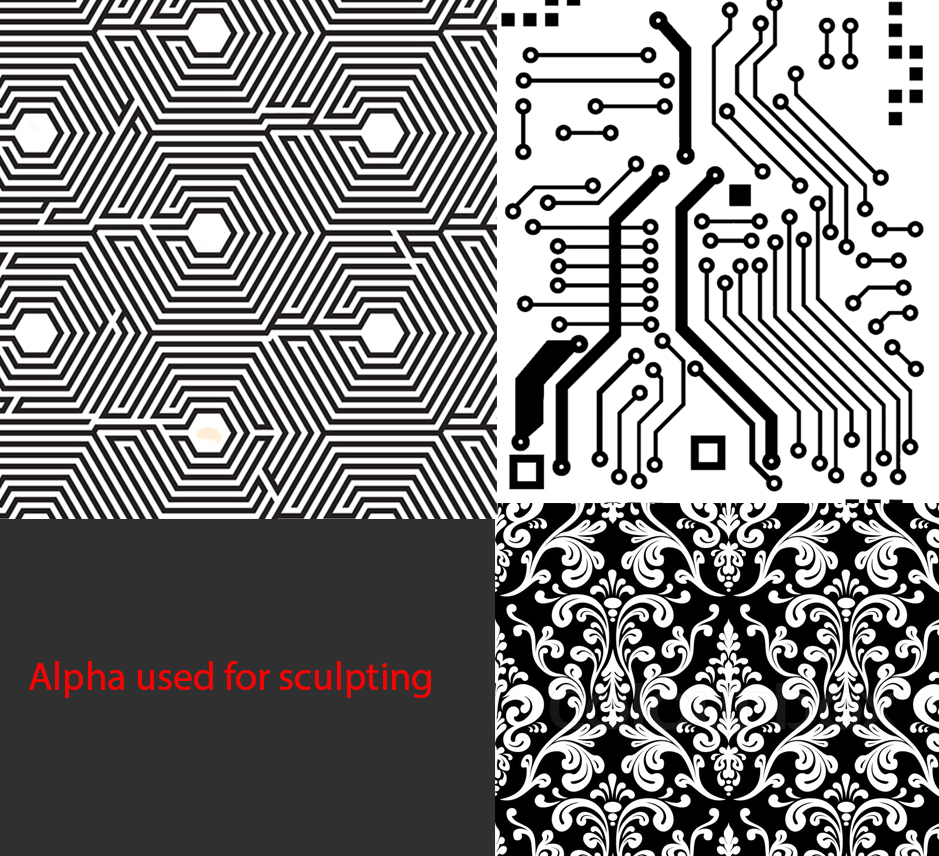
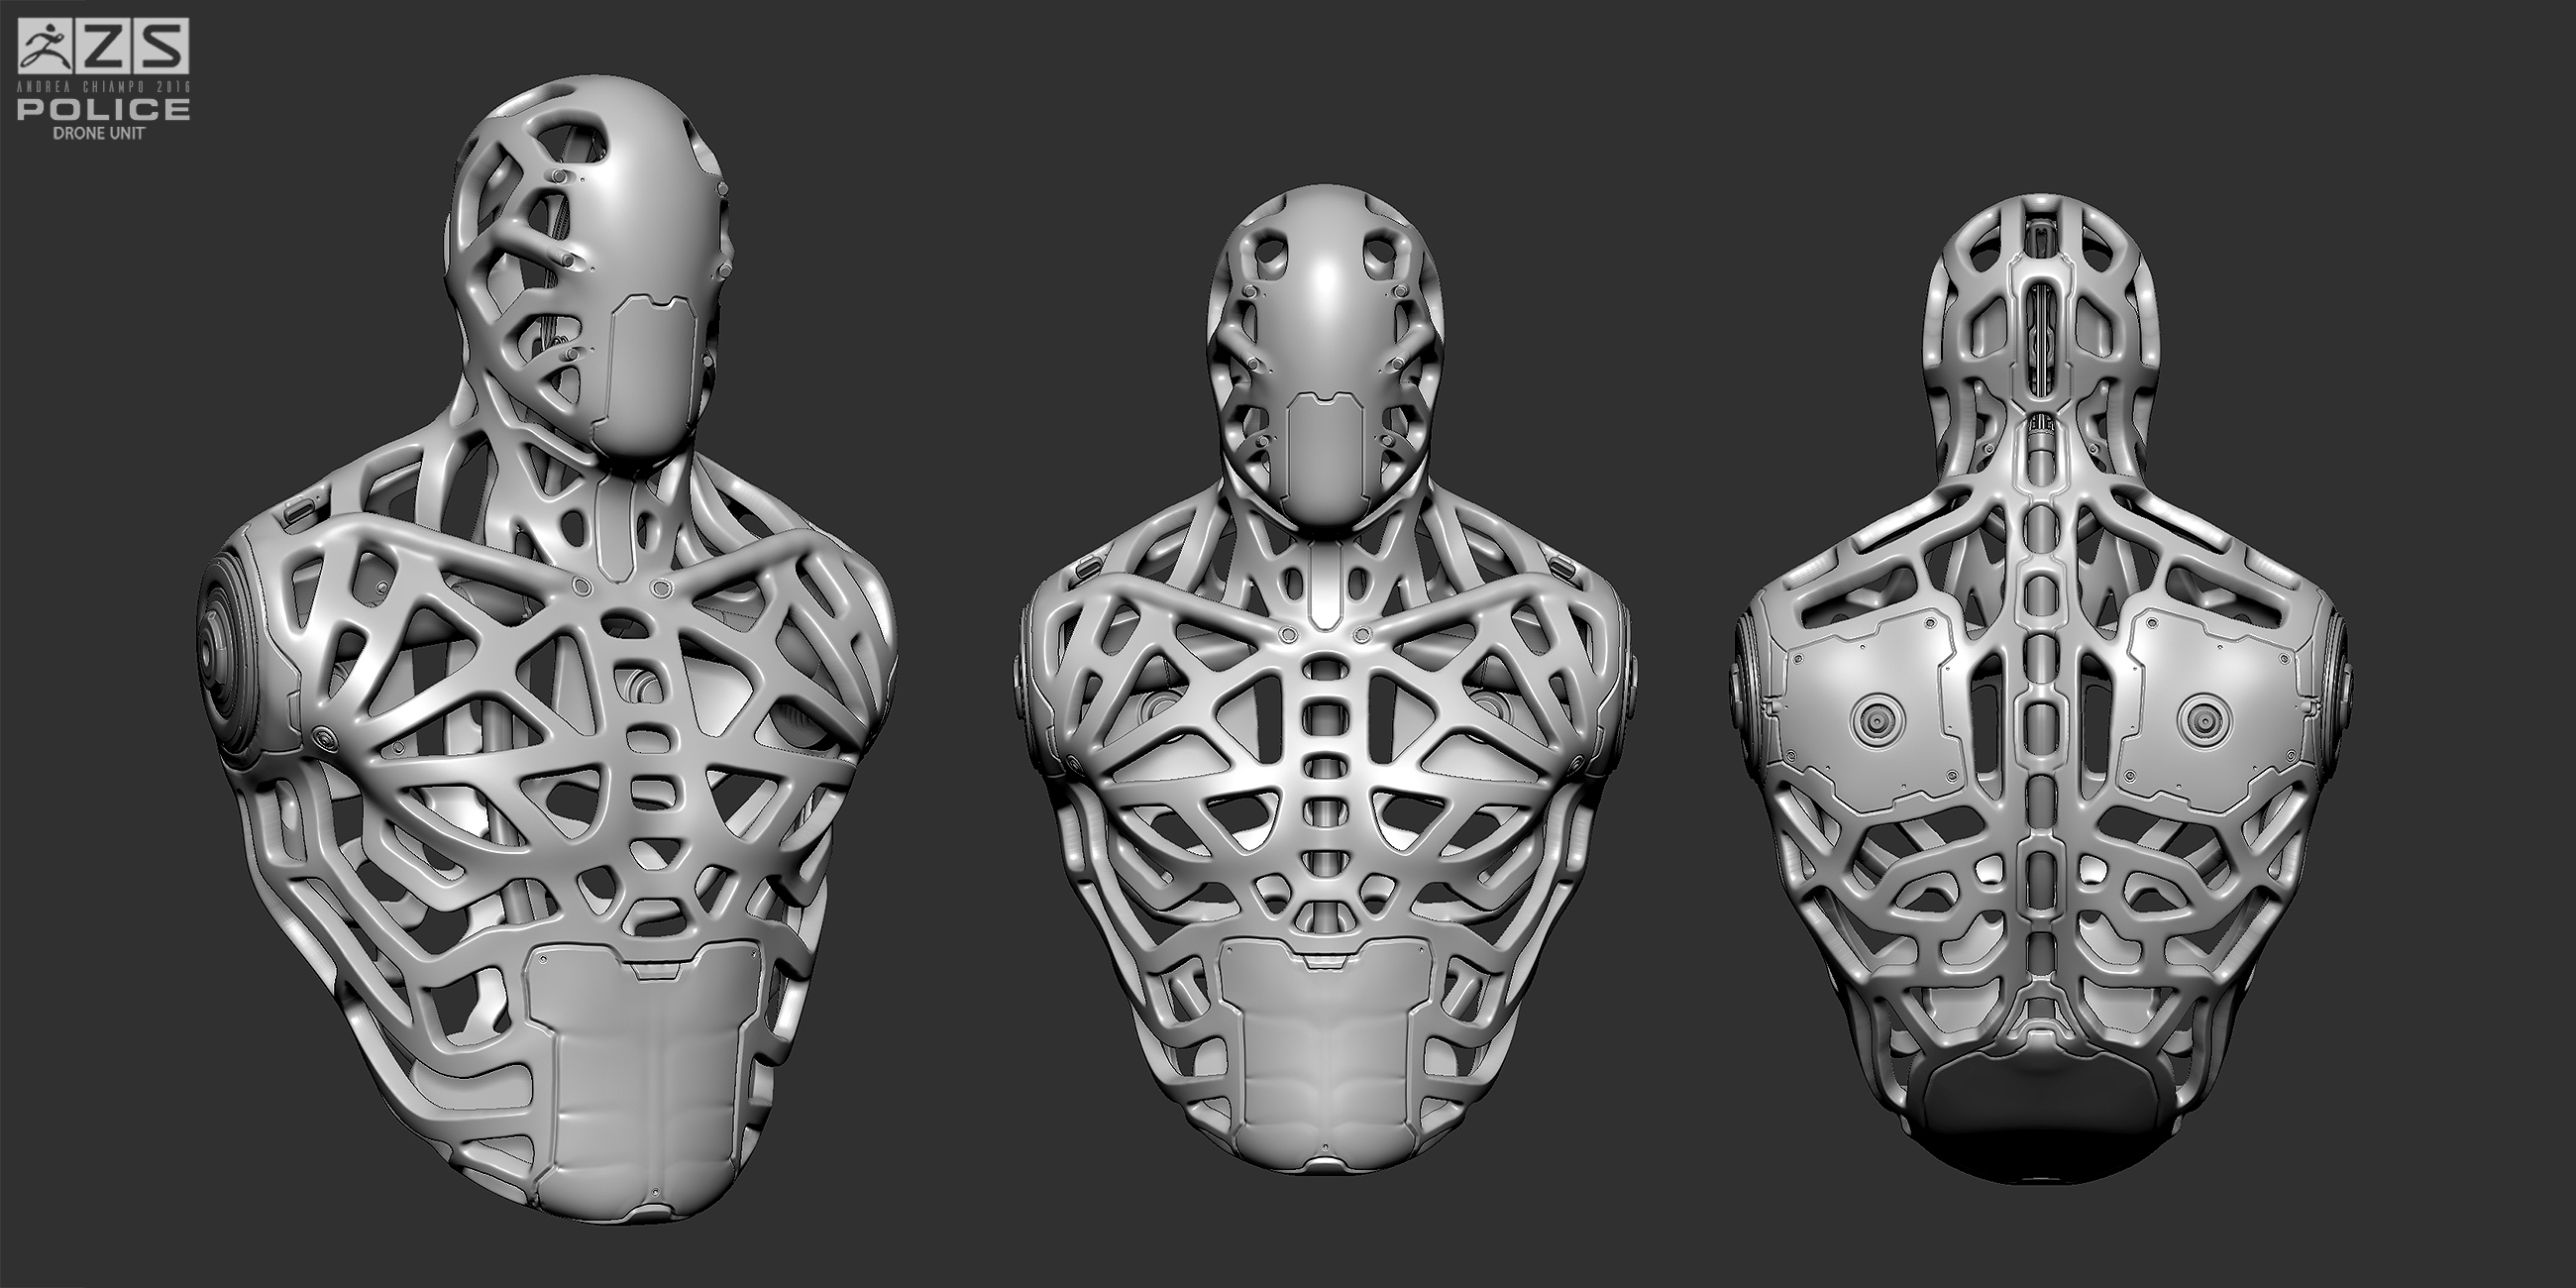
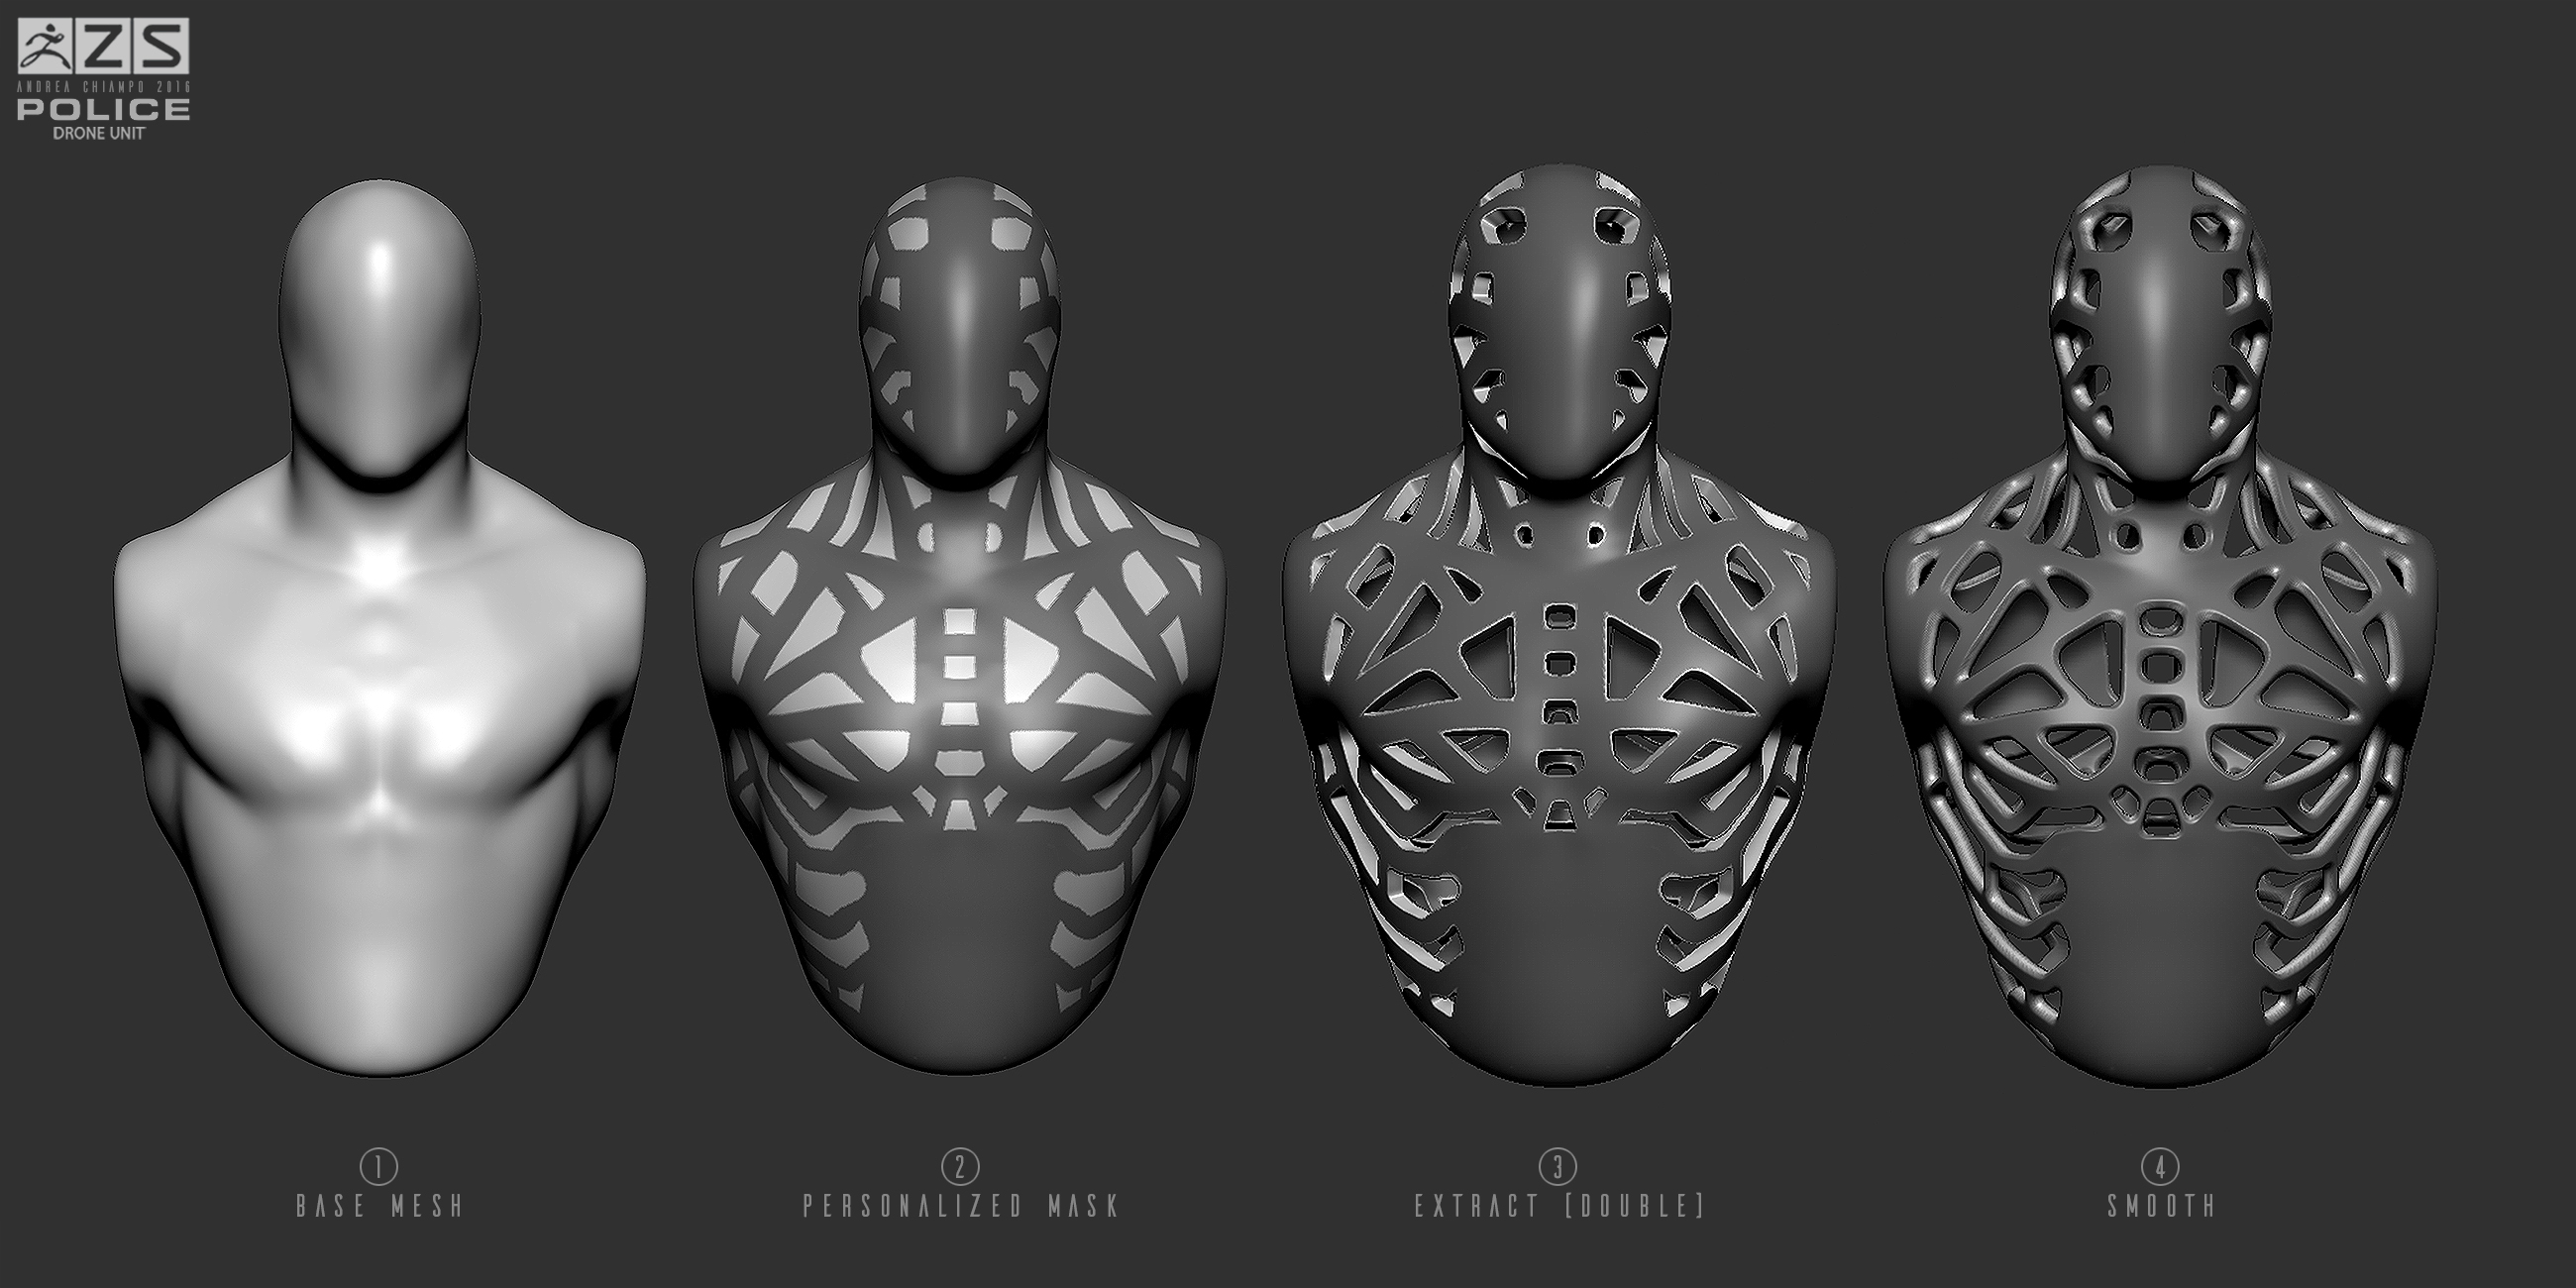
And here below are some screenshots from ZBrush.
(final sculpt)
(first steps - process’s breakdown)
(brain/motherboard and spine concept)
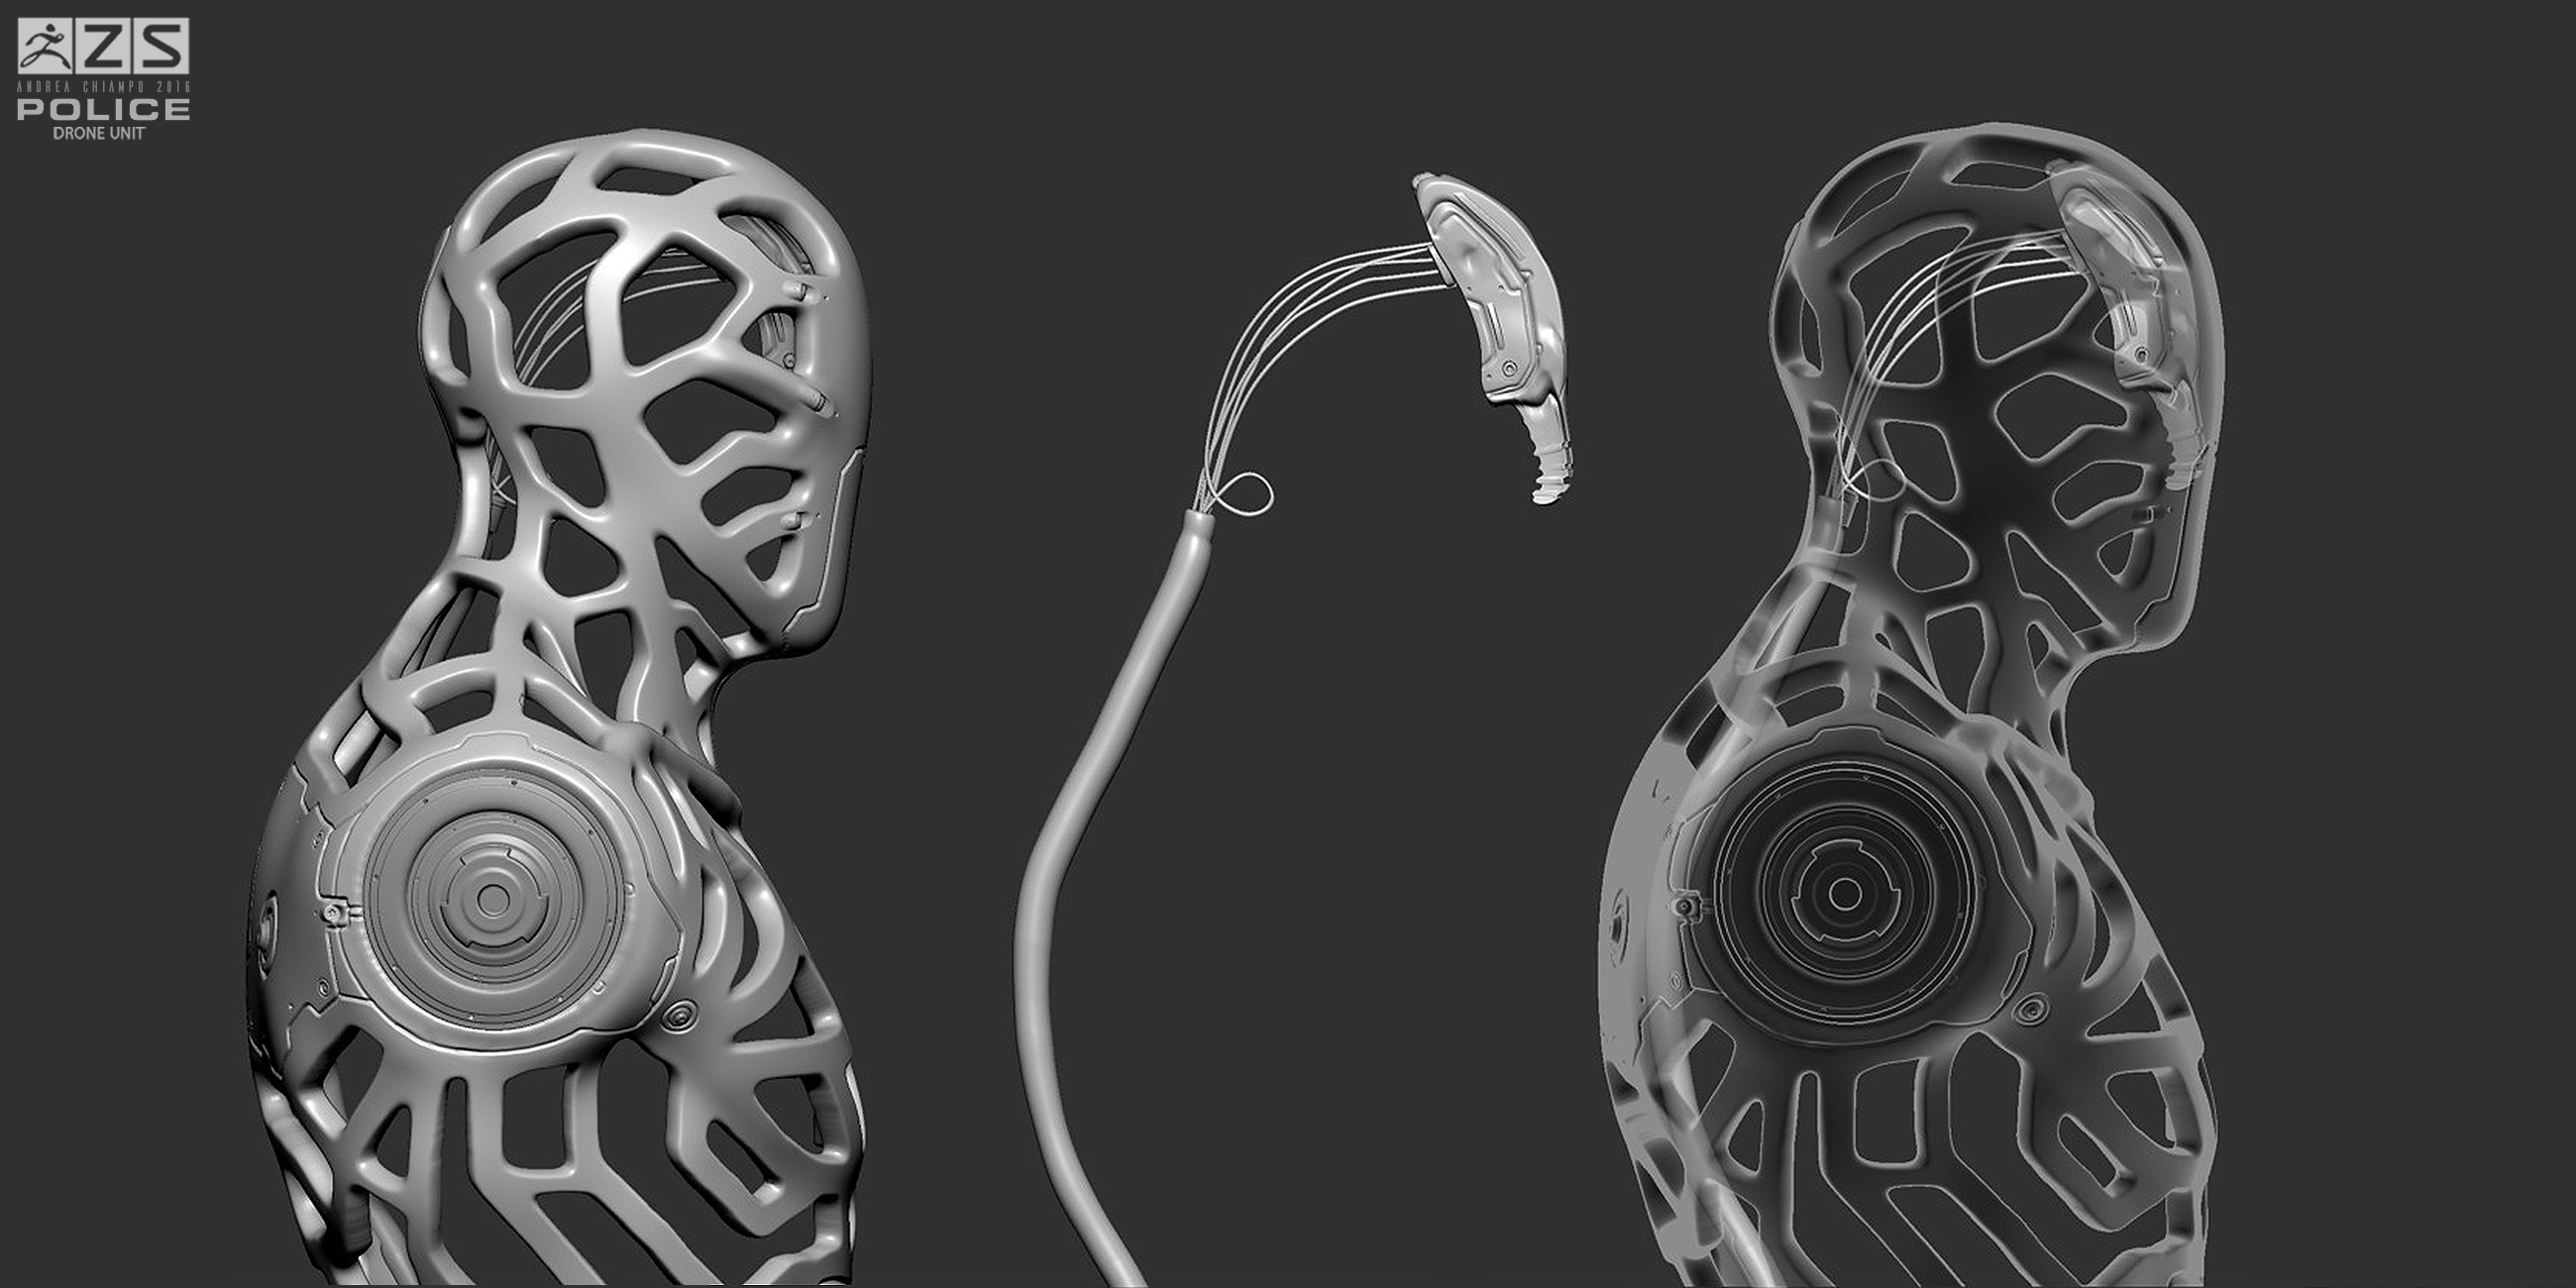
(close-up)
I also made a Turnable GIF, click here to see it: https://www.artstation.com/artwork/Rldlm
Thank you Pixologic for the amazing experience, congratulations to all the artists that took part at the competition, was great meeting you guys!
Andrea
Thanks for sharing this information.
Im completely jawless with what some of you come up with.
Have I missed it, or do we even have any idea when 4R8 is being released?
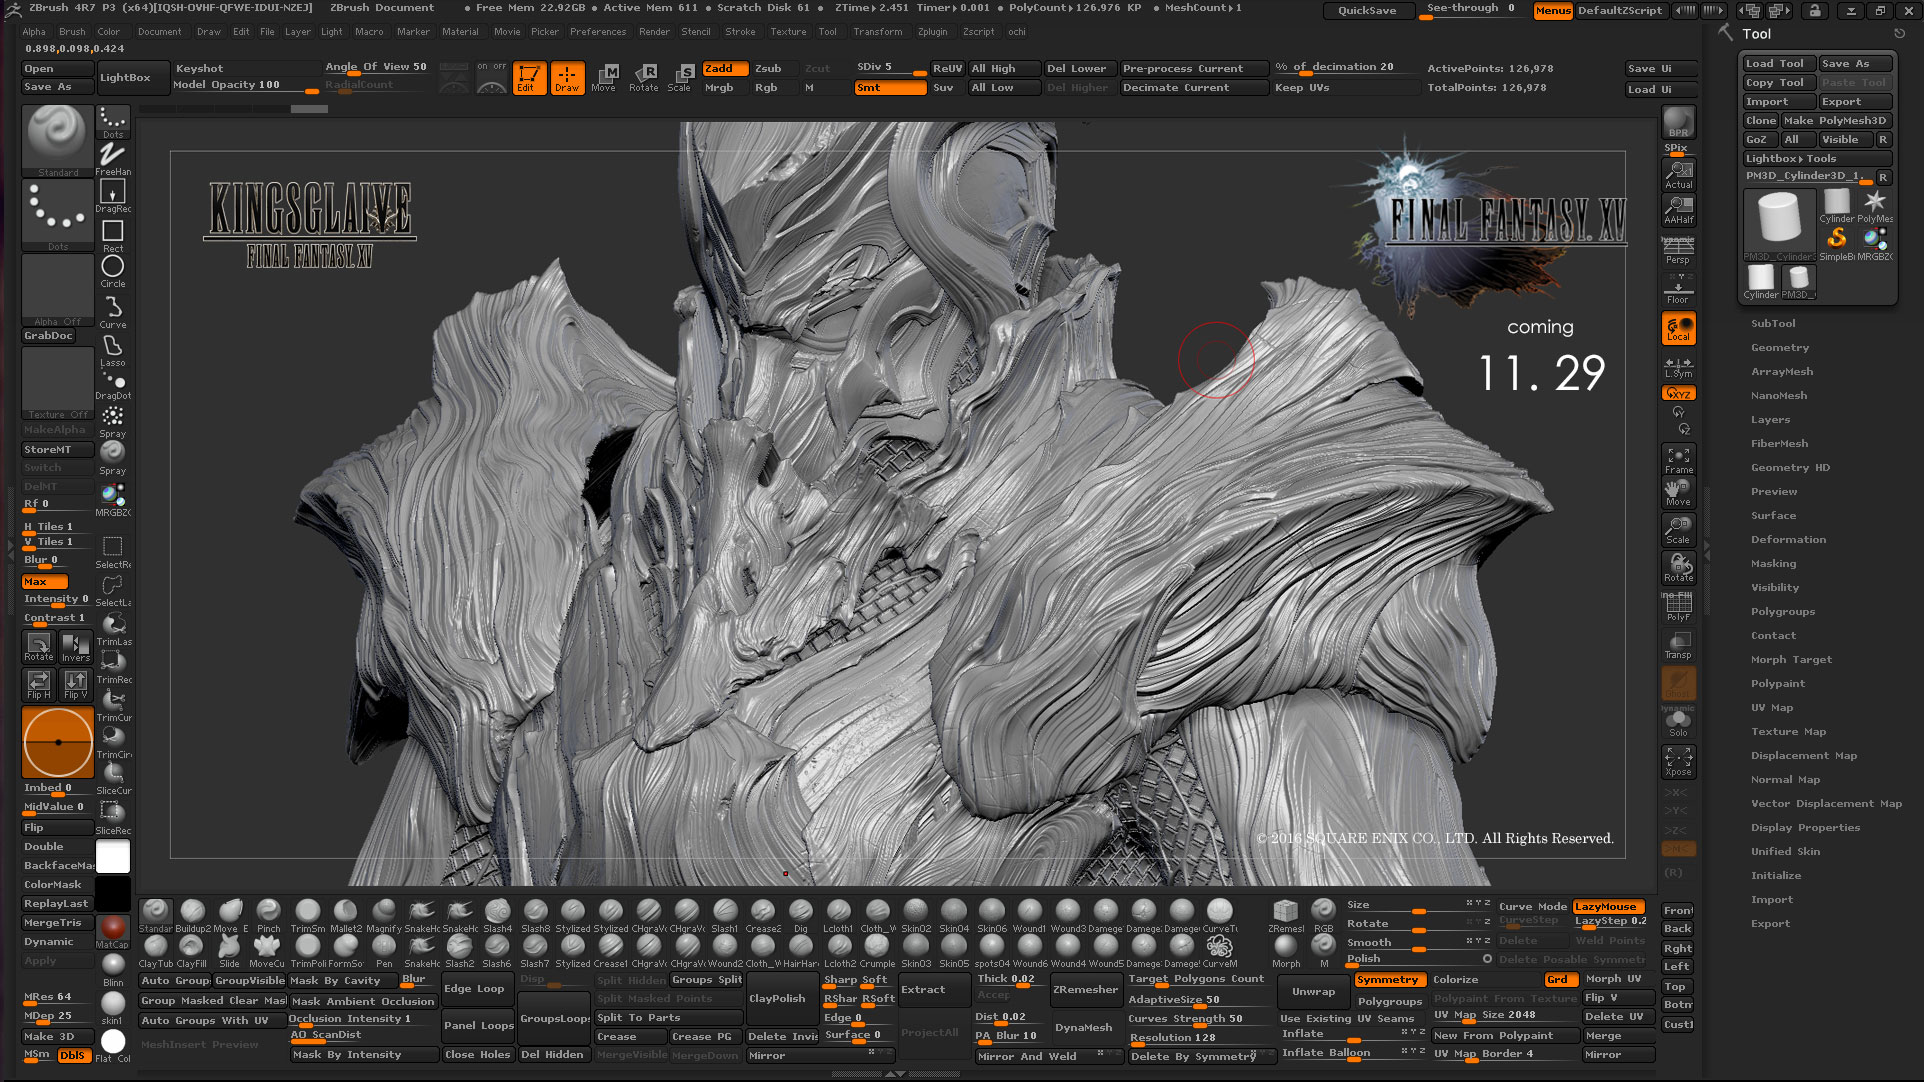
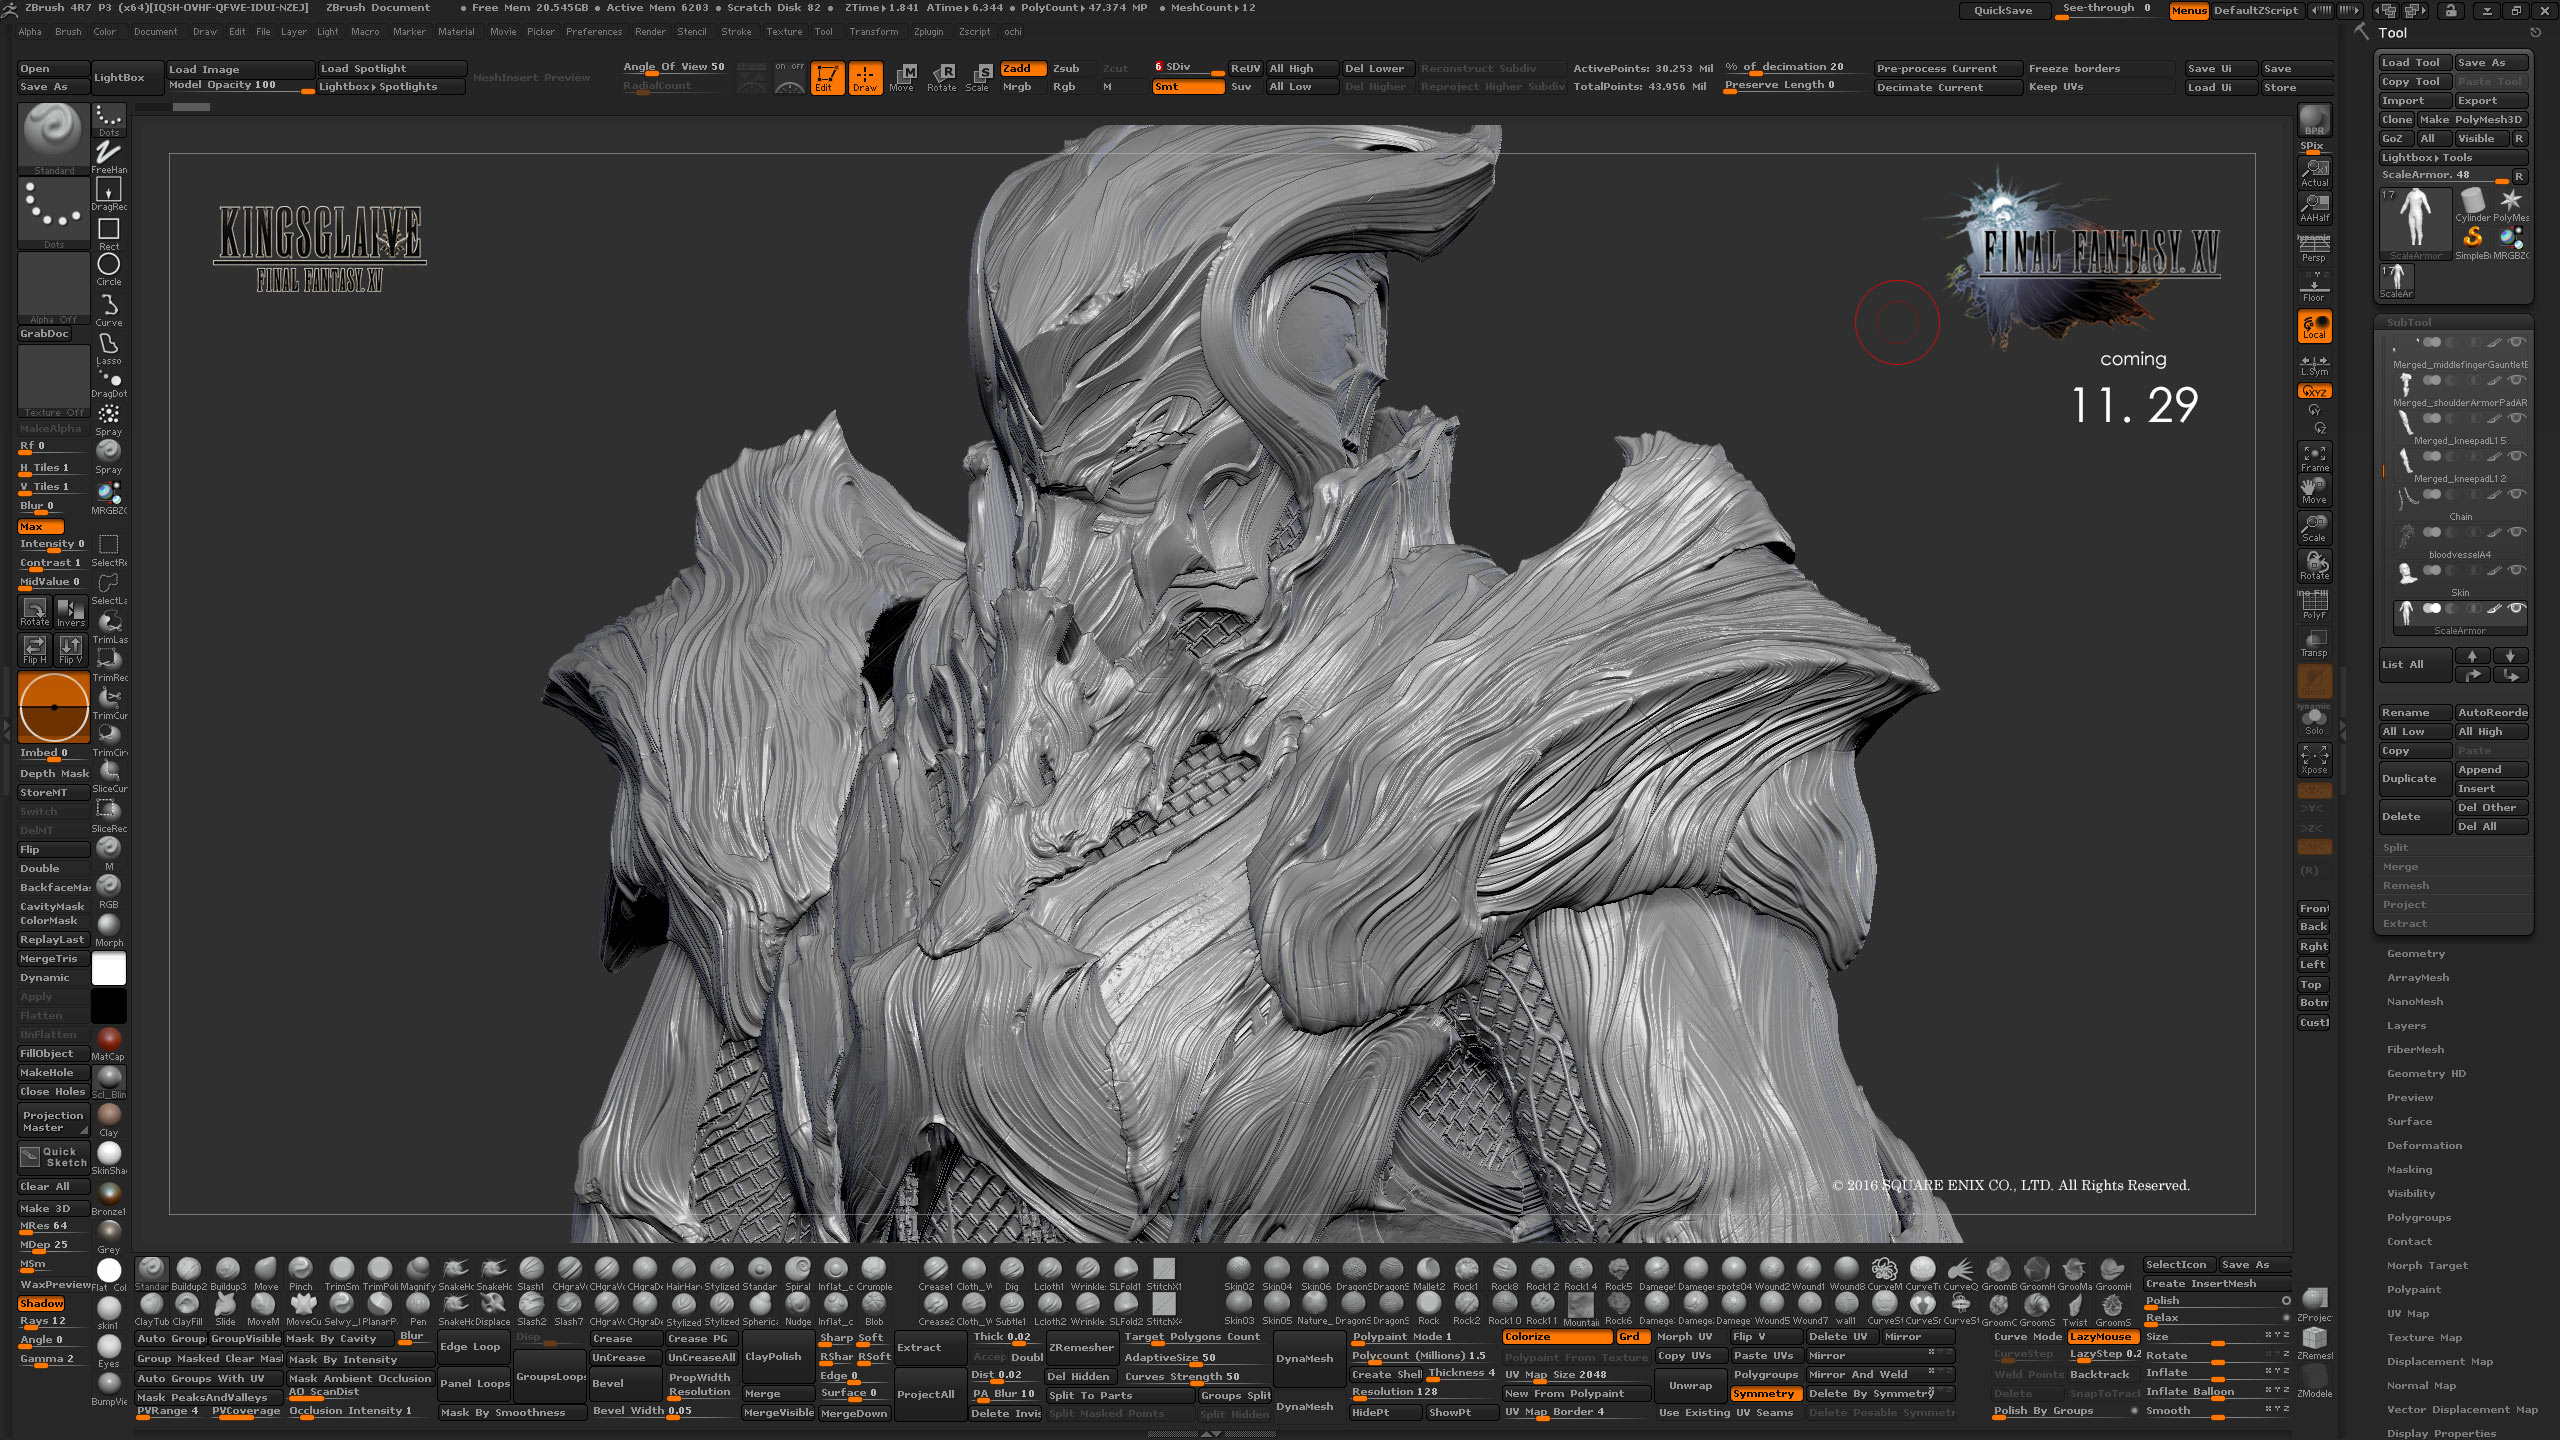
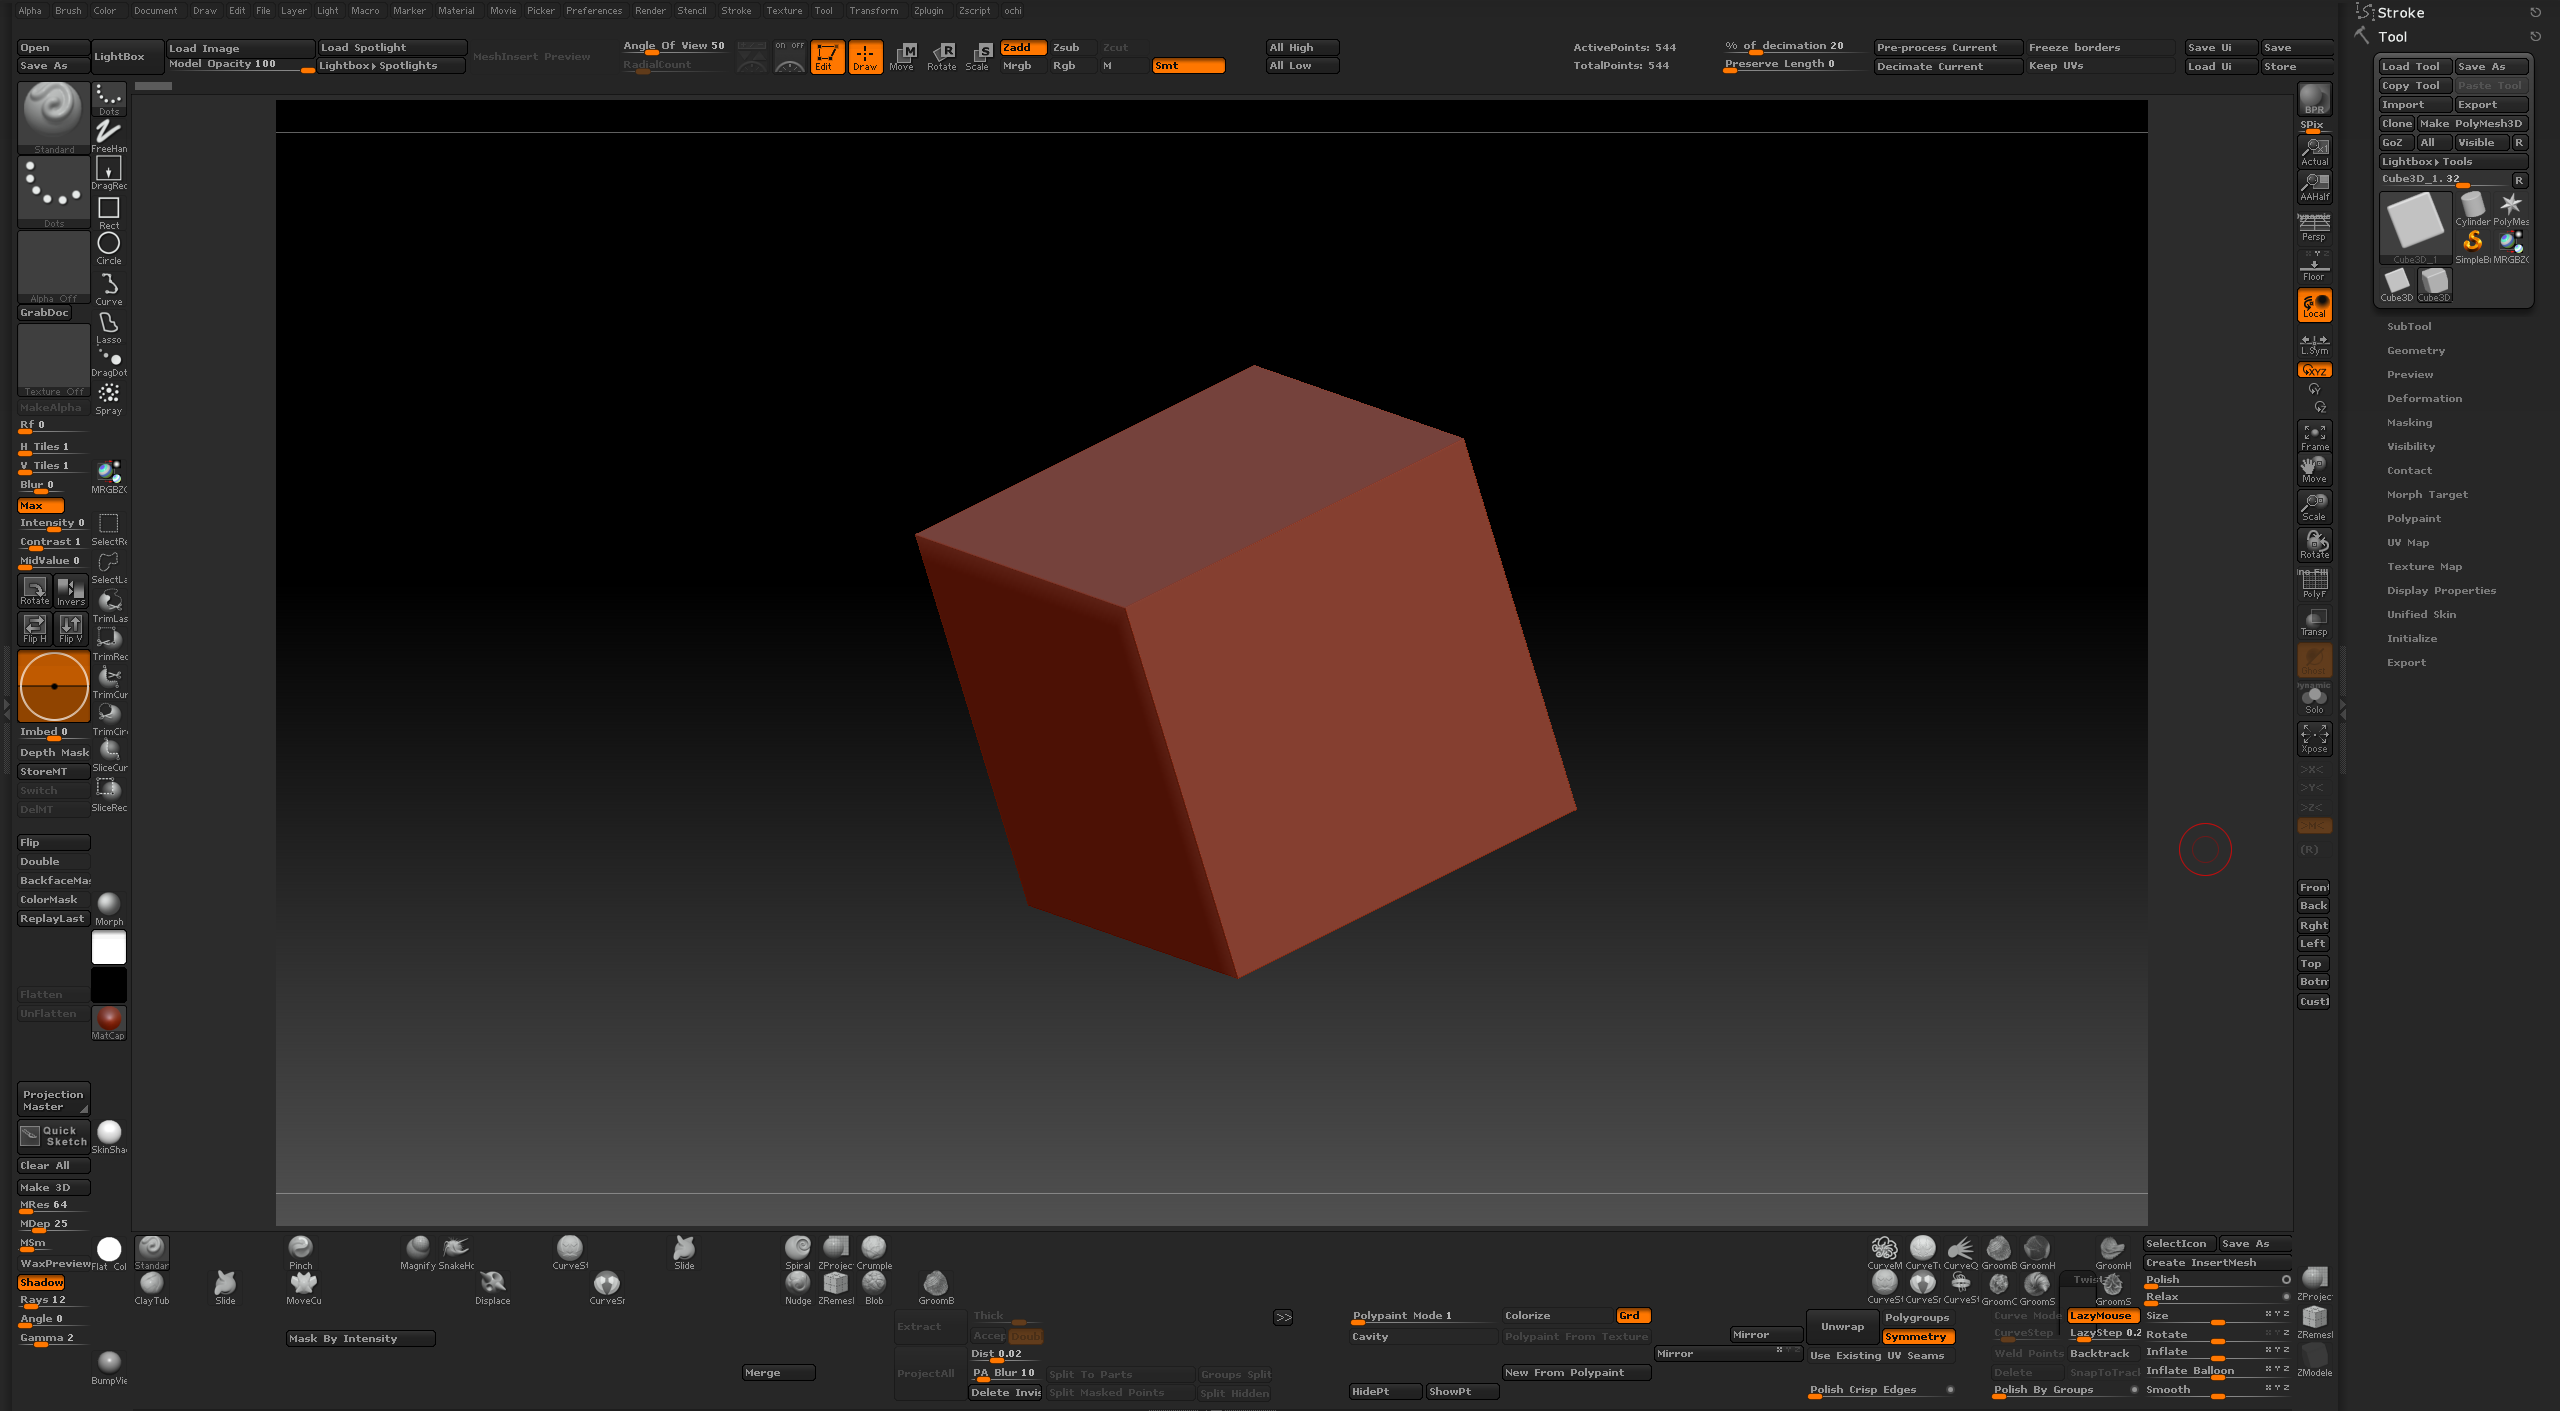
When you watched the presentation from Square Enix regarding their use of ZBrush on “Kingsglaive: Final Fantasy XIV” you no doubt saw that they were using a highly customized ZBrush UI.
This is the Custom UI that was used by Freelancer Mitsunobu Ochi, when creating the Glauca character in KINGSGLAIVE FINAL FANTASY XV, a film that is directly related to FINAL FANTASY XV the game, to be released November 29, 2016.
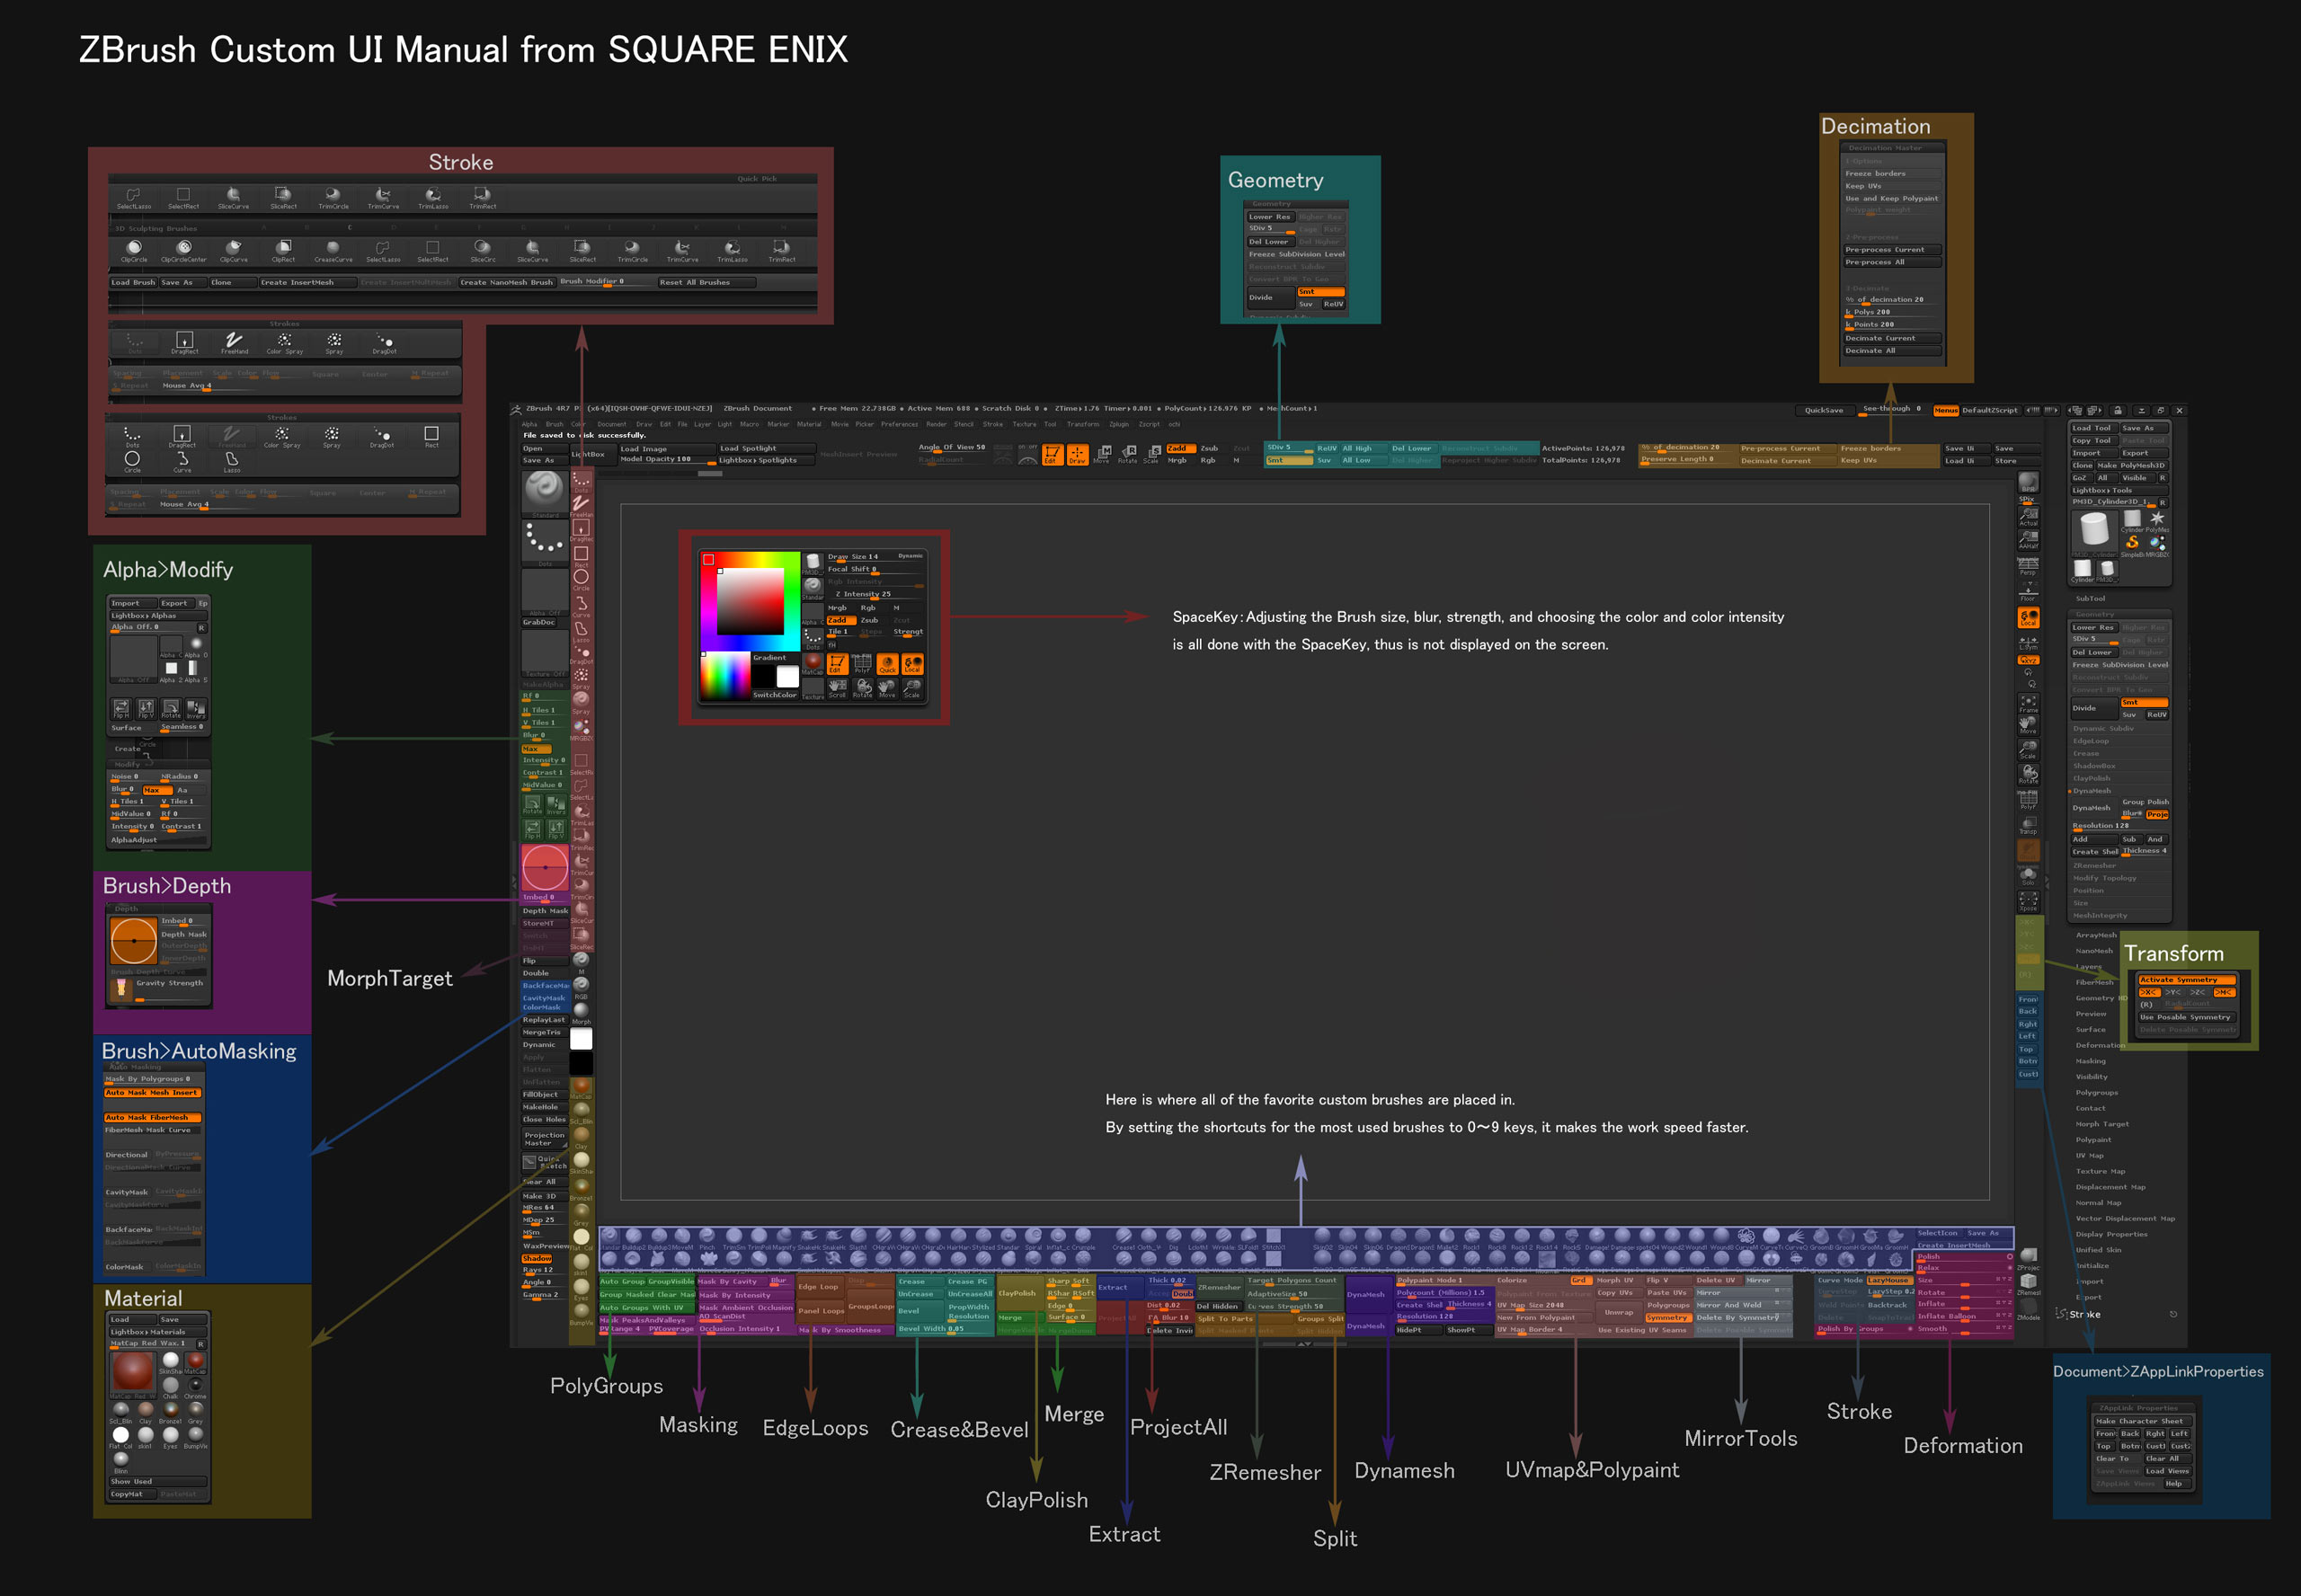
There are two variations: for displays at 1920x1080 resolution and 2560x1440 resolution.
To use:
- Download the ZIP file below.
- Extract to your computer.
- Select the desired version and copy it to your ZBrush 4R7 installation’s \ZStartup\UserInterfaceLayouts folder.
Now launch ZBrush and load the UI using your Preferences palette. If you wish you can then save it as your default UI.
Please note that these interfaces require ZBrush 4R7. They are not compatible with earlier versions or with ZBrushCore.
Enjoy!
Attachments
Kingsglaive Custom UI.zip (15 KB)
Amazing works
Thanks for the share ;]
Amazing,
You have it properly setup all you have to do for it to show up all the UI is load a model and hit edit and all of the UI elements missing will show up.
Also if you don’t have the same brushes in your library then you will have blanks in the brush pallet.
Thnx for help, all works fine
Any release date info for 4r8 yet?