>>>1.When do you retopo your model? before create normal map?
Final topology comes before map generation. UV’s are what connect the 3D topology to the 2D maps (normal, texture, displacement, AO, etc.) The UV map tells the map generator how to relate polygons to the flat map, so whatever final topology you model needs to take should happen before maps. Once maps are generated, you can sub-divide topology, but the arrangement of the polygons needs to remain fixed.
>>> 2. Can I retopo my model which is already uv mapped?
Not and keep the UVs. In general re-topology breaks the relationship between the UV map and the polygons. It is advisable in almost all cases to create new UVs to go with the topology.
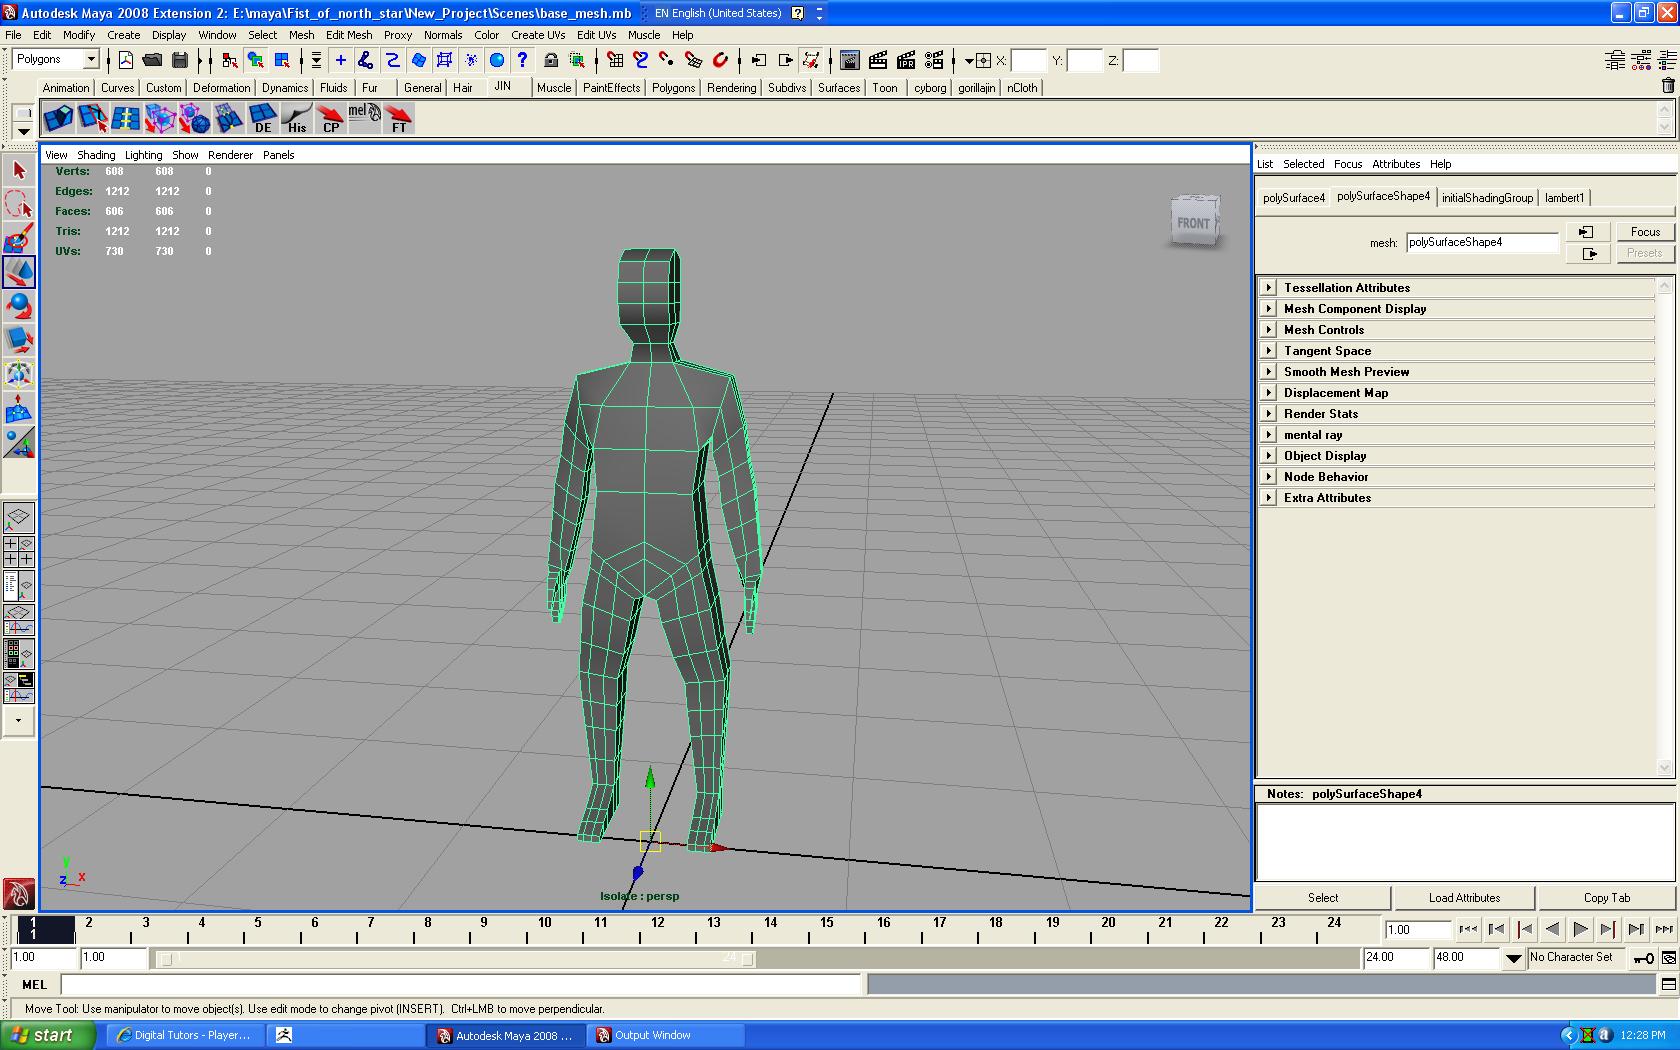
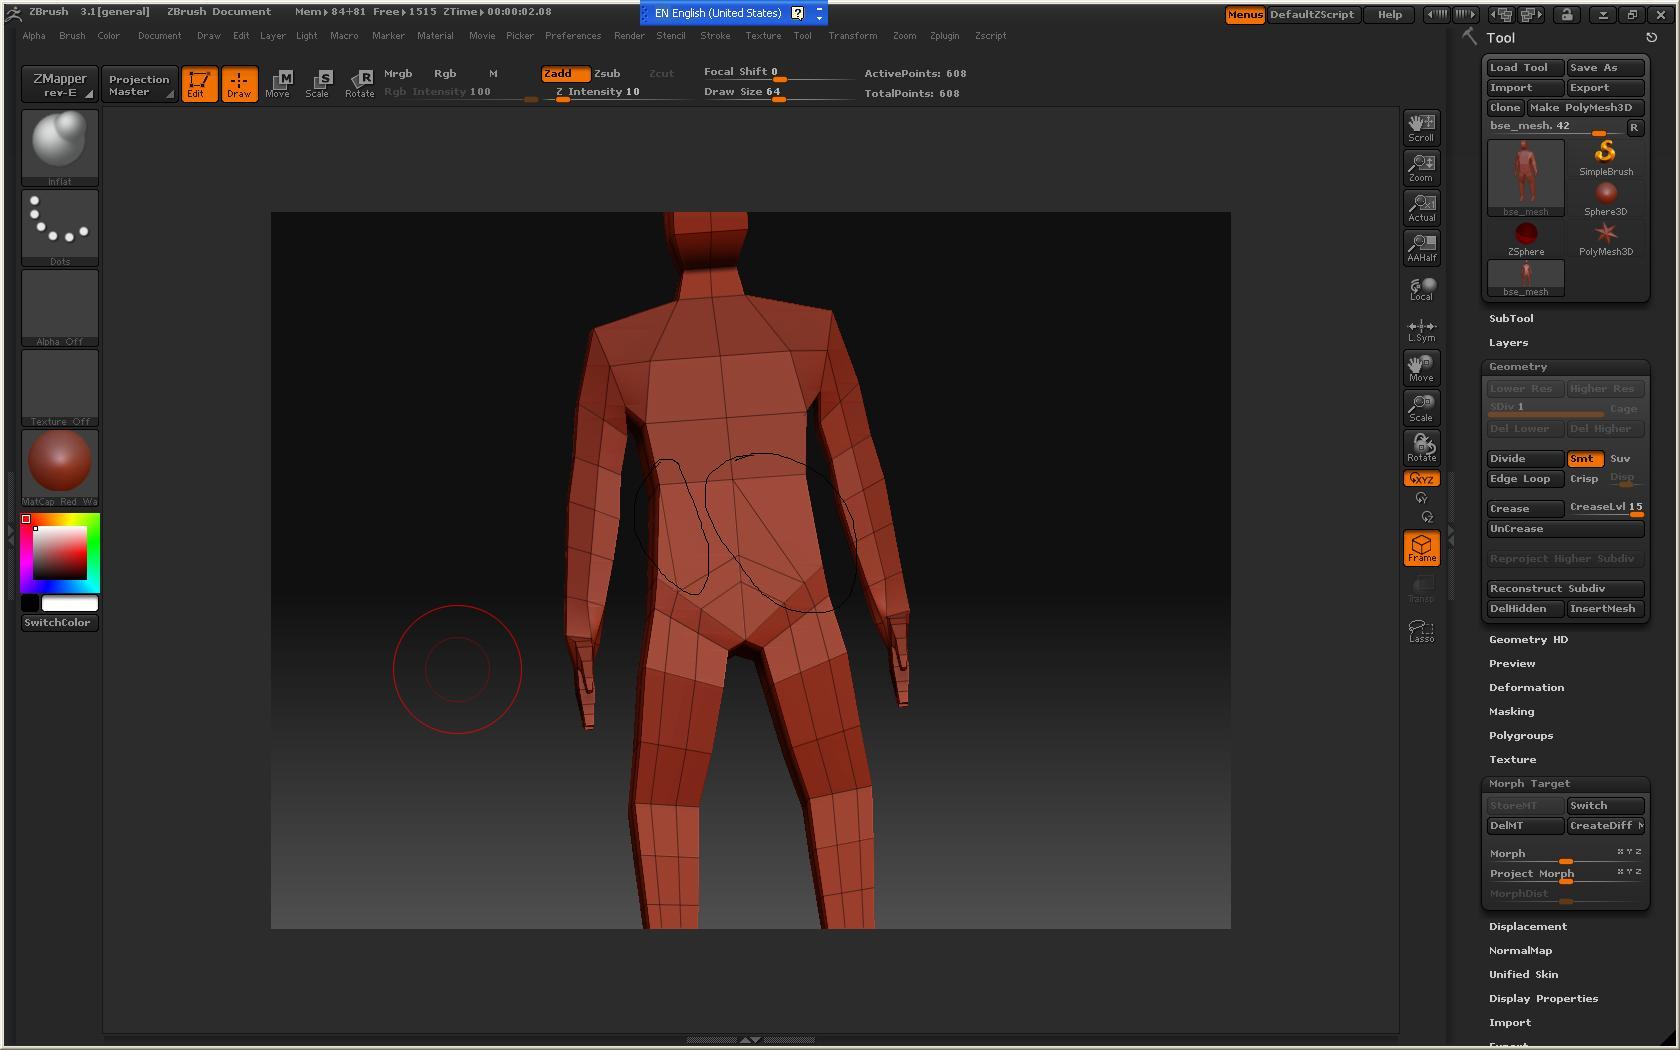
>>> 3. What software are you guys using? maya? zbrush? or topogun?
I do retopology primarily in ZBrush and Modo. Modo also lets me create a hand-flattened set of UVs. Silo works equally well to modo in this respect and has some pretty nifty retopo tools. I’ve just started using Topogun and have been pretty pleased with it.
>>>> 4. What is the benefit of retopo? I’ve been just following online tutorials, but I have never seen any tutorials that show how to retopo or explain about it.
There are three important reasons to retopo. Reason #1 is sculptural. It is easier to sculpt with the “flow” of polygons than against them. In other words, top-level sculpting is easier going across or up-down through several quads than diagonally which tends to break up the stroke. You can get around this by subdividing smaller, but that starts to get expensive in polygon count. Which brings us to: Reason #2 is about polygon count.
In the heat of sculpting, particularly if we started with some sort of ideal form like a sphere, we may find we have too many polygons where we don’t need them, such as the forehead and too few for the ears, around the eyes or the mouth. Retpology allows us to set up our model to even out the use the polygons where we need them to make our models efficient (e.g. maximize detail where we need it without exploding polygon counts too much.) Efficiency means we can maximize what we can get out of computer hardware. Efficiency is very import to Reason #3, Animation.
For animation, we have a couple of issues. First, we want our basic meshes as simple as possible, but still capable of carrying the detail we want for the character at the distance the character will appear from the camera. This makes it easier to manipulate in the computer as we test animation and get feedback. It’s lot easier to get feedback on a the motion of a 5000 polygon base mesh than 5M polygon mesh. This realtime feed back is important to keeping the animators workflow efficient. The second issue with animation is that we are bending our models with “bones”. The algorithms that make bones bend our models need models that are both efficient and organized in a way that makes the bending easier. For mathematical reasons, this often means that we want fairly straight flows of polygons/polygon tubes parallel to the bones (or armature) of our model. This allows the subdivided polygons to flow around the bend in a realistic way, rather than pushing around unevenly and ultimately non-organically.
>>> I just can’t understand how to show all the details on a game model(under 10000 tris)…
For game models, we have a whole pile of tricks at work. We have to have relatively simple models so they can be animated in real-time. We cover them with efficient, but optically convincing maps that give them lots visual detail. (Each polygon can have many pixels worth of paint from the texture map on it.) To further simulate physical texture, we use bump and normal maps, which when rendered react to the simulated light as if there more is texture than the actual polygons of the model. This is essentially what we’re doing when we’re creating a normal map of a high-res model and projecting it onto a low-res model in Zbrush. Displacement maps are similar, but they work not by simulation, but the renderer in real-time divides the big polygons into small polygons and displaces them according to the displacement map (this is referred to as micro-poly displacement.) Because this requires much more calculation, it not used as often in real-time game engines. Lastly, to create more of an illusion of crevices where dirt and dullness collects, we use tricks with ambient-occlusion maps and diffusion maps to artificially darken fine details that fool the eye into see more crevices and cracks than is contained in the actual model. Other maps, such as specularity can be manipulated to enhance these effects further.
-K