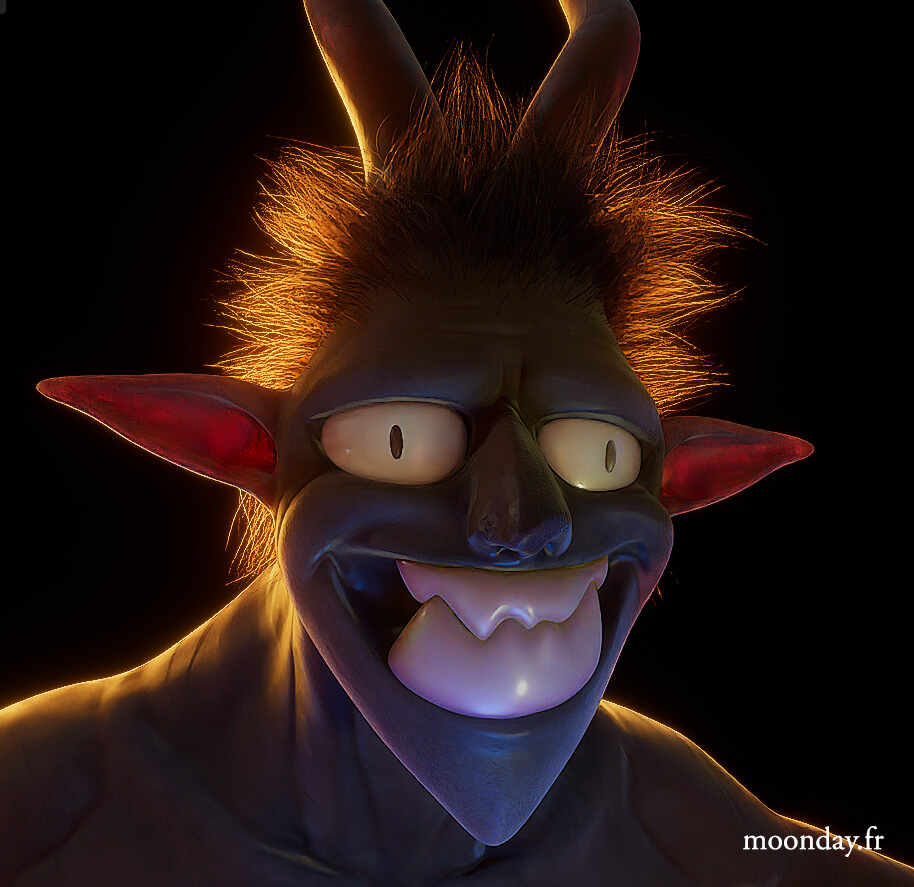
What about a new projet that won’t take 10 years in the making?
Part 1 – Concept & blocking
March 21 2026
At the end of last year, an illustration idea came to me while I was riding the bus home from school. It was based on a subject I had been thinking about for a long time, but imagining it mixed with year-end folklore gave me the motivation to start the work.
Discovered a few years ago, I was fascinated by the illustration of Krampus by the artist Brom, and I had the idea of creating it in 3D, but for some time now I’ve been prioritizing personal projects and prefer to incorporate my own touch.
This new illustration follows a graphic style I developed about five years ago when I started digital painting.
This is a first attempt at a modeling and rendering style that I would like to use for my future animated projects.
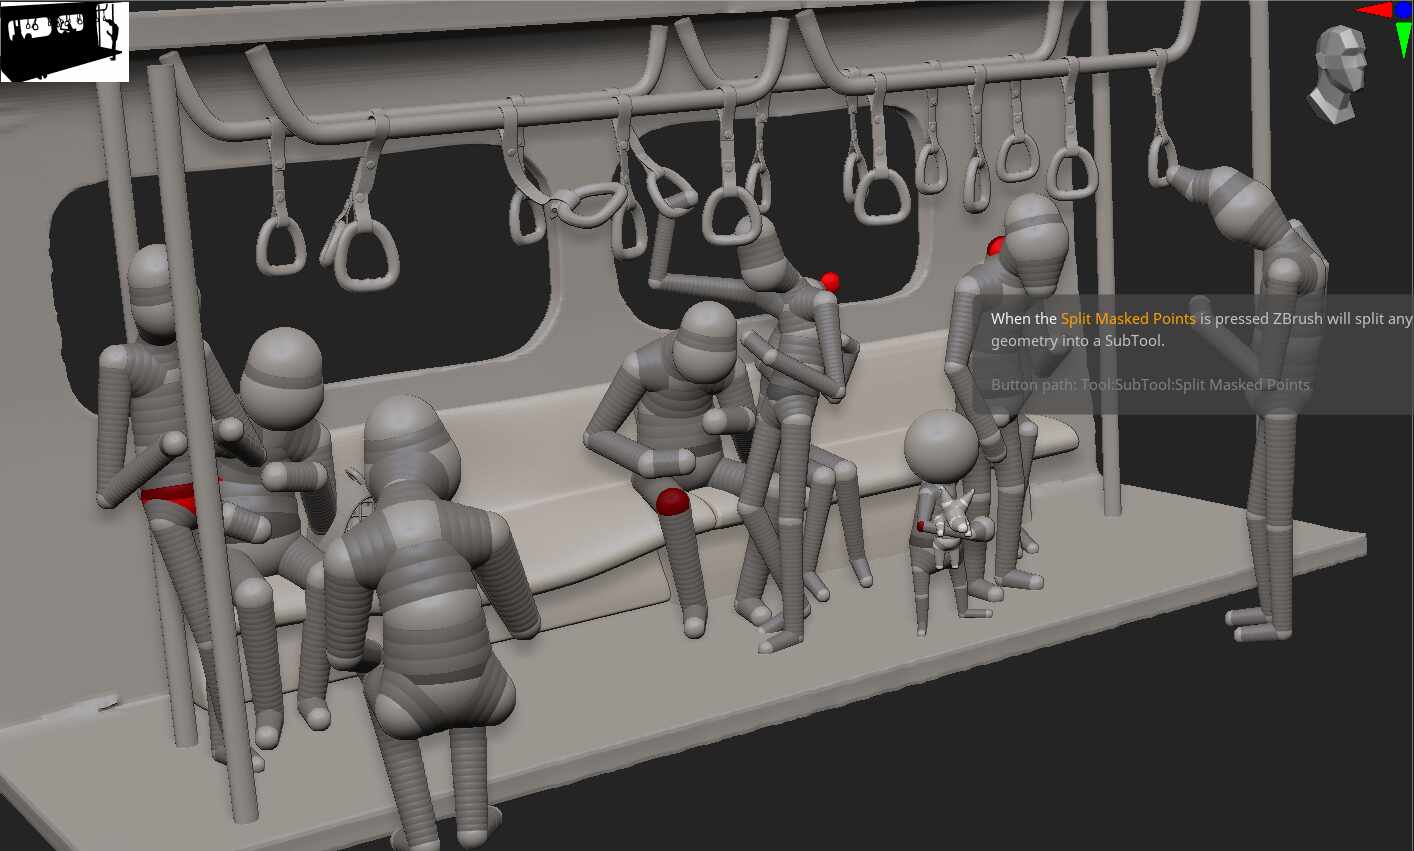
Blocking with Zspheres
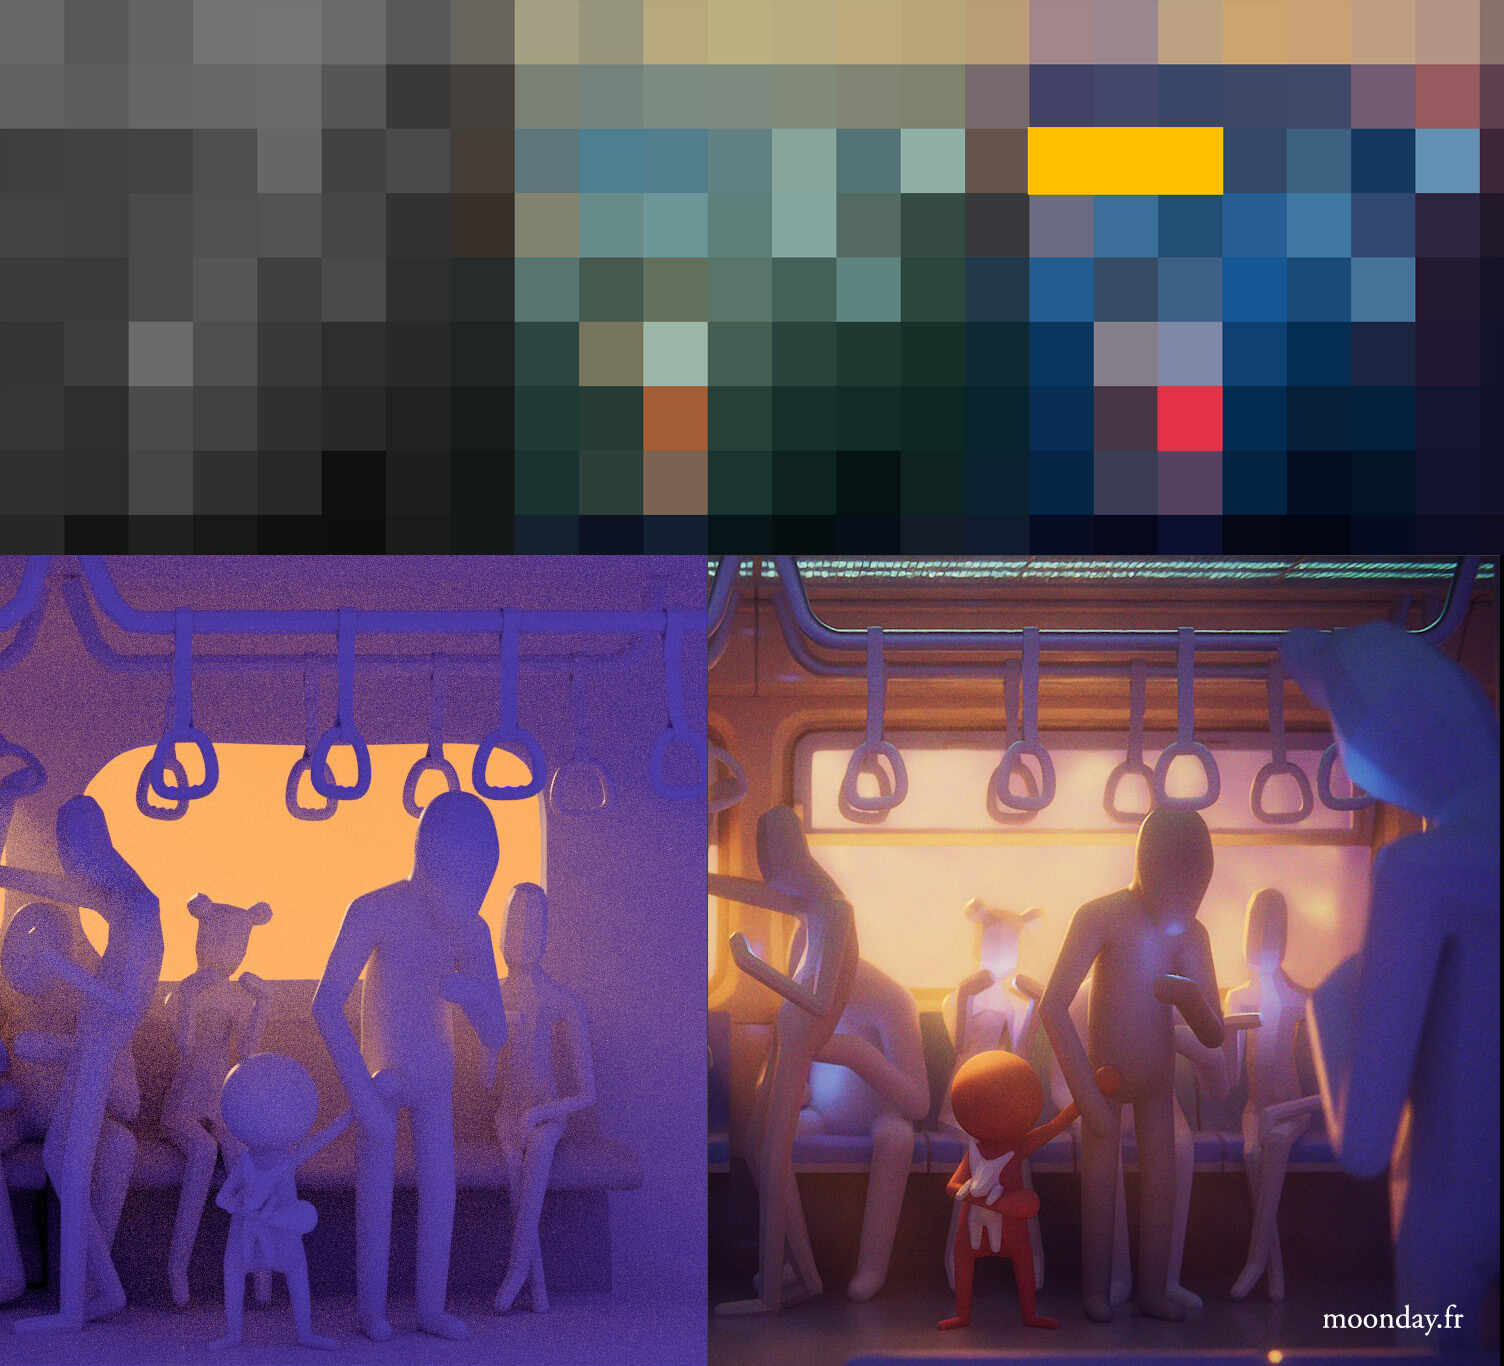
I spent a few days working on the setup, proportions, and overall look of the characters, then experimenting with different color atmospheres. After testing various methods, I went back to basics: flat color blocks to primarily define the mood by areas and everything suddenly became clear. A simple three points lighting setup: exterior light, the ambient light inside the carriage, and touches of blue.
I then moved into ZBrush to translate everything into volume using its ZSphere system. I was able to quickly create the blocking for all the characters. Once the poses were established, I duplicated the tools to place them in an A-pose, then converted them into adaptive skin, giving me a solid base to refine the characters in detail during the next stages.
The scene features three main characters. The secondary characters will share the same base mesh to save time.
Everything was then imported into Blender to adjust scaling relative to the camera. The focal length was also chosen, along with the placement of foreground characters using forced perspective. Lighting was a real pleasure since most of the work had already been figured out during the concept phase. It’s truly satisfying to see simple blocking come to life by adding different light sources.
Part 2 – Modelling environment
March 28 2026
Sticking to good old habits: I’m not jumping straight into modeling the main characters, but starting with an accessory, an important one: the environment!
(I should point out that compared to the “Un avion en papier dans la nuit” project, I feel more confident in my organic modeling skills and I’m really looking forward to tackling the main character!)
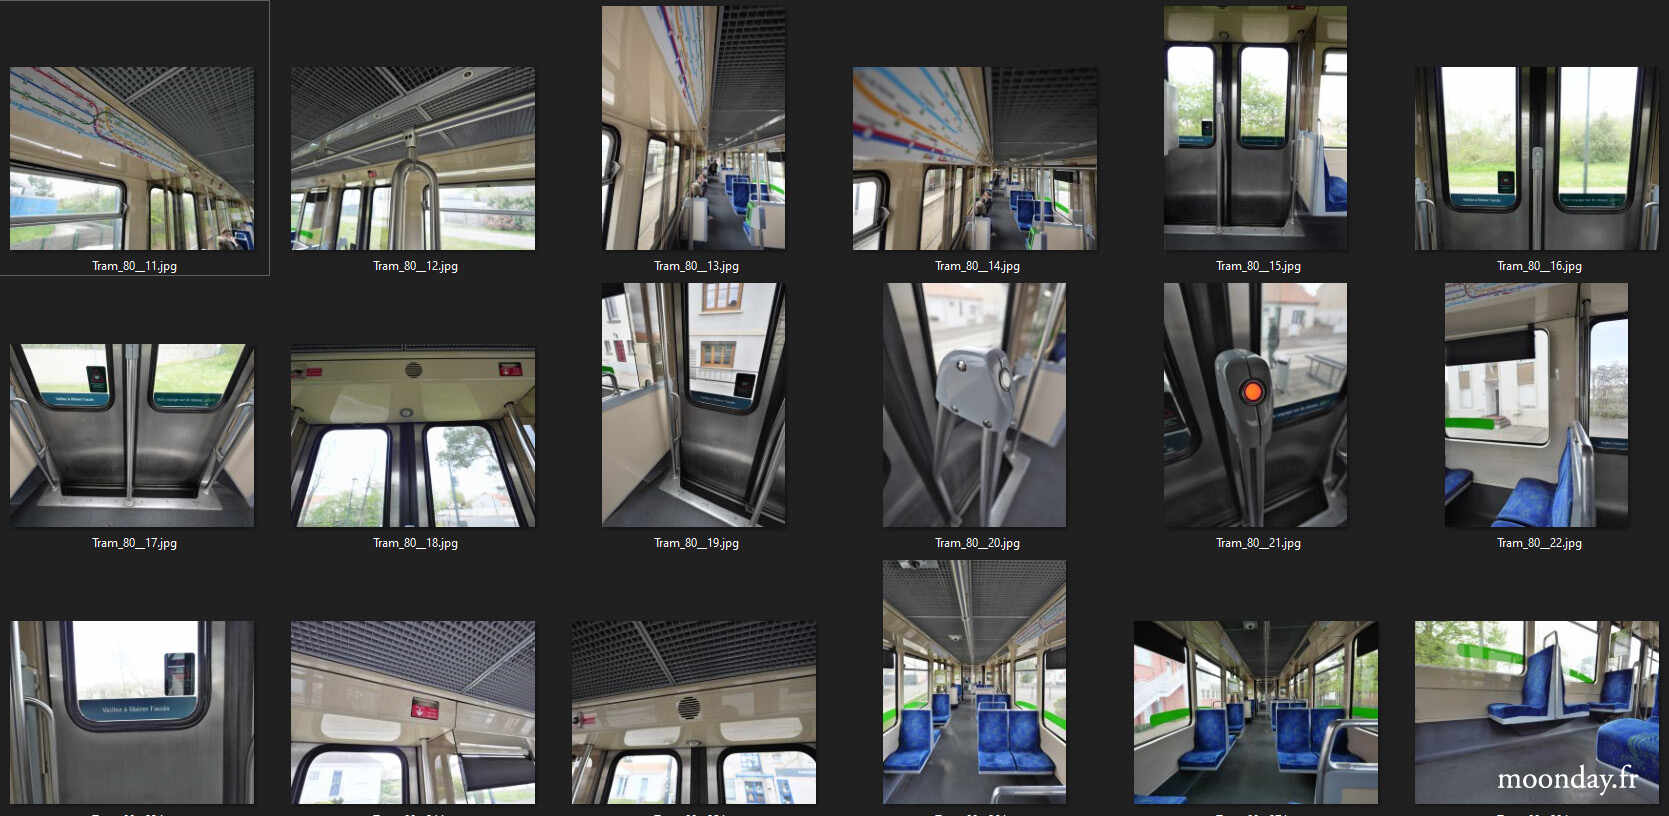
This weekend, I went to gather references from the oldest tram model still running in Nantes. I love this model, probably because we’re born almost the same year.
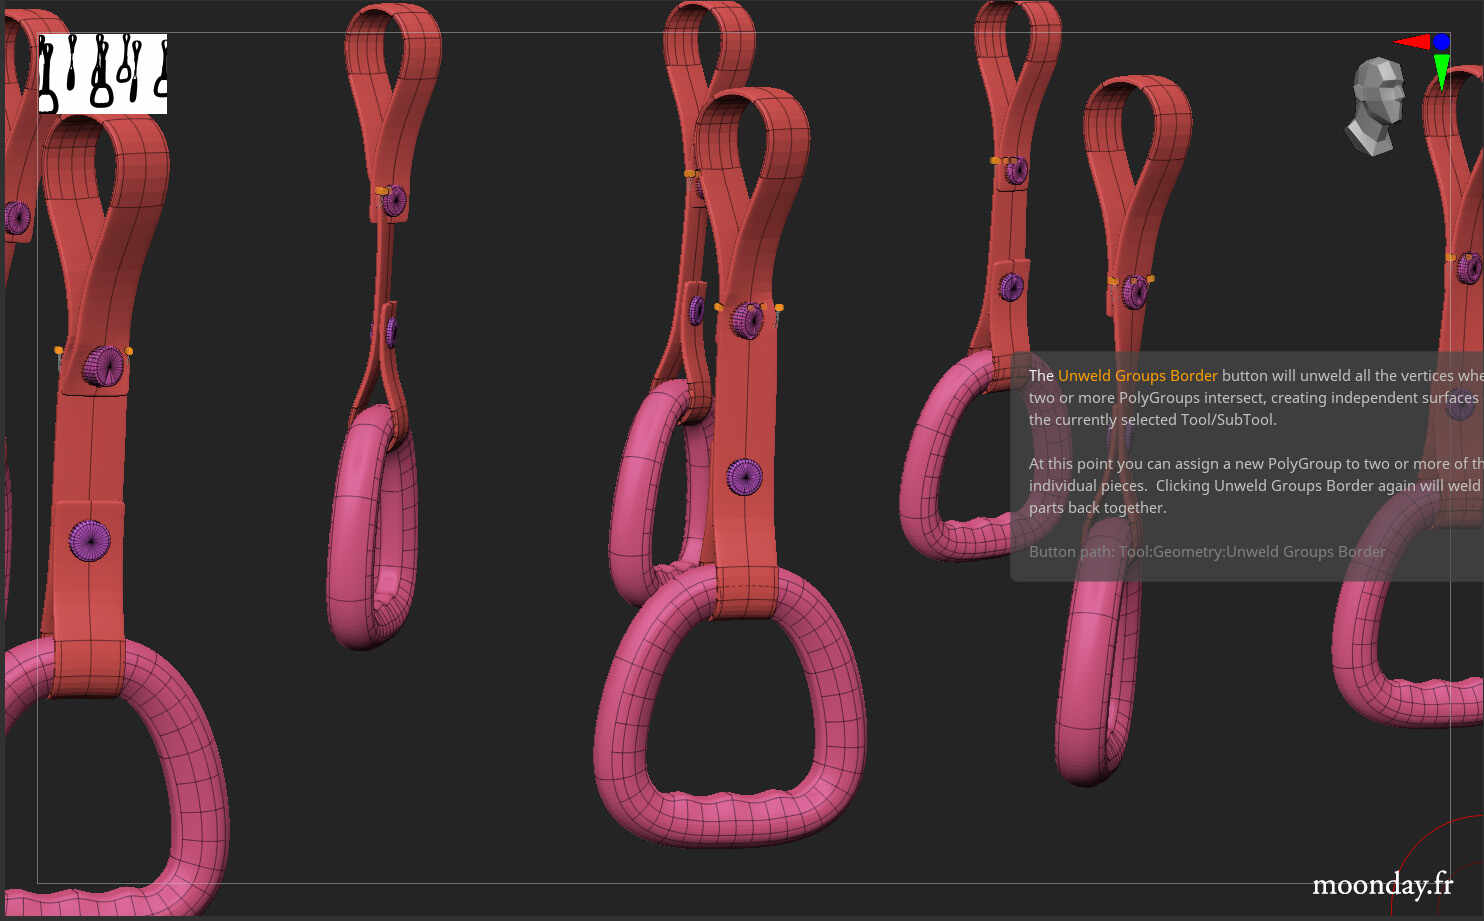
I had really missed doing poly modeling, piecing together edge loops like a puzzle to achieve the desired shapes. So I was able to make good progress on the wall section, its windows, and its doors.
Part 3 – Modelling environment
April 5 2026
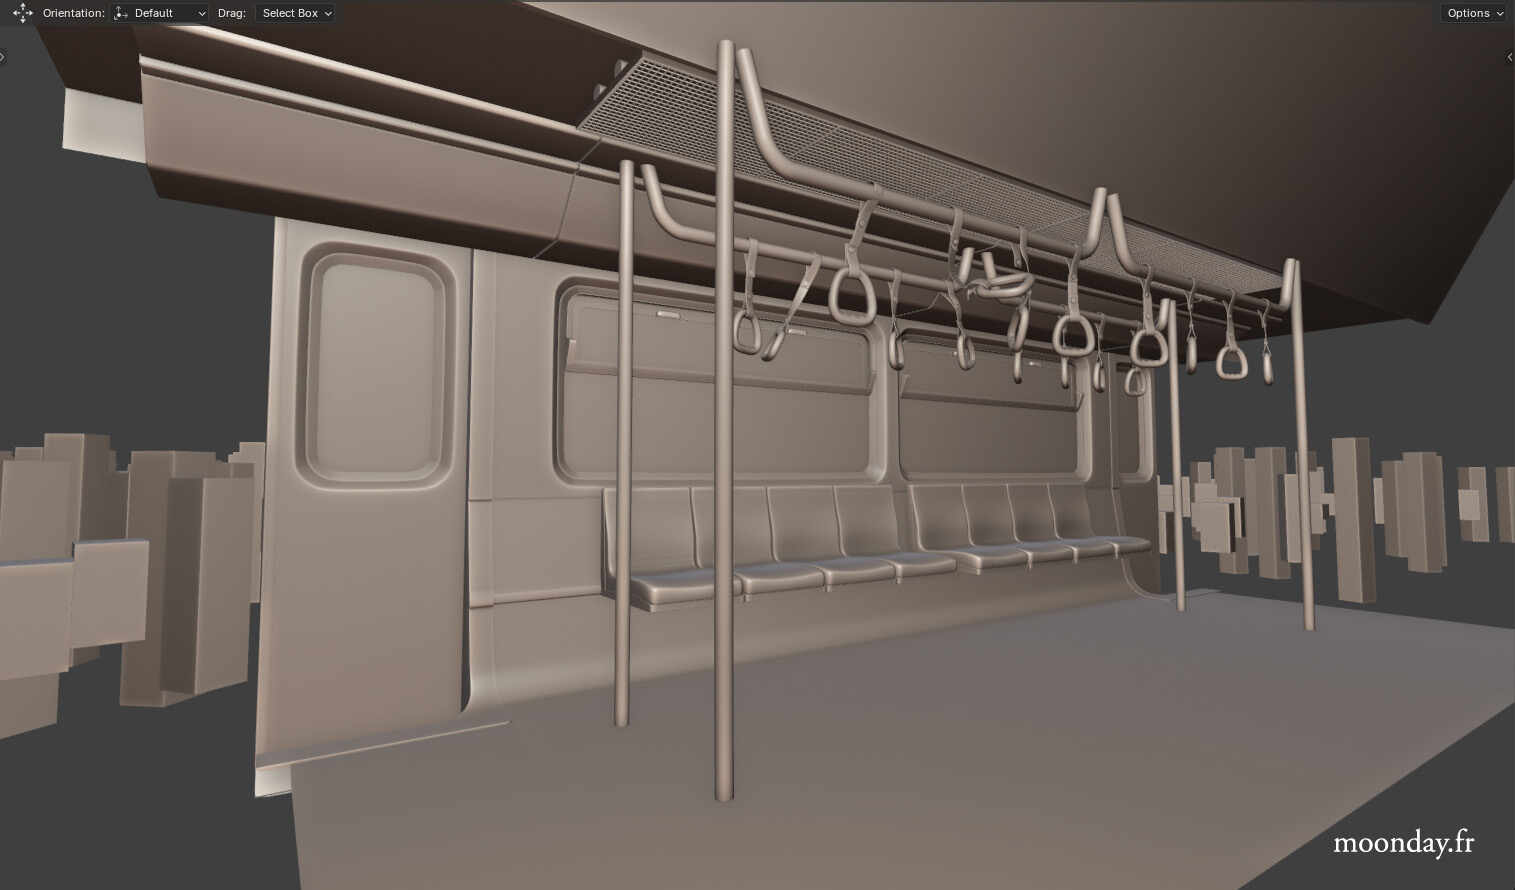
One section is almost finished! Once the module is complete, I’ll use duplication, arrays, or even Geometry Nodes to build the full carriage. That said, I don’t want to go too far with Geometry Nodes, the goal is not to create a metro carriage generator, but to produce an illustration.
That being said, I did create a grid generator for the ceiling panels in the center of the carriage. After some experimentation, I went with a setup based on a curve system using two curves to control the position and length of the metal slats along the X and Y axes. And since I tend to get carried away building fully featured modifiers, the generator also includes the option to add light tubes above the grid. Of course, to maintain full control over the scene lighting, the emissive materials used in the geometry don’t cast shadows, allowing me to place area lights above the module instead.
Once the generator was done, as I continued working on the rest of the modeling, I thought it would be interesting to add an option to also generate the grid’s frame and include segmented sections within it. Done.
Part 4 - Modeling (April 12, 2026)
While working on the armchair models, I realized that the characters could be positioned even closer to the windows. However, the main character, with his hood, was clipping through them because of his proportions. The solution: reduce the depth dimensions at the bottom of the hood.
As I added models, I took the time to adjust the lighting here and there, as well as the preliminary compositing. The atmosphere evolved slightly, particularly around the windows.
Part 5 - Modeling (May 17, 2026)
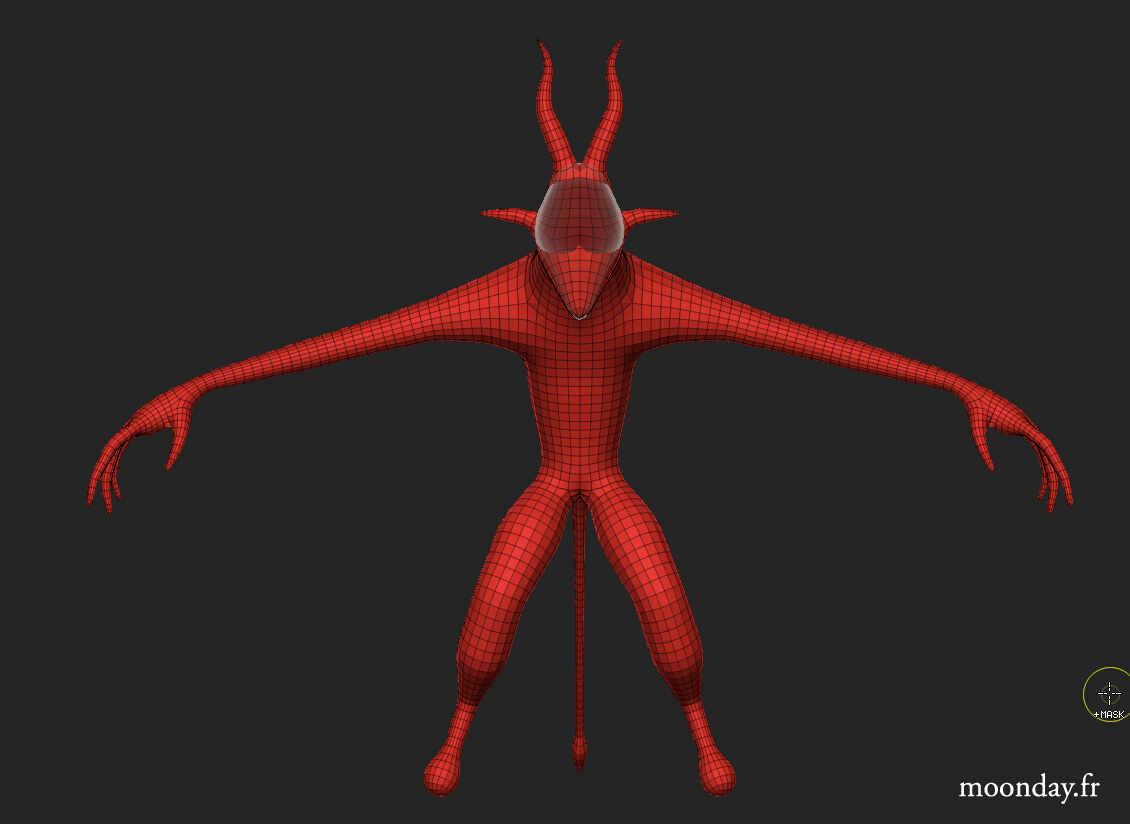
Once the adjustments to the different blockings were completed following the environment update, I finally started modeling the main character in two parts: the head and the body. After spending a few days working on the sculpt, I decided to move on to retopology to merge the two parts of the model into a single mesh. I also took the opportunity to create the eyes and teeth as separate meshes in order to simplify texturing and the future rigging + skinning stage. I do plan to pose the character in its final position and adjust the mesh through sculpting in certain areas so that it integrates properly into the environment.
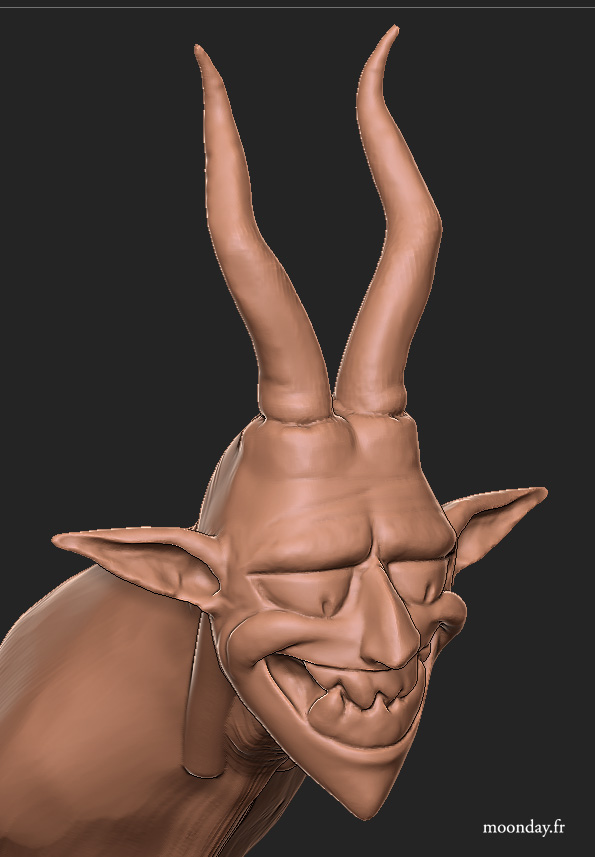
I happily returned to fur and hair editing using Geometry Nodes to run quick tests, and I’m eager to properly begin this phase of the project, which will come right after posing the character.
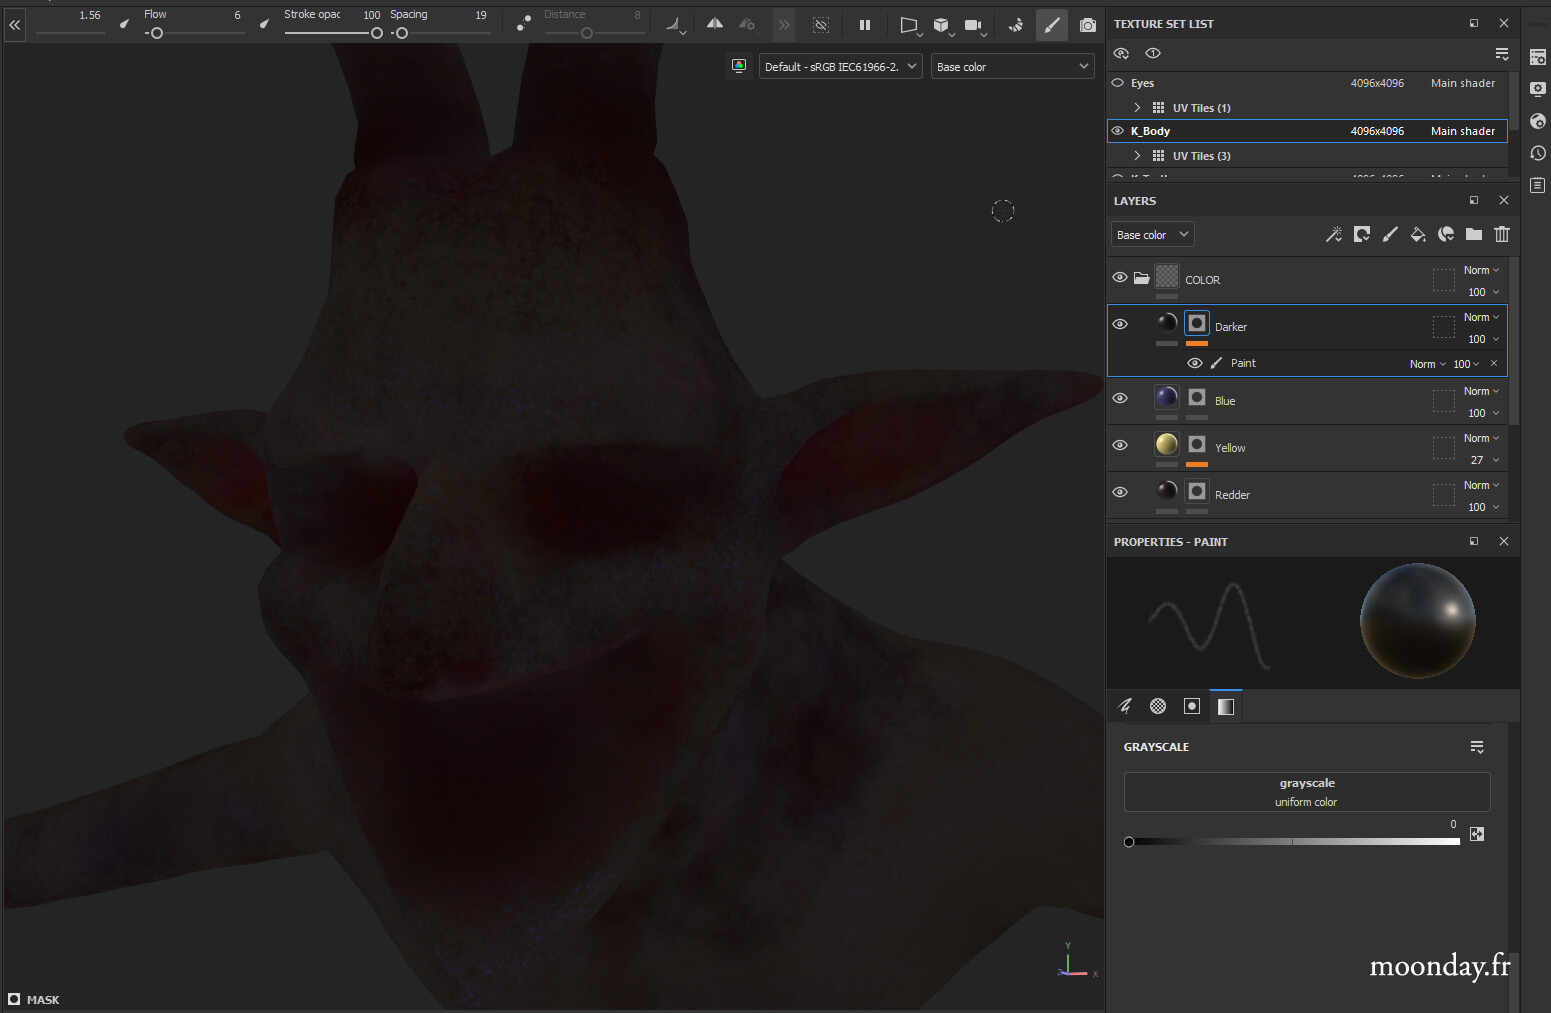
I used Painter to texture the character, and also Designer to quickly create procedural textures for the eyes, base color, and pupils using different UVs to easily orient the gaze within the 3D scene, especially since the eyes are not spherical at all.
One of the triky part that is not a real tricky part: connect head topology to the body topology. Here the re topology is half Zremesher half Zmodeler brush adustments. however there are some dirty poly connections here and there but it’s not an issue at all for the final use of this project. I learned you don’t need perfect models, specially if you know what you’re doing. I can finally say that after 20 years modelling stuff.
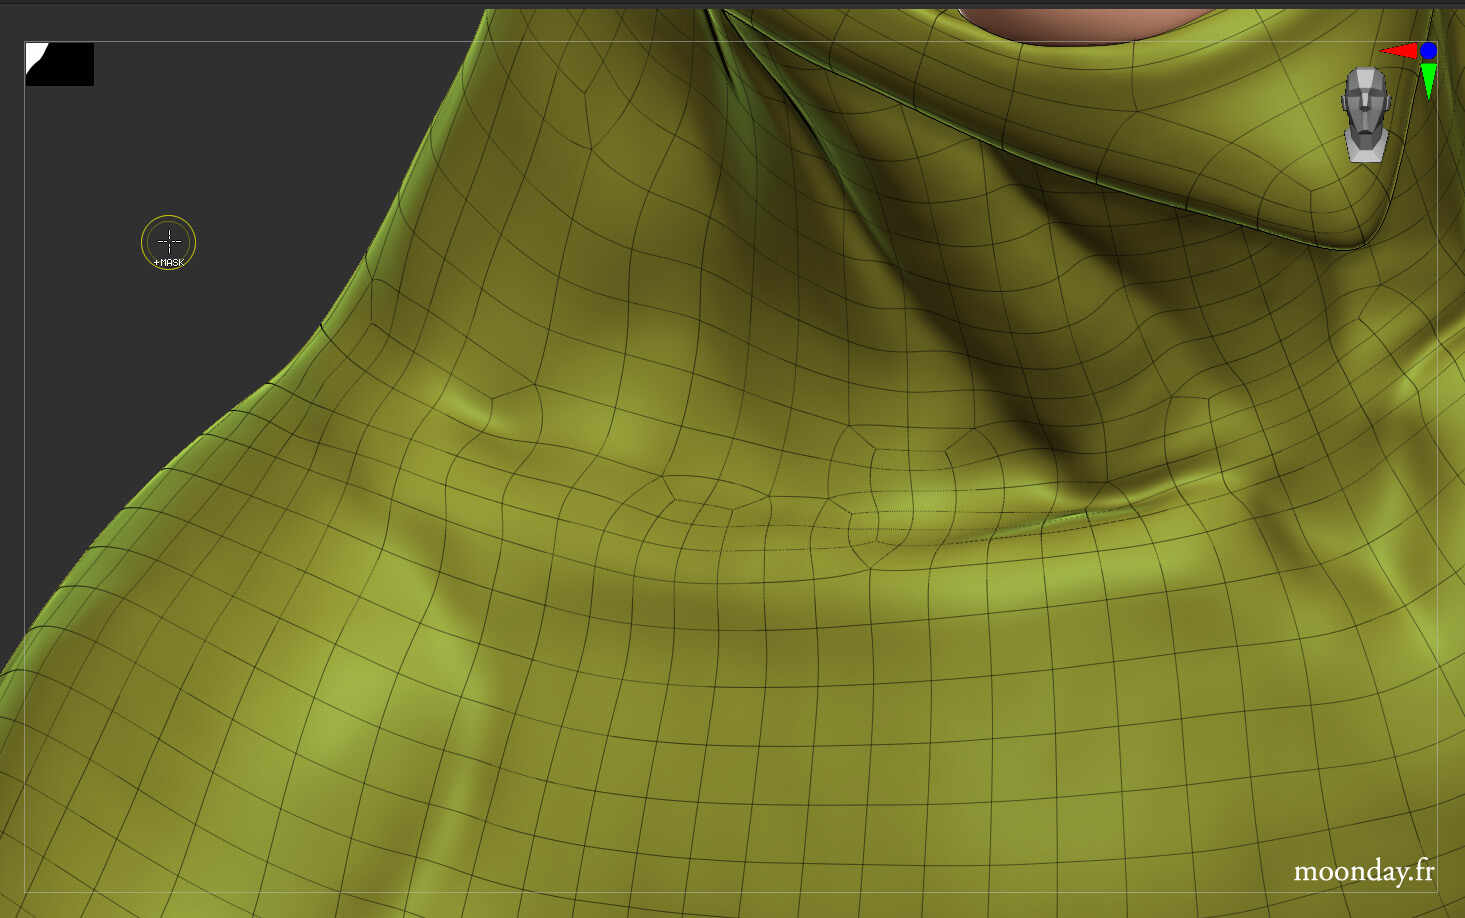

all these parts will be covered with fur
Stay tuned for next update!