Hellow Guys:)
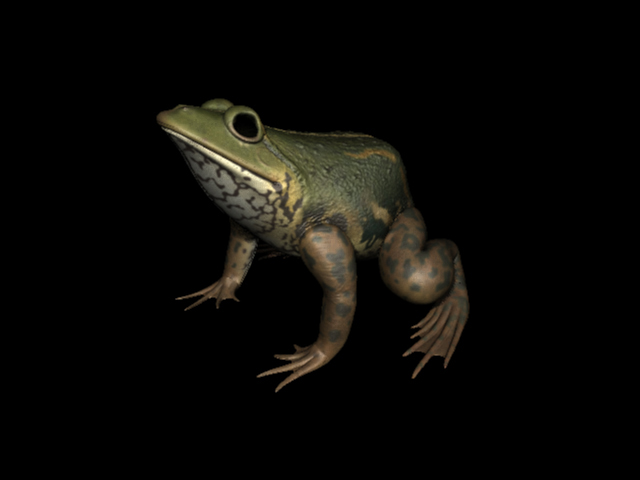
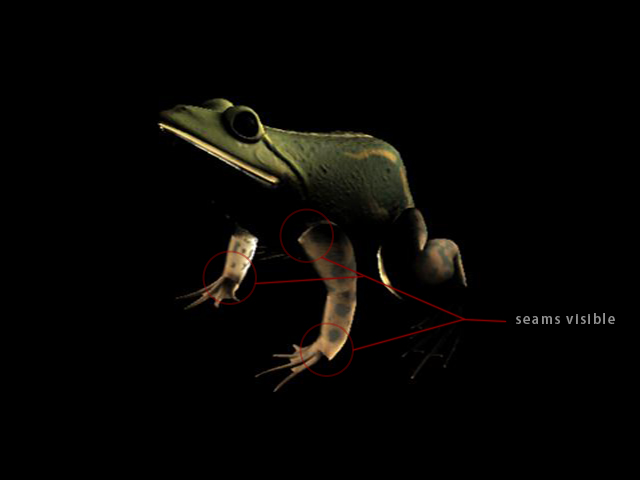
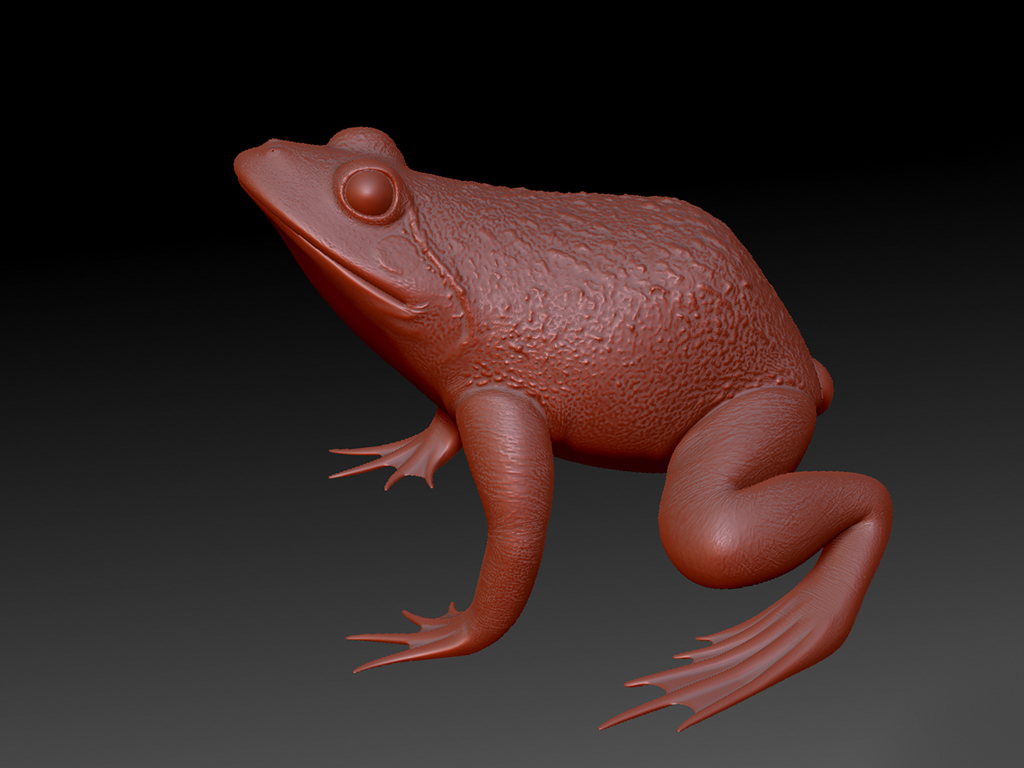
I am a newbie to Zbrush & hope it could be taken as an excuse to my noobish questions. Here are some WIP images of a character that I am working for a recent project. Its my first attempt with Zbrush.:rolleyes: Did the base mesh in Maya & I am done with the texturing & sculpting for this. Used polypoint for generating color map & it works fine on the model after I exported it back to Maya. But now, I am geting some wierd artifacts with the normal map around the eyes which I believe is due to the lack of loops around it.
 So, added some loops to the base mesh & I am now looking for some ways to load the same color map & sculpted info on my updated mesh there in Zbrush. There isnt any great changes made to the UV layout of updated mesh. Its gonna be of great use if someone could suggest a working solution to this issue.
 I am using Zbrush 3.5 R3. Thanks in advance for looking into my problem.

Attachments
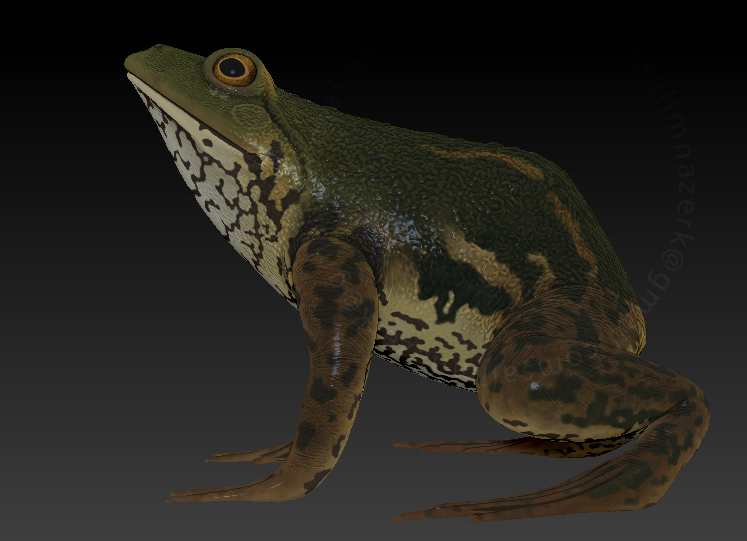
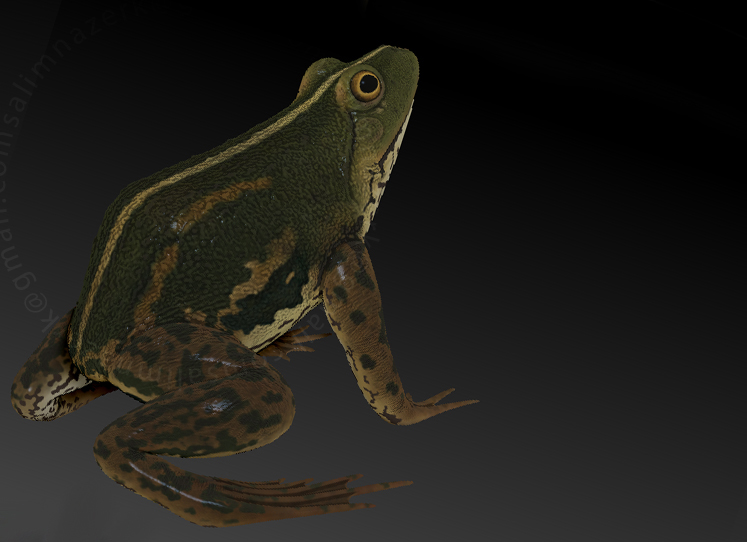
 I was caught in a dead end & even thought of re-doing the whole stuff if that doesn’t work. Thanks for saving my time & giving your valuable suggestions. The issue is resolved after I imported the updated version & got all the details transferred on to my new mesh. I exported the maps back again to Maya & it works fine.