ZBrushCentral

Problem with displacement rendering when rigged figure is posed in Maya

Hello, first let me say this is my first real ZBrush effort, and my first post here! I am really excited to join the community, and it has been my lifelong dream to do this kind of work, so I hope that these forums will become a regular haunt for me!

The current problem I am having is with displacement maps in Maya.

Here are my specs:
MacBook Pro 4gigs of ram
ZBrush 3.2 for Mac
Maya 2010

Here is the process I went through so far:

:+1: 1) Modeling

I modeled the teeth in Maya. Then I set that aside, while I modeled the rest in ZSpheres. Next I exported that mesh as an OBJ which I combined with my teeth mesh in Maya. I used the Edit Mesh > Combine option in Maya, and exported this out to OBJ again, and imported that into ZBrush.
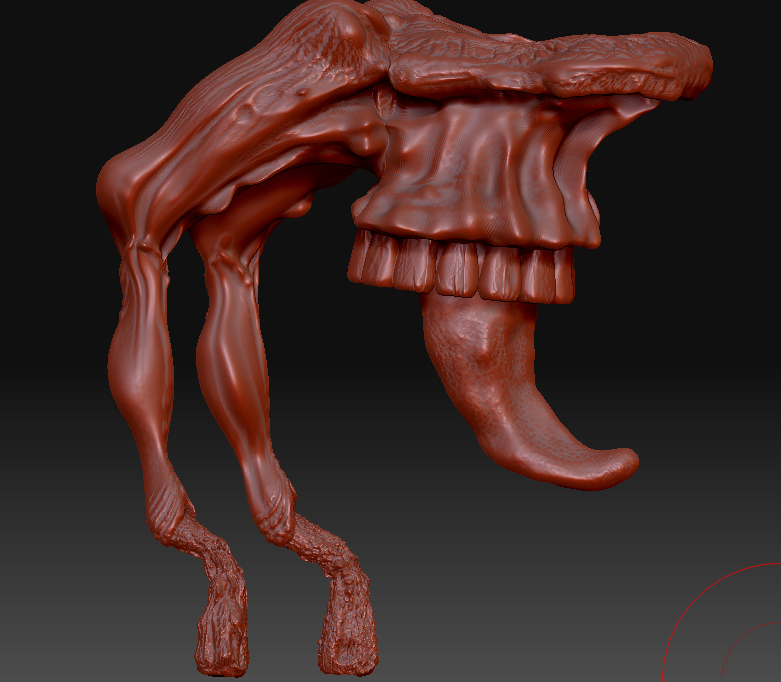
:+1: 2) Sculpting

I sculpted it, and when finished (see first attached image), I had to generate new UVs in ZBrush, I used cylindrical. I then exported the the lowest subdiv version as an OBJ, and generated the displacement map. The highest subdiv level only has 1,974 mil points… this is pretty good? average?

[zbc-teethmonster-zbrush.jpg](javascript:zb_insimg(ā€˜203133’,ā€˜zbc-teethmonster-maya-rigged-new-pose.jpg’,1,0))

:smiley: I read up on etiquette here, and did an exhaustive search of all the maya displacement threads that already exist, so I hope that I have done my due diligence, and I’ve given everyone all the info they need to help me. One thing I noticed similar to my problem was in the FAQ ā€œStep effect in Mayaā€ - but that was due to 8-bit map image, so double checked, and mine is in fact 16-bit.

Thanks in advance for your help, and I promise you that no matter what, I will not give up until I have the workflow between ZBrush and animating in Maya down pat!!!

Edit: Didn’t know how to put the images in-line with the text when I posted it!

Attachments

zbc-teethmonster-maya-original-pose.jpg

zbc-teethmonster-maya-rigged-new-pose.jpg

I don’t use Maya but when you exported as an obj did you select Mrg in the export settings?

No, I don’t believe I did. I did do several experiments where I would export either the low res version or the high res version, and re-import it with merge checked, but that was to solve a different problem: the teeth that I had modeled in Maya were the only parts that would show up after I created the displacement map. But every time I used that re-import method I would loose my subdivision levels–it would all just become one level. In the end I was able to solve my problem of the disp. map only working on part of the model by re-creating the UV map first.

So, while that’s definitely something I tried in ZBrush, the final export that I brought into Maya was one that did not have merged checked initially. In order to test if that fixes it, I’d have to start at square one again, huh? Do you know of a way to re-import the original base mesh and have it re-apply the sculpting from finished version?

Regardless, thanks for the reply! :smiley:

Can you not load the base mesh into zbrush and then just export straight out again with Mrg on to merge the UVs or is there an option anyway in Maya to join the UV faces.

Hmmmm, good point - let me keep playing with this… so you think that the UV points are not merged?

Take a look at these two screenshots - this one is the displacement map over the lowest subdiv level - is it supposed to look like this? Or is the displacement map over the lowest subdiv supposed to look exactly like the highest?

[lowest-with-disp.jpg]highest-(six).jpg

Is that correct?

Also, quick question, In the second image on this page: http://www.pixologic.com/docs/index.php/Creating_Displacement_Maps you see how it shows the normal maps as a color over the surface–is that a view I can activate in ZBrush to see how my map is laid out?

Lastly, how do I know what kind of projection to use when creating the UV map? I tried cylindrical, and the others, this one happens to be using ā€œAdaptive UV Tilesā€

Thanks!

Hi,

I would try:-

Menu-Polygons-

Normals - Soften Edge

I know someone who had the exact same problem and this worked.

THANK YOU THANK YOU THANK YOU THANK YOU!THANK YOU THANK YOU THANK YOU THANK YOU!THANK YOU THANK YOU THANK YOU!

You rock dude! That was exactly what the problem was–and I have never seen this mentioned anywhere in any postings about ZBrush to Maya workflow! Fantastic!

[thank-you-gothicgrin.jpg](javascript:zb_insimg(ā€˜203924’,ā€˜thank-you-gothicgrin.jpg’,1,0))

Ideally, you should use mental ray’s aproxximation editor, that subdivides the mesh, not needing to smooth the normals.

ISK-86, What approximation settings would work? If you don’t mind, could you quick read over part 3 in my post and let me know if there’s something I could change in those settings?

What are the drawbacks to using smooth UV instead of mental ray’s approximation editor?

Thanks!

Mental ray’s aproximation editor creates an aproximation (:rolleyes:) of a mesh of millions of polygons (I don’t know everything about it) by tesellating the mesh into pixel level (texture pixels).

As far as I know, for animation the subdivision should be parametric, that means that it just tesellates the mesh two or three times, defined by a number of divisions (like when you make a mesh>smooth).

ISK-86, I’m really sorry I haven’t had much time to work on this lately, but I really appreciate your help, so I’ll try to make sure I test your suggestions within at least 24 hours of your reply–after all, you’re the one helping me! :smiley:

Although the smooth normals does seem to fix this problem entirely, I understand that it may only be a hack solution, so I’ve reverted to versions prior to smoothing–and I’ve also started a brand new model form ZSpheres and brought it into Maya from scratch.

All of my settings/config have been going off of this video: http://www.youtube.com/watch?v=dOrmlnIZrAM

I’ve experimented with every combination of approximation I could think of and here are my results:

First,

Alpha gain is the only value that seems to have any effect - changing this from 0.1 to 2.0 results in a very noticeable gradation between very little displacement of my model, to very deep displacement–much more like my sculpt. At 0.1 the breaking of re-posed limbs was not very noticeable–but neither was the displacement, and at 2.0 while the model looked just like it did in ZBrush, the leg I had posed looked like shattered glass. Obviously when I smooth normals, the leg goes from shattered glass to looking just like I’d expect it to look.

For the Alpha offset, I have it set to half of gain, as instructed in that video–using the formula =-ZBrushDispMap.alphaGain/2;

Now, to the approximation editor!

I selected my model geometry and clicked ā€œCreateā€ for Displacement–I then set it to Fine View High Quality and found that values for Min Subdivisions and Max Subdivisions DID have an effect on the length of time it took to render, but absolutely zero effect on the actual images. Pixel for pixel they are identical. The same is true for the Length value, which the video I posted suggests I should set to .010.

For my Subdivision approximation, I tested the same way: with my geometry selected I clicked Create, and then played with the settings–but I’ll save you the details of what settings I used: every combination had the same effect: Whenever I created a subdivision approximation the render was completely black.

It looks like I may have something set to ignore my mental ray approximation, and one interesting thing the video points out is that if you go into the attributes of your geometry and under Displacement Map you have ā€œFeature Displacementā€ checked it will the ignore your approximation settings. Unfortunately my renders were identical with or without this checked.

Lastly, I am using Maya2010 and ZBrush 3.2 both native Mac versions – shouldn’t GoZ be doing all this for me? Each time I use GoZ I still have to drag my displacement onto the model, and the approximation settings don’t work.

Any help would be appreciated!