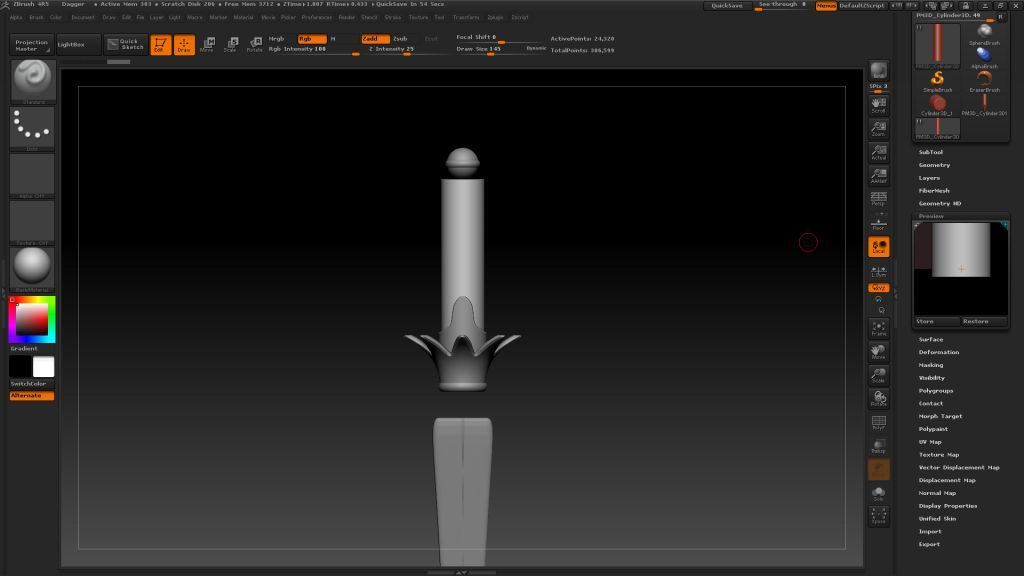
The Object Preview window displays the current 3D tool, and how it will be drawn when applying it to the canvas. Also displayed is the clipping plane, showing how deeply the object will be embedded into the canvas or surface upon which it is drawn.
http://docs.pixologic.com/reference-guide/tool/polymesh/preview/
To understanding the preview window, it probably helps to understand how zbrush is using your 3d model. Unlike standard 3d programs, there is no 3d environment with a virtual camera that you can use to navigate. Instead it’s an image document similar to photoshop, and when you draw a model on top of it and starting moving around, you’re basically just rotating the model in place instead of actually moving a camera around it.
So while you’re seeing the model on top of the document and can rotate/translate/scale it however you want in relation to the document, you’re not exactly getting a good idea of the raw model data; how big the model actually is, where it’s center actually is in relation to its vertices, etc. That’s what the preview window will show.
A good example of this would be when using dynamesh, where the resolution is based on the actual size of the model. If you look at the model on the canvas you have no idea how big it is, but a quick glimpse at the preview window can tell you if the model is too large or too small. Using the unify deformation will resize the dimensions of the model so that it fits nicely within the preview window, which tends to give you a nice scale for working inside of zbrush.
If your model is off center you can set a new center by placing it (the red cross) in the preview window, or by using Transform: SetPvt