Guys I have questions about the last process I did which adding a head to the helmet I did when I resized the head to fit the helmet some strange streaks happened and I made sure I was nt masking any parts of it so why such streaks occured as shown in the image thanks alot for your attention

Well done, good to see plenty of advancements within one thread, and plenty of replies. LOL you have had more replies in one thread than iv had since 2004
Keep it up.
good work mate I had the same problem with my first work to ( which i have had to abondon  ) hope you dont have the same problem, thou i did get some replies in my thread, you may find some answers there. Any how I am learning Zbrush too and I hope this doesnt deter you ( it wont me
  ) from spending some more time with the Almighty Z.
Well heres the thread hope it helps.
tez:. Thanks man for the nice words, and yeah I know I m lucky to have all these awesome artists in this forum helping me to go beyond my limits
and for that I m veeeery thankful
chomsky:. Thanks, but I have seen your thread the problem occured with u when re-opened the file, but that happened with me on spot right away after I resized the head to suit the helmet, but thanks for the help
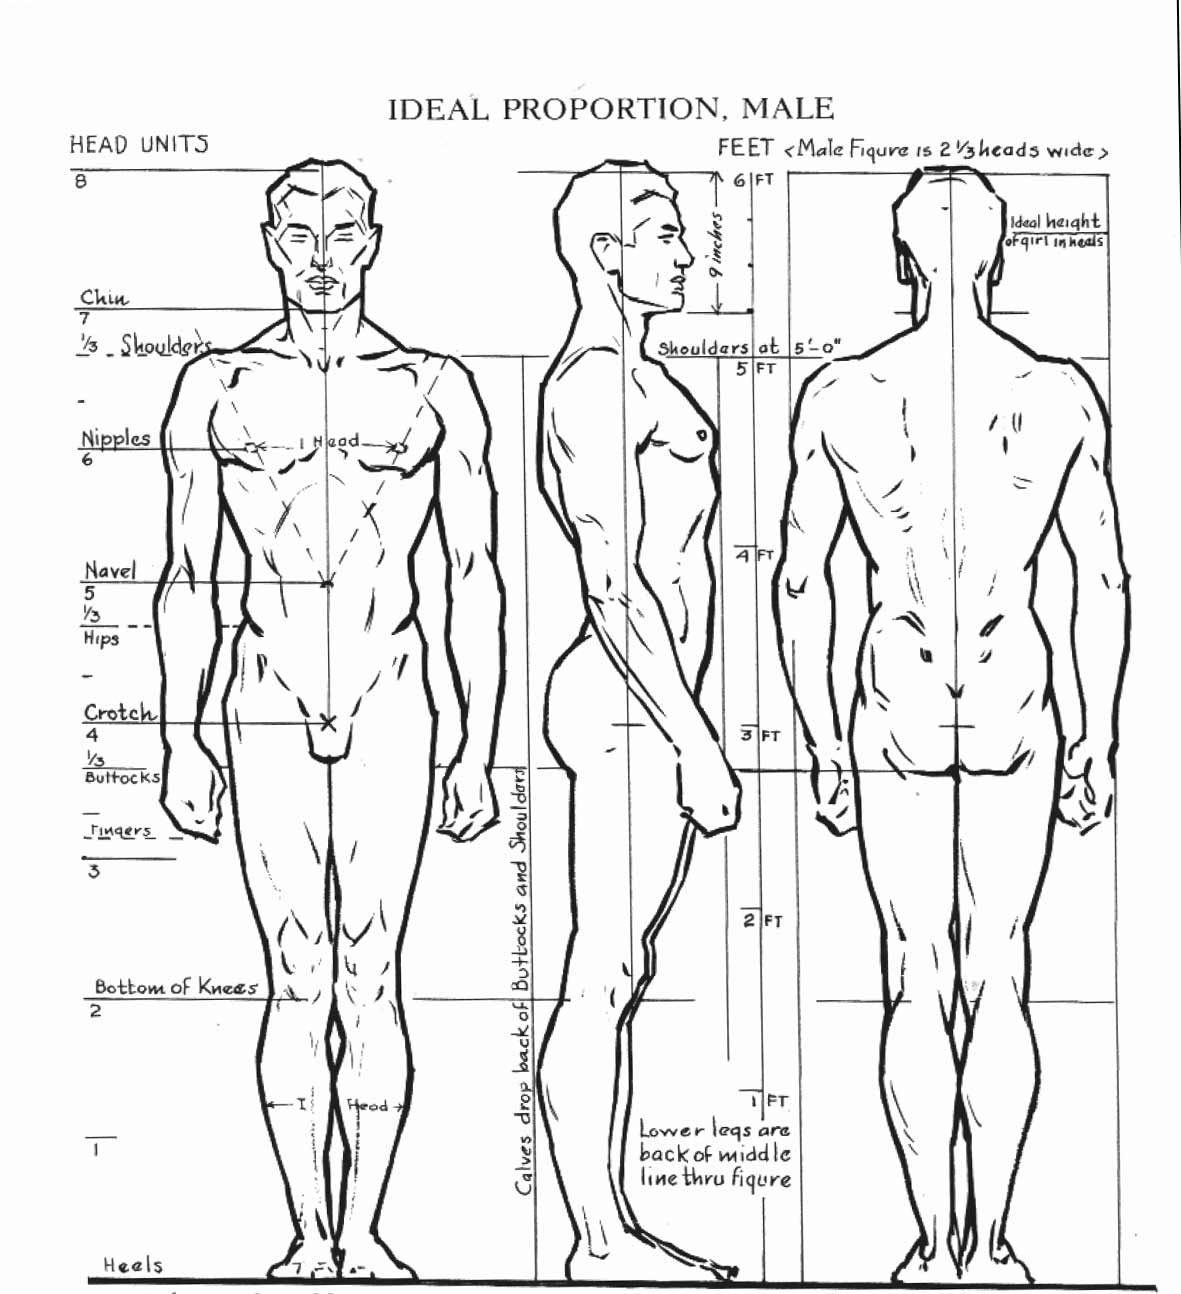
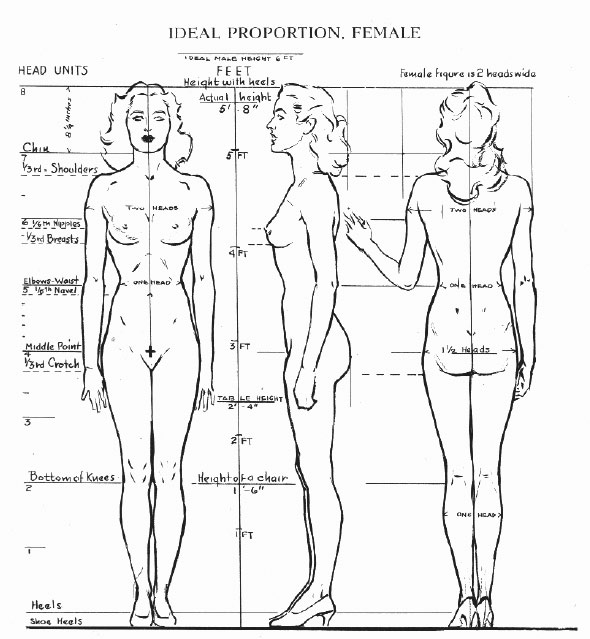
Now guys I need help I want to make a full model for the latest alien head I did and the scheme is “An evil alien with magical powers” so there will be the clothing and a staff plus hands and boots. So the first thing I searched for is body proportions and some said the body height is 8 heads and others said 7 heads so which is true??? and here are the pics I got from searching
Attachments

8 head is said to be perfect but not average. I always go for 7 1/2 heads. As its for a alien and nobody knows what one actualy looks like I dont think it matters to much unless its more human form.
Im thinking of the alien with the long arms and fingers, huge head with large eyes, lol. Good thing about zbrush is how easy it is to deform the form.
I did a thread a while back that is about proportions. Its showing dark text since this website had changed its colour scheme.
http://209.132.96.165/zbc/showthread.php?t=38342&highlight=tez
Do plenty of concept drawings and see where it takes you.
Proportion in reality varies. Study your subject. Use accurate reference.
Ideal proportion is best shown in Andrew Loomis Book “Drawing the Figure for All It’s Worth”
Attachments
Did you do a retopology for the head? I ask because that’s the only time I seen that point stretching occur. If you didn’t and you simply resized I would ask is the base mesh imported from another program. If that is the case you might try saving the object first as a .ztl, then re-initialize ZB3, load your tool and then size. Bottom line is that I need more information.
tez:. thanks man I saw ur thread and wow it is veery usefull I even saved it thanks:)
willbrown1:. thanks very clear and helpful pics small_orange_diamond
hyper1:. I did nt retopologize the head, and no the base mesh is not from another program this thing is really confusing me thanks for your attention 
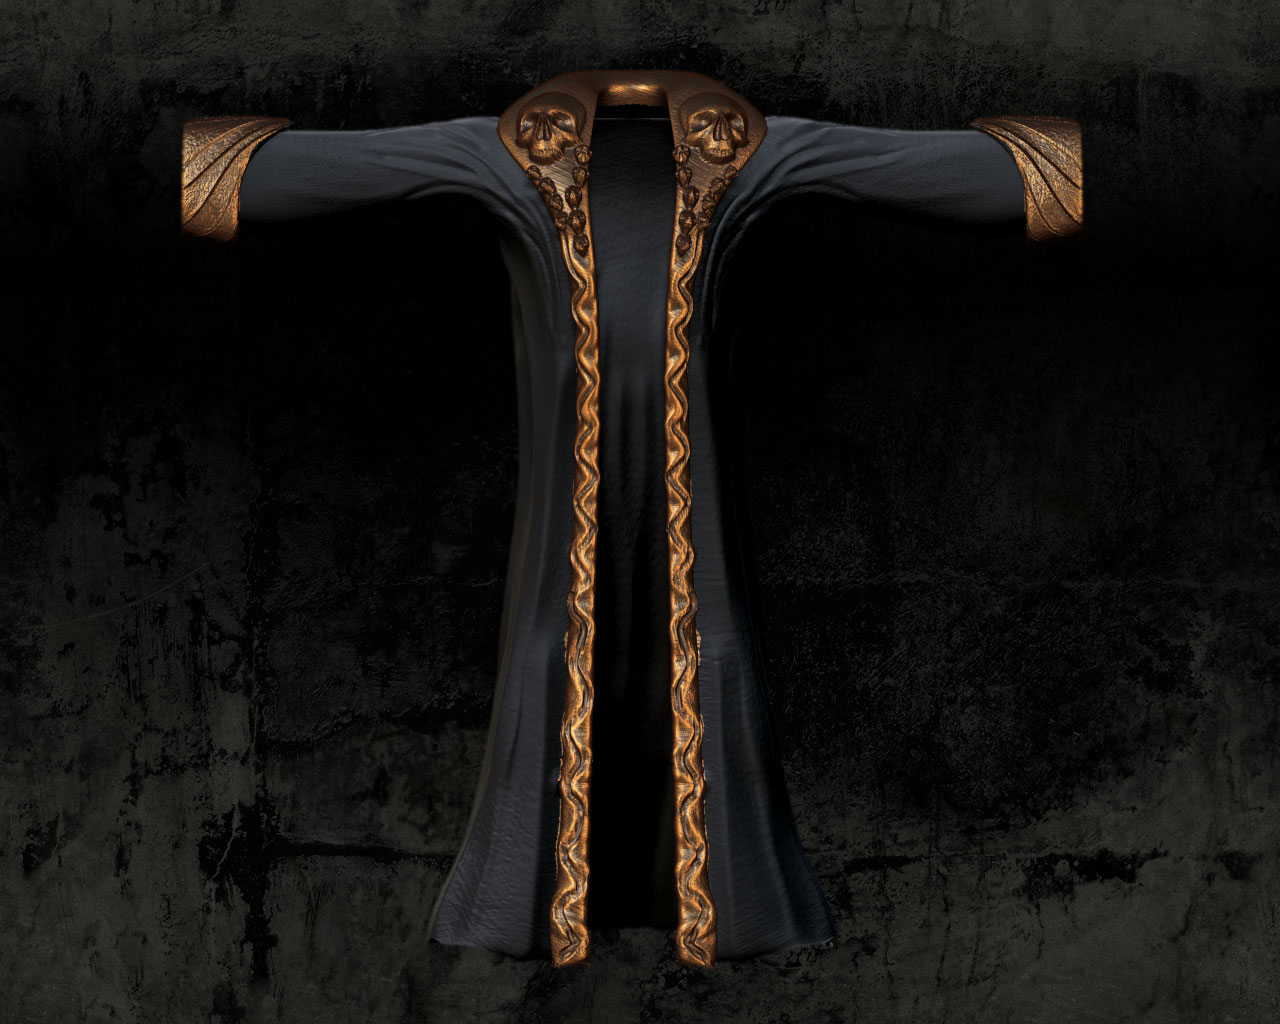
here is what I got so far I think I need to make the sleeves alittle bit longer though I m using XSI 6.2 to make the base mesh for the hood and later on I ll add a staff another piece of cloth beneath the hood, hands and boots 

You are definately on the right path. Having good reference material is invaluable. Keep going, and keep posting your efforts.
Cheers
filament9:. Thanks man, it nice to know tht i m heading in the right direction and I hope you like this one…
Did some sculpting and detailing on his outfit, and some material painting but
I dont know I m thinking about redoing it coz on the way I learned about the layer brush which is awesome also i m running low on my ram this piece is only 2.1 Mil points I dont know what would happen if i merged it with the face and the rest of the outfit so tell me what you think?
Attachments
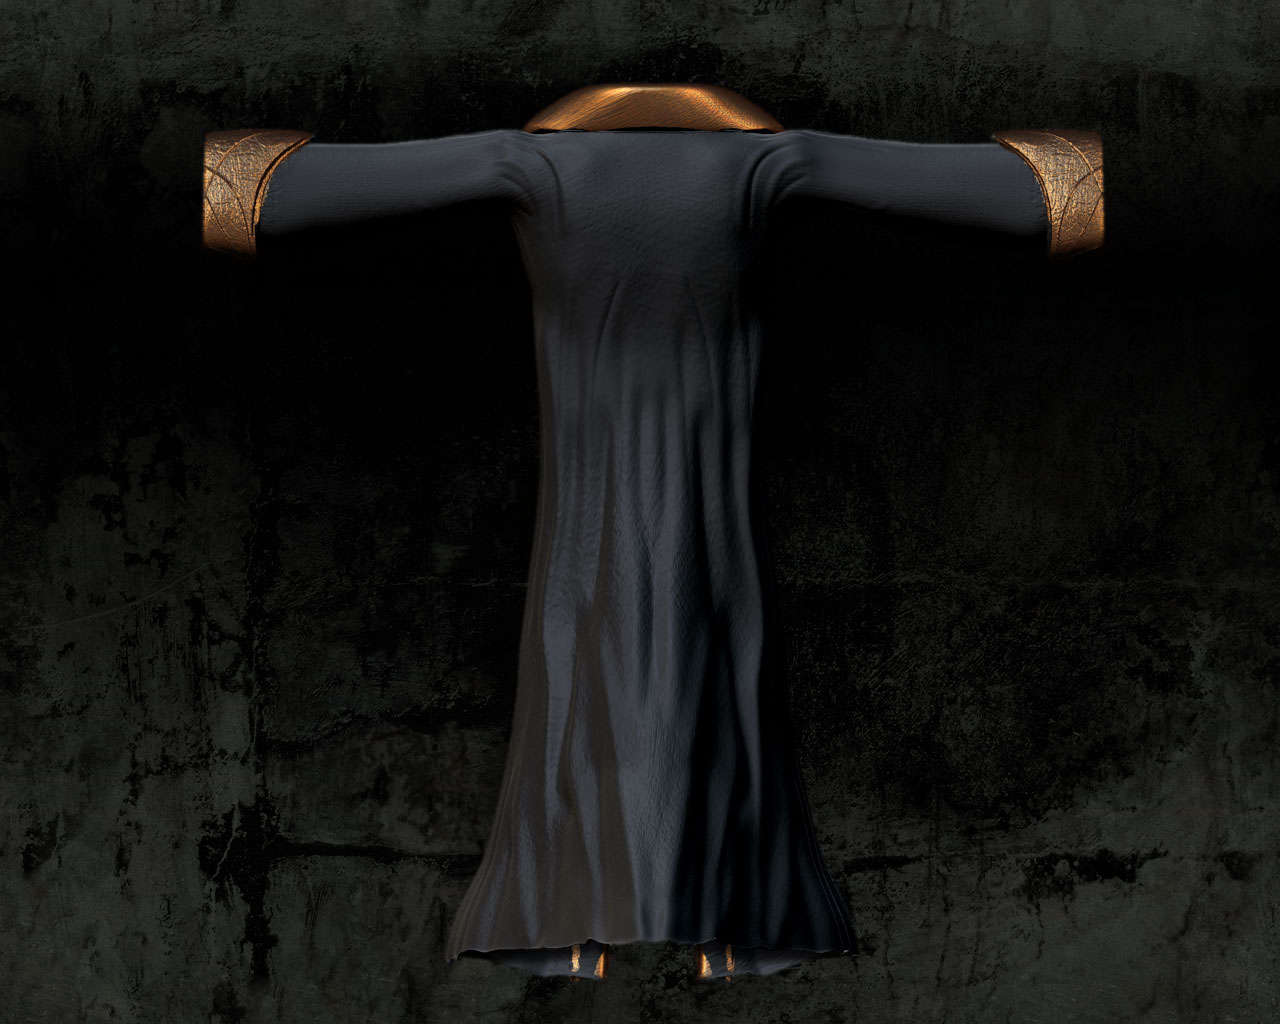
That coat is looking good. For wrinkles/folds where the arm joins at the shoulder, try putting a leather jacket on, and observe in a mirror (or have a friend take a photo) how those folds look. Your coat appears to be of a heavy material very much like leather.
Merging tools used to a problem for myself as well - due to a computer that was old, tired and wheezing with the occasional bit of smoke coming from it. For larger images, or images with a lot of tools I would break the whole image down into 2 or 3 renders and combine them after.
Other times I kept each tool in a seperate layer, instead of combining them into single larger mesh. Once a tool was snapshot in it’s layer on the canvas, I found it easy enough to bring the next tool in and place it in a seperate layer. I found that it was best to model each tool in a seperate document - then bring them into what will be the complete image already textured.
Also, select “Fast Render” from the Render menu - it ignores material attributes which speeds things up when modeling or even arranging models within your image.
Why not clone each of your tools/meshes, delete the higher levels of subdivision and combine those tools? Now you have a single mesh - Head, body, coat etc to work with at a lower poly count which would give you a bit of room to breath. And subdivide. Have you looked at the HD Geometry option yet? There’s a lifesaver right there.
Hope this is of some help.
Cheers
Filament9:. Thanks man for that informative reply I ll have to look in alot of stuff now I gonna get the refrences for better wrinkles and I have to pay the Zbrush 3.1 wiki a visit to know what’s the HD option ?
Guys I m having some questions:
- Why when I created alpha from the mask I drew and applied it back by pressing on mask by alpha it got very very messy??
- Is there a way to mask the object by material??or color range??brightness?? or any of those attributes??
- I saw a tutorial in the Zclassroom and in particular the Poly painting tut. the poly count was 40 Million!!! is that possible?? and if it is what sort of machine can digest that amount of information what are the specs of that monster???
Thanks for your attention
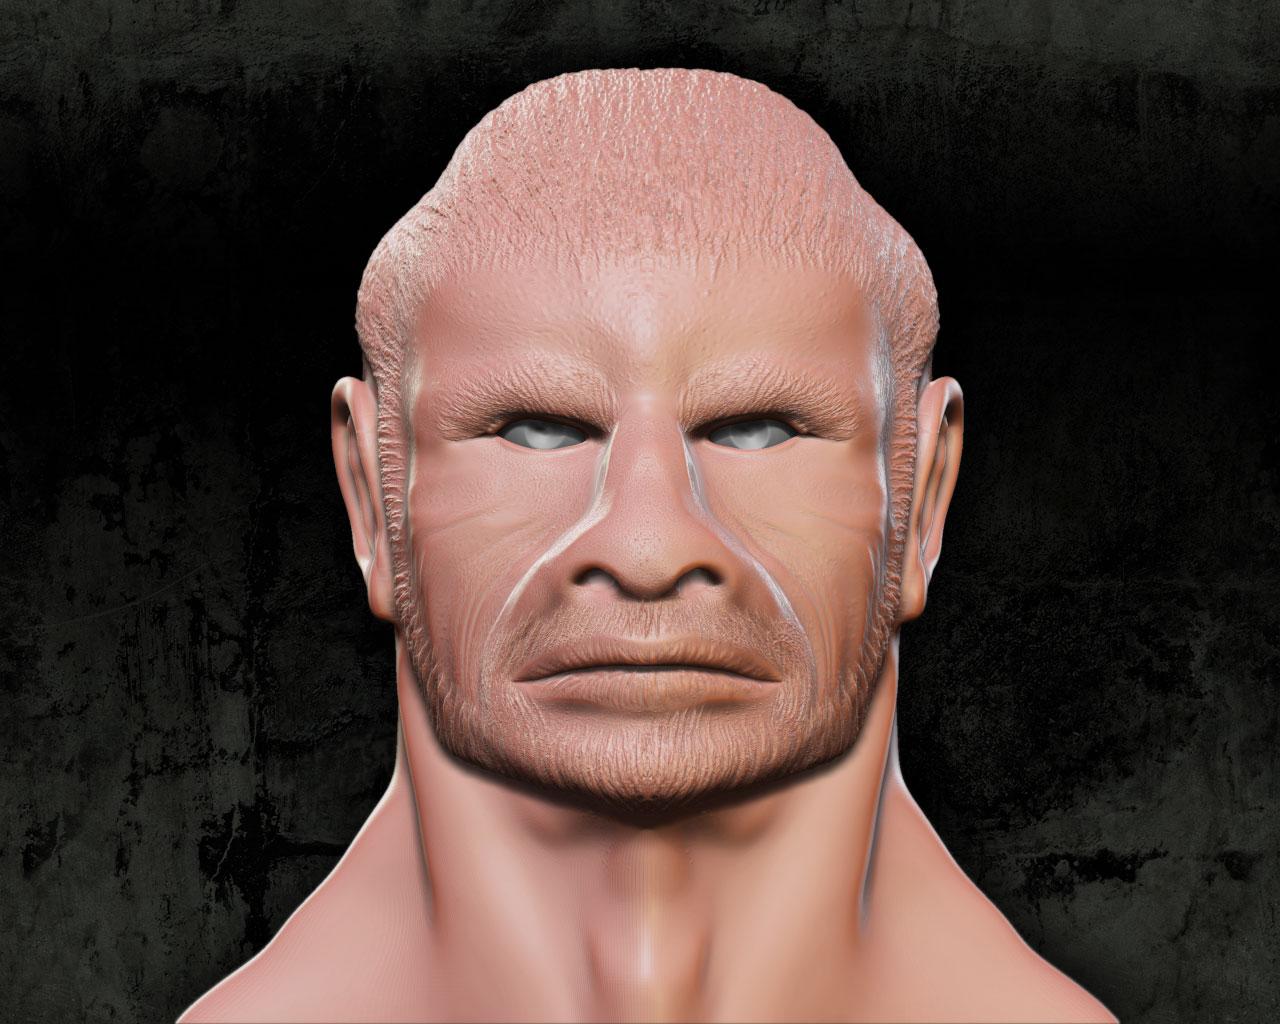
Sorry for the very late updates, but I lost all the prior work since my pc crashed and I was nt backing up all the work, but anyway I started over and here is a new head I hope you all like it and ofcourse I ll be waiting for u preacious comments and suggestions
Attachments
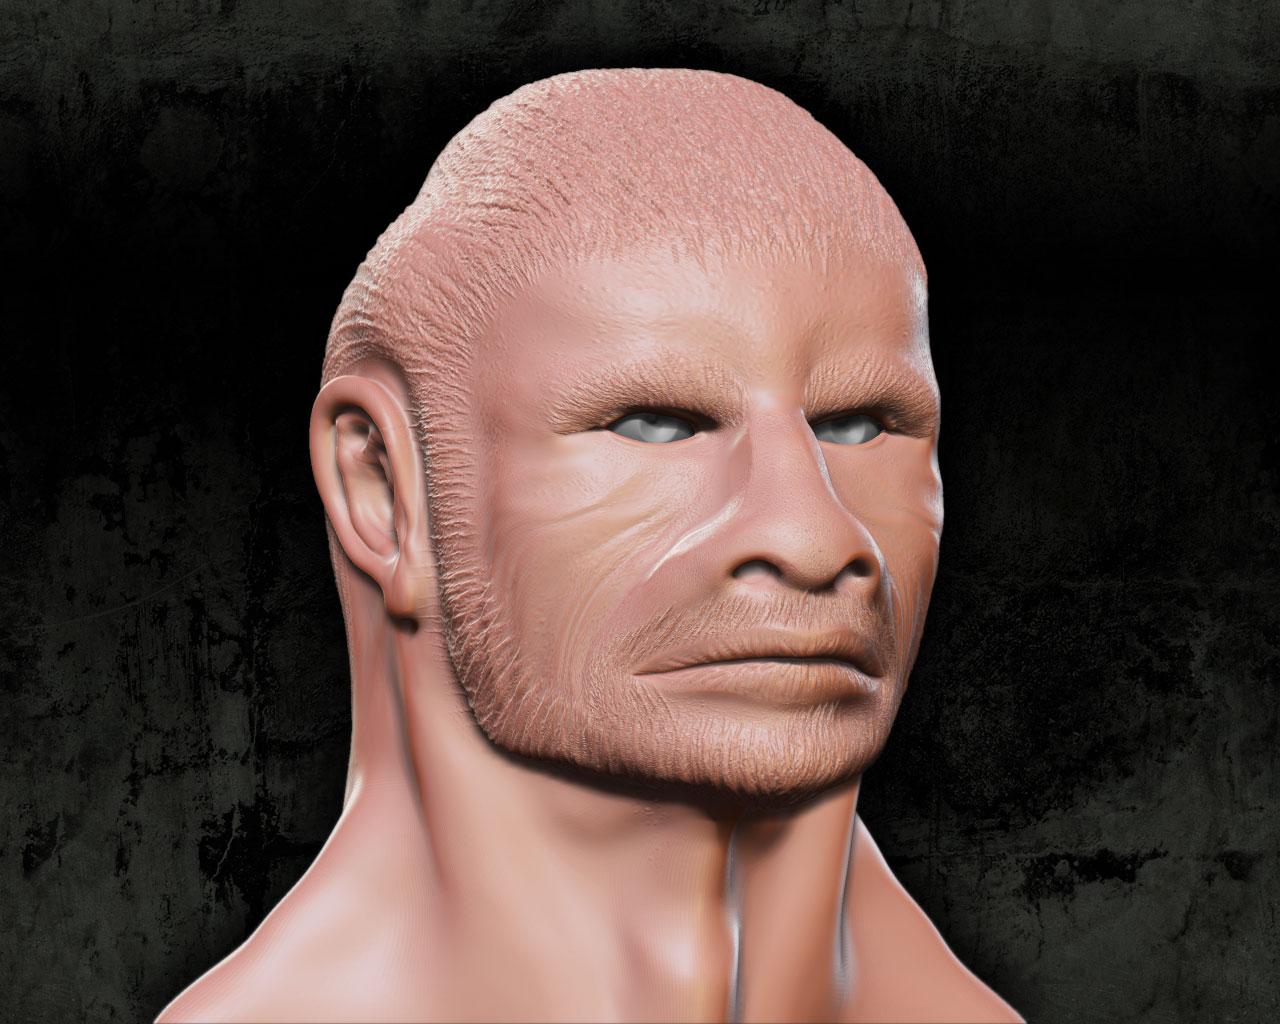
Hi everyone here is a polypaint try on the last head, I like the skin more than the hair I followed some techniques I found in tutorials around Zbrushcentral but I could nt find that much of hair painting tutorials so if anyone encounters any please direct me to it thanks, and ofcourse waiting for ur suggestions and comments

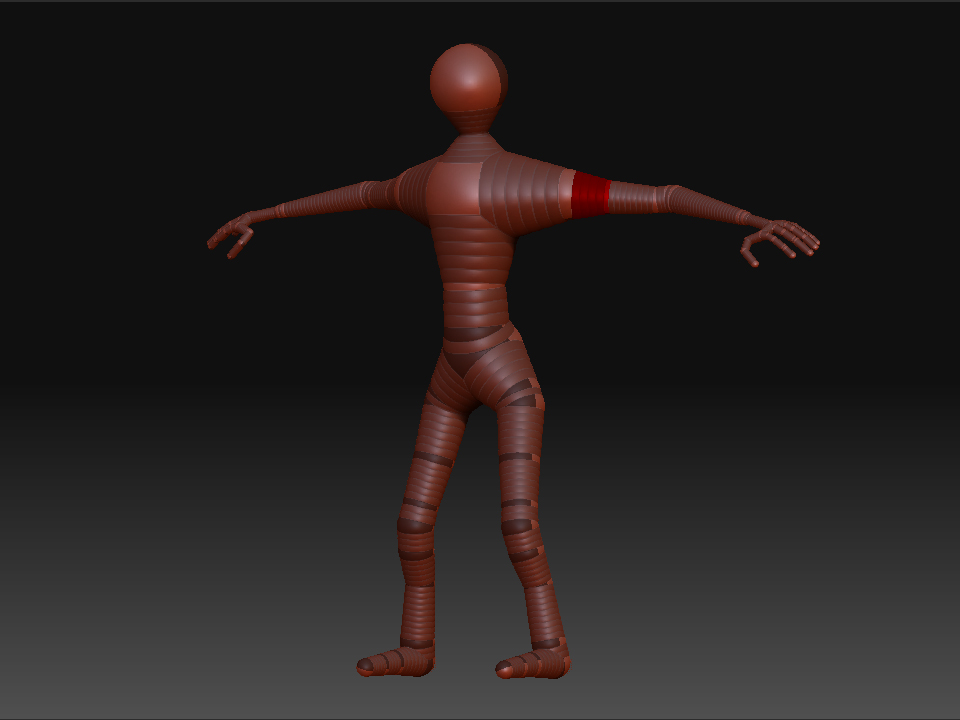
This is my first shot at bodies so here is the WIP images I hope you like it and of course your C&C are appreciated anytime:)
Attachments
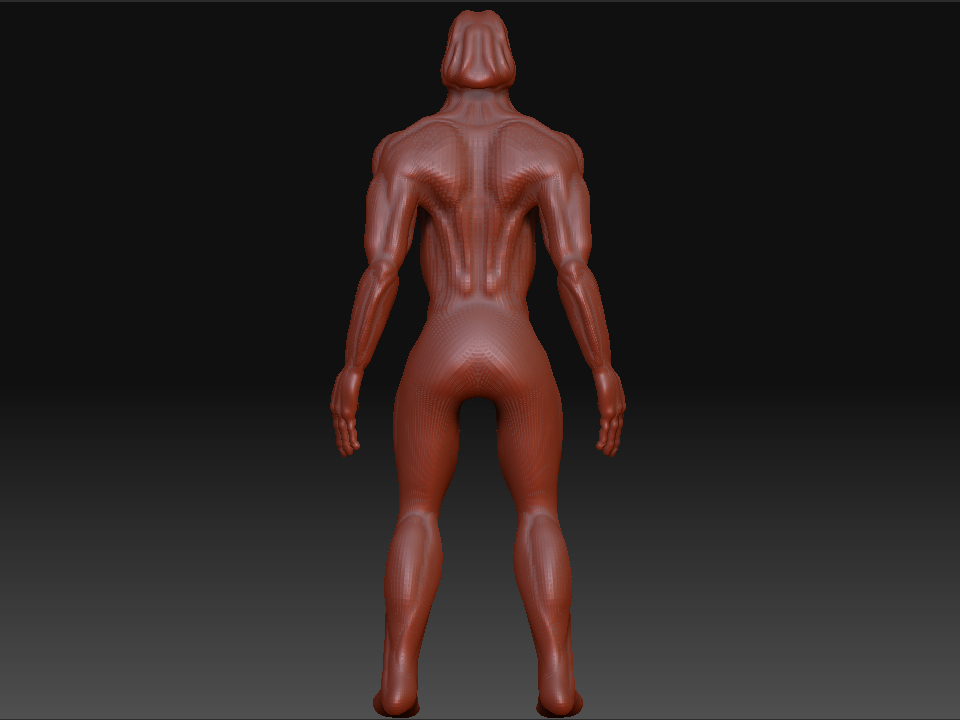
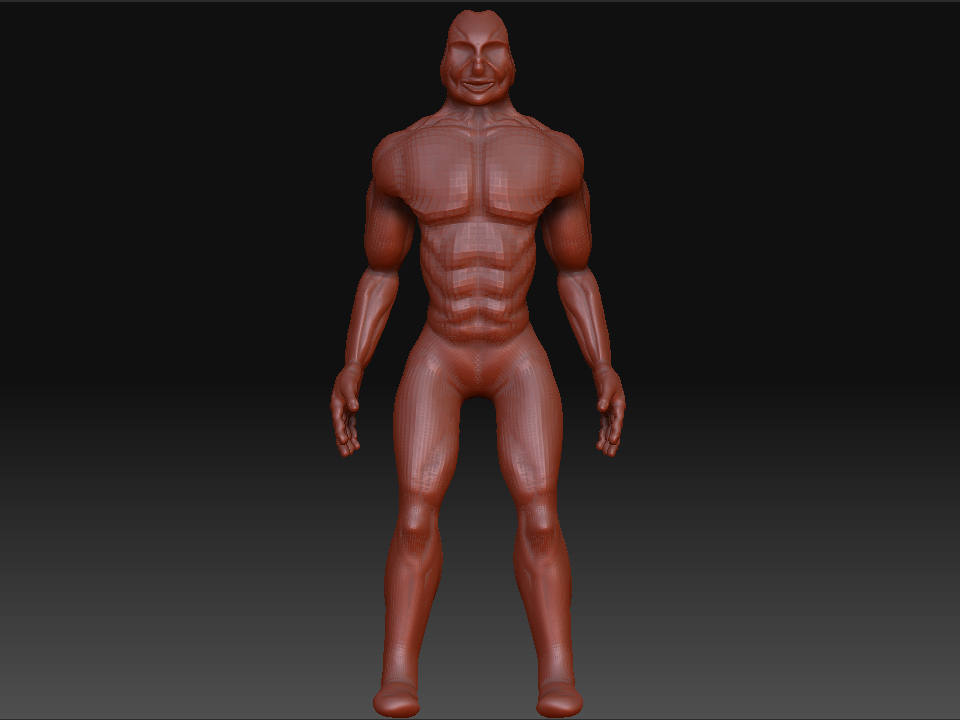

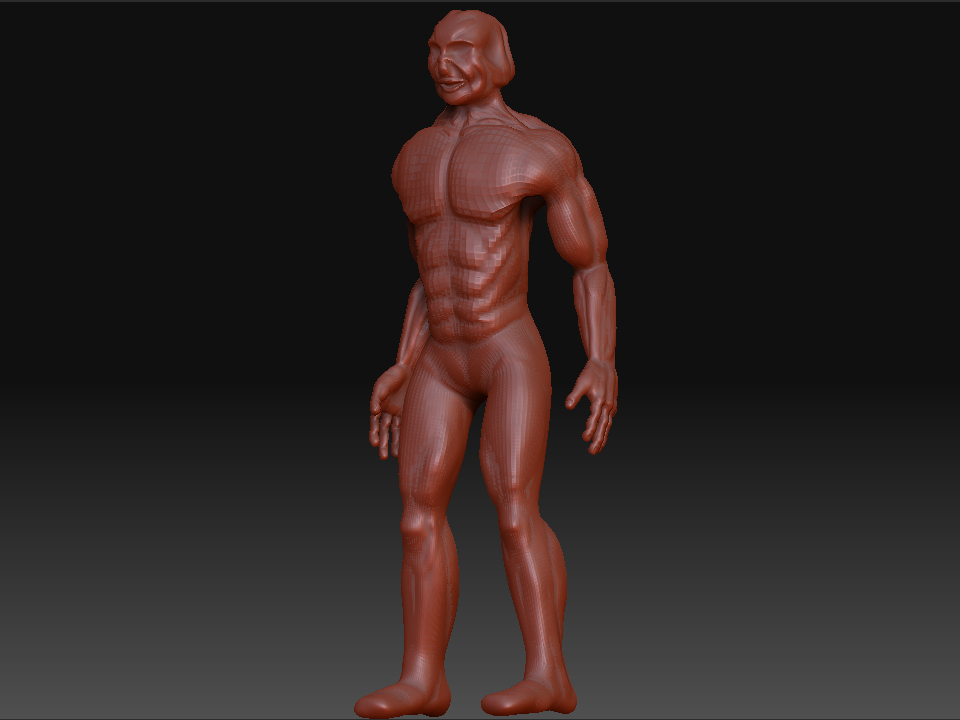
an update after looking at some muscles refrence i hope its getting better, i think it but waiting for ur suggestions and opinions, I m going to Zproject a head of those I made before on this body. BTW I m watching Kurv studios Tutorial Zbrush Vol II it is great and loaded with info

u r defenitly improving, it’s getting better, concentrate on the rythems though,
how every muscle attaches to another…but not in detail…learn what u can n understand how muscles form the form, then drop everything in back of ur mind and sculpt what u understood, begining with main forms n work up the detail as u go up levels…right now it seems u’ve been trying to sculpt every single muscle my friend, that alone could be overwhelming:)
happy zbrushing:D
SIdiMenTion:. Thanks man for the nice words, I m still learning the muscles anatomy I hope by the end of this dude I could grasp the idea and the technique of doing a perfect human like body.
An update worked on the legs and the back a little bit I hope you guys like it

Veeeeeeery good ya Hima …
u rock …
bs kol dol … w ma3amaltsh Nona 
e3melha ba2a :rolleyes: w yareet teb2a bel2alwan