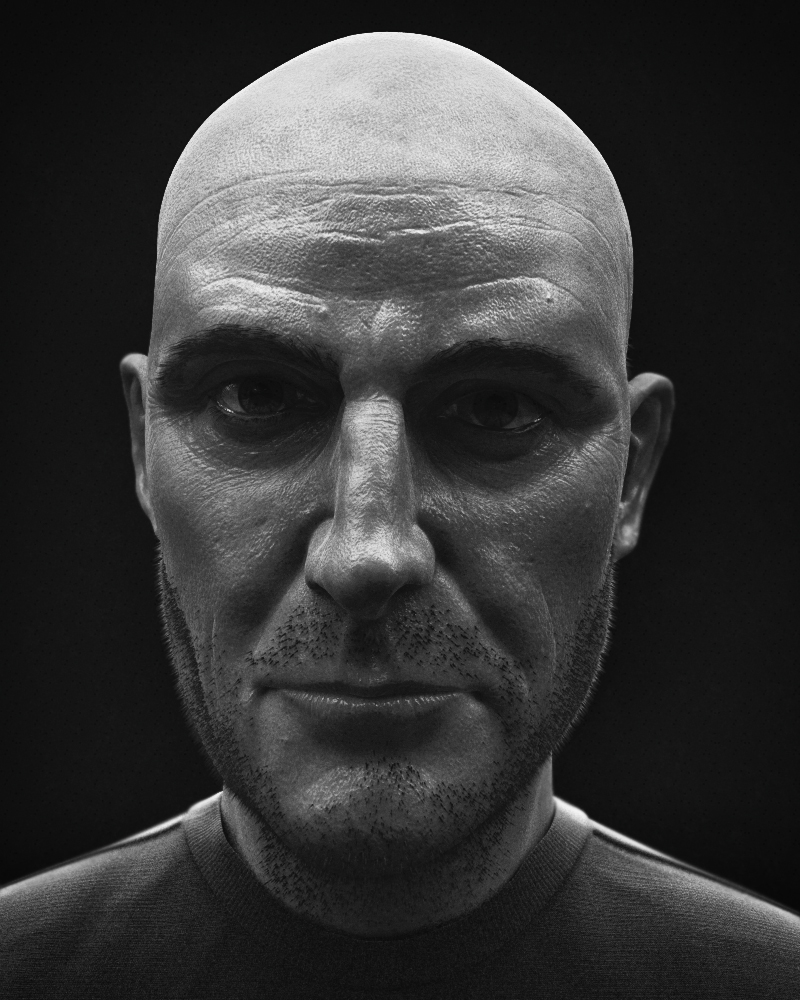
Sculpt I recently finished as a study. Wanted to push the tertiary detailing and properly study the variety of pores/wrinkles that are there when you really look closely. Beginners will often just grab a pore brush and spray uniformly on the model and call it finished. Similarly, they might just carve in a few lines as their wrinkling but, in fact, upon close inspection pores and wrinkles have their own patterns and forms, and even rules that they follow: directionality being very important as it is dictated by the underlying muscle movements.
I opted for a stark B&W render to give prominence to these micro-details.
Have some breakdowns to follow.
Attachments
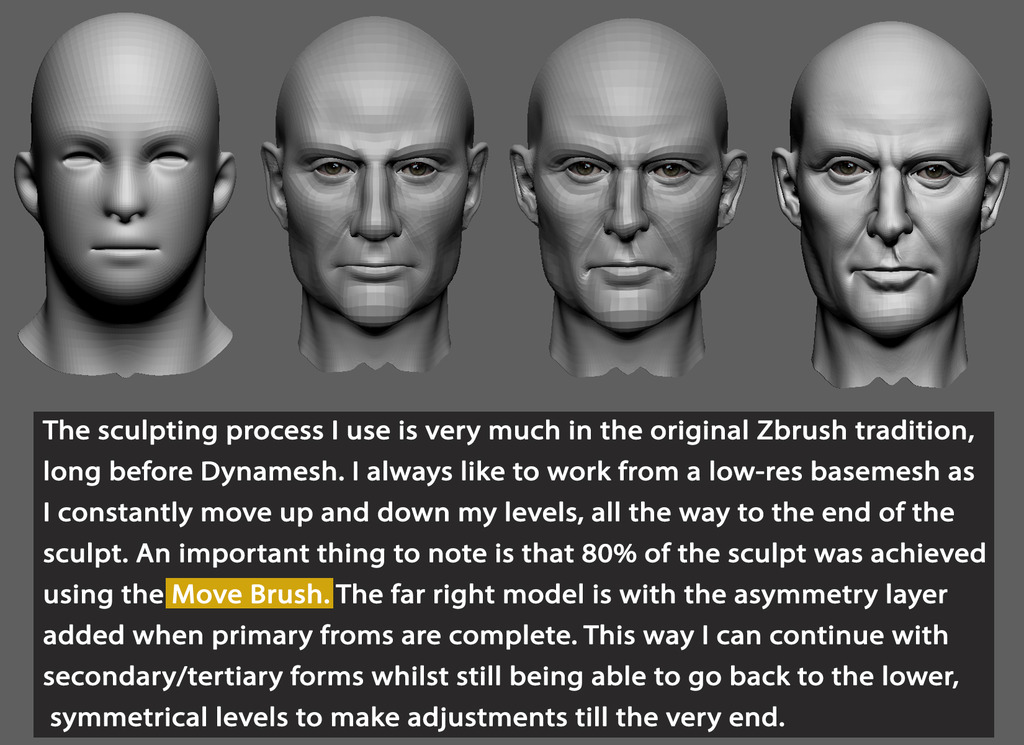
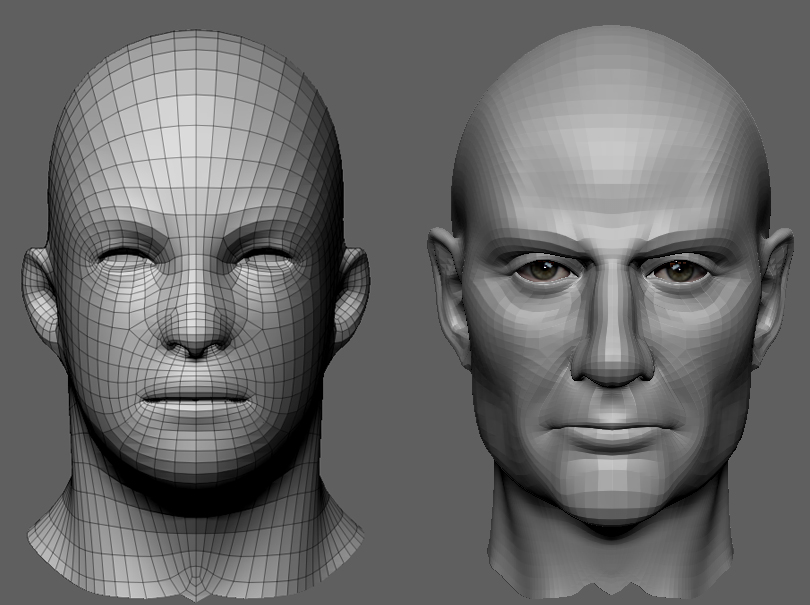
 I will stay at a very low res and use mostly the Move Brush(80% of the sculpt to secondary forms stage) until I have the primary forms in place. This stage is the most important and is often overlooked by a lot of new Zbrush sculptors, who seem to just jump straight into Dynamesh at a very high res and then wonder why their forms are blobby and unrealistic. It is so much easier to achieve the forms at a very low res. If they’re not in place and recognisable at sub-50K points then they never will be.