Hi gurus.
I really need your help.
I’ve asked this question at DT but no luck… I’m so sorry but plz let me ask it here too.
I’m working on adding details and polypaint to a low poly wood plank with zbrush to create its normal map and diffuse map.
The low poly model was made in Maya and sent to ZBrush with GoZ.
My problem is some areas of the normal map created by ZBrush are messed up. Edge in the areas are really dense.
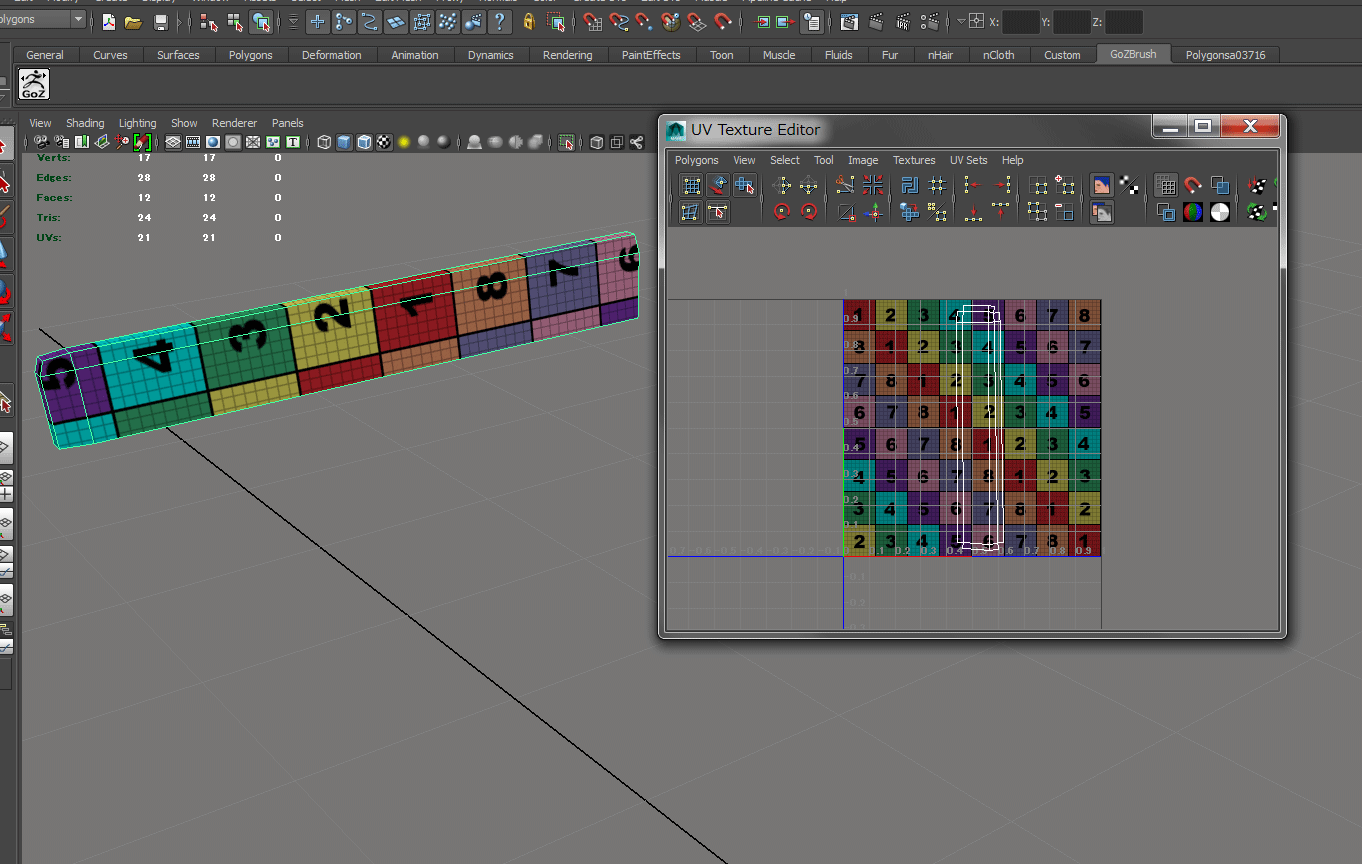
This is the low poly (17 vertices) wood plank I made in Maya. I also created its UV mapping.
I exported the low ploy with GoZ to zbrush and subdivided 8 times and added details and polypainted. it now has around 3 million points.
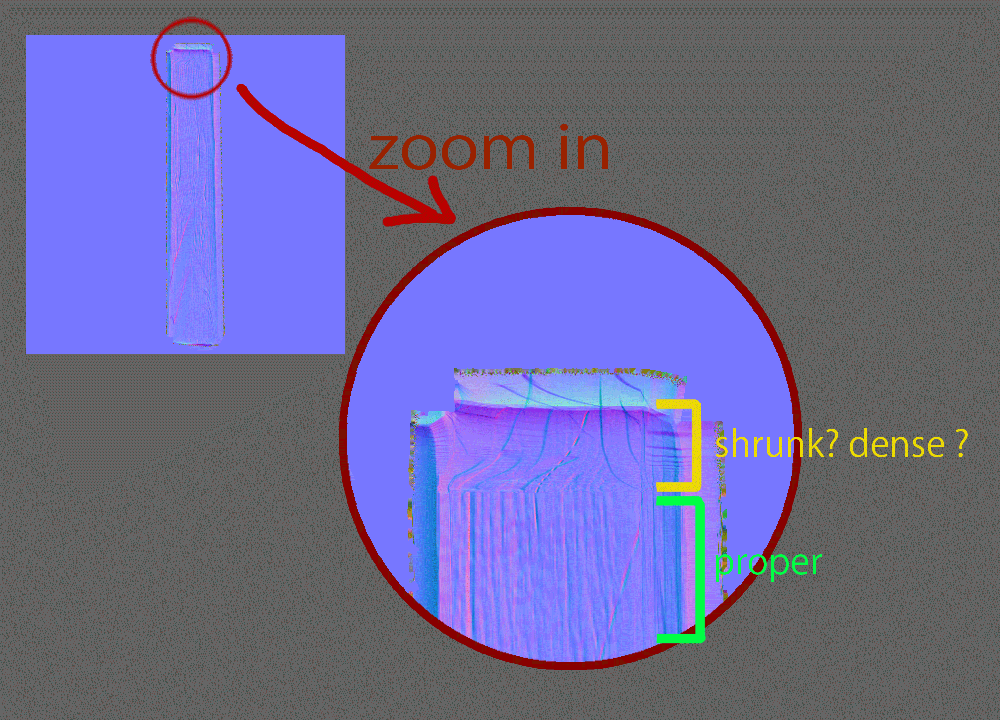
I created its normal map. The following pic is what I got.
As you can see, the yellow area is really dense ( or shrunk ?) compared to the green area.
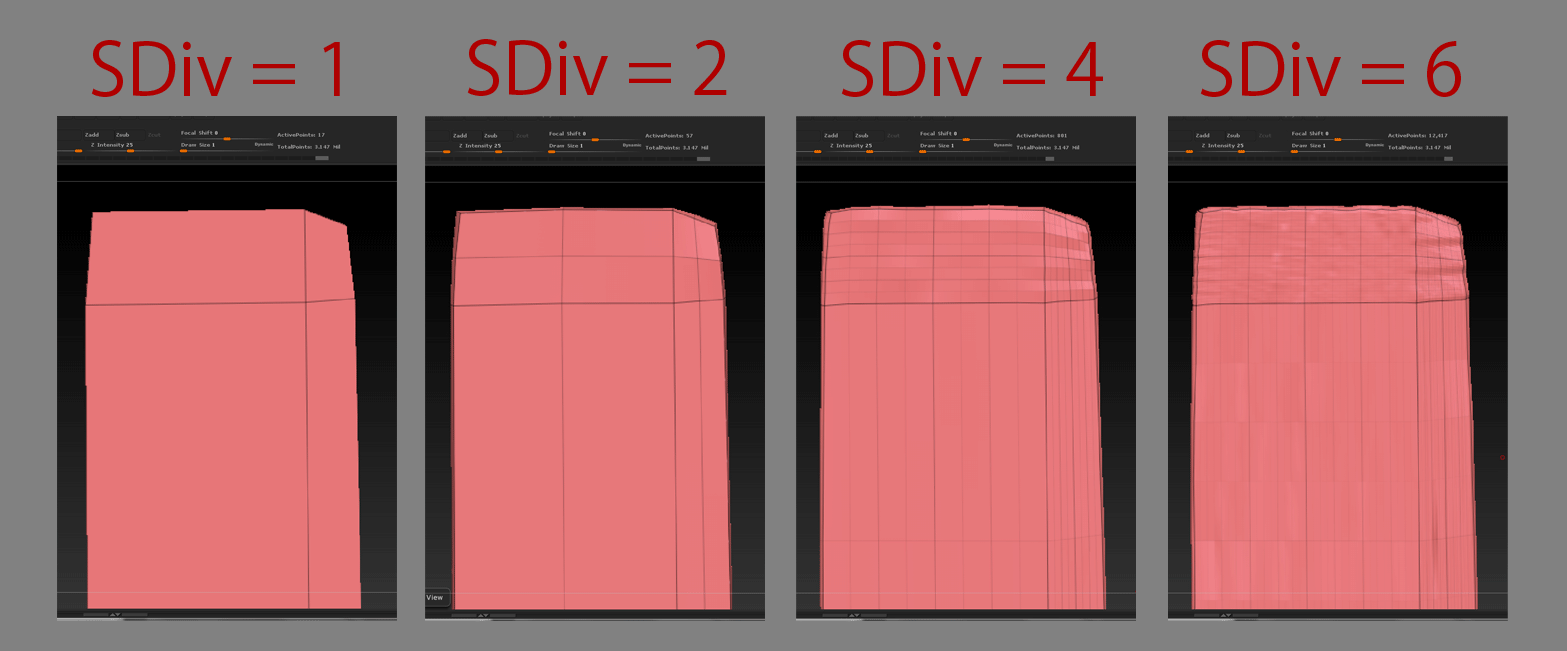
I investigated and figured out this. Every time I subdivide the model in ZBrush, the number of faces in the mesh increases by a factor of four so small area will be way too dense if you subdivide around 8 times or so. Therefore, edges in the tip ( yellow area in the previous image) of the plank are so dense compared to the other area. This causes my problem.
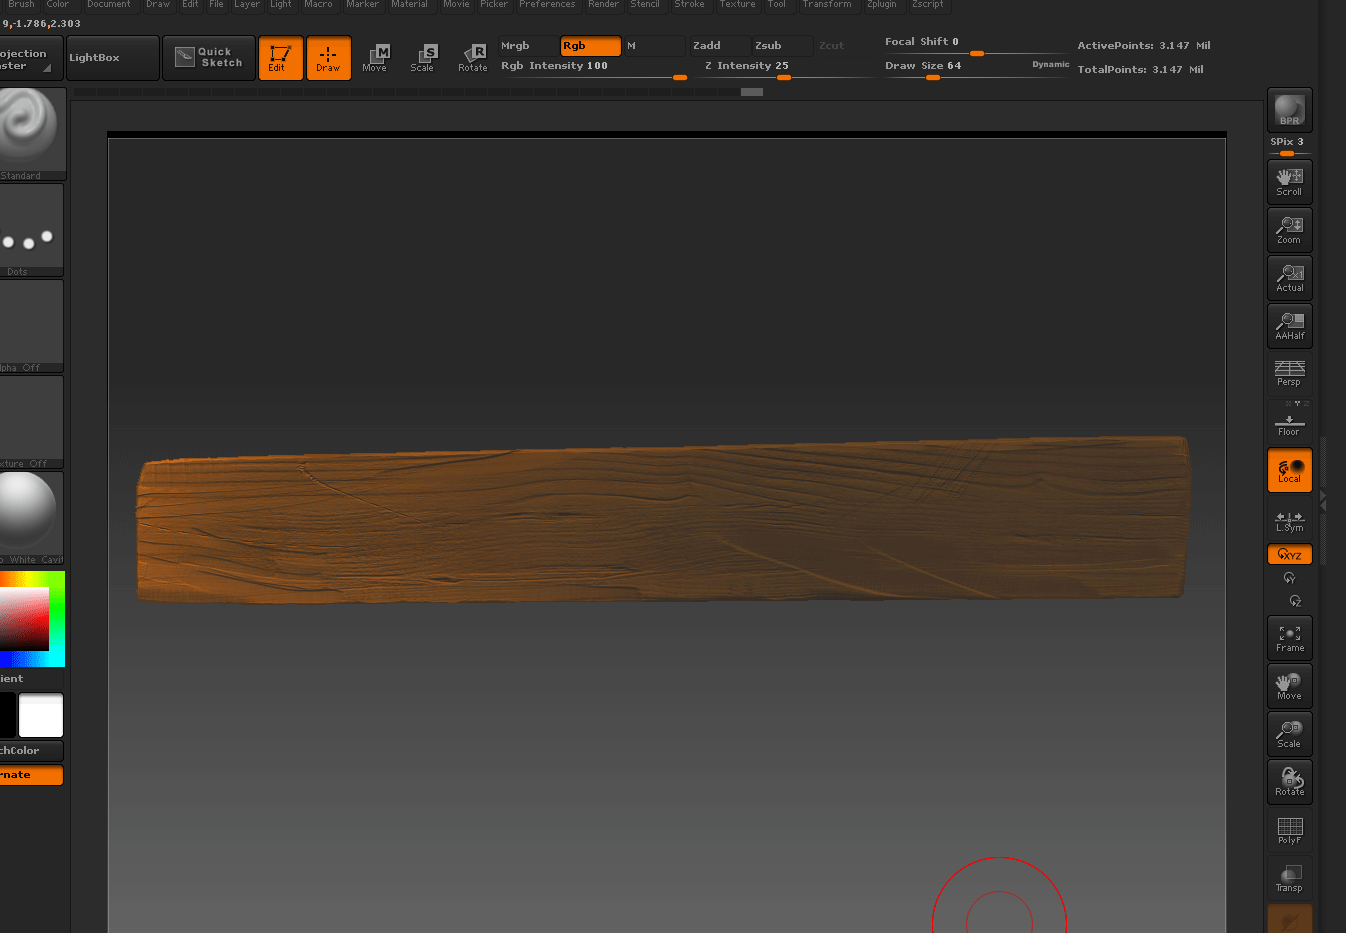
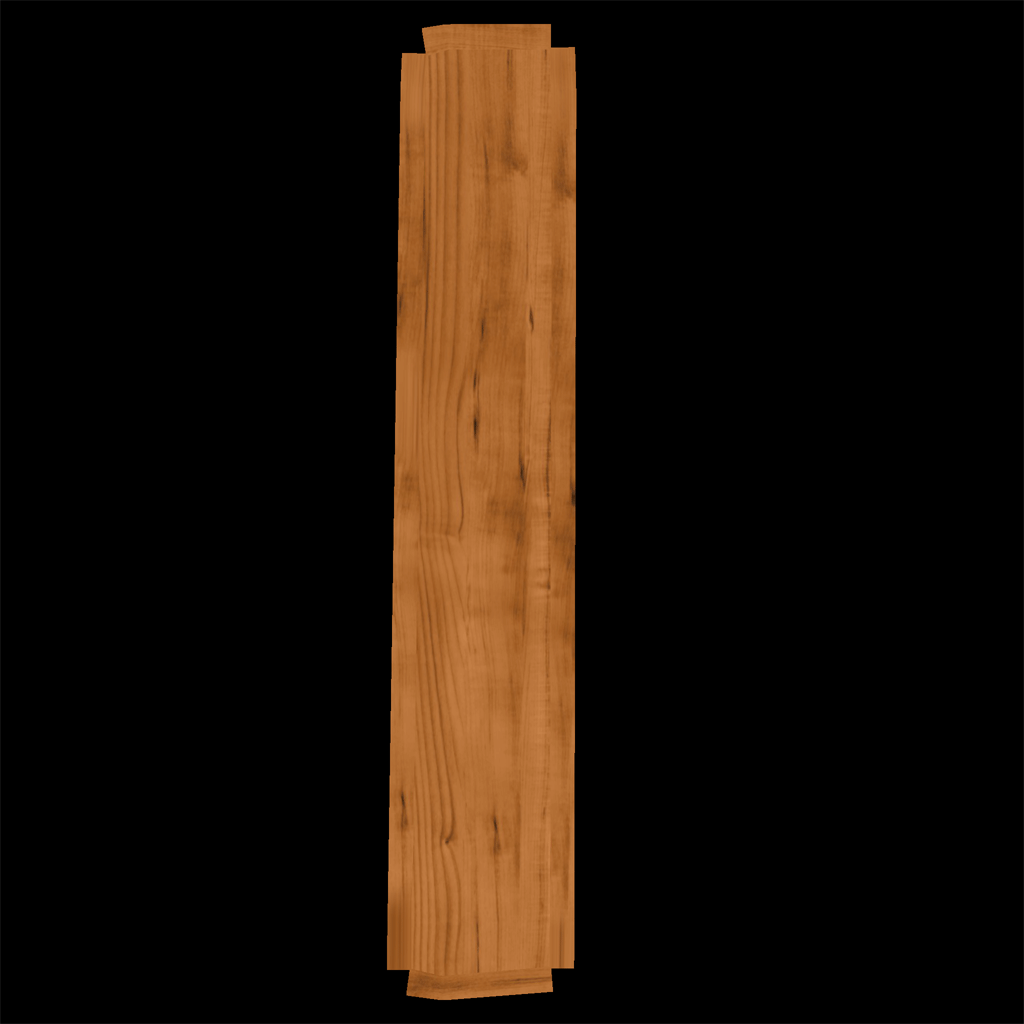
The weird thing is the diffuse(color) map out of polypaint was totally fine. Here it is. (oops… sorry, this pic is up side down. but anyway you can tell both ends of plank are fine.)
I wonder how people out there avoids this problem. Since the low poly is of course simple so edges are not spaced evenly but in this case that causes a problem…
I think this is a regular use case: making a low poly with other software and add details with ZBrush to export normals.
I tried adding edges to the low poly to space edges evenly in Maya and did the same thing, then the normal map from ZBrush got better.
hm… but I don’t want to do this !! Since I added edges, the low poly has 200 vertices now. Not low poly anymore !  I wanna keep the low poly really simple.
Any hints/tips are greatly appreciated !!
Thanks in advance.
ps)
I don’t wanna use Dy naMesh/ZRemesher because they remove UV info.
I tried Relax deformation but it changed the topology of the model(sdiv1) too much so that the normal map got messed up.
Attachments
