ZBrushCentral

Pixologic Release: ZBrush Learning Series - Texturing with Photoreference

mmm… seems everybody here has not had a problem loading these scripts…

I extracted the .zip to my (now created) Zstartup\Zplug folder - nothing.

I ran the Zscripts from in zbrush to try manual loading - nothing

I cant get this going at all… please help

:frowning:

EDIT… DW I got it… I though it created new buttons somewhere else… my mistake :slight_smile:

For some reason when i use this method… the texture is a little bit more blurry then the original reference image. Any ideas why?

Can you upload examples? The most important thing is that you increase your canvas size to the same size as your photoreference. That will ensure the best quality. :slight_smile:

Ryan

Tom, this together with ryans tip will help you :

http://www.pixolator.com/zbc/showthread.php?p=290391#post290391

Can anyone Tell me where I am going wrong with this. I have watched the tutorial numerous times and have follwed each step carefully but each time I get the same result.

The image looks as though it is tiling around the model as can be seen in the jpegs. The first is how everything looks just before I pick it up from projection master. The next two are how it looks after the pickup is complete. As you can see the entire image is being placed on the model instead of just the face.

Any suggestions are much appreciated. I’m fairly new to ZBrush so please dont be too technical.

Attachments

1.JPG

2.JPG

3.JPG

My English is not good ,so I just say thank you .this tool very good!

Duder: it looks almost like your UV coordinates are messed up. as a test, try applying GUV to your model and try again.

Duder101: You have a bad UV coordinates. I my opinion same face in your model are overlaped. Try unwrap it in other soft or use AUV/GUV and texture the head again.

Thanks for pointing me in the right direction. The uv coordinates are indeed all screwed. up. I’m new to Zbrush and 3d modelling in general so I didn’t realise what was wrong.

Much appreciated guys!!

You can map your model very quickly in ZBrush by simply applying a blank texture to your model and then pressing Tool>Texture>GUVTiles or AUVTiles. The texture should be a power of two in dimension, such as 1024x1024, 2048x2048 or 4096x4096.

So I’m trying to use this method for texturing a head I built and laid out in maya, and I’m getting some rather strange projection errors. I’ve got double sided on and my UV’s aren’t overlapping or mirrored or anything but I’m getting very strange results when I pickup from the projection master.
I’ve exported the mesh out of zb after this process and brought it back into maya and the UV’s are still fine. Now here’s the really weird thing, if I just paint some color in the projection master using a single layer brush or whatever I can paint across those weird boundaries and it works fine. So its something to do with the projection of the image plane onto the mesh…
Anyone have any ideas?

scratchedScott - the first thing to do is always check for overlapping UVs. Even if you are absolutely convinced there are none. To do that go to the texture palette and select Texture Off. Then go to the tool palette, Texture sub-palette and press Check UV. If there is red then that is likely your problem. if not, then it is somewhere else. Can you do that test first and then get back to us?

r

Thanks Ryan, that was totally it. I had a couple stray polys way outside the 0 to 1 uv space that were screwing it up. Total noob mistake :slight_smile: Anyway thanks again.

thank you for the video tutorial,i am a beginner,thanks ryan

I am hoping you can help me. I have watched the movie several times and cannot get this to work. When I am in Projection Master the image does not wrap to my model, it stays as a plane. It will project, but I cannot edit it as you show in the movie. Any ideas?

You must make sure that you are have pressed RGB and set ZIntensity to 0 before you go into Edit mode. If you didn’t then just leave Edit mode, press RGB and set ZIntensity to 0. Make sure that ZAdd is on. You should be fine now.

:slight_smile:

I tried seeing how you made the 3d mesh head but i can’t figure it out… and its a great tutorial by the way…:+1:

Is there a way to get a wire fram on the model, or perhaps lower the opacity of the image map temporarily? I have a model with really subtle features and I realy cant make head or tails of where they are with the map on top.

Hi, Ryan
I love your tutorials they are very helpfull !!! :+1: :+1: :+1:
Tanx a lot for your help.
I have just a question… what did you means in the Texturing with Photoreference tutorial that we have to move the texture projjected in the 3d plan with push and pull point around selected ??
I can just move the texture when i move the points…i make something wrong
Anway… i can live with that but the big problem is…
terrible.jpg
It works fine in the frontal view but terrible in the side view :frowning: 
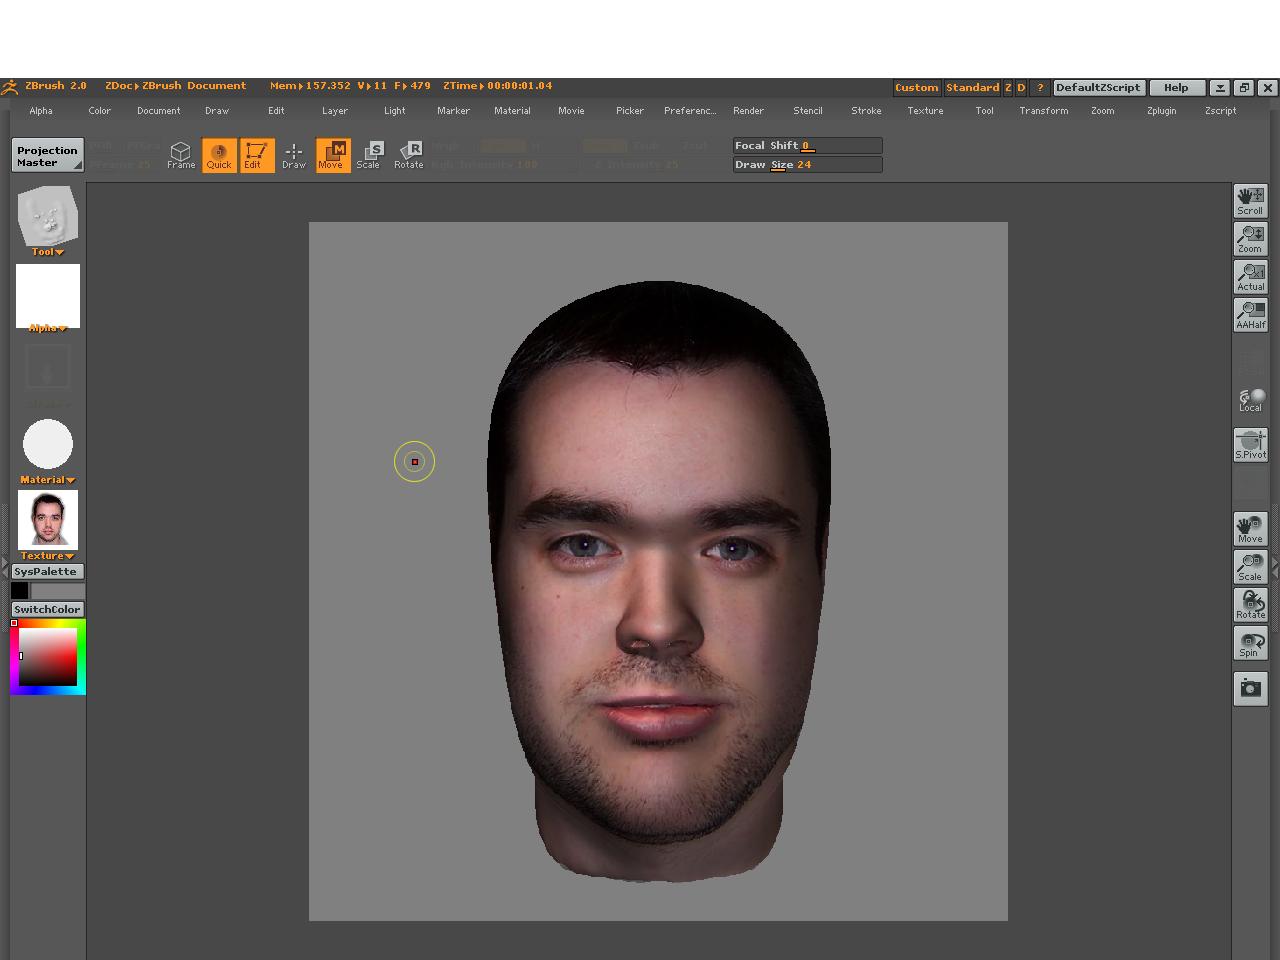
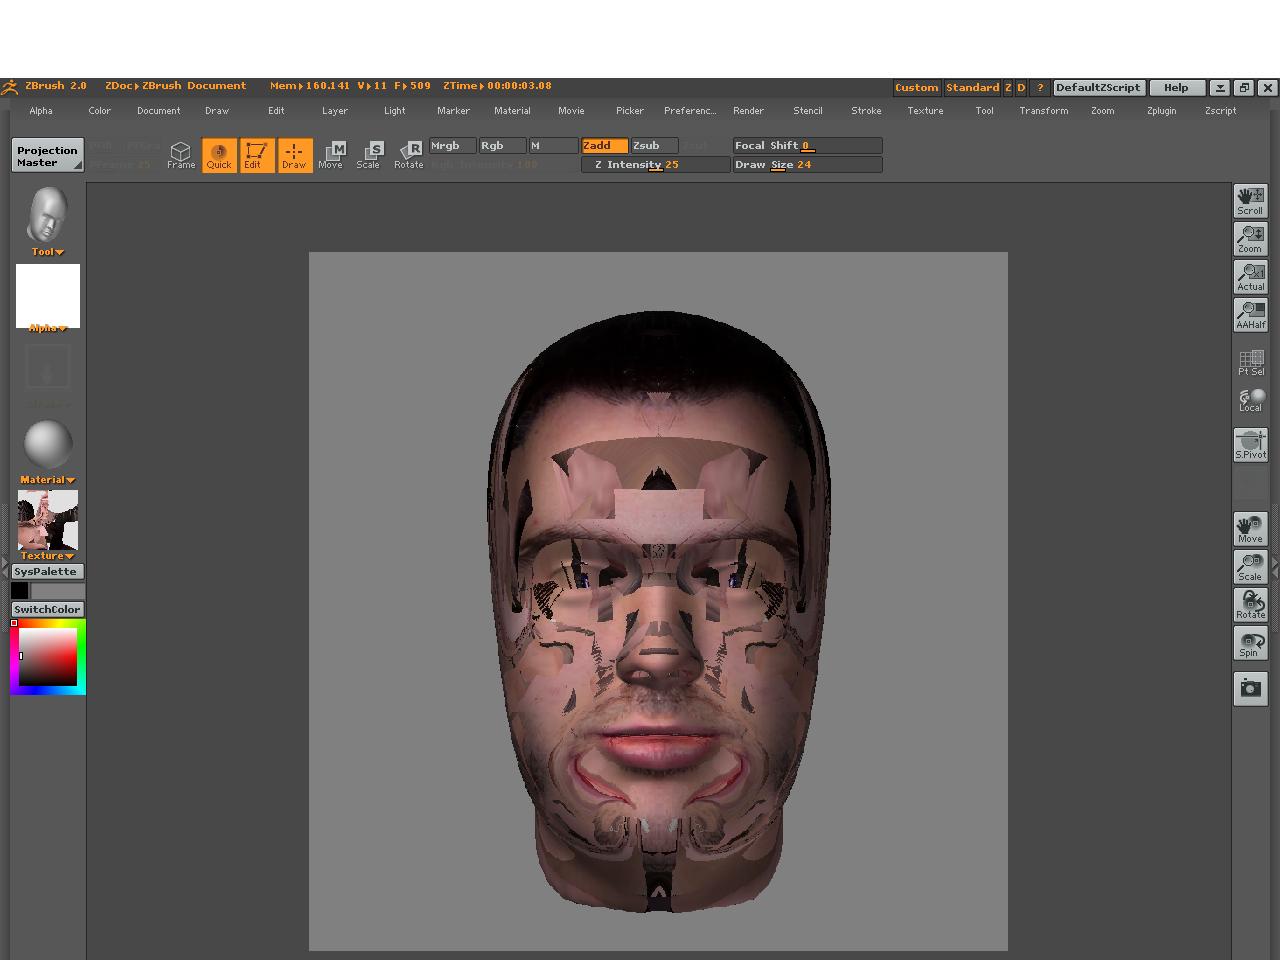
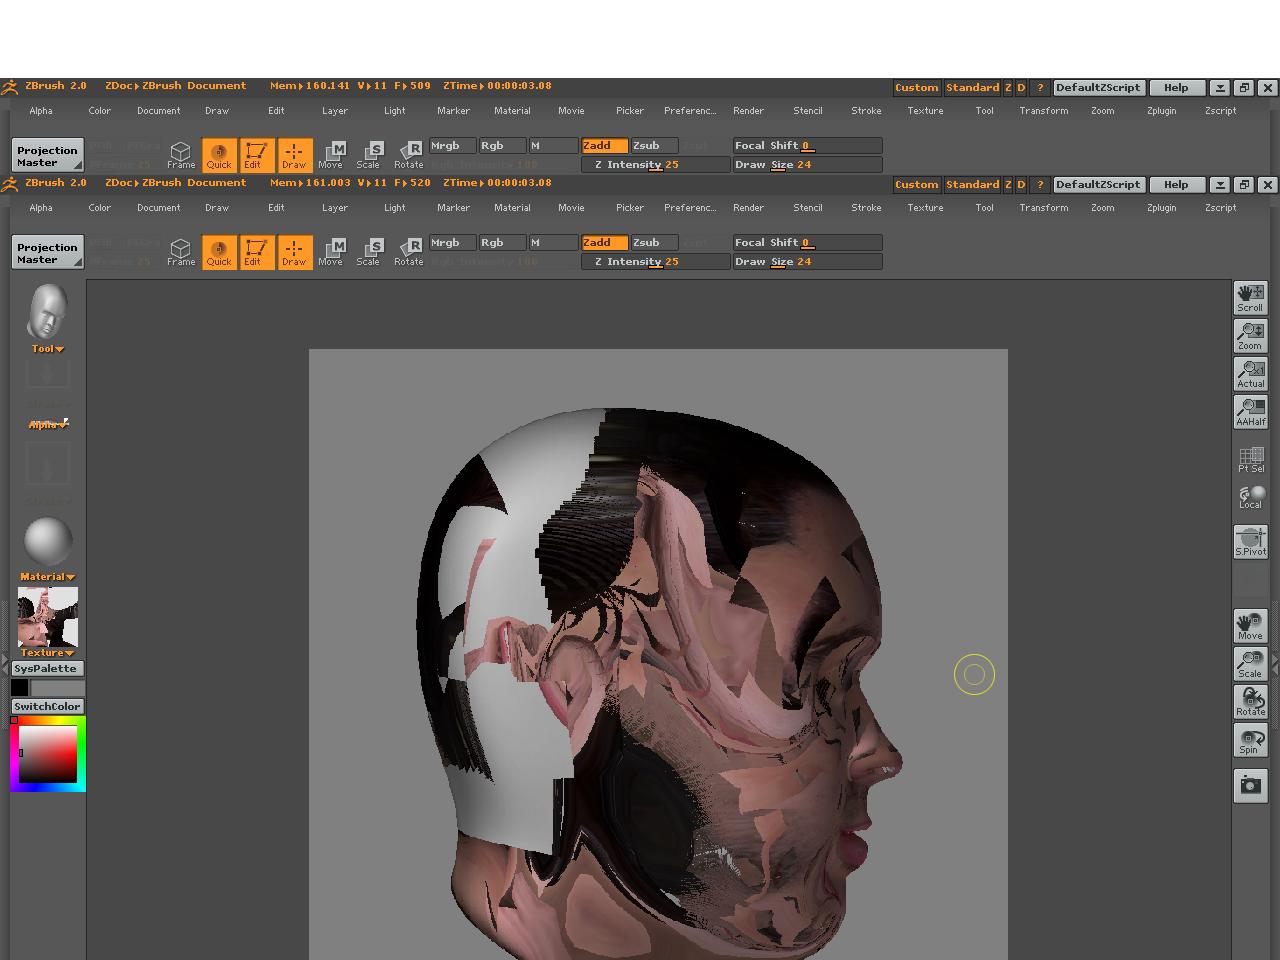
(please be patience… it’s my first head in Zbrush…i come from Maya)
Tanx for you support…it’s like gold for me :slight_smile:

I think your problem here is you have double sided on which is projecting all your frontal textures to the back of the head, and while these textures may look great on the front, most people do not have eyes on the back of their heads, so that can come off looking a little odd.