Amazing work! Thanks so much for sharing!
Do you sculpt tileables all in one mesh (alpha + brush wrap mode for tiling) or do you insert meshes on top of a plane (ex. IMM rocks on sand plane)?
Amazing work! Thanks so much for sharing!
Do you sculpt tileables all in one mesh (alpha + brush wrap mode for tiling) or do you insert meshes on top of a plane (ex. IMM rocks on sand plane)?
amazing. good brushes
Thanks a lot guys!
Do you sculpt tileables all in one mesh (alpha + brush wrap mode for tiling) or do you insert meshes on top of a plane (ex. IMM rocks on sand plane)?
I use wrap mode for organic textures like this one
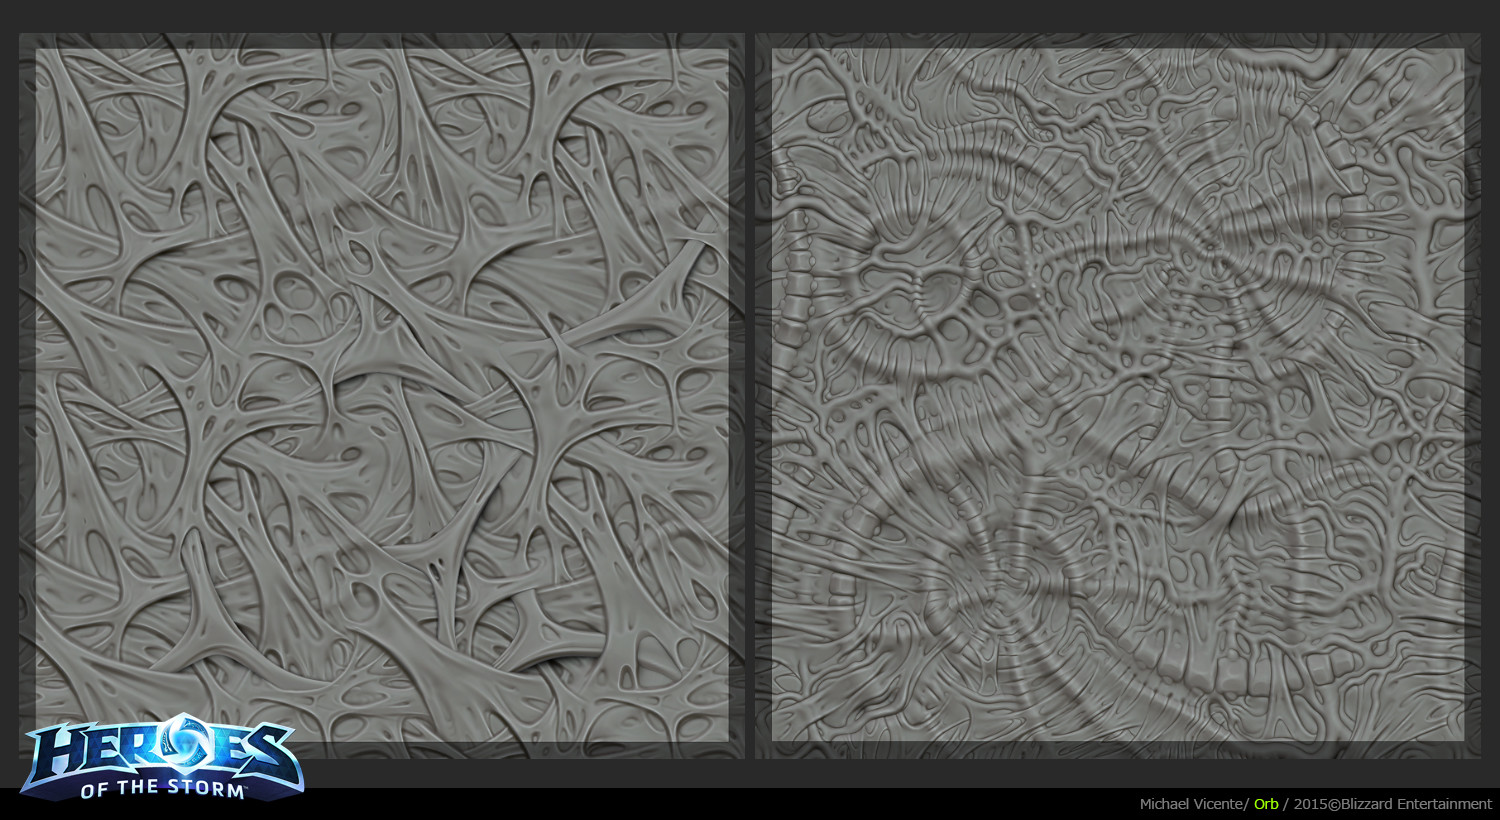
Unfortunately Insert brushes don’t work with wrap mode (would be awesome actually) so I drop some rocks etc with alphas.
To be honest I use Wrapmode2 instead of 1 so I can have a bigger frame, I then bake this on to a 2048 plane and crop in photoshop to 1024 so I end up with a perfect tile without tweaks.
When I work on big tillable textures made of big subtools I don’t use wrap mode, I try to make a “puzzle piece” until that puzzle pieces works with repetition.
Incredible stuff!
Very awesome post! Gives alot to think about, thanks a bunch for sharing! 
unfortunately insert brushes don’t work with wrap mode (would be awesome actually) so i drop some rocks etc with alphas.
Thanks for sharing your workflow!
Yep IMM dont work with wrap but, as always with Zbrush, I think I have found a workaround just few hours ago 
Plugin from Joseph Drust for tilable nanomesh. Just create a NNM brush from IMM and then it tiles across edges.
http://www.zbrushcentral.com/showthread.php?192878-NanoTile-Textures!-unofficial-Information-Installation
Thanks Joseph, another awesome plugin!
Awesome, been waiting to see more of your work since you posted some environment art for a racing (?) game around 2011.
I remember some years back when a buddy introduced me to the orb crack brush. Your share of the whole set gave me life this past week lol.
Thanks for the share (both the brush and art).
Hey,
Awesome work… really inspiring.
Any tips on how you get your sculpts so ‘clean’… it’s the one thing I have trouble with. All your edges are so well defined and there’s not a single brush mark to be seen. Is it just a case of careful polishing or is there more to it? would be awesome if you could share some insight on how you go about this.
cheers
Love It! Great work as usual! I love the overlapping details you acheived with these textures. What were the techniques you used to achieve this?? Thanks!
I love the overlapping details you got in your organic tiling textures! What techniques did you use to achieve this affect?? Fantastic work as usual!
Amazing
Rob_beddall:
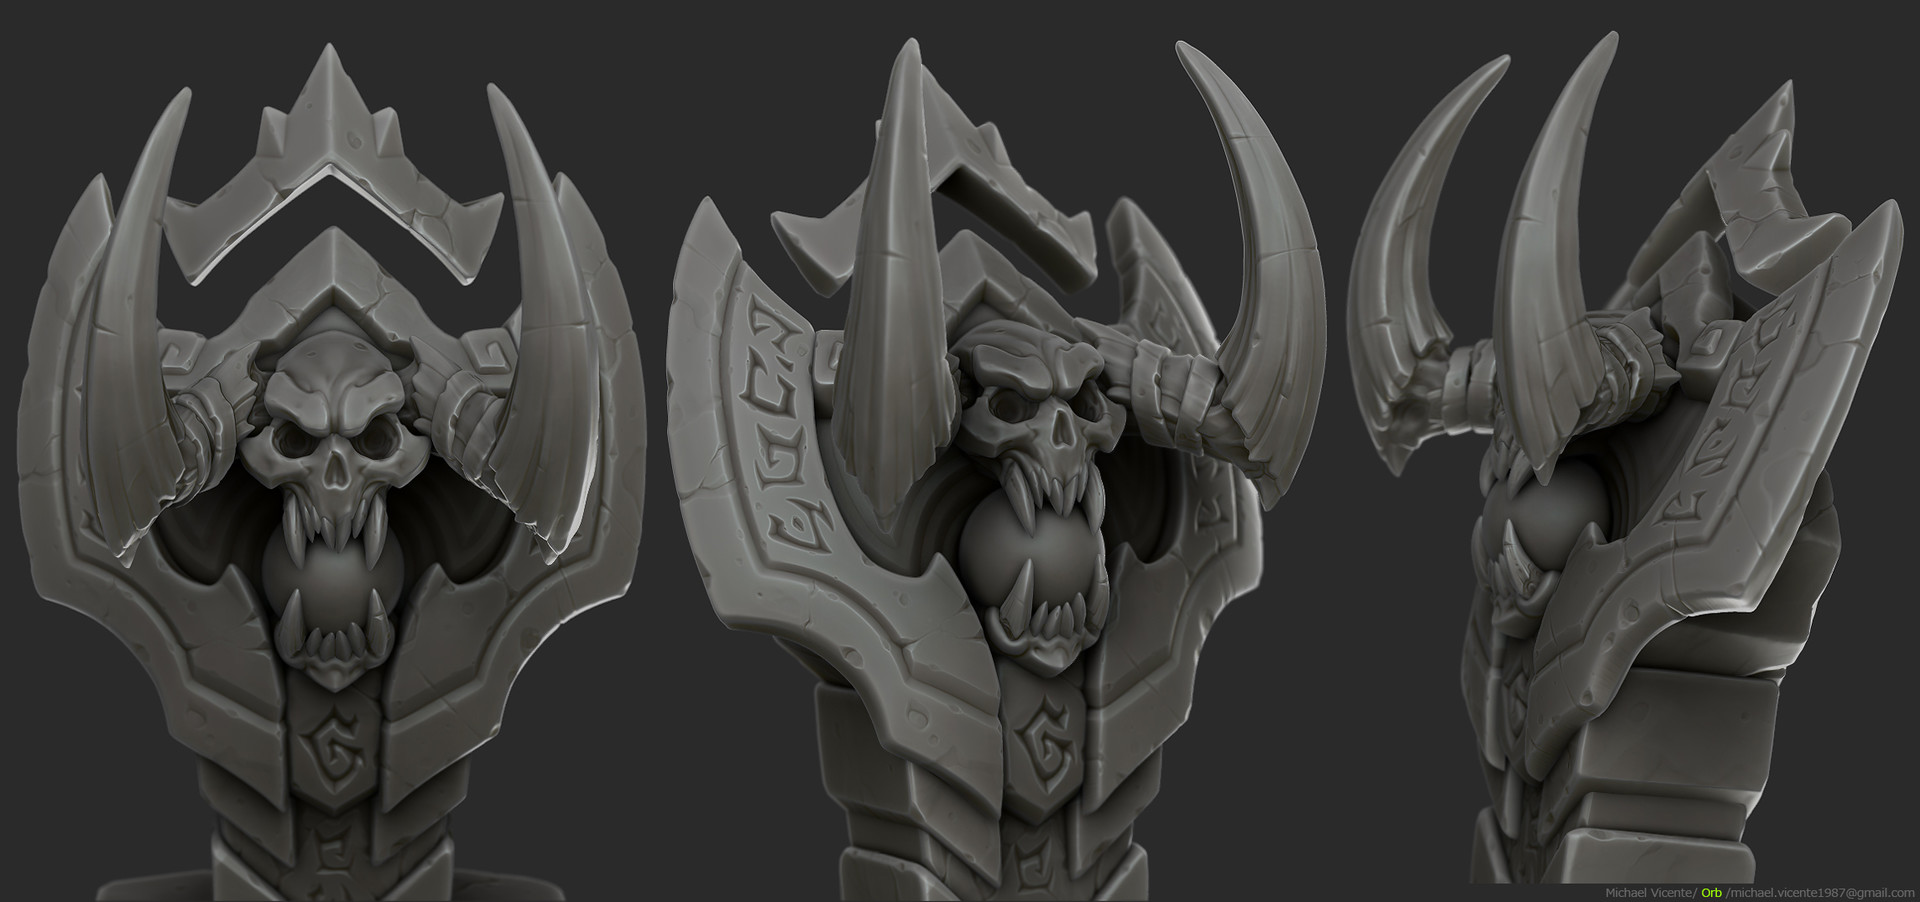
That’s a question I get a lot. I don’t really know I guess I’m very nitpicky lol. My main brush is the flatten brush with 100 intensity. I also use flatten with ALT, I think thats’s what gives me the most clean stuff, cuz it fills the cavities first like a clay behavior. I also just got used to my detailing maybe, I always clean my details with flatten, smooth and planar brushes.
Jazzon3D:
Thanks man, for the overlapping techniques, O’m assuming you’re talking about the “hell creep”, the organics tendons. I used basic alphas shapes made in photoshop to layout the tile, then Its a mix of damn standard, with zsub zadd, to have a “folding effect”, usually the sides of the tendons use zadd so the edges pop out with bevels, just try to draw a couple brush stroke with zsub zadd, zsub zadd next to each other and smooth the top and end, you’ll see what I mean hopefully.
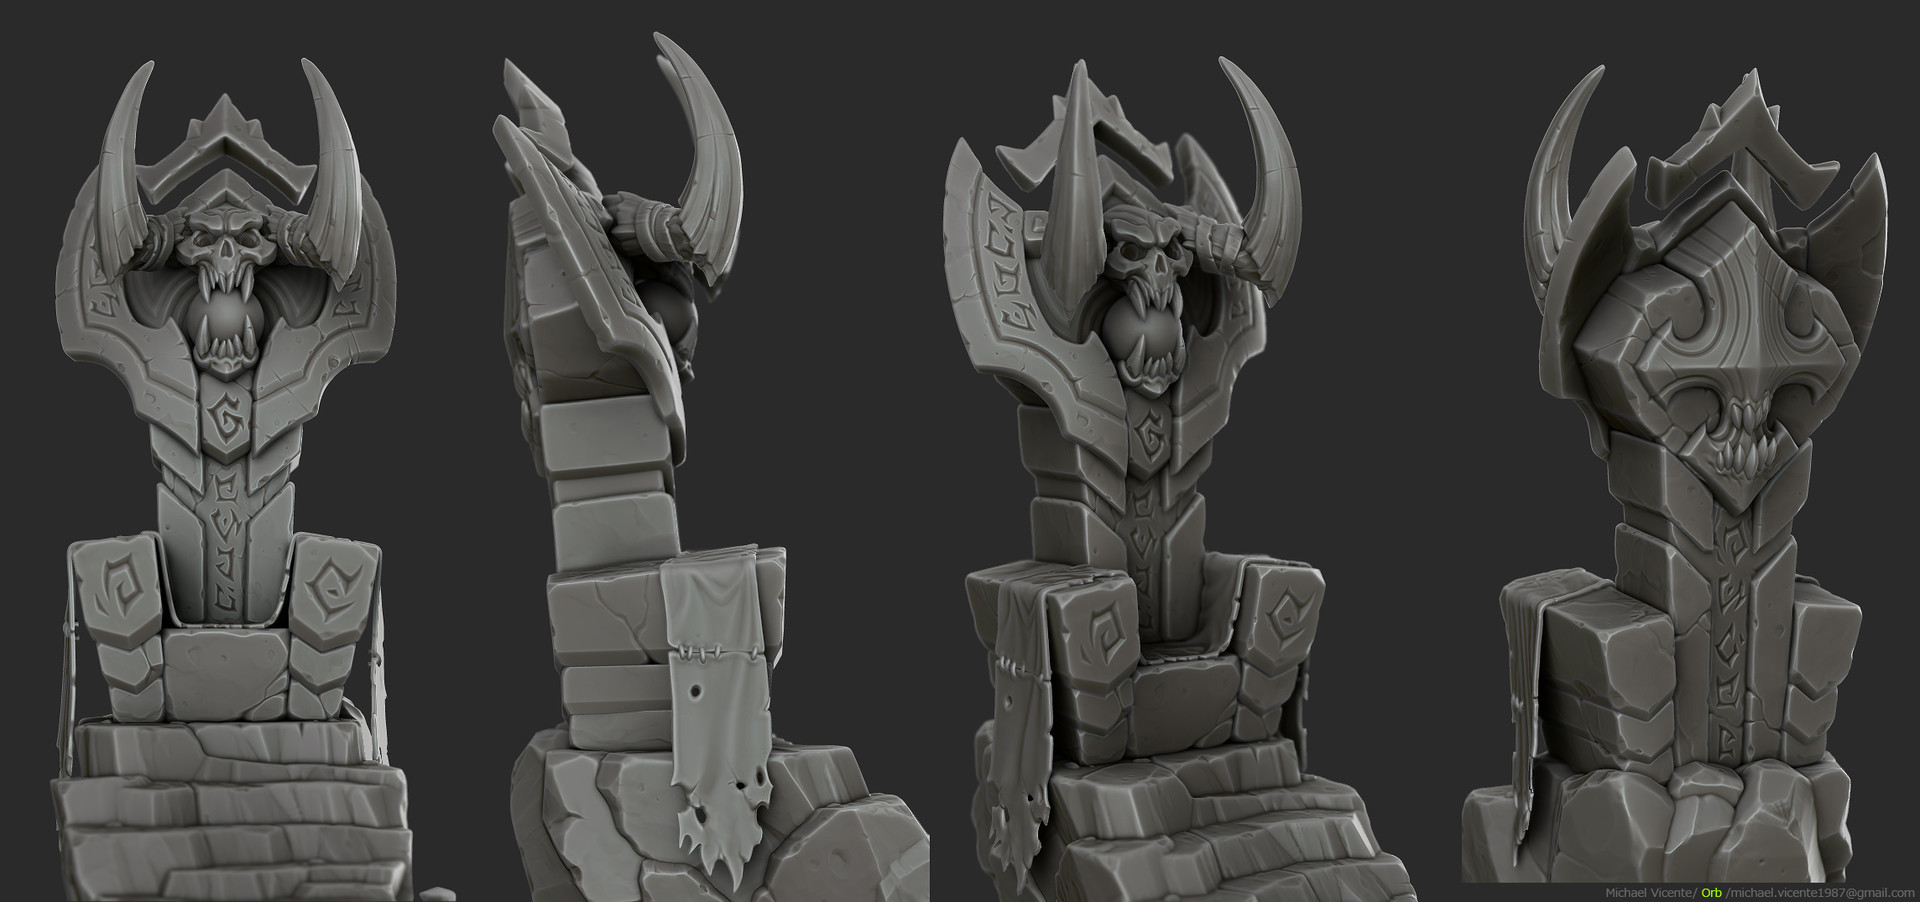
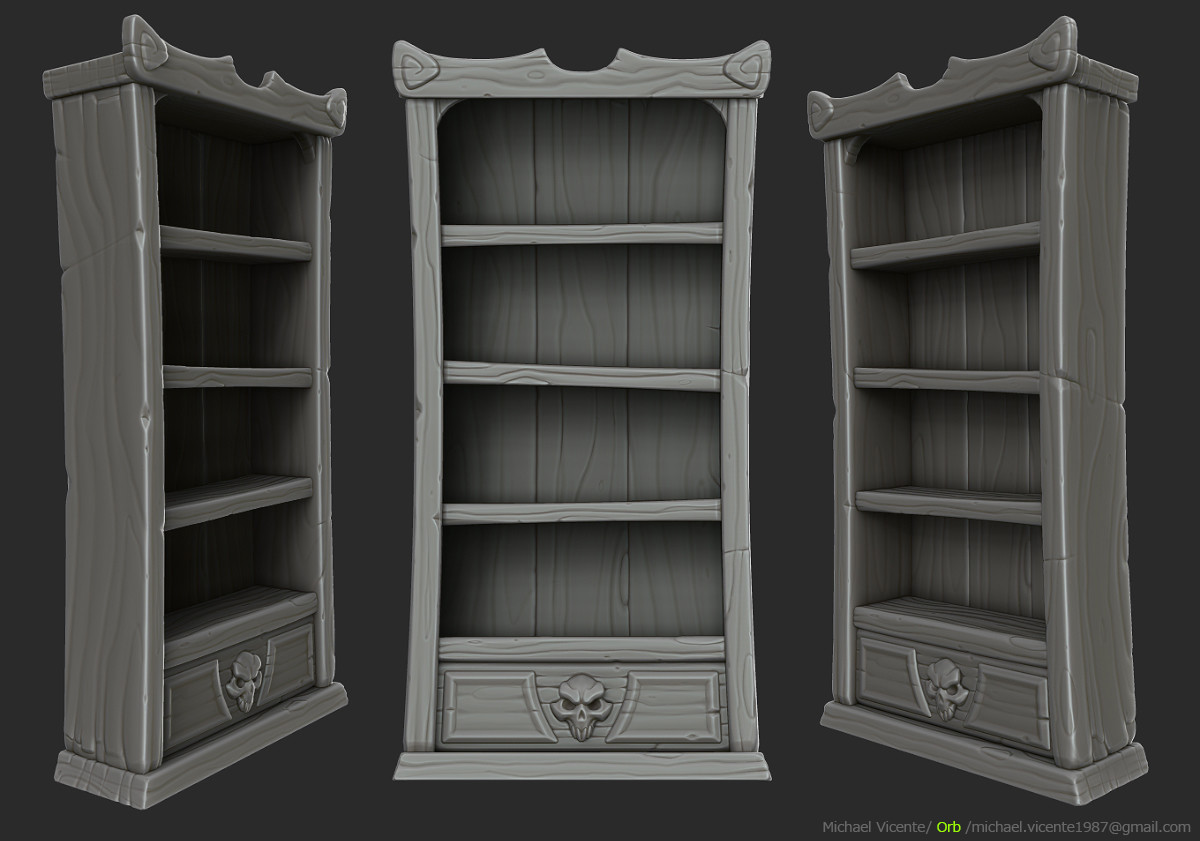
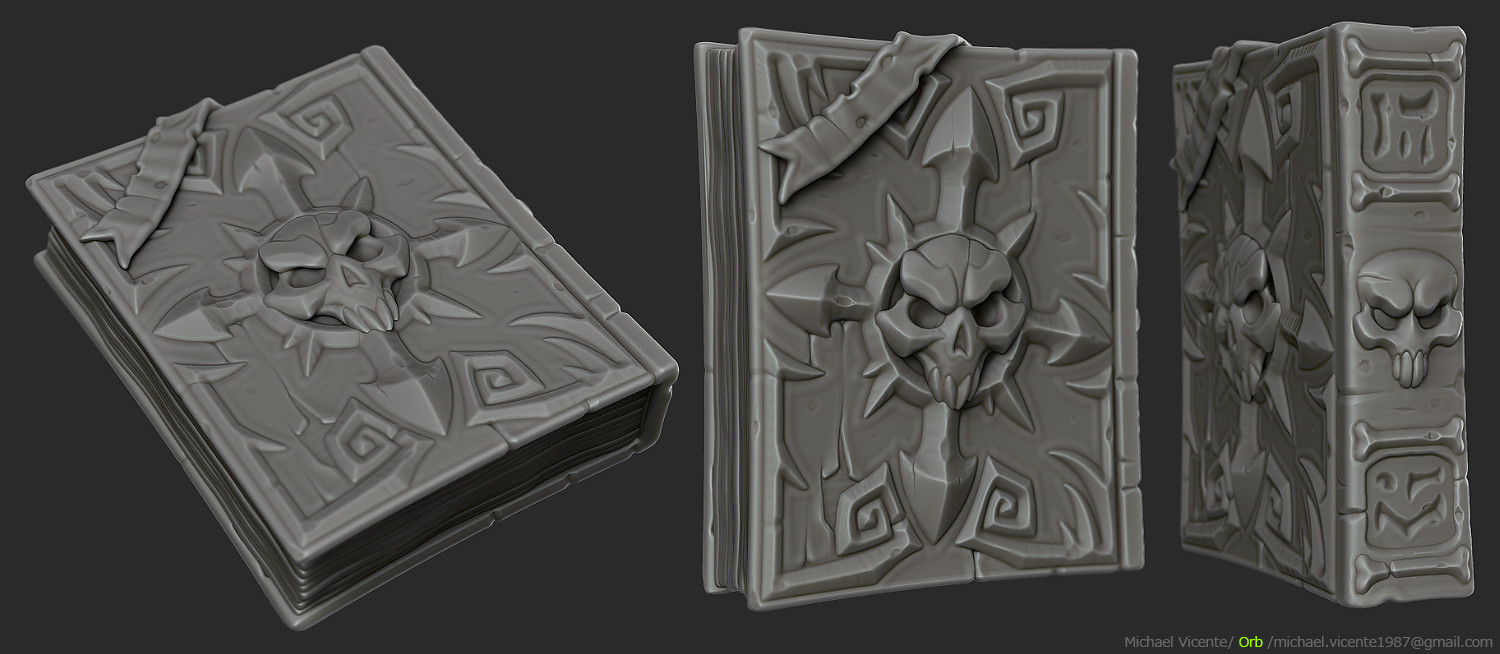
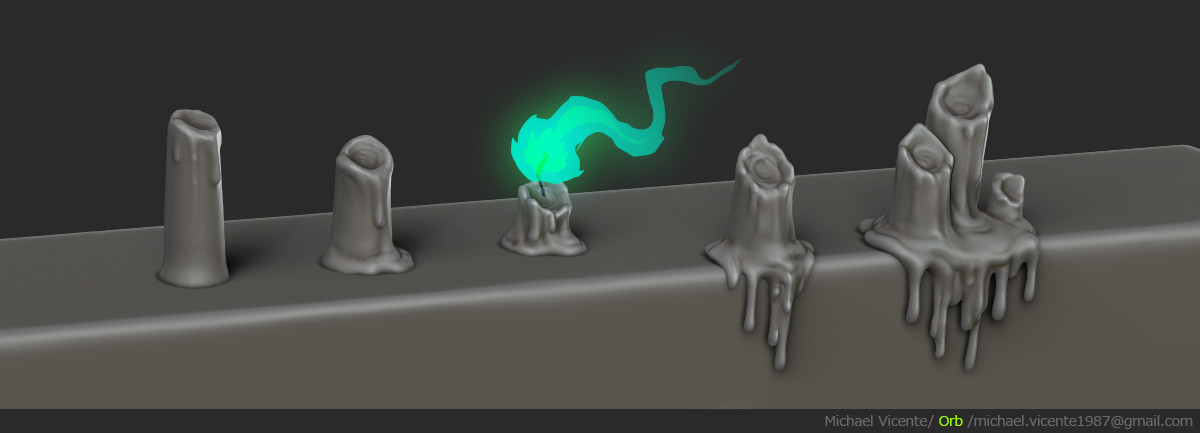
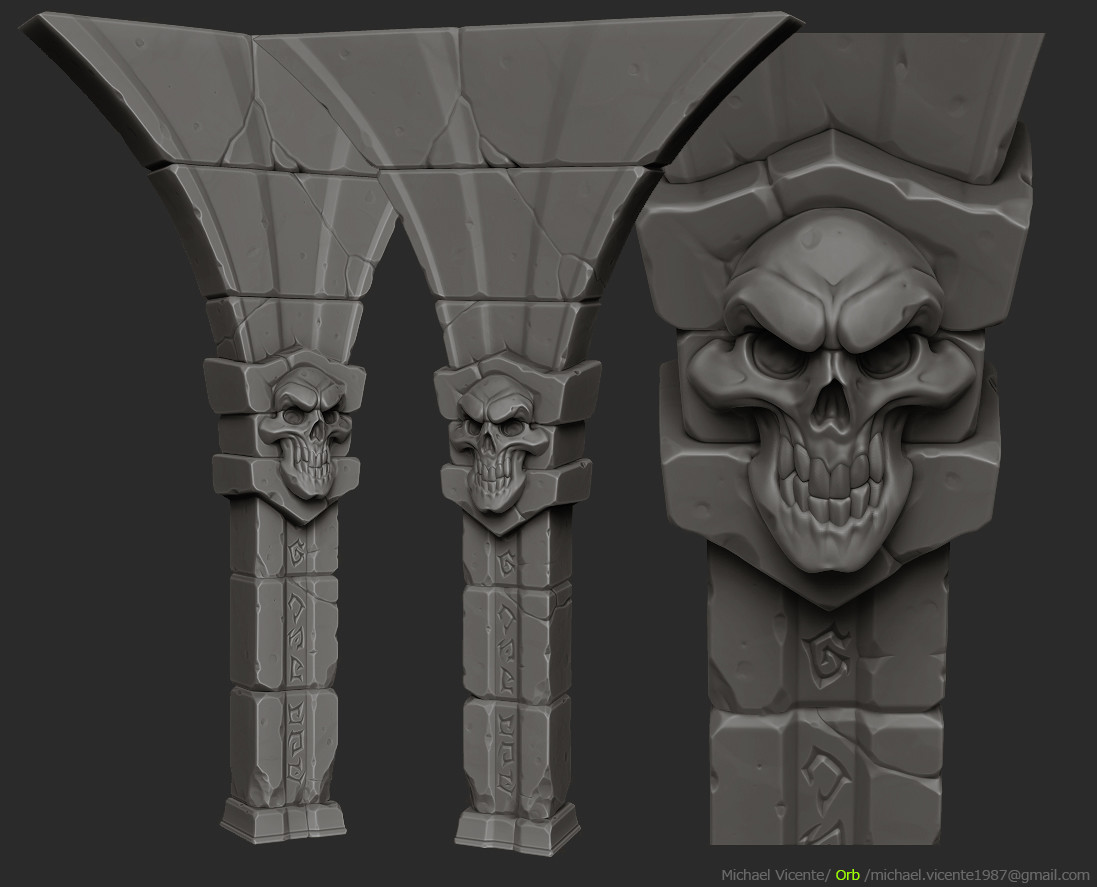
Here’s some more personal sculpt I did for a personal project, I have no idea IF i’ll ever finish it, I actually lost some files when I format.
You can see some bakes and Unreal engine tests here:
https://www.artstation.com/artwork/rZEDm

What’s the gray material that you use?
Hey,
Thanks for the reply. Definitely given me something to think about.
I have another question If I may…
When creating environment pieces such as the modular architecture or props that need to be a specific size / proportions, do you first create a base mesh in your 3D app and use that as reference / base sculpt mesh? or do you create the sculpt in zbrush first and worry about the size later?
With Zbrush having no ‘real world’ unit system this is something I’ve always been unsure about.
I generally import a very basic size reference model and then create as much geo as possible in Zbrush. Just wondered if there was a better way that I was missing.
thanks again for taking the time to reply.
cheers
Mindblowing stuff, some of the best Sculpts out there!
I love the presentation, could you maybe go a bit into detail about how you render your sculpts in zBrush (well, is it zBrush? do I see a cavity map assigned?)?
Also, thanks a lot for the brushes - Orb’s Crack is one of the few basic brushes I need day to day!
Keep it up and keep posting!
Hi Orb,
Thanks for your brushes and for sharing your artwork!
Quick question: how do you sculpt the circular grooves on your reliefs? I always find it hard to do precise shapes (circles, straight lines, etc.) in ZBrush. Of course, it could be poly modeling the grooves instead of sculpting I guess.
Thanks!
I love your work man! and thanks for the brushes.
sorry late replies!
@rob_beddall:
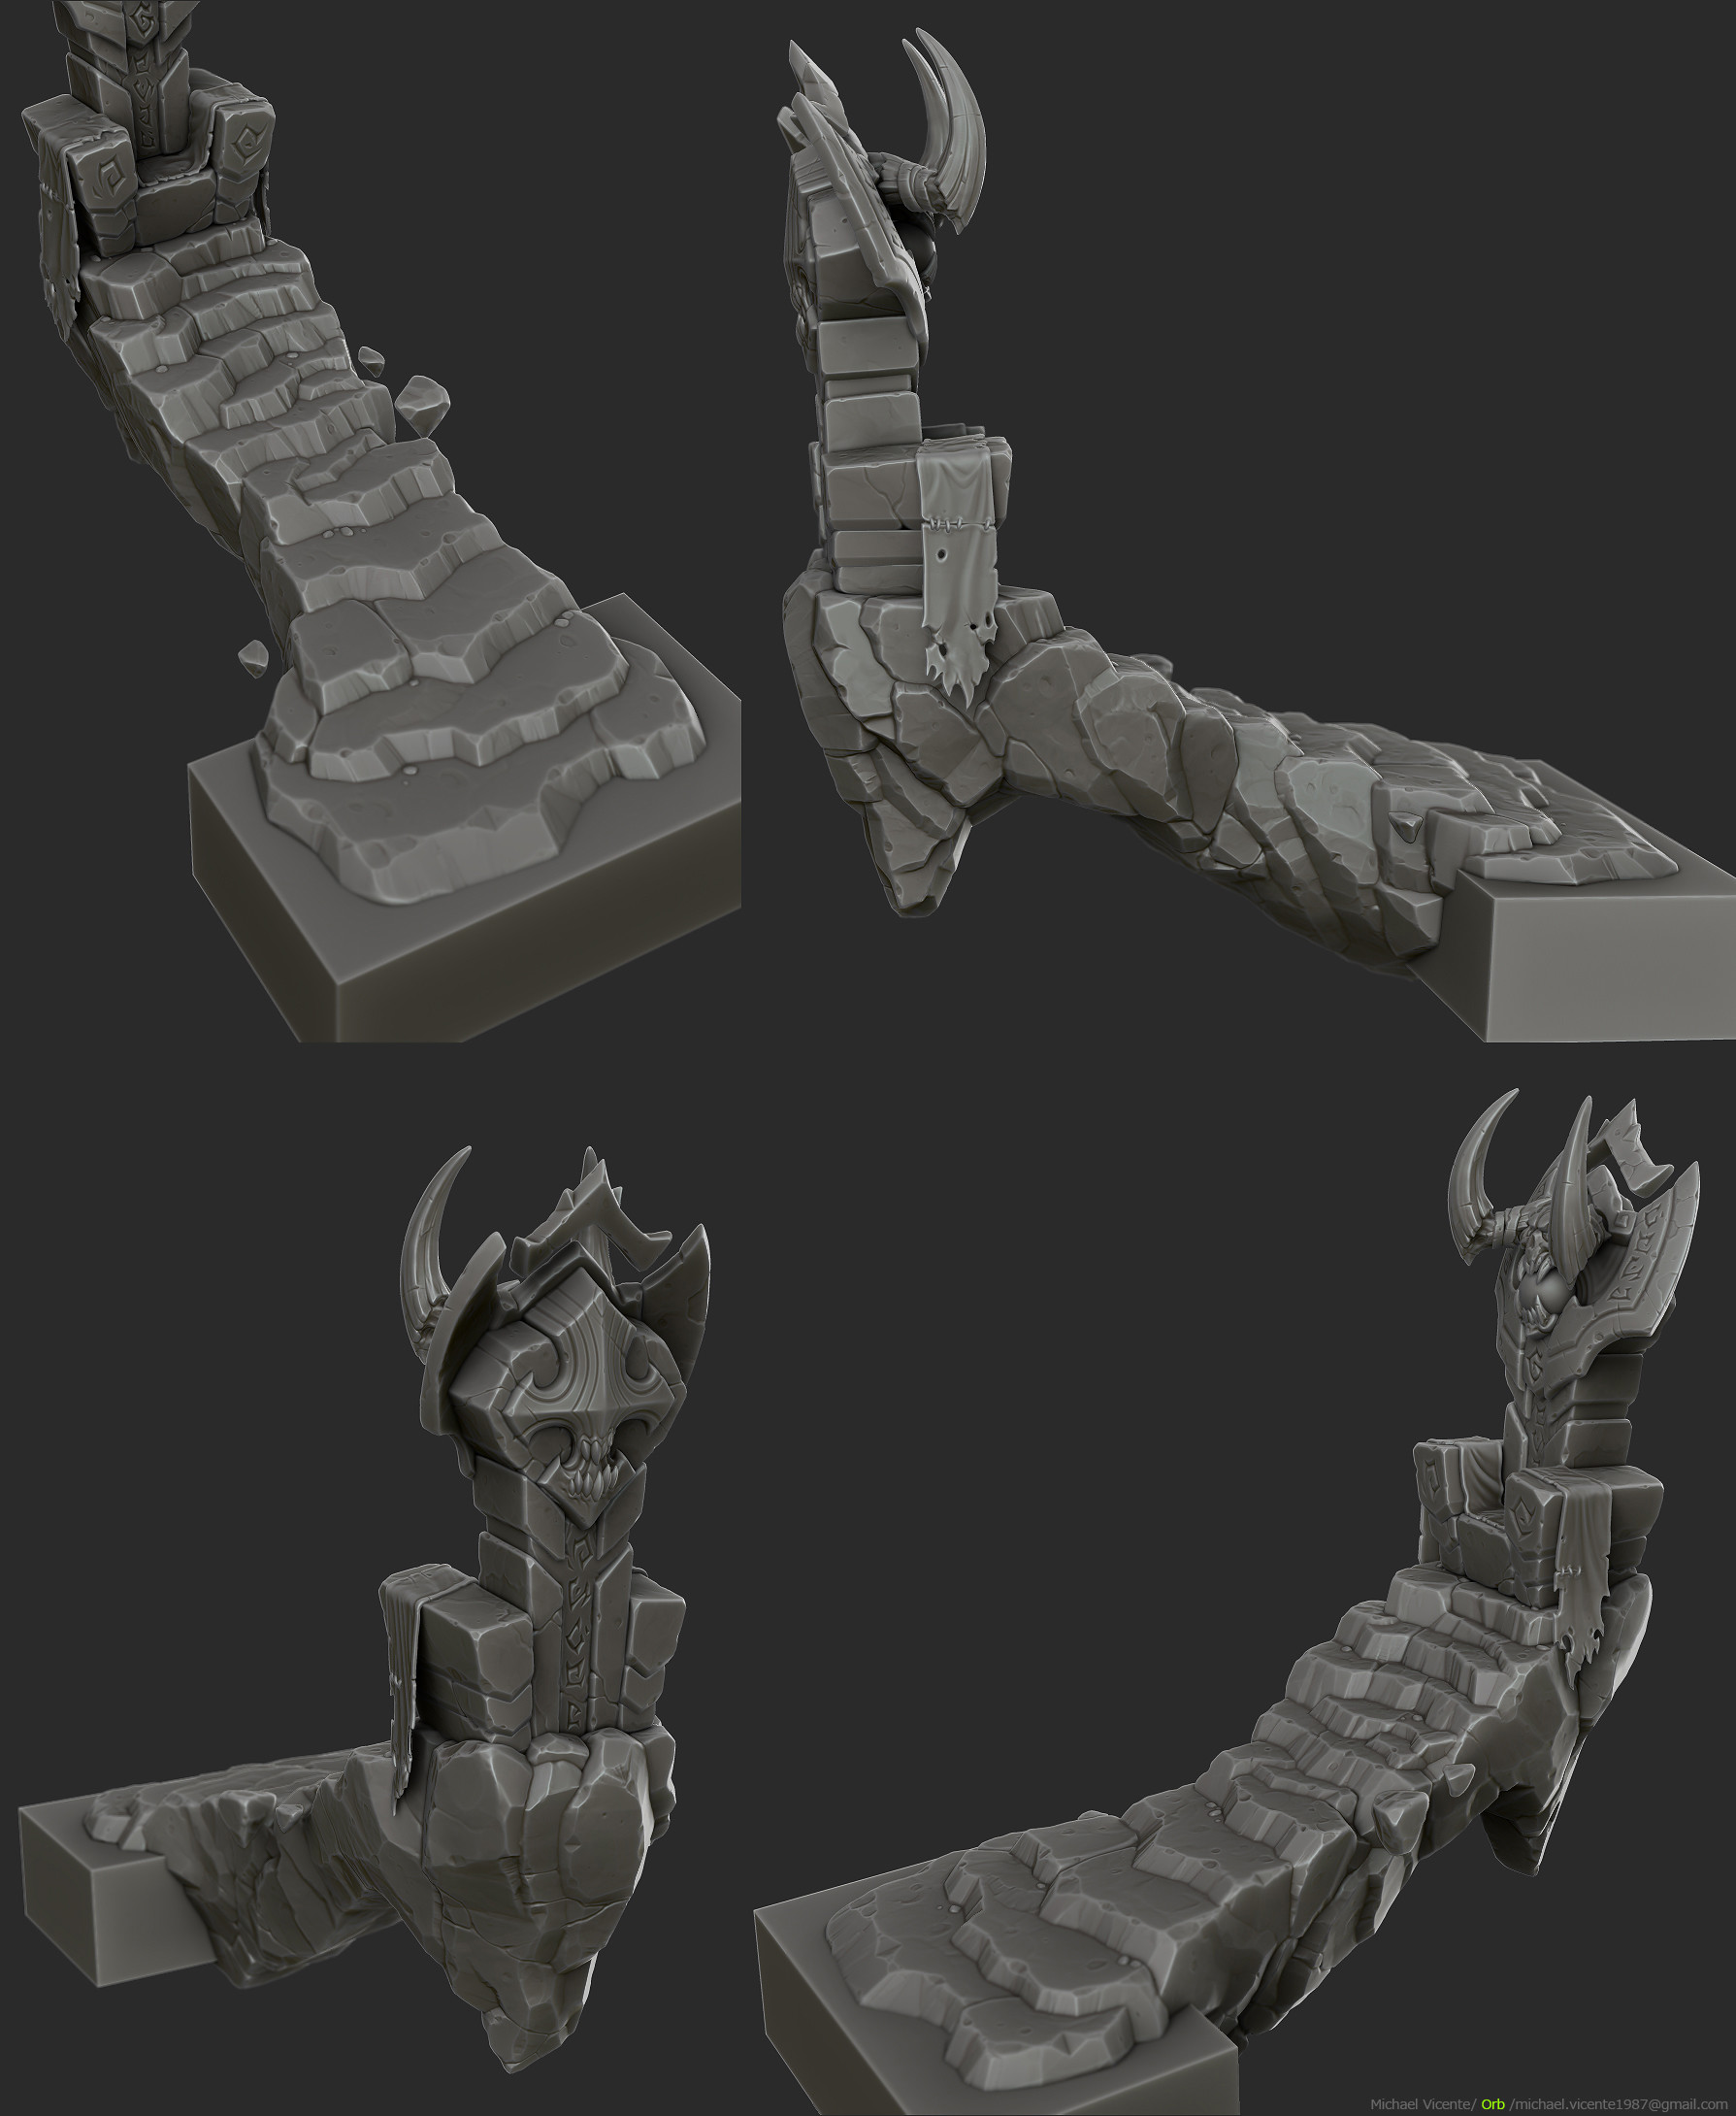
yes, I try to match a real life scale, because it impacts a lot the ambient occlusion bake, if your mesh is super small you’ll get different AO then if it’s huge, so I try to be relatively correct, at least when I bake.
@avagoyamug:
It’s pretty simple, I have 2 custom lights, one top left, one rim light with 0 ambient, and I make two bpr renders and composite them in photoshop. The matcap is a custom one that I was planning to share with a video on the future, it already has cavity and highlights settings.
@epach:
Not sure to understand, you mean the runes? if that’s the runes, I use a very useful way, and actually very easy, I use photoshop to make the shape I want, and then inner glow effect, with chiseled mode and 100% opacity, then you can basically control your bevel in photoshop, all you have to do is drop that alpha on the model and mask>polish to clean it a bit. Again I’m planning to actually demonstrate that tip on a video, I actually use this a ton.