ZBrushCentral

ODST wip

Its been years since I have started any WIP threads.
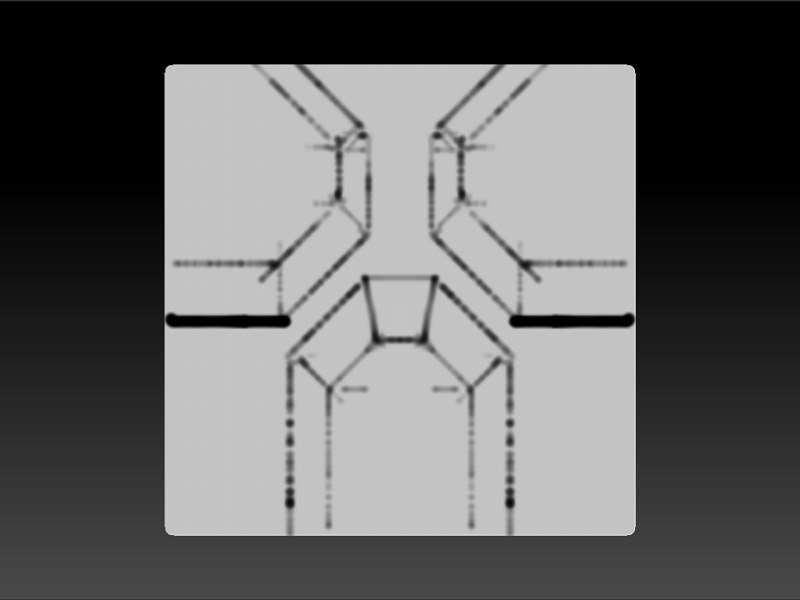
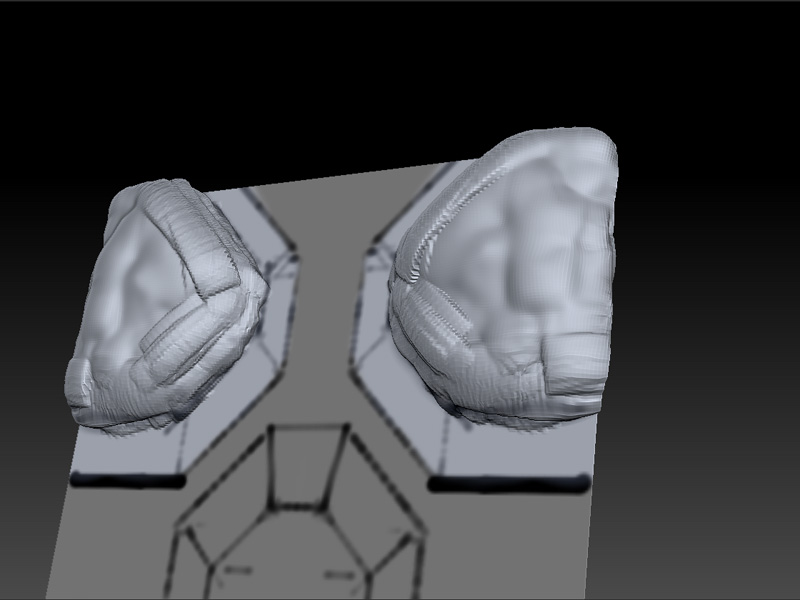
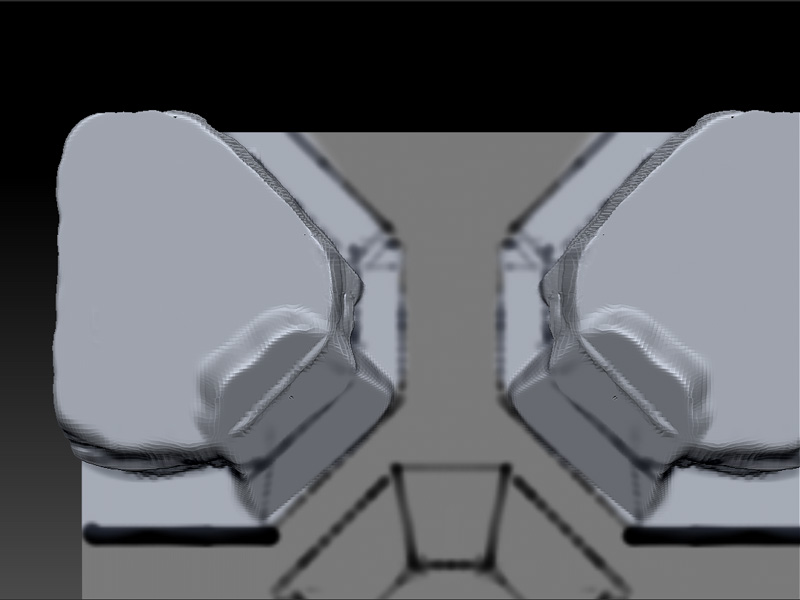
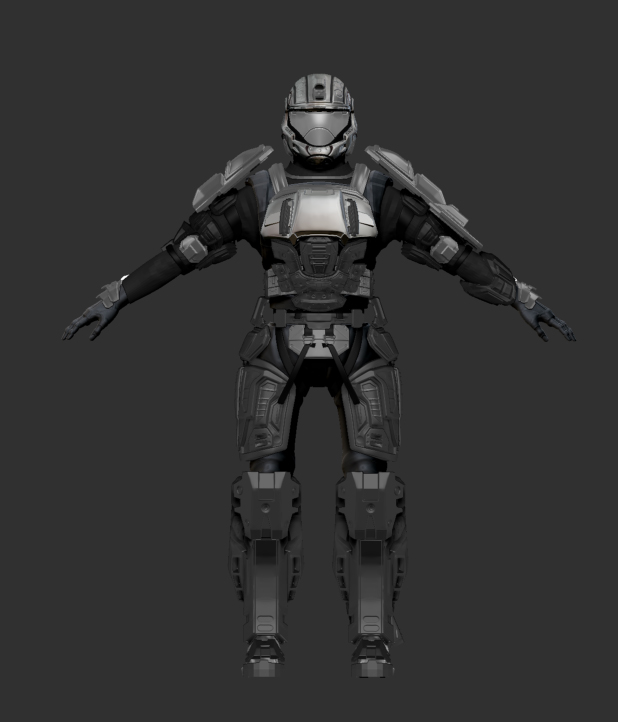
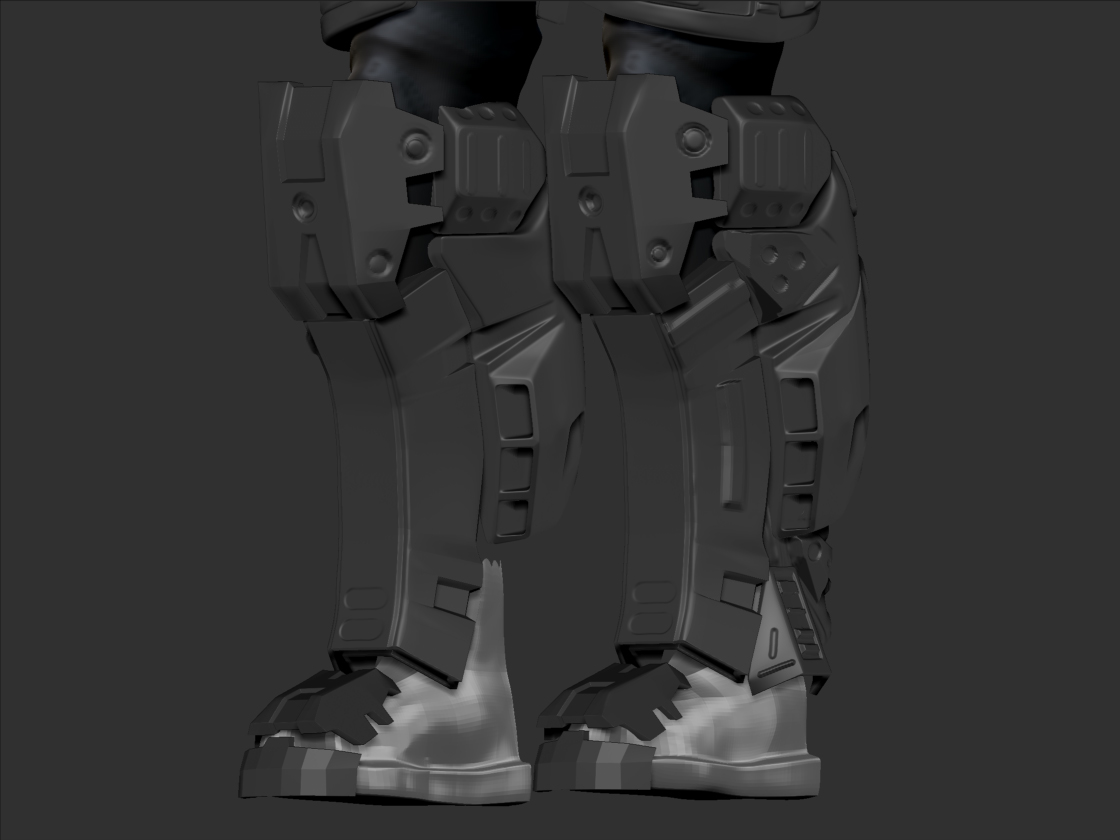
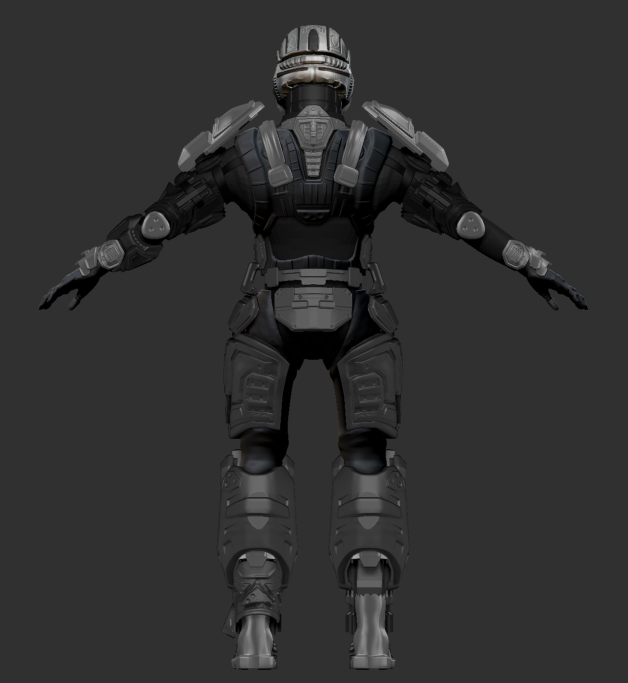
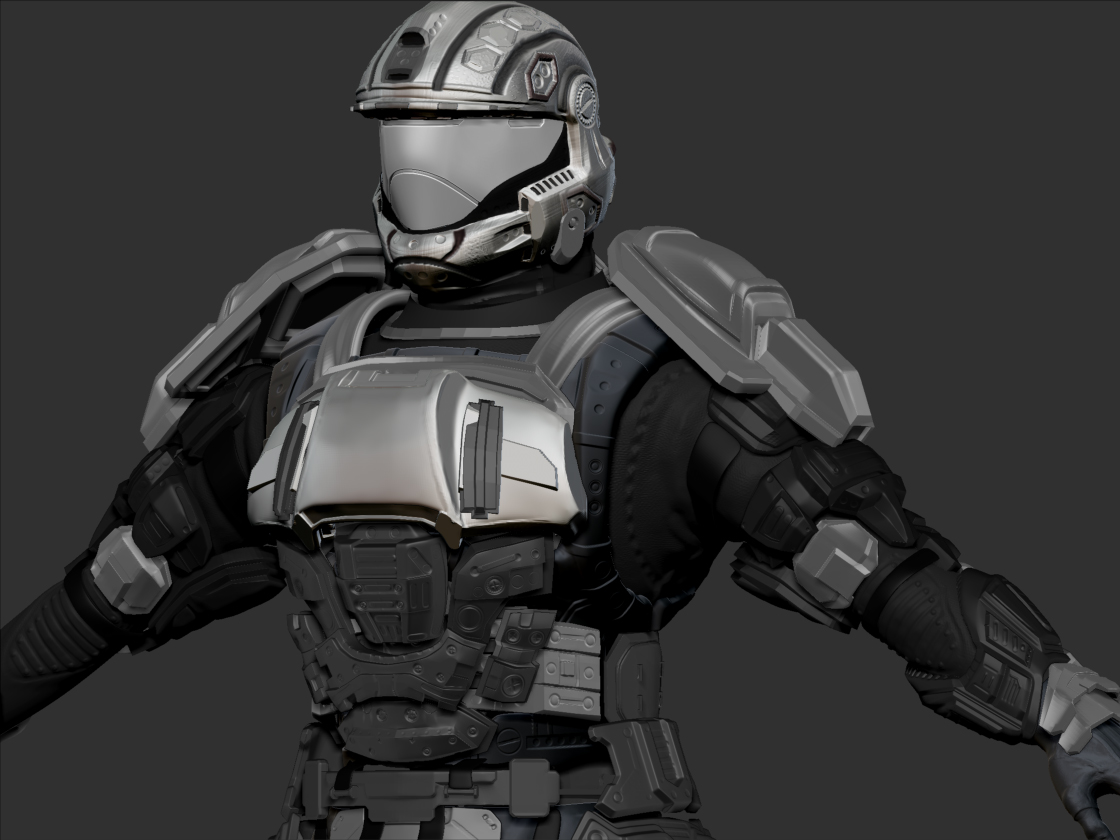
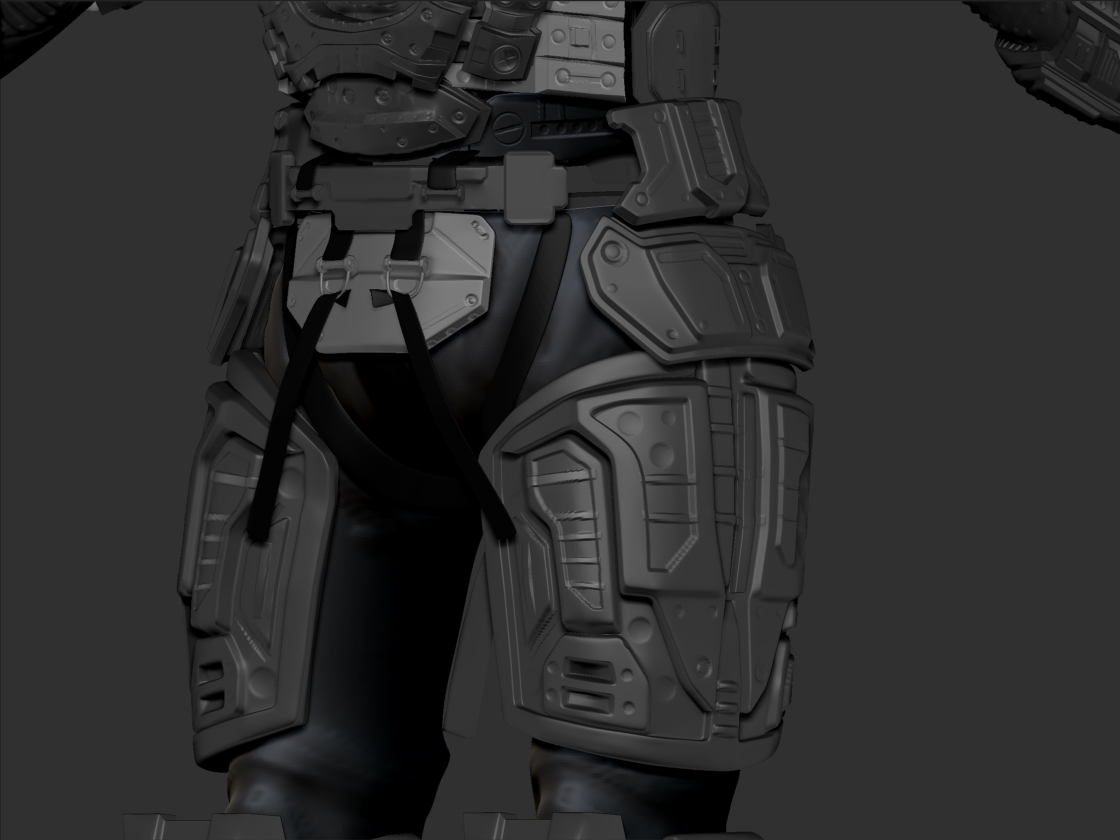
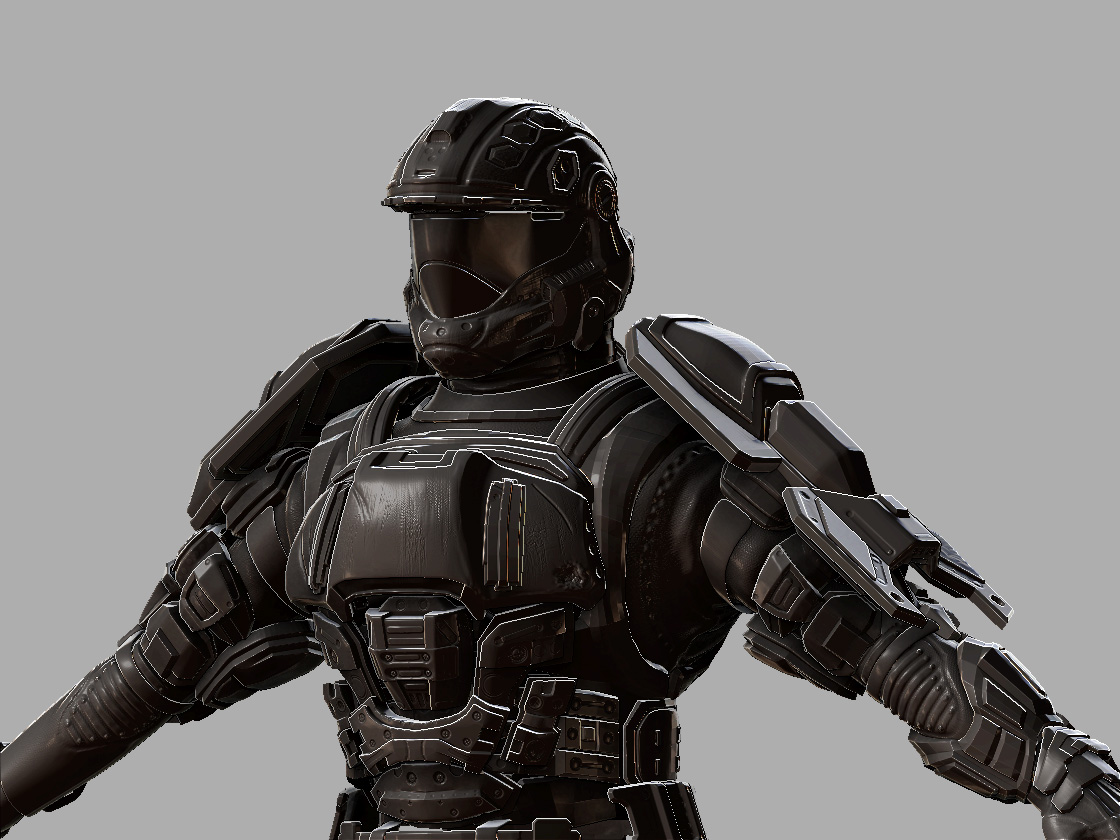
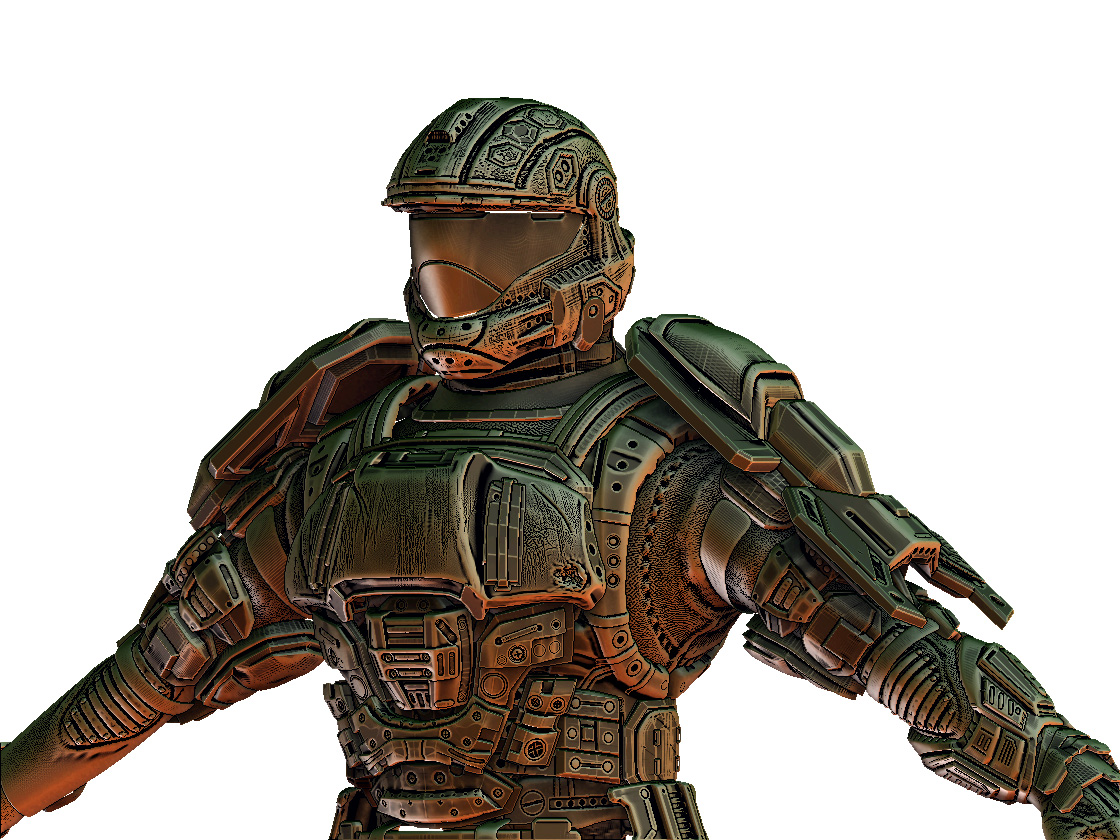
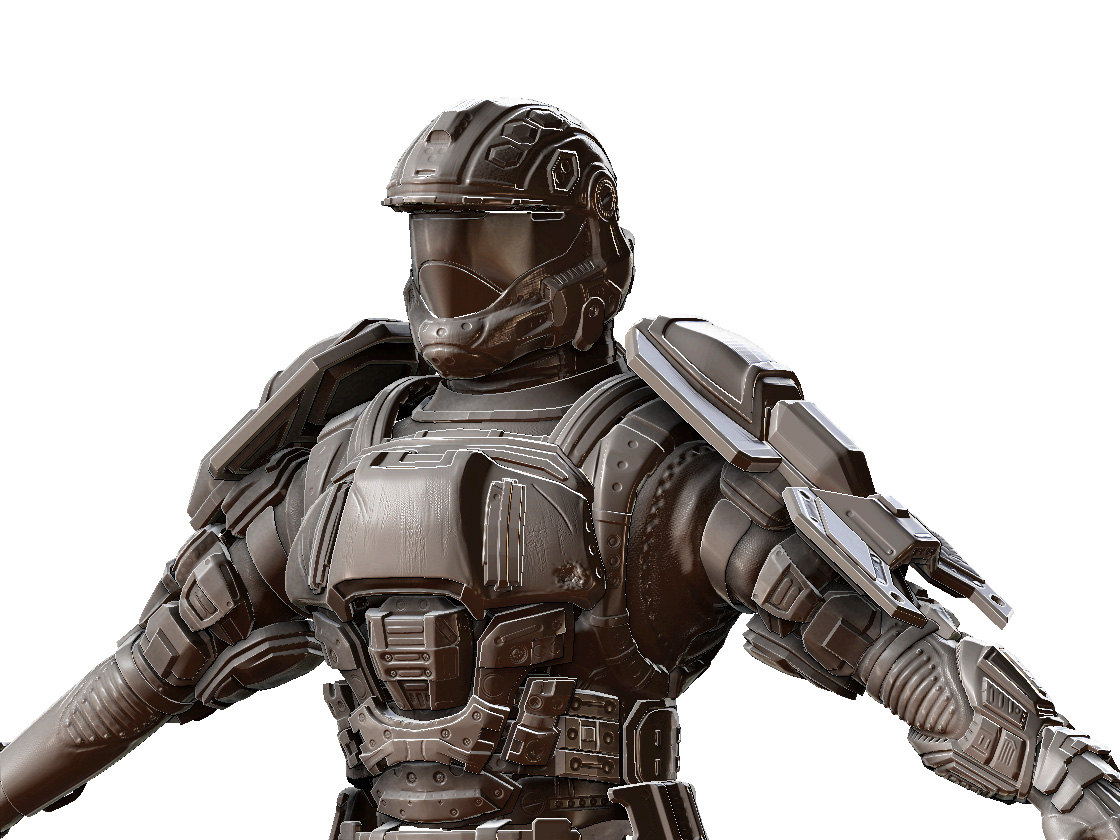
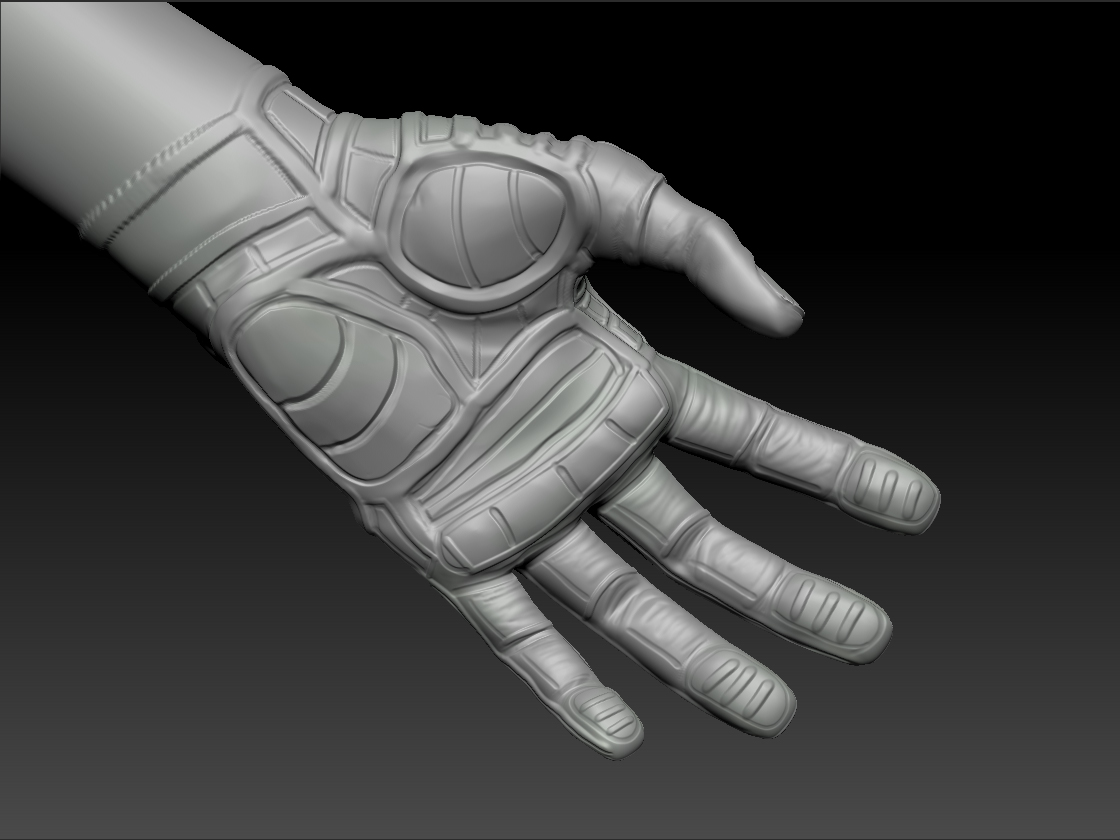
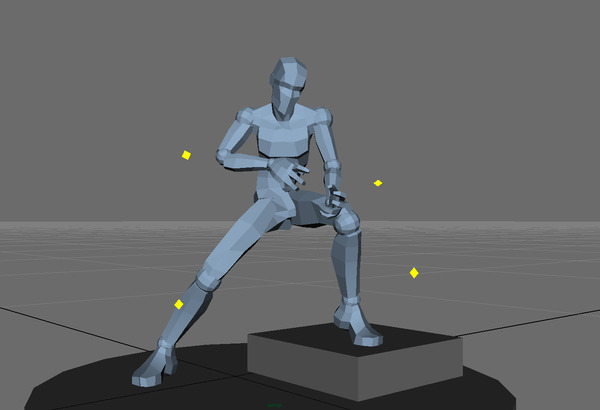
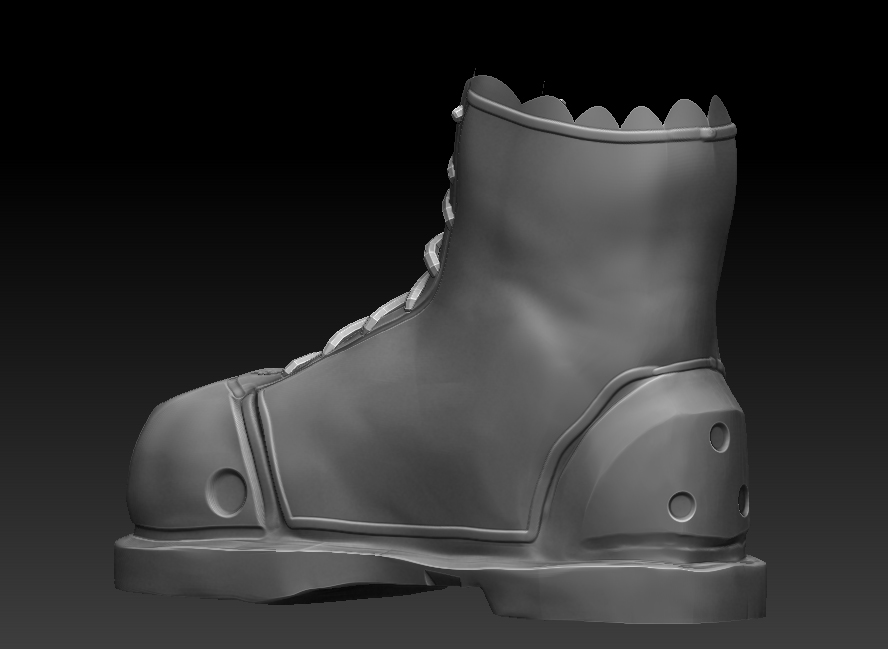
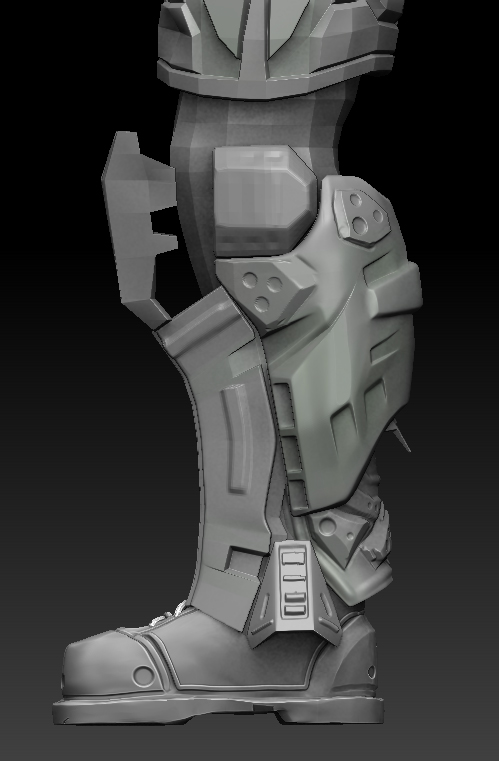
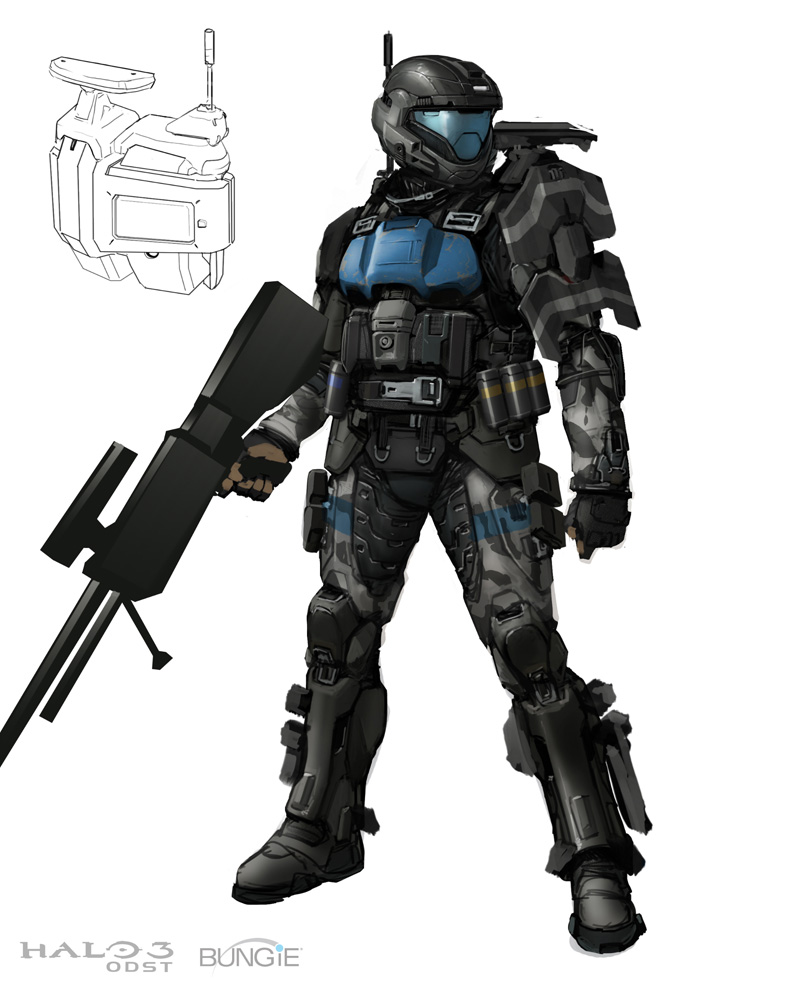
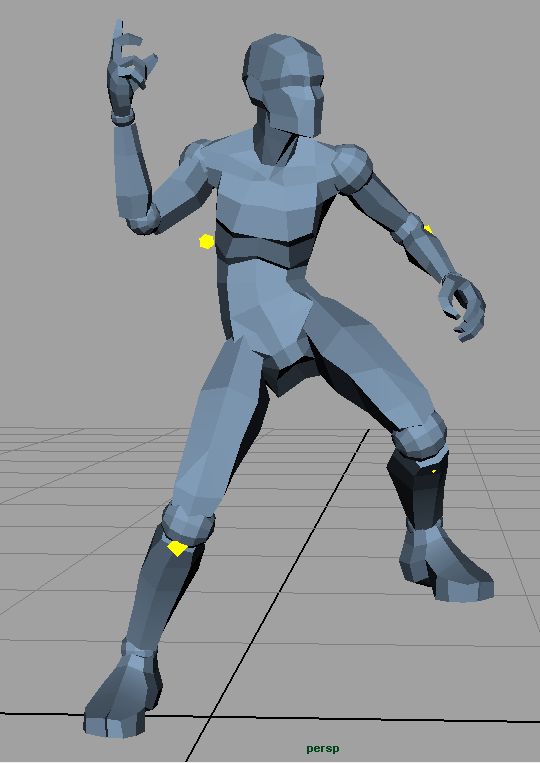
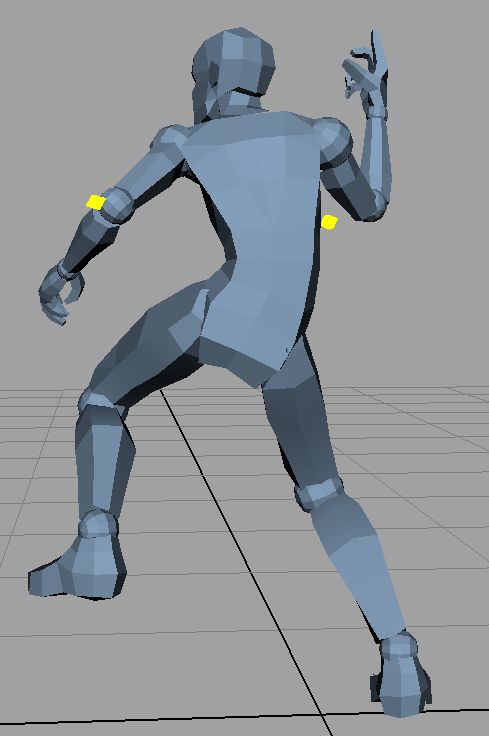
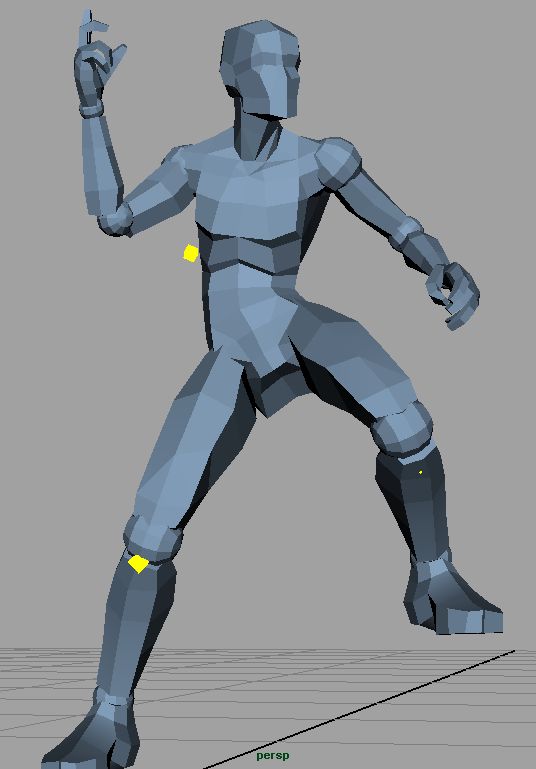
I’ve been working on this ODST character model, off and on, for about a year now in my spare time. Only a month ago did I actually bring this into Zbrush.

I would love to get critiques, suggestions, or tips for techniques that I could apply to improve upon what I’ve already done. I really want to finish this model strong, I’ve lost a lot of motivation due to slow progress.

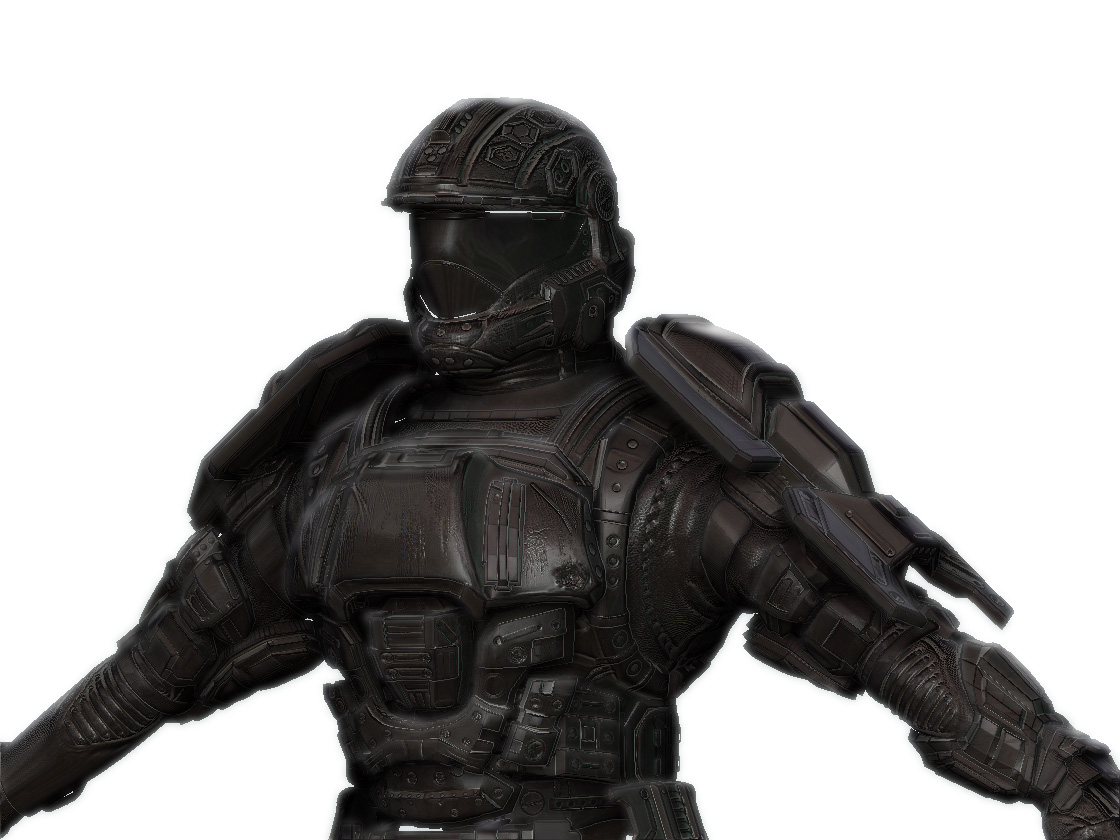
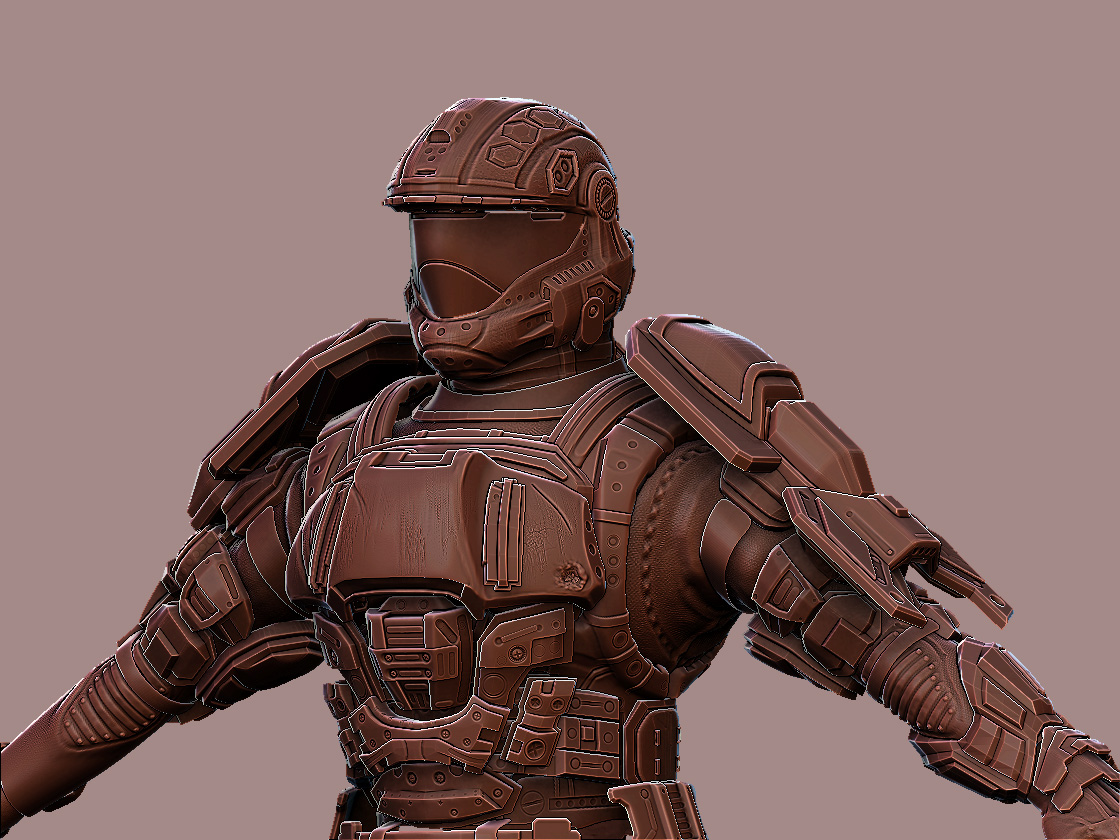
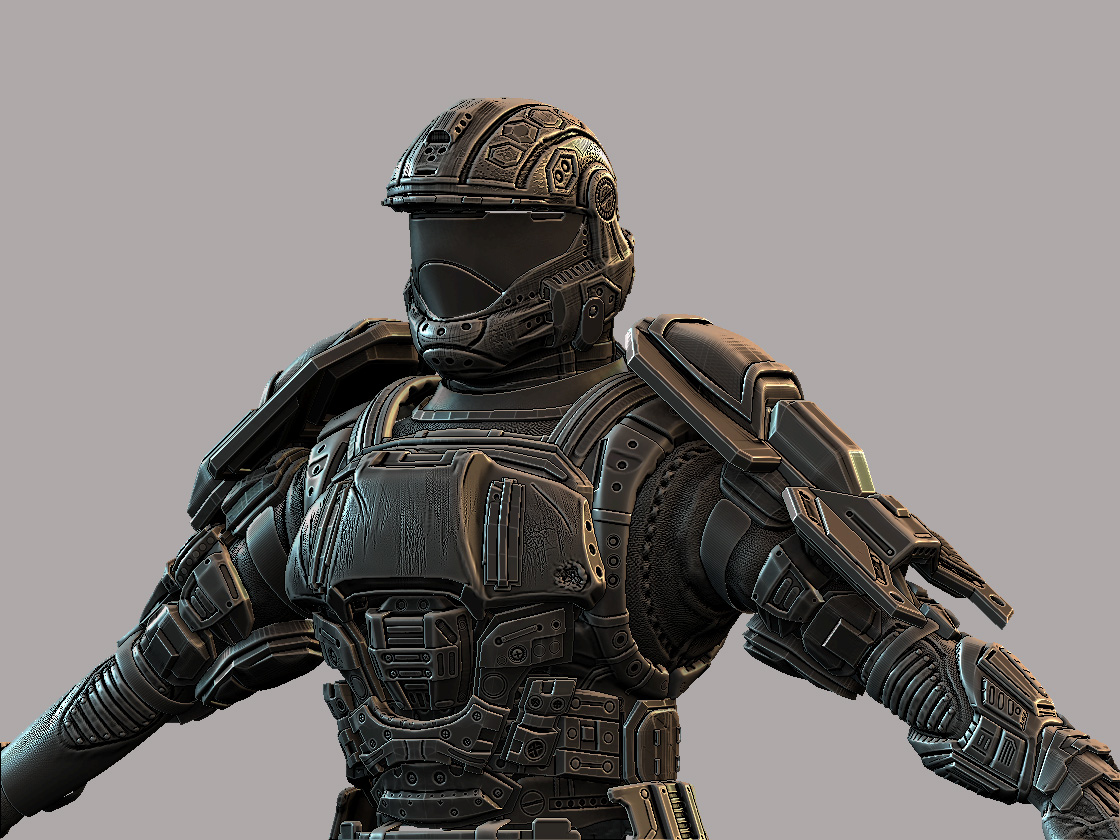
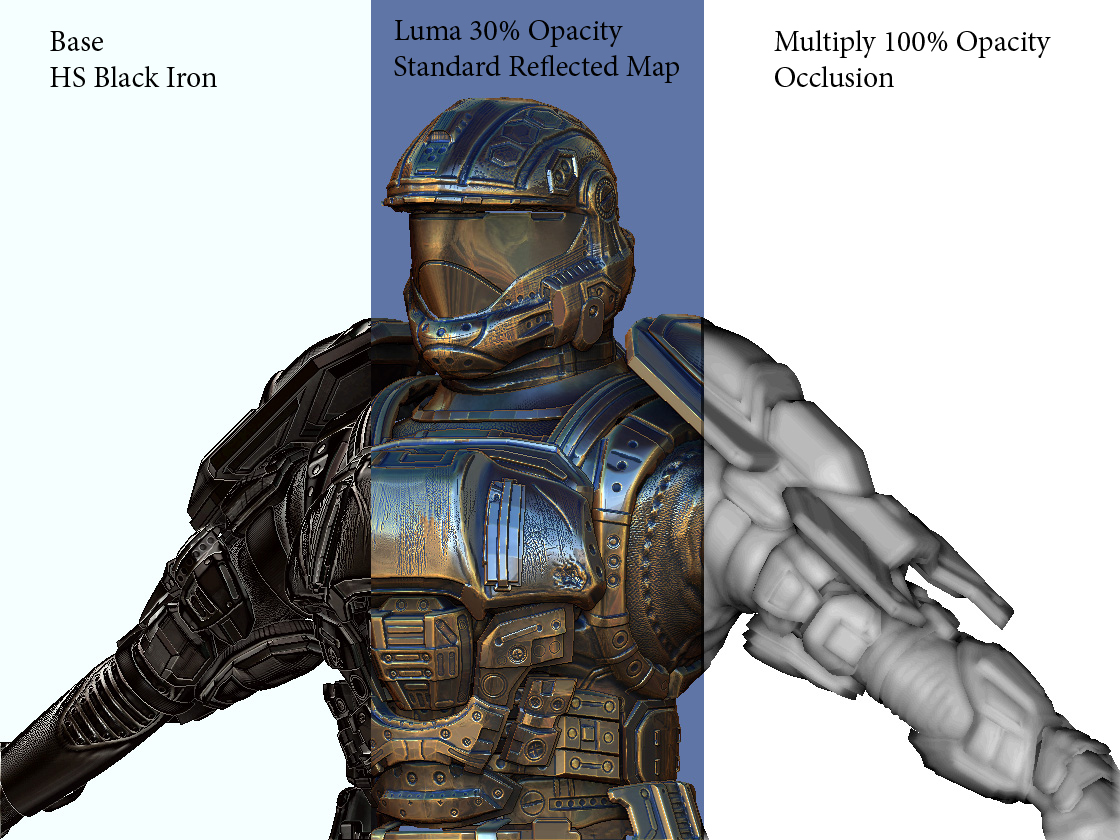
I am not focusing on the materials quite yet. I plan to render out some HD turntables with various materials that I will comp together in After Effects.
For simplicity, I am avoiding the element of bringing these assets back into Maya or Max.

I will continue to add images here from now on. But if you would like to see some older WIPs, I have some blog posts at descrow.blogspot.com

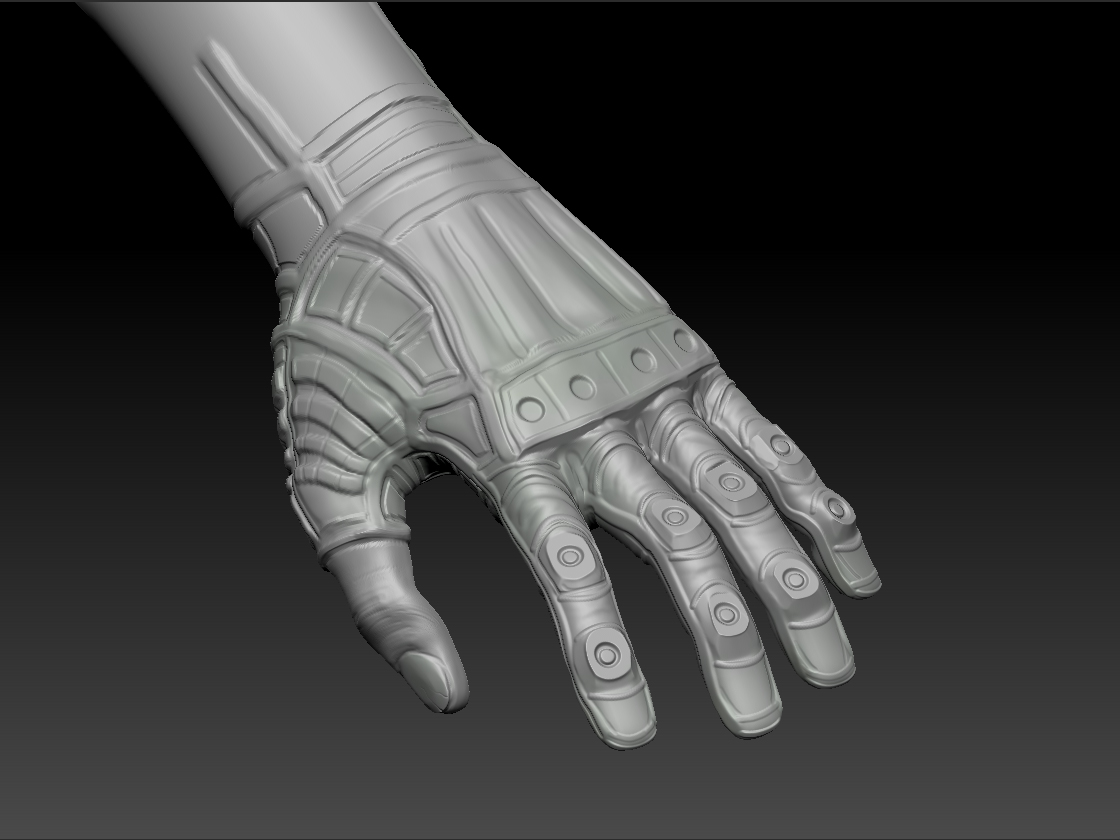
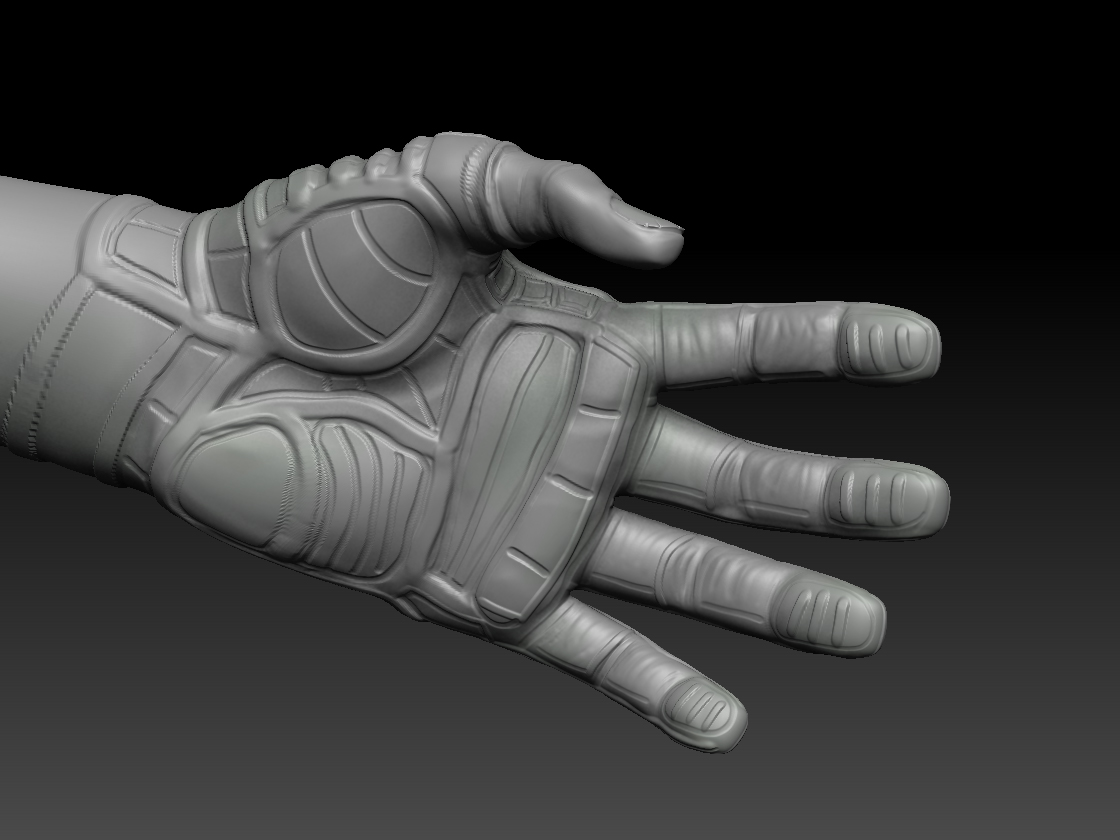
Oh and there are many elements that are not symmetrical. Just because I am silly and don’t always trust Smart Resym, thus will do it the hard way later on. :slight_smile:

[Front_fullbody.jpg]Quarter-legs2.jpg

Attachments

Back_Fullbody.jpg

Close_quarterFront.jpg

Head.jpg

Quarter-legs.jpg

I’ve done a few material tests. Just taking from the download center.
Trying to find some key details I want to show through in the final piece.
[front_Material_01.jpg]front_Material_comp_01.jpg
lol Bloom! :slight_smile:

Currently I am trying to clean up the various Subtools, combing them so that I can have an easier time using Transpose Master.

I’ve also been experimenting with some of the new Polypainting brushes, hopefully I will be able to throw together some rough concept of how I plan to paint these surfaces. And how that will interact with the different shaders.

Attachments

front_Material_02.jpg

front_Material_10.jpg

front_Material_11.jpg

front_Material_14.jpg

A small update:

I decided to do some work on the glove, seemed like the weakest point on the model.

Materials for the Glove:
Rough Synthetic Material with Pores (Allow moisture to escape glove) for patches.
Hard Dull Plastic for Padding Segments.
Rough Leather for palm patches (better grip).
Some sort of resilient Rubber to connect segments together.
Hard Metal Plating for Knuckle and Wrist Plates.

glove_01.jpg

Attachments

glove_02.jpg

glove_03.jpg

48665591.jpg

SMG_11_Clay.jpg

Wow very nice :+1:

Very cool,shame the feet looks to small apart from that i love it.Looks like its going to be a zbrush render or is that max you are taking it into? The pose looks a bit bland,would be nice to spice it up a bit it looks akward,the armor looks fab,cant wait to see the texturing.cool work.

Hey Guys thank you so much for the responses. :slight_smile:

I think I am going to work on the Boot next. It really is just embarrassing, and I definitely agree it should bigger.

On the pose, I should do some more sketches to try and establish a story telling pose or at the very least make it more dynamic. What I don’t like about that pose is that the arms will cover a lot of the armor on the torso.

I am planning for the final piece to be an HD Turntable with many different shader passes that I comp in After Effects or Toxik. And a few Stills with a nice background.

I spent a part of today addressing the Boots. Made them longer, focused on giving them better form. And roughed in the basic idea of the details I will put in down the line.

Used Zspheres for the Laces. :stuck_out_tongue:

boot01.jpg

I have some clean up I need to do on the armor Covering the Calve. Smart Resym failed pretty bad a while ago. Might just scrap it and start a new design, now that I understand the Hardsurfacing Brushes.

Also, Polish Brush is godlike. I swear it can read my mind.

Attachments

Boot02.jpg

Boot03.jpg

Very well done, lovely hard surface details, what’s the matcap you used in the picture with bloom?

Thank you :slight_smile:

That last Pic is 3 MatCaps mixed together in Photoshop.
I wish I had named all these images correctly.

I used a Luma Extract + Gauss Filter to create the very sloppy bloom. I should have used a Specular Only Pass combined with a Surface Illumination.

[attach=172517]Composite_Breakdown.jpg[/attach]
HS Black Iron

The Reflected Map is just the standard one in Zbrush.

And I am not sure where I got the Occlusion. I did some searching and managed to find one that worked well enough.

I like some aspects of the last image. But Its a bit too muddy for this character.

Attachments

Composite_Breakdown.jpg

How many subtools you got on this bad boy? Starting to look good. The details are really nice. Especially the front plate! Are you using your own Halo character as reference? Whats your handle. Me and few friends play all the time.

:slight_smile: about 57 Subtools… But there should be more as I had redundant elements. There was a plating on the inner thigh, 4 duplicate pieces. As well as some spine Segments.

Its sitting at 46.7 Million and almost 600 mb.

This was the image that really started the whole project for me. After a while I decided that I liked elements from the other ODST concepts too. I even made some Designs that would have repelling equipment integrated into the armor.

Halo3-ODST_CharConcept-05 - Copy.jpg

Also my Gamertag is “Der Crow”

Attachments

pose1.jpg

pose1_b.jpg

pose1_c.jpg

Things are looking up,Very note worthy boots no longer too small yet they now look like they totally belong to the character,with a nice demonstration of hard surfaces thrown into the mix :+1:.Pose looks good,like you put some thought into it a lot more and im sure you are on to a winner,very cool job so far.cant wait to se the end result.

:slight_smile: Thank you for the spot on critique. If anything else looks weak or blatantly bad, let me know. I’ve been working on this for a long time so I am sort of blind to many aspects of the character. Need a fresh set of eyes.

Today I worked on addressing a poor design that I had created when the Hardsurface Brushes were first released. Basically redid it from scratch. Made a symmetrical mesh in Maya and brought it back in. I am definitely digging the new form, although it might be too dramatic.

Still need to do another pass where I cut in remaining elements. Place a bunch of Bolts down too.

Calf_Comparison.jpg

tight!!! i will be at your level one day. awesome work

The concept is bad ass! I look forward to seeing how you execute it in ZB. My critique would be on the pose. Try moving the hips to be over the leg that is bearing weight. Right now it looks as if he is in the middle of a hop from one foot to the other. Centering the hips over the weight bearing leg should help the balance of the character.

This is looking great man. My main crit is that some of the hard surface elements look sculpted and not actually what they are sculpted to be…if that makes sense. For example, the bolts on his helmet are different sizes and look very flat. I think using alphas on stuff to get a more consistent look would really help. I doubt you would want to redo anything at this point but hard surface modeling some of the elements in max or maya may just be easier as well. Course, I certainly commend your efforts of doing all of this in zbrush. All in all, this is an excellent effort and I hope you keep going on it!

@Sarakawa: Thank you for the critiques, The helmet was done before 3.5 was released. I plan to return back to with. Likely just redo the helmet entirely with better form. Are there other parts of the design that fulfill your critique? I am curious if its limited to the outdated Helmet, or if my newer Hardsurfacing is also falling victim to the Sculpted Look.

@Aberrant: Thank you :slight_smile: Here is a rough approximation of my Process.

My First step is to sketch out an idea of the form I am looking for on the mesh itself.
1.jpg

The Entire process is Build up and Past, then Cut Back.

Here is a Quick Video I made

Attachments

2.jpg

3.jpg

4.jpg

5.jpg

6.jpg

7.jpg

8.jpg

9.jpg

Thank you for that mini tutorial on the planar brushes. These seem very powerful, I need to get back to sculpting and learn all that the new release has to offer.

Added some more Form to the Calf.
I think I went overboard with the Maul Brush. :slight_smile:
I will erase some of those tomorrow.

I think I will also create some section extrusions to add some variety to the form. Specifically on the larger flat sections in the design.

1.jpg

I think that the Calf Armor is up to par with other elements.
I will address the Helmet next. Now that I have a firm grasp of these hardsurfacing tools + Polish, I will be able to make a much cleaner design.

Plus it will be good to make a new iteration to explore some new ideas. :slight_smile:

Hi Der_Crow

Wow!! its a great Trick…

Thanx