ZBrushCentral

Normal map issuses

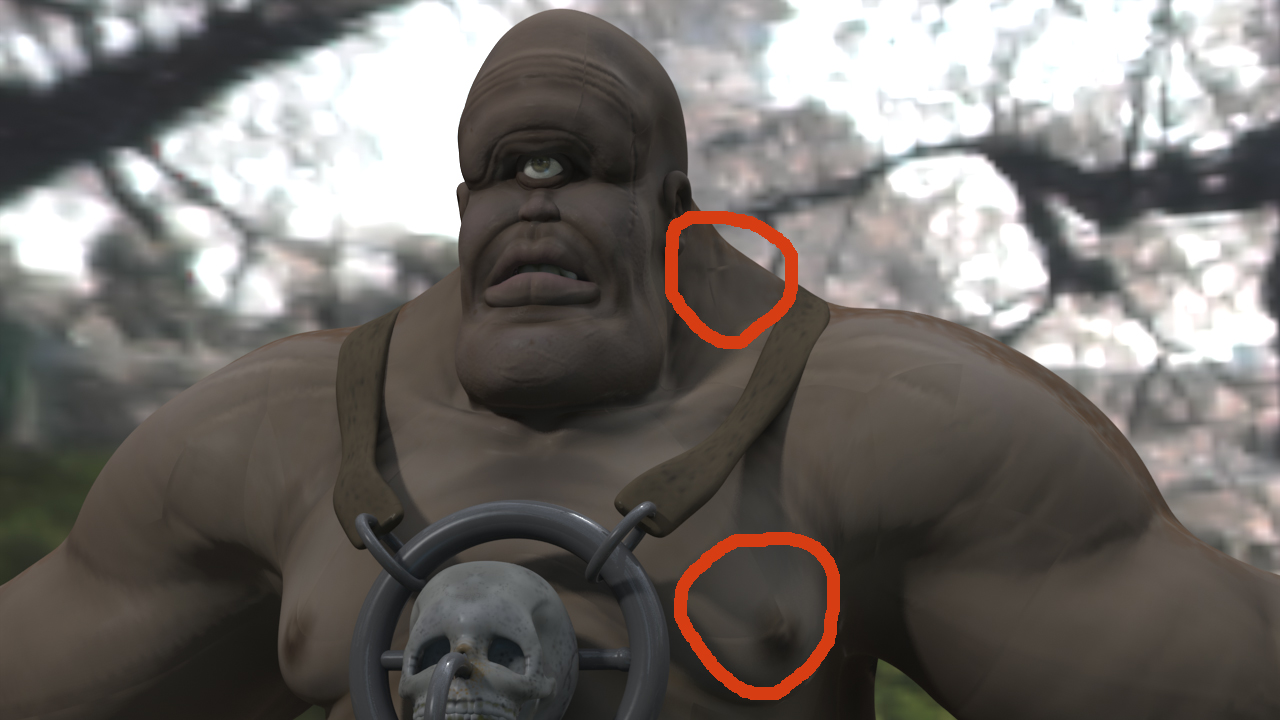
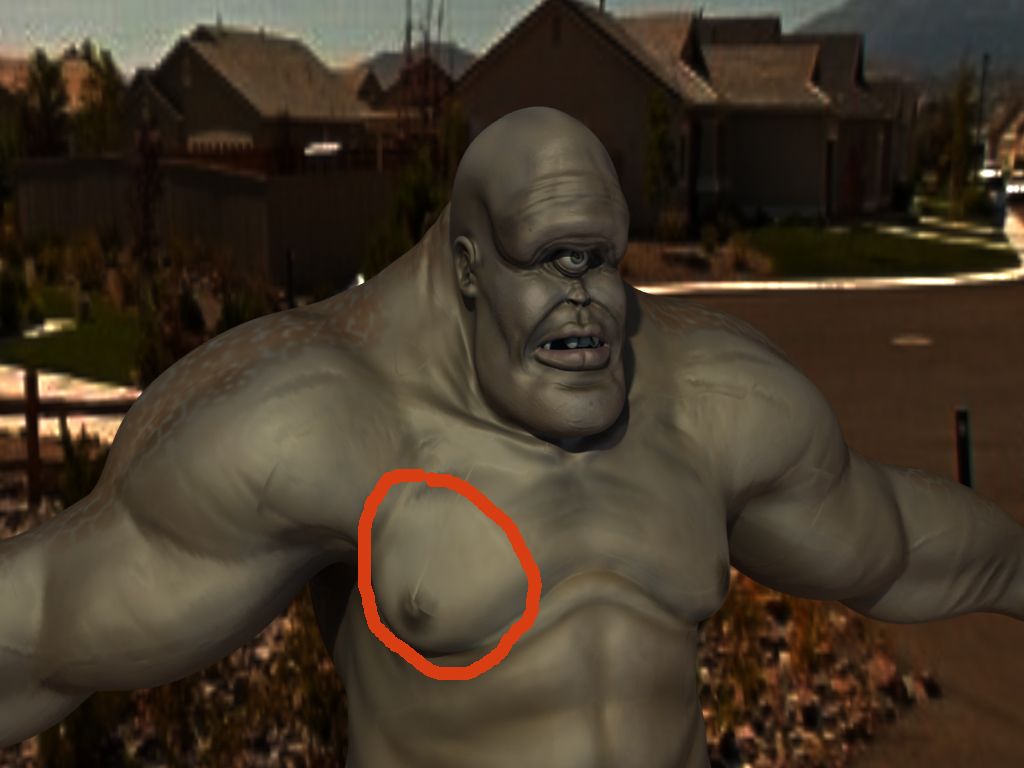
This is my first post on this forum, but I have tried my normal forum and nobody seems to know why I am getting this problem. I am using Zbrush 3.1 and built my character in Modo. I have tried to render it in both Modo and Lightwave. And when I add the normal map, it appears to have gaps in it. Like a puzzle that is not fitting together properly. I have looked on here to see if others are having the same problem, but I can’t seem to find a solution. As I said, the charater was made in Modo and exported as an obj. into Zbrush and I used GUV’s for the UV mapping. Can anybody tell me why this happens? I have posted images that show the problem.

Attachments

CyclopsPic09.jpg

CyclopsPic10.jpg

the problem is coming from the use of GUV tiles. The way a normal map shader is read is by each color channel. R, G, and B each tell a light how to be read on the object. R = left right, G = up down, B = Forward and backward. (I might have R and G mixed up). Anyway, when you use a GUV tile on an object that is going to be normal mapped there is no consideration for the orientation of the UV’s which are very important in the way a normal map is read.

I’m guessing each on of the problems in the mesh are at a UV border.
When using normal maps you need to manually unwrap your object. As far as I know there isn’t an unwrapping algoritum that can logically know where to hide seams and keep the orientation correct to avoid them all together.

If you do a little research on how a normal map actually works it should help you to wrap your head around all of it better so you can better understand the limitations of a normal map.

Hope this helps.

Thanks for your reply. What are said makes a lot of sense. I did a little experiment with another character that I manually unwrapped myself to see if I had the same problem. It was much less noticeable, but I still saw a white line around the area of the neck where I separated the head from the body in the uv map. Is there a good tutorial that shows how to hide seams on humanoid characters?

Use seam overpaint when you export your normal map. Somewhere between 8 and 16 pixels should do. Also make sure you have MRG enabled when you export your OBJ out of ZBrush. If you don’t, your UVs will come unwelded and that can cause the sort of lines you’re talking about.

WOW!!! You know before your suggestion I had never used Zmapper to export a normal map before. SO MANY OPTIONS!! Well I think that pretty much fixed the problem. I can still kind of see the seams in some places thanks to the way GUV’s makes them, but its WAY better then before now. Thanks for your help!!!