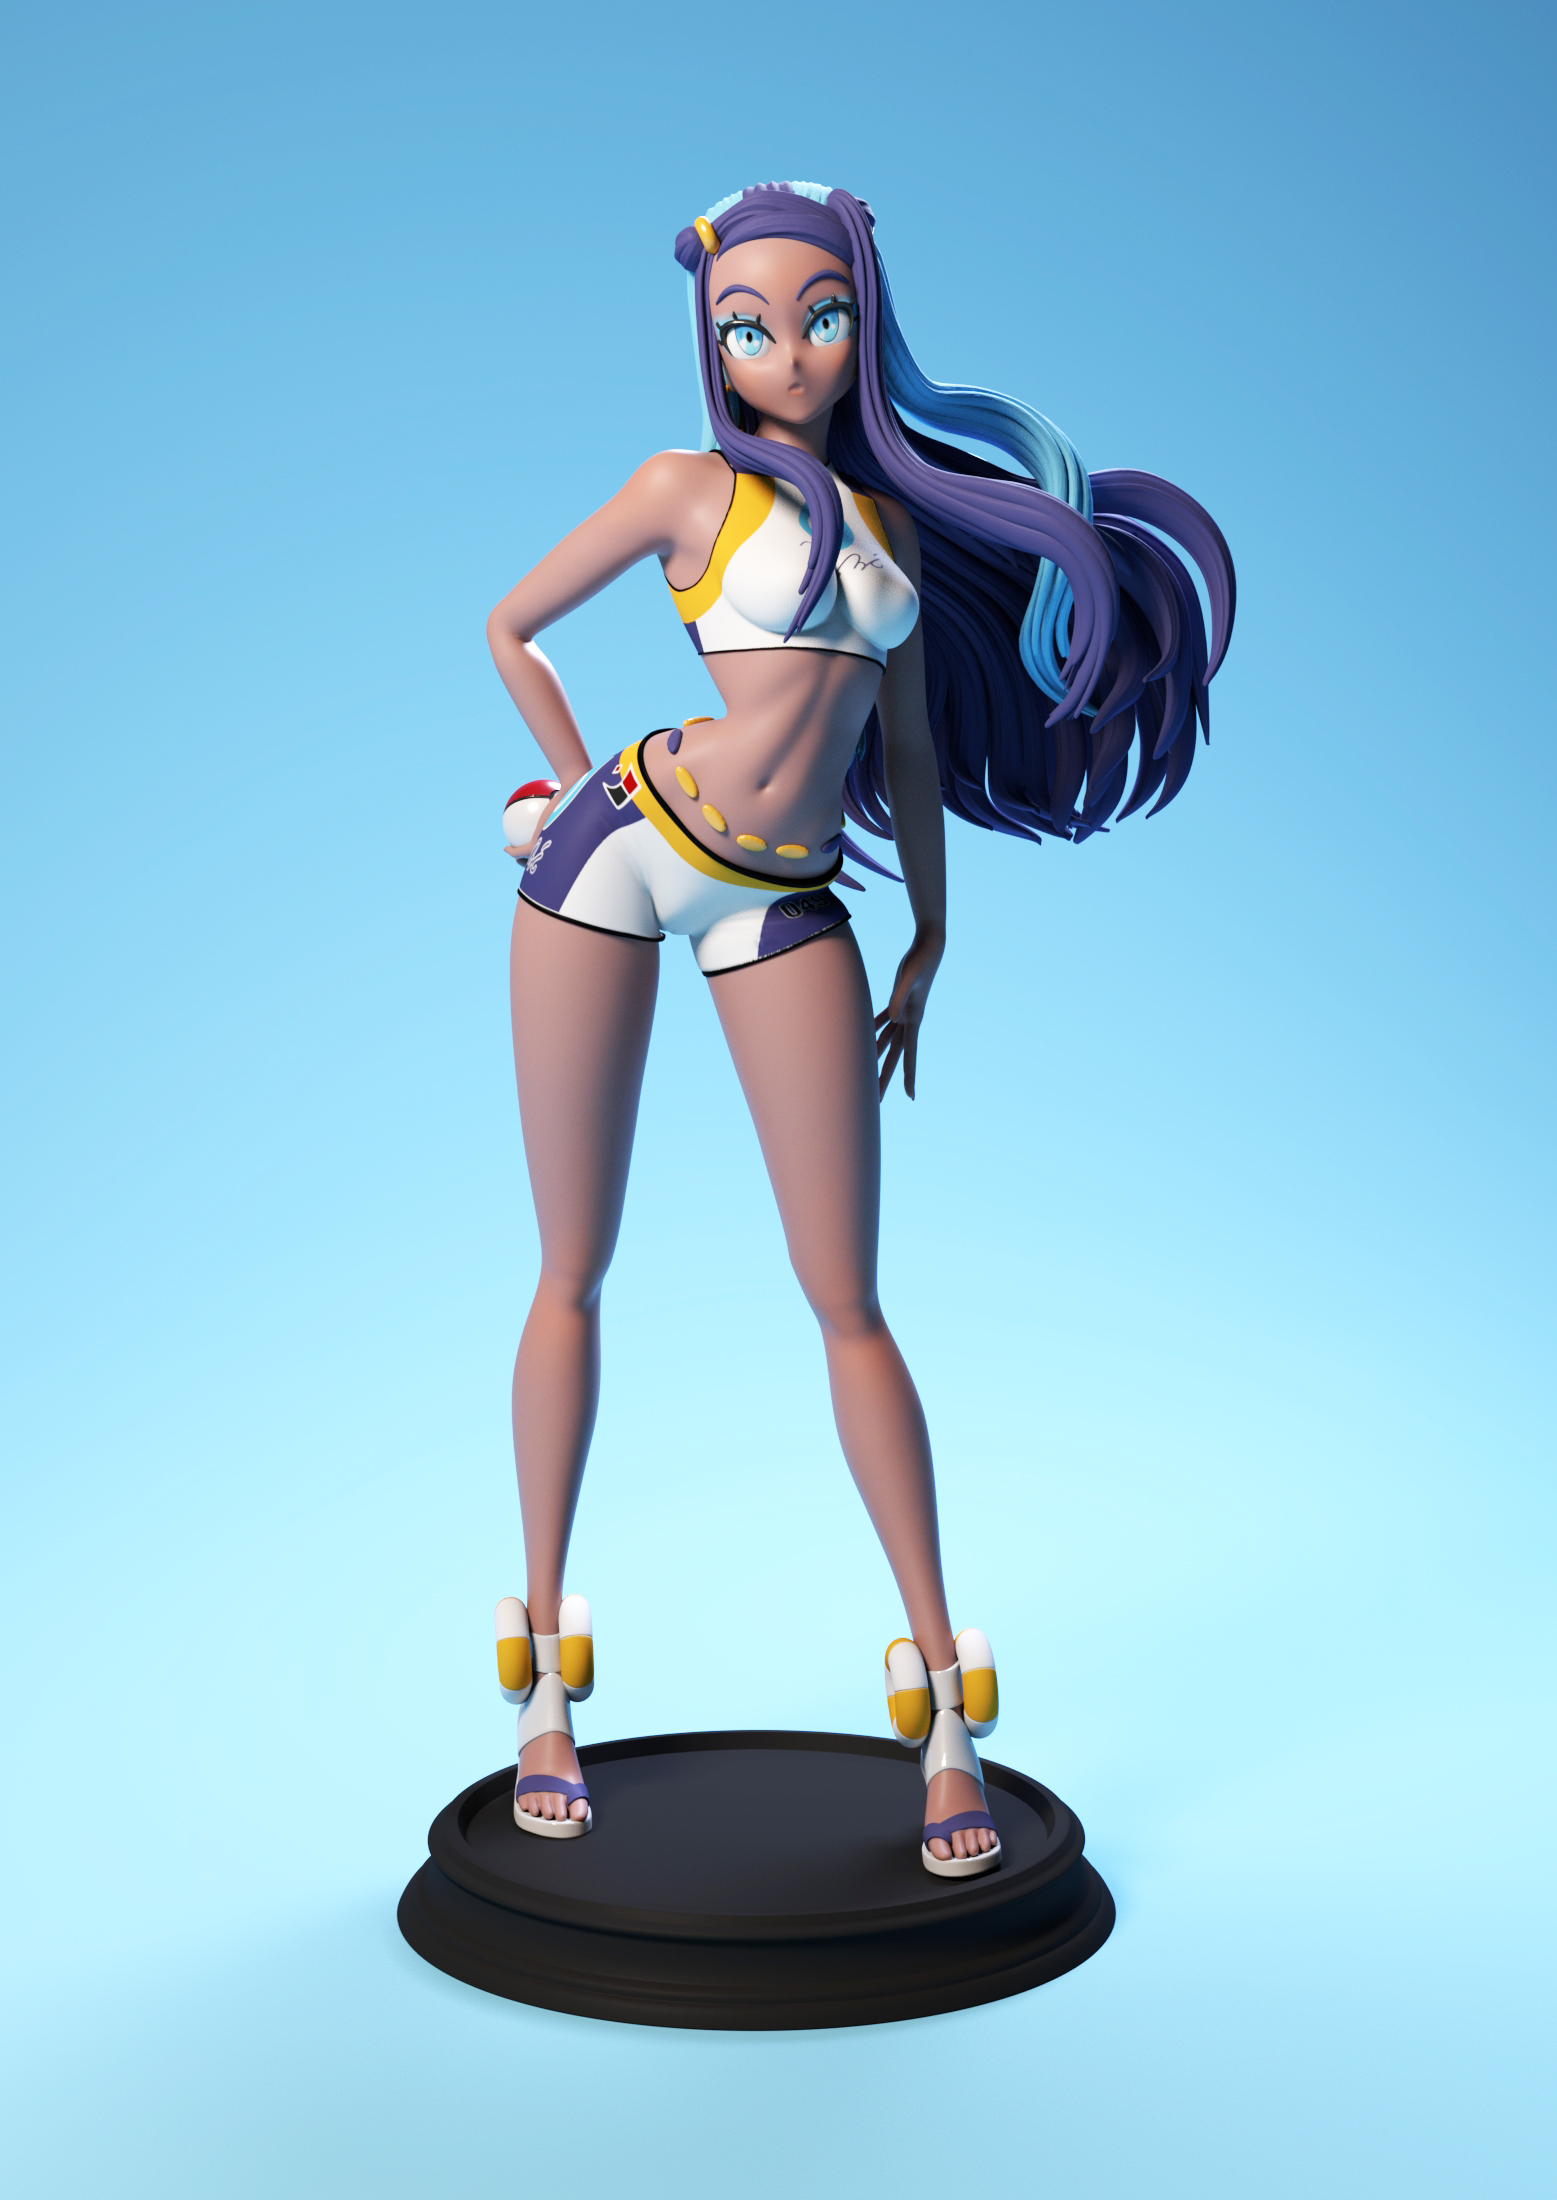
Really great torso curve and face paint! What are you rendering her on??
You reminded me that I need to finish this game! Got about 2/3 way through before Animal Crossing came out lol.
Really great piece, thanks for sharing, huge pokemon fan lol 
I use Maya for rendering her.
Thank you, and this is one of my favorite characters as well.
Awesome work! Could you give some tips about cool hair modeling approach and brushes you have used?
I’ve made a tutorial before; I’ll send it to you.
The information might be a bit outdated because I created this work a long time ago. My apologies.
The character was created using the built-in Mannequin head model in ZBrush as a foundation. DynaMesh was then used to refine and adjust the overall form and proportions. The primary brushes used during the sculpting process were Clay Buildup, Dam_Standard, Move, Inflate, and Smooth. The hands, however, were sculpted entirely from scratch.

The clothing was created by extracting the necessary sections from the base body mesh and separating them into a new subtool. The thickness was initially set to 0.03. After that, Ctrl + Shift + Left Click was used to isolate the clothing mesh, followed by Del Hidden to remove unnecessary geometry. ZRemesher was then applied to generate a cleaner topology. Next, ZModeler’s Extrude → All Polygroups function was used to add thickness to the garment. Finally, additional clothing details were refined and enhanced using ZModeler.

I started with a simple cylinder and shaped it using the Move brush. The form was then refined into a curved shape using the Move Topological and Smooth brushes. After establishing the basic structure, I added more geometry by subdividing the mesh (Ctrl + D) to support finer details. Finally, the curves and spiral-like sections were adjusted and refined using the Spiral Brush.

The model was first subdivided to a higher resolution (Ctrl + D) to increase mesh density. After unwrapping the UVs, ZAdd was disabled, and the coloring process was carried out using Polypaint directly on the model surface.

The model was posed in a T-Pose using Transpose Master (TposeMesh). MaskPen and the Move tool were then used for initial shaping and adjustments, primarily utilizing the Move, Standard, and Smooth brushes throughout the process.

Thanks a lot, Jeerawut, for whole tutorial and idea for hairs pipeline you used! Amazing result is achieved here!
I’m glad the post was helpful.
I’m glad you like it.


