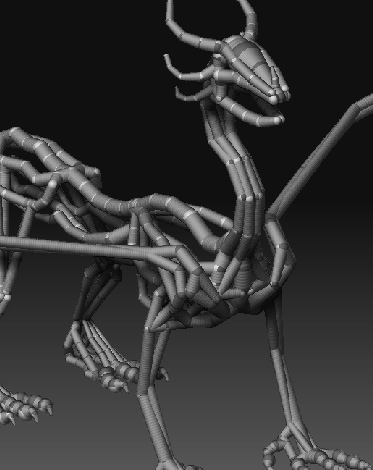
Well, this happened to me more often than expected and usually fixed the problem by moving the conflictive zspheres around or by adding a division in between a chain to destroy the tension in that place but… somehow I reached to part which is killing my nerves because I don’t know how to fix it in order to continue with the rest of the skeleton frame for my model.
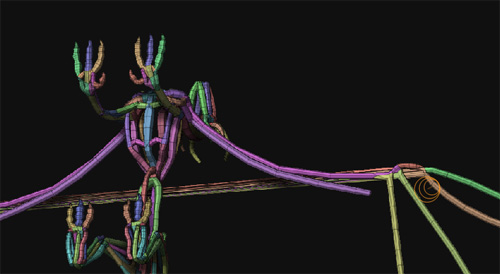
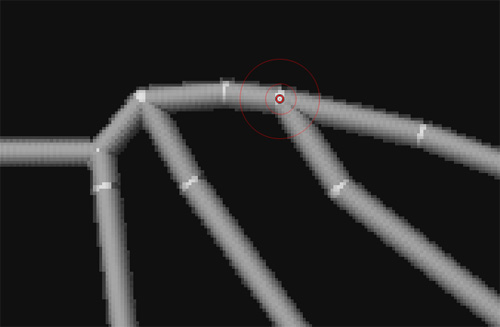
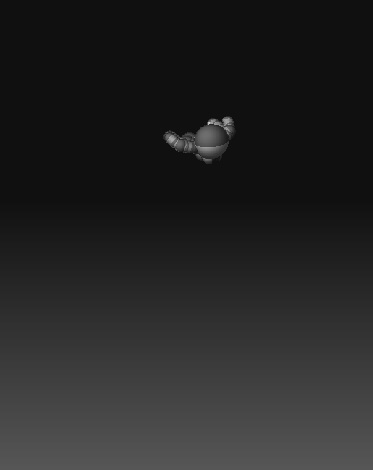
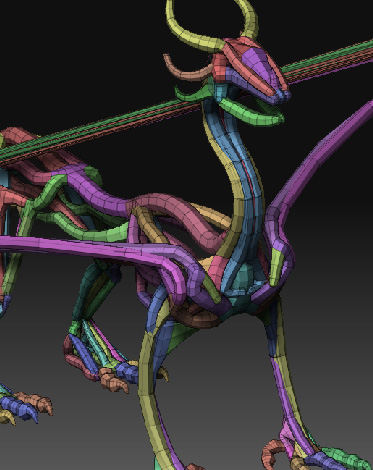
My aim is to create the “bulk” of the model using Zspheres and then using the Adaptive Skin thing to cover it and sculpt from that point. The problem is that sometimes when I tap to the mesh view to check for errors in the topology, I find myself dealing with stuff like this:
[ ](javascript:zb_insimg(‘152807’,‘topografia-rara1.jpg’,1,0))
What is more funny about this problem is that these polygons were perfectly and absolutely fine until I added some small unrelated details to the chest part of the creature. Then suddenly I gazed up and saw this jettison of polygons over my head, and I almost tried everything to try to repose and smooth the tension there, but I’m out of ideas 
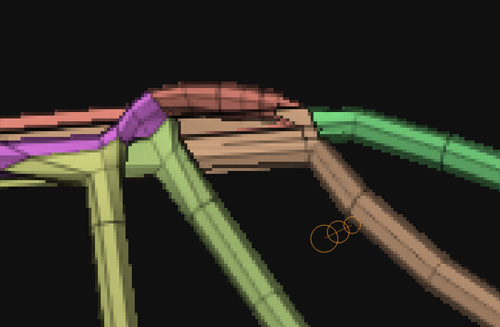
My last resort is to delete that part of the wing and redo them again which is kinda awful since I retouched the point of the fingers to accomodate better the membrane of the wings and losing almost an hour of work there is somehow disheartening 
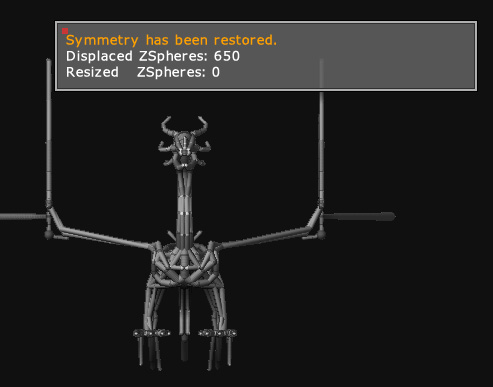
Any ideas or tips you could counsel to me to fix this problem or at least to prevent it? (I’m aware of trying to avoid to use 1 Zsphere to branch more than 2 chains, but in this case where I need forcedly to have 3 tubes to branch from 1 single Zsphere, I feel like walking in a dead-end…).
EDIT: Sorry, edited the topic to attach the images properly to the topic.
Attachments
 ]
]

 ]
]
 On the other hand, I used the Deformation > Size as you said to re-scale the model so more or less it fit’d inside the preview, and surprisingly, it fixed the problem of the mesh jettisoning at that part of the wings
