
Attachments
Very nice, glad you are enjoying the tools.
That Jaime guy, man, he gets more of us hooked on this stuff every day, should be a law. 
Nice work dude,
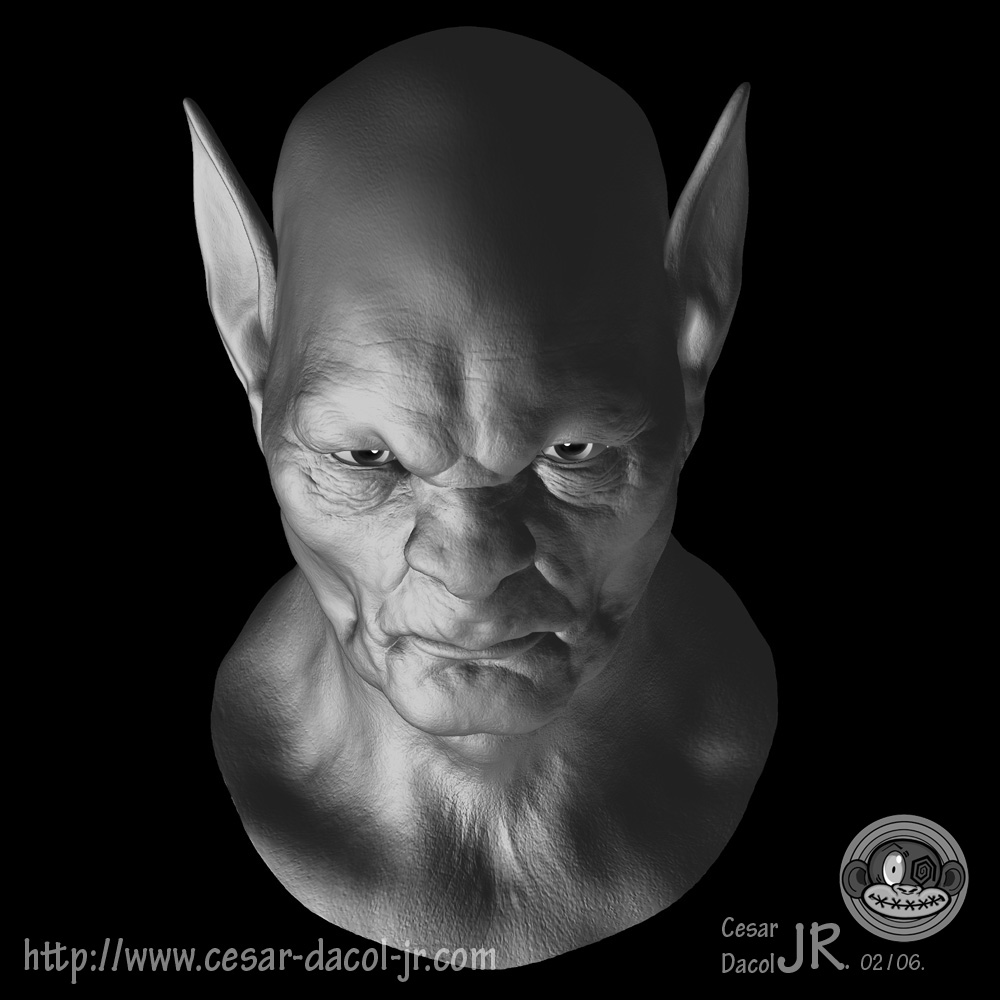
can i ask you how didi you do the eyes of your model? You used any tutorial for them? look so real please share your tecnique for eyes, thanks
You rock!! Awesome! I love the lighting on the thing and cant wait for the textures!
Next time you guy are here, you can choose the restaurant or… I could kill you slowly with my cooking.  Thanks for the famous Brazilian hospitality! You warmed a god awful cold place for me!
Ryan
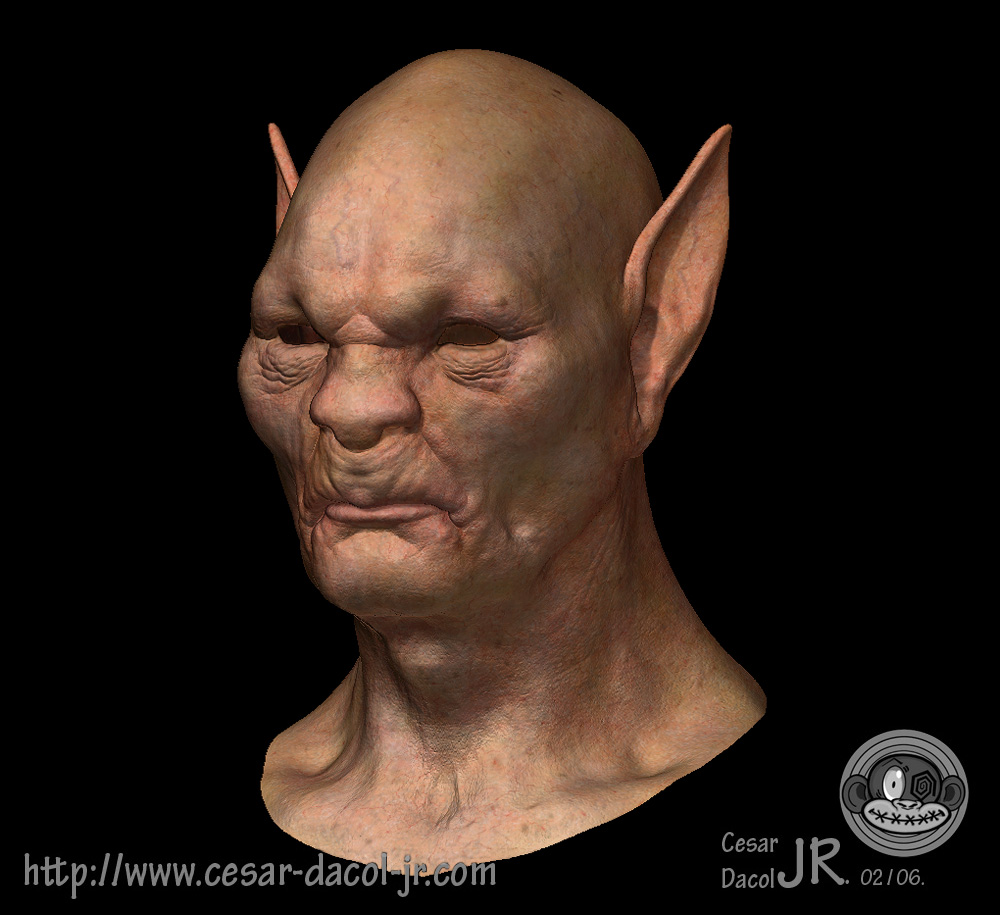
Cesar: Such soulful eyes he has. Love the sculpting and texture on the skin.
Always glad to see someone else who’s artistic talent can be released by Z-Brush…
Dickie
Welcome aboard man, wonderfull stuffs for a first post.
I feel the best is to come!
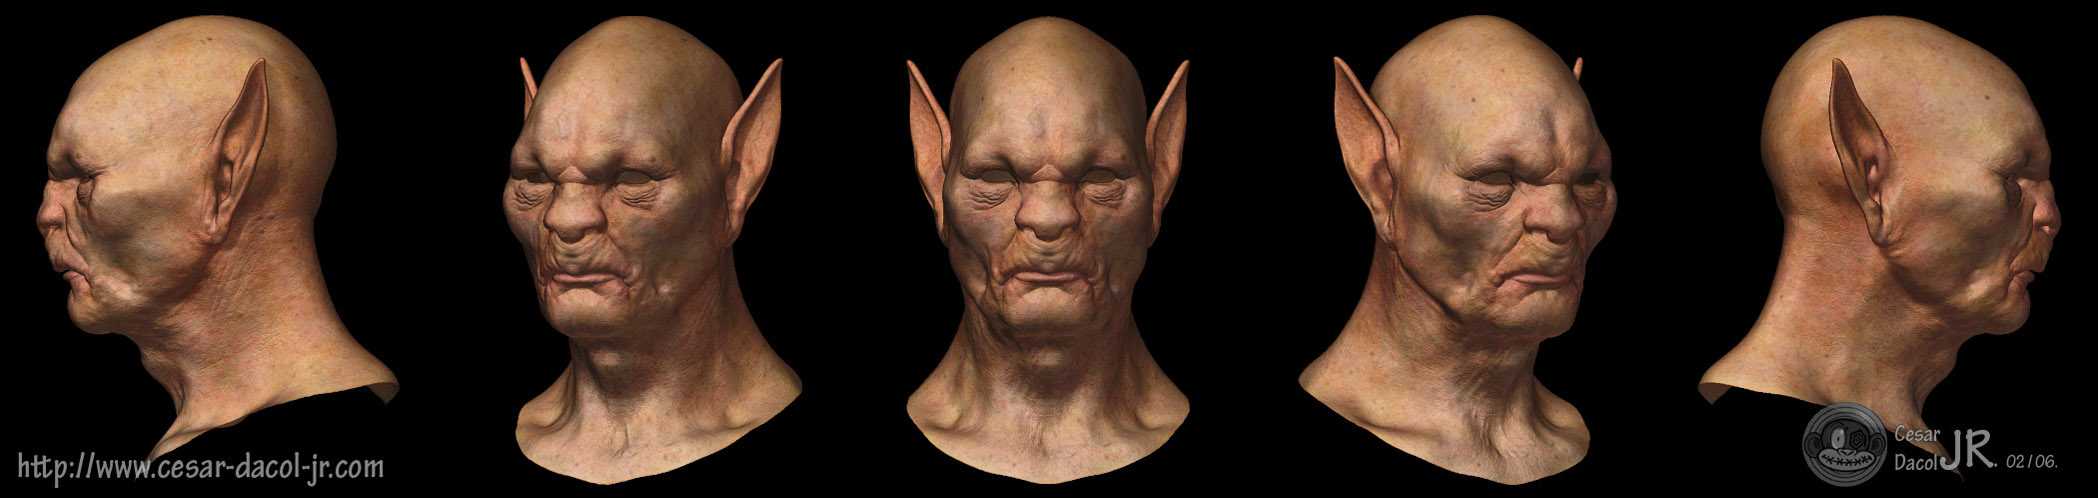
beautifull model, really well done. its not over the top at all, its a great realistic model that is belivable.
the best kind in my opinion.
great work,
whoa…this is totally great!.. Excellent forms on this…keep posting!
-tiktok
Jason Belec - Hey Jason, enjoying it doesn’t quite describe it. It’s addictive for sure. Love it, love it, love it!
j.folk - The eyes, no tut I’ll write one. The technique has been around for centuries. It’s basically a highlight and shadow trick. It’s used allot on the old school or should I say fine art world. Check out the masters, they all use it.
But like I said I’ll write up a tutorial.
Ryan - What up man, i trust you are warmer then I at the moment . You’re too funny, I’ll pick a restaurant then. Thanks on the lighting.
Dickie - Thanks, I chose to go with wiser eyes for the no textured version. However I’ll probably go more cunning or vicious for the textured version.
VVDFX - Thanks, it’s always a hard balance to strike I could have easily gone over the top on this guy. But I wanted to really see how subtle I could get “Z” to be. It’s interesting, I made a conscience effort to emulate my work flow in the real world. I was surprised how closely I could do that and even better it. In terms of the no hesitation. You can always undo.
tiktok - Thanks, very kind. I plan on it ^_^. Color and renders to come.
This rocks bro!
Sort of looks like Yoda crossed with Dracula:)
Nice first model Cesar. Bem-vindo ao maravilhoso mundo do Zbrush
Can’t wait to see more models from you.
Keep it up,
-Kris
It’s not so bad for a first try 
And seeing your site, you are not a realy beginner in sculpture 
Pilou
wow!! it looks very realistic to me!! welcome to zbrush
when you will post the next work?
Alex Oliver
I love your model, very cool.
Can’t wait to see this thing rigged and animated
-pc-
Great stuff!
sans2012, thanks man. Yoda rocks…
Anthropus, Obrigado Kris… espera vai ter mais.
Pilou, Nope I’ve been sculpting since I was 13. Hence my excitement that I’m now able to do it in the computer.
alexleia, I’m working on my next… want to finish this one first color SSS and what not.
Ate mais.
pc, No real plans on rigging this guy. He was a quick sketch that turned into something more. Just using this as a learning tool for “Z”.
Mr.Learner, Thank you.
Thank you all for your kind words. Keep on rocking in the free world!
I’ll write up that Tut on the eyes tonight.
Sorry didn’t have time this weekend, wife and 3 kids.
Cesar Dacol Jr.
Aka, The Voodoo Monkey
Hi all.
Sorry had to put the kiddies to bed.
Better late than never.
Any how as promised here’s the Tutorial for how I create my eyes.
The technique has been around for a long time.
I’ve however modified it from its original application so that it works
better in a cg environment. You can’t really add shaders to clay or marble.
But the again maybe you can… hmm 
Any how… it catches light a little better and the shadows are deeper.
Please let me know if you use it.
It’s always great to see what people are doing.
On to the Tutorial.
First off some basics.
I’m using Maya to create this. You can use whatever you’re most comfortable with.
Step 1
Create a 4 Lambert shaders. In this case I choose some colors, yellow and pink.
I also chose shades of black and white.
NOTE: Name the materials as follows.
The yellow will be my Iris.
Pink my Cornea.
Black my pupil.
Finally white for my highlight.
Now create a polygonal primitive. In this case choose a sphere. You want the subdivisions around the axis to be 20
and along the height to be 20. make sure to choose, “Z” for your axis orientation. That will orientate your sphere
with it’s poles in the Z axis. Leave the rest at default.
Name the sphere,“cornea”.
Before we go any further we’ll need to make this a Z-brush happy model.
So, on the poles you’ll need to select every other edge and delete them.
This will ensure that we only have quads on out model.
Z-brush is happy
Now assign the pink material.
At this point I’ll change 2 things, I make change my material type, to phong. I need a phong due to the specular nature
of the material. Second I change my surface normals to smooth.
You should have something like this.

I hope this helps.
Enjoy.
Cesar Jr.
Aka, The Voodoo Monkey


 Hey all.
Here’s the color map for my character.
They are all hand painted.
No spec, sss etc… only color.
Don’t be shy.
Let me know what you guys think.
Cheers
Cesar Dacol Jr.
Aka, The Voodoo Monkey.
Thanks for the tutorial man! Helpful for me that have never tried making eyes
hey Cesar, good to see you on here. Havent seen any of your work for a couple yrs now. Not sure if you’d recognize my name from sheridan or not. Every now and then I ask Paul what your up to.
Anyways cool first post and technique with the eyes, i hadn’t seen the use of a cylinder for the highlight before. No longer into Marai? Where r u working these days?