ZBrushCentral

My 3D Sketching Stuff (nudity)

Thanks guys!

I just threw in the window for testing purposes. I was curious about how BPR would render the shadows for the blinds. But for the final, I’ll be replacing the window with one that fits more with the subject matter and something with a bit more depth and meaning. Maybe she will be looking out the window of her convent, maybe a more minimalist room, with a few things showing she lives there. Or maybe it’s an old stone convent window… Still not sure yet.
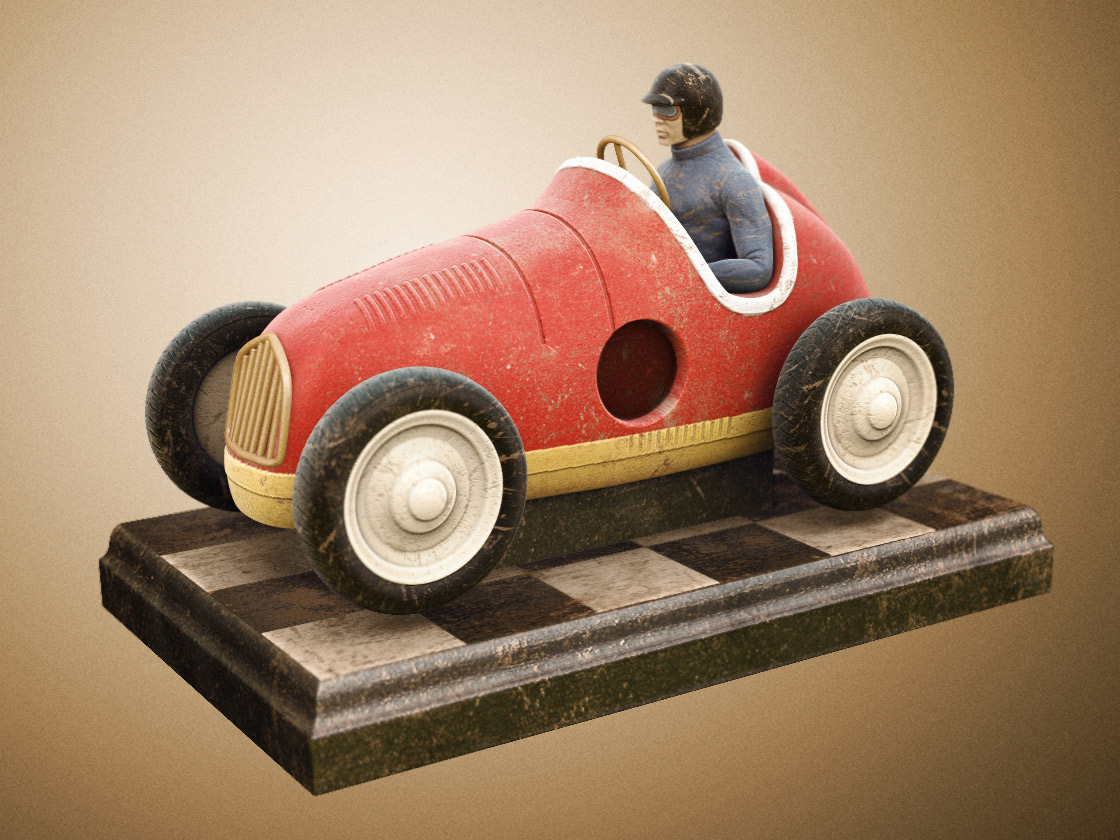
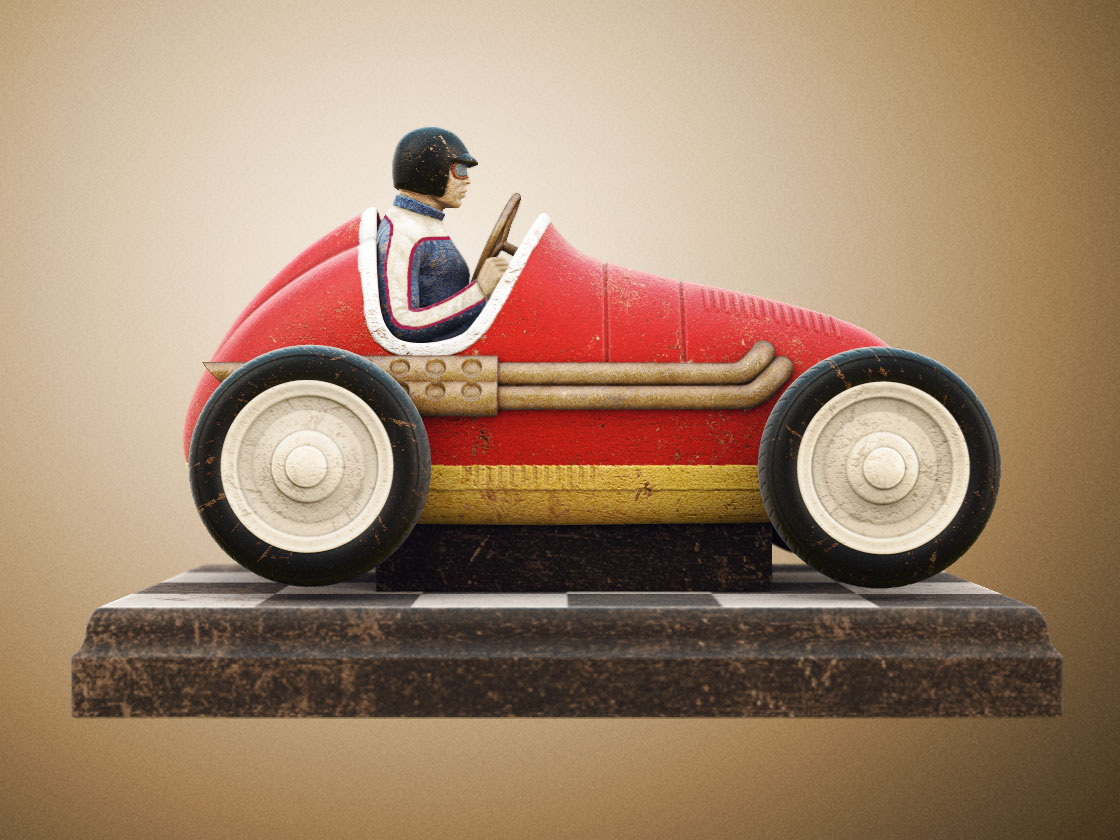
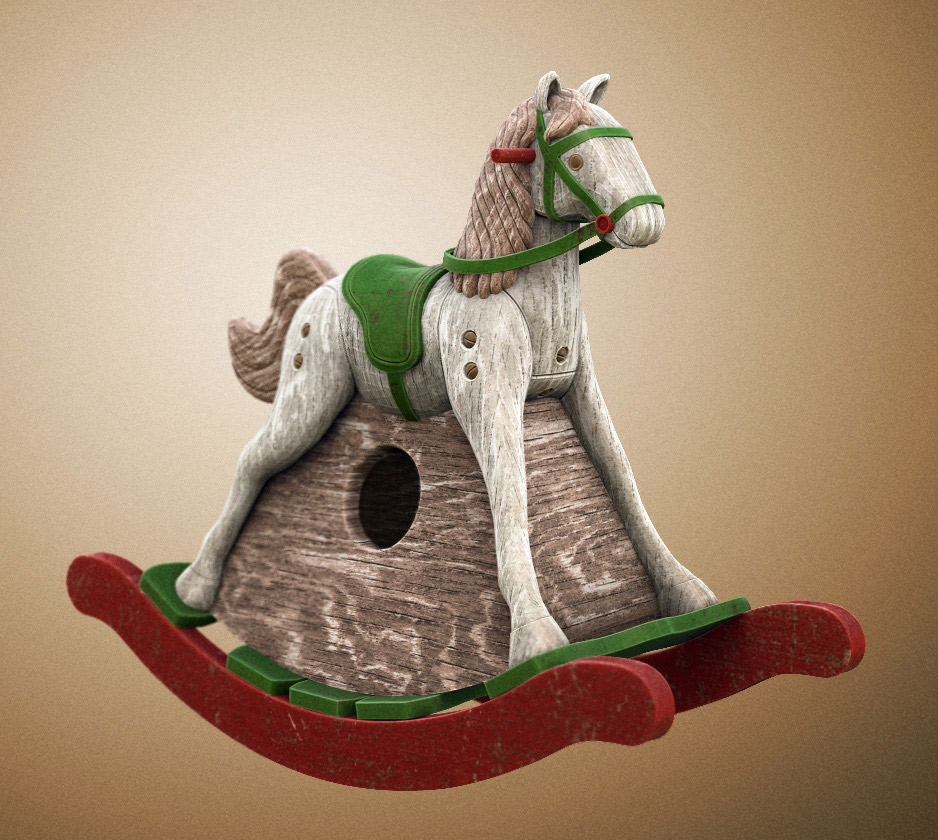
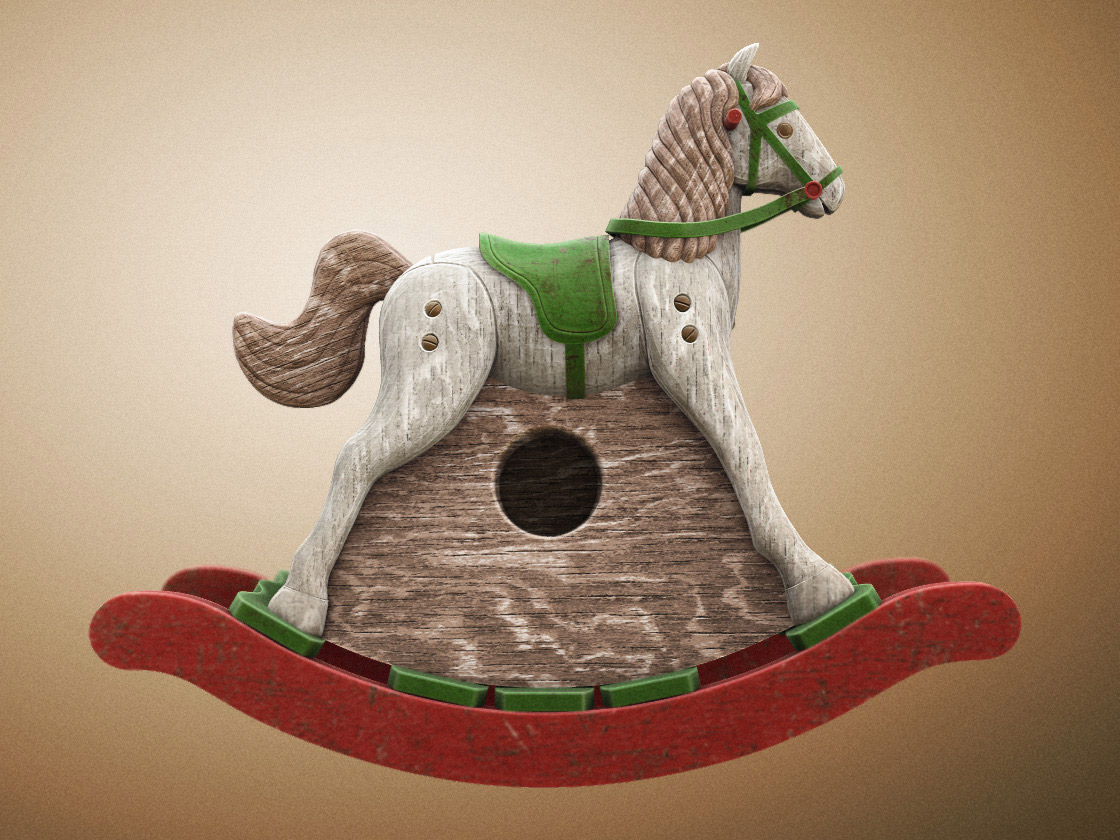
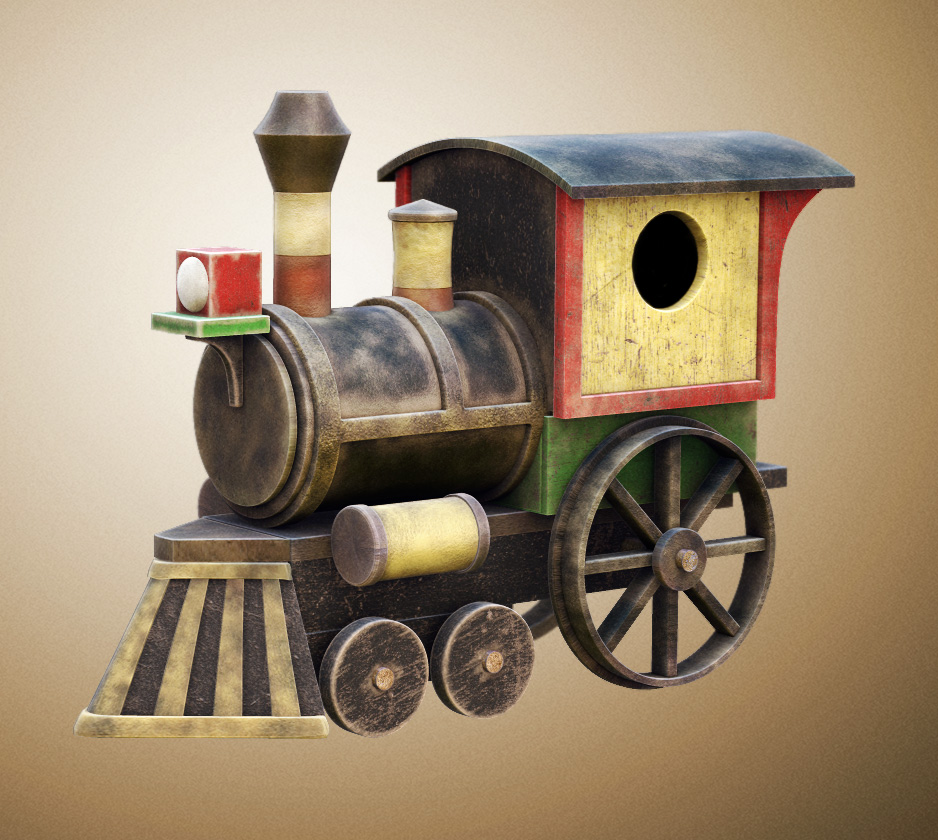
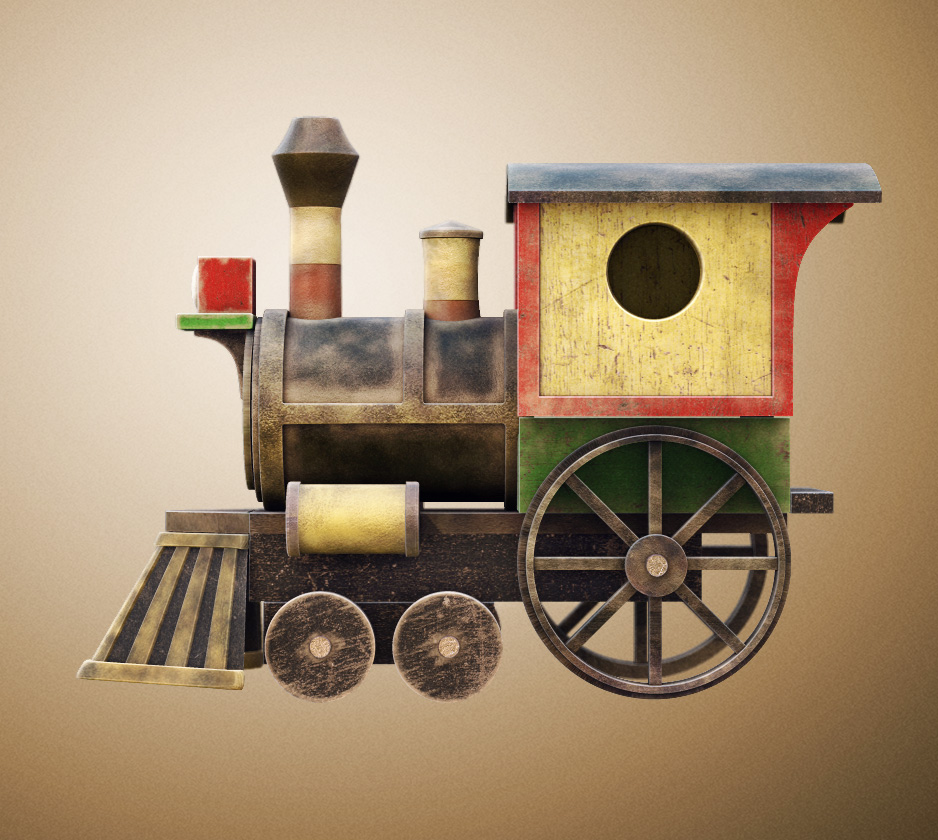
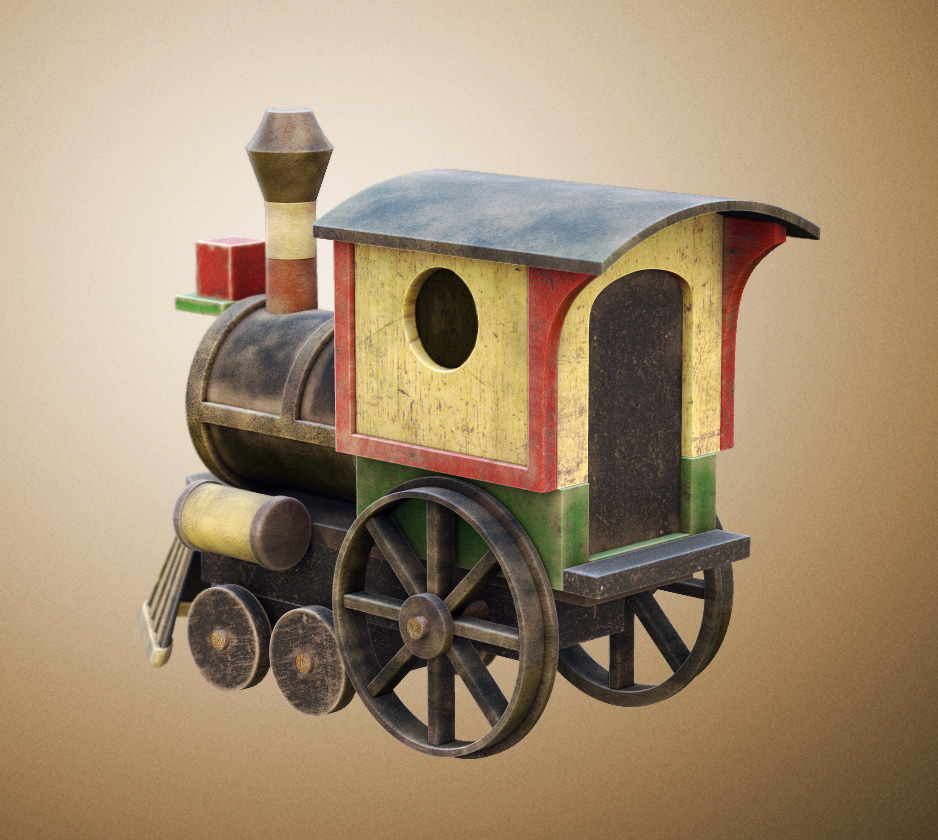
The Nun image will have to wait for a while, I have another project that came up which might take a month or so. But here’s some birdhouse designs I did for my day job. Based on an antique toy look.

Rendered in ZBrush 4. Postwork in PS.

BH1a.jpg

Attachments

BH1b.jpg

BH2a.jpg

BH2b.jpg

BH3a.jpg

BH3b.jpg

BH3c.jpg

Oh man, this is one of my favorite ZBC threads of all time, even out of the thousands I’ve come to see over my time lurking around here. Great style, character, and innovative use of Zbrush. Also, major props for doing all these renders using BPR. The further away we move from displacement maps, approximation editors etc, the more happy I’ll be, so thanks for moving us all in the right direction!

I’m especially fond of these last few renders you just posted. Very vintage feel and the shader/texture work is awesome. I know you get this all the time, but any chance you can speak a little about your material/painting/texturing process for these last few birdhouse designs?

polaroid29 - Thanks! It’s a little difficult to go into the material without giving a little tutorial about the inner workings of materials in general. But I use the quadshader material and adjust the fresnel effect of the shader layers to help create a material that lets the light wrap around it a bit more realistically. The texturing is pretty straightforward. I use a combination of polypainting and spotlight with vintage looking textures and colors. The renderings were done just like all my others. I usually refer to my cardinal image tutorial the I created a while back. That shows how I combine my different rendering passes in Photoshop. I do it a little differently than most here. I don’t usually render separate passes for spec, diffuse, sss and such, unless it’s something that I can’t accomplish with a material.

Mt.jpg

Attachments

Maddi3.jpg

Terrific:+1:

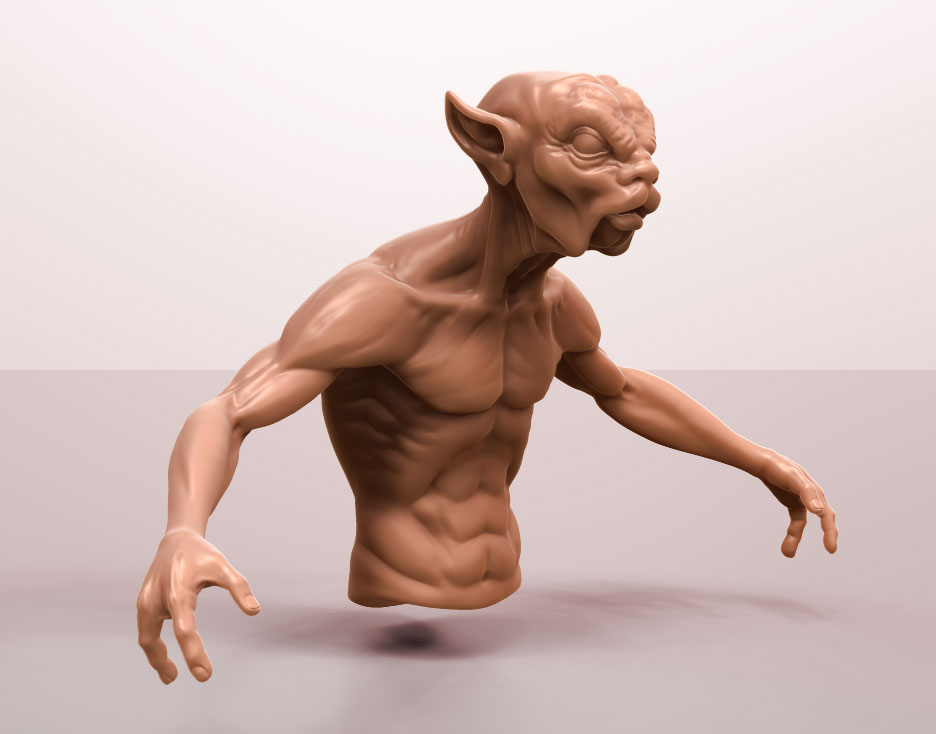
outstanding work, my only critic is about the ear on the gear, it looks like it can be dattatched from the head :wink:

Great work! The details and renders are great!:wink:

Great work in here Kraken. I especially like the Gnome Birdhouses. :slight_smile:

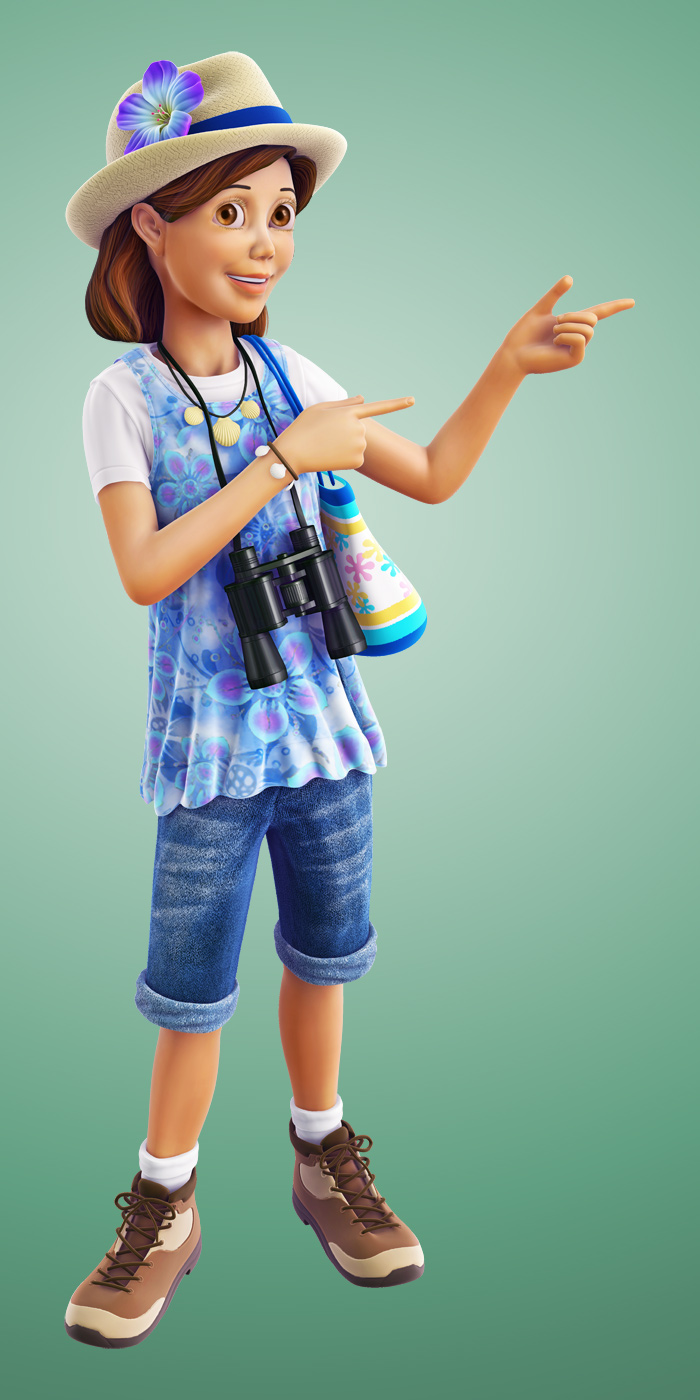
In the last image of the girl can you tell me did you make the eyes in ZB or did you import them. I have made an eye in another 3D app. and exported it as an .obj but when I export an .obj it creates a .mtl file which can’t be loaded into ZB so I am curious how you made your eyes.

Hey Paint Guy, The eyes are made in ZBrush. The iris part of the eye is indented into a sphere and colored like an iris. the black part indented further into the eye. Then I added a second flattened sphere cut in half as the cornea over the iris. The cornea was a separate subtool which I used the jellybean material on which was also set to render transparently in the subtool palate. I had to mess with the transparency settings in the render palate to get something usable. The render still had the eyes a little dark, but using color dodge/overlay brushes in Photoshop brought out the brightness in them.

The shoes appear to be on the wrong feet… something does not look right, caught my eye immediately.

But I love the character and the rendering… great work!!

Cheers,

Joe

Thanks for the explanation Kraken. I’ll give it a try. :slight_smile:

Just a quick bust sketch during lunch today.

SketchBust1.jpg

Just got my update this morning! Trying out the Dynamesh and new Lightcap render system. Very, cool, Pixologic! Here’s something I sketched and rendered during a couple breaks I here at work. Can’t wait to apply this to some projects I’ve got going already.

Attachments

ZBRender.jpg

Cool stuff! Do you mind posting your render settings? I love your past matcaps. Just realized you have quite a bit of requests about materials. No problem if you don’t have time. Thanks.

Hi giacoppo, I’m currenty working on learning the new lightcap and BPR rendering abilities. My rendering setups are going to change to adapt to this new system. Once I figure out some good setups for this, I’ll share my new rendering workflow. Previously, it was based on several different lighting passes, but I’m hoping to get as good or better results in a single pass. I have high hopes for this. :slight_smile:

This is more of the character sculpts I developed for Standard Publishing. They wanted each character shown in a variety of poses for their style guide. What a fun project this was! I’ll have a few more to post later once I scale the other renders down to fit. Rendered in ZBrush 4 with postwork in Photoshop.

KamuleiLargePoseB.jpgFrogClimbing1.jpgFrogDoc1.jpg
FrogTan1.jpg
Hunter3Final.jpgHunter2Final.jpgKamuleiLargePose3.jpg
CooperSit1.jpgCooperStance.jpg

I love these cartoon, very well done… anyway … how’s the dogs fur done ?

cheers masc

The frog in the swim trunks is great!

This should go in the Top Row because it is a very important and unique publishing industry use for Zbrush. And the work is fantastic!

:+1: