ZBrushCentral

mutualism

Rubent100

I guess my workflow is even more confusing than i thought and harder to describe! lol!
Having used Photoshop for a very long time so most of my day to day work involves many layers I guess I’ve adapted ZBrush into this way of working and it’s just a natural way for me to do it!

So I’ll try and describe it again -

After I’ve made a model and posed it, I mentally decide what type of surfaces I want on the finished thing then i go through the materials list exporting off about 6-12 different versions of the same model in the same position, in diff colours/materials.

When you open these saved files in Photoshop they are all identicle so it’s easy to pick your base image say for example the slug alien posted above has a breakdown of all the Exports/Layers pretty much how I saved them off and then layered them up.

Start with the white image as a base, drop over the black layer and Blue/green one over for depth, make them a bit transparent and erase what you don’t want and so on for example the only thing I wanted from the red and pink layers were the mouth/sucker areas and the 3rd and 2nd last layers were used specifically for the eyeballs with circular marques drawn round the eye areas and everything else erased.

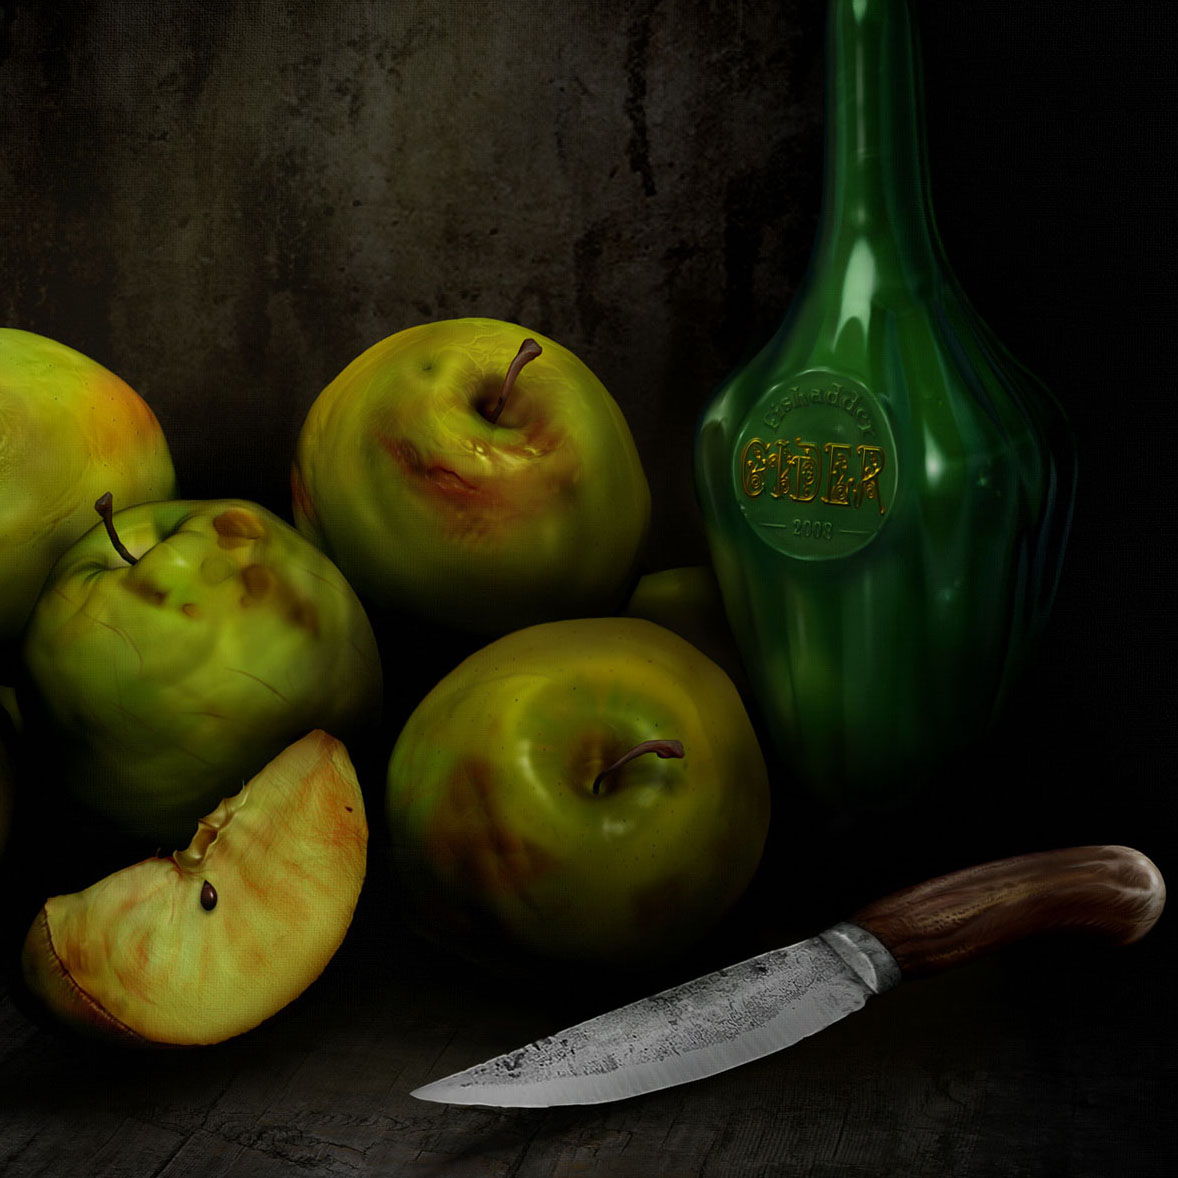
It’s probably a mad way of doing it and a Bonkers way of making a complex scene with many elements like The Mutualism image I started this thread with or even more so on my Scared Silly entry!!! which literally had hundreds of individual bits all with lots of material passes all done the same way!

I guess I’m an artistic masochyst but I actually enjoy the process!

Hope this throws some light on the insanity

I am working on something now that I will endevour to try and document a little clearer but like I say Rubent100 I think my workflow might be ever so slightly mental! and not a very sensible way to use such a powerful tool but it works fine for me!

Keep on Z-ing
:smiley:
fishadder

Thanks Fishadder. I just learned more about rendering and finishing a model in your last post than all the tutorials Ive read so far. Beautiful work my friend.

Thanks ministerart

I’m not sure I’m using ZBrush propperly or to anything like it’s full potentual at all but That’s why I like it coz you can adapt it to how you like to work and get results straight away which gets you hooked!

Other 3D software was just a complete non starter for me!

dustbin1

My kid has a horrible cold at the moment and his nose is constantly running which must have been an influence I think lol!

next post won’t be quite so gross i promise!

keep on Z-ing!
:wink:
fishadder

very nice work…
love the render…

great job :+1: keep it up

Well I was eating an apple the other day while working on ZBrush and it gave me an idea to model one, something so mundane and everyday which at first glance would seem like a simple orb.

so I started modelling an apple and got a bit stuck as it did indeed seem to be just a simple orb and not much of a challenge but then whilst visiting my mother-in-law I noticed she had a pile of cooking apples on her kitchen worktop that she had gathered from under her apple tree in the garden.

These were much more interesting than my eating apple as they were windfallen and a bit bashed and bruised. Nothing wrong with them for cooking but they were made more interesting and aesthetically pleasing due to the variety of surface damage.
Back home with a picture taken for reference I got to work on my apples!

I will update now and then with process shots and in the end hope to have an image that resembles an old oil painting of fruit. Not sure about composition or set up yet but i’m sure it will develope into something like a basket of apples or wooden chopping board, we’ll see…

Hope you like -

ap1.jpg

Attachments

ap2.jpg

ap3.jpg

STALKS.jpg

Been bashing on with my apples. S’weird but you do a new one and look back at the first ones and really see a difference! I guess it’s like re-doing the same model over and over, it lets you perfect it and understand the subject more and more although I’m not going for photo real I want them to look authentic but painterly or at least artistic in nature rather than technically perfect if that makes sense!?

Anyway heres a couple more shots of my progress -

new.jpg

Keep on Z-ing!
:slight_smile:
fishadder

Attachments

bruise.jpg

Some very interesting alphas here it seems. I like the effect.

Nice work! real life stuff is a good choice to study. Not that you need much practice by the looks of it, this stuff is awsome!

Thanks Twitchmonkey!

Cheers! Dustbin1

The closer you look at real life though, the tougher this gets!

Who’d have thought the humble apple could contain such intracasies!!!

chunky.jpg

Keep on Z-ing!
:slight_smile:
fishadder

Great work on your apple. It reminds me of art college where we had spent weeks drawing and painting a slowly decaying pinapple.

I love the work you have done here. The last one does look like a still life painting… I can’t wait to see a comp with that traditional feel.

:+1: :+1:

That salamander/gecko is SOOO awesome… I love it.
Very rich and illustrative.

very nice render man

Thanks Elixir

I remember those art classes!
I did a beach scene once with sand, a bottle, driftwood, an old sneaker, and a dead crab which was very smelly by the time i was done painting!!! lol!

Thanks Goldenry

Thanks Wim

Here’s a shot I quickly composed to see if all the apples would work together

Apples.jpg

I think in the end I might have it digitally output onto real canvas anyway so there’s no need to apply this but it certainly helps sell the painterly thing.

Keep on Z-ing
:slight_smile:
fishadder

Attachments

canvas.jpg

Very nice indeed. You don´t see a lot of steleben :stuck_out_tongue:

You did not fail me… I knew it would look great as an old school oil on canvas composition.

Great work. Most excellent thread.

Thanks Elixir

Thanks delima1975 But What is ‘steleben’ I’m Intrigued:confused:

Keep on Z-ing
:slight_smile:
fishadder

Really nice work fish! Simply Awesome!

If you did add that canvas look, I’d be tempted to try and add a copy of the image on a new layer, then add the canvas effect. Then use a light eraser to erase down to smooth layer underneath where the paint would be thickest. Use a low opacity/intensity on the erase brush so as not to completely remove the canvas effect.

The idea is that the more paint on a canvas, the less the canvas pattern is seen through in those areas.

Just an experimental idea.

Spectacular work though Craig. Well done!

Well I’m gonna put this one to bed now!

I enjoyed doing the apple still-life and I’m pretty happy with how it turned Here’s a few pics of the last stages and a final one with frame.

I’m gonna get a digital print done and put it in an old style frame for real I think.
I sure learned a lot about surfaces and how even the simplest of things like the humble apple can be quite a challenge! and certainly have an even greater respect for the old masters who managed to do this with just paint!

still-life.jpg

Keep on Z-ing
:slight_smile:
fishadder

Attachments

still-life4.jpg

still-life3.jpg

still-life2.jpg

Wonderful… Just as I had imagined :slight_smile:

I love it. Should be top row imho.