Agreed, I took a look at the one thread he did start the art was uh… :rolleyes: :lol:
I may have taken karma into my own hands. Anyway, I agree with Muratoff’s above statement.
Agreed, I took a look at the one thread he did start the art was uh… :rolleyes: :lol:
I may have taken karma into my own hands. Anyway, I agree with Muratoff’s above statement.
Hi everyone, it’s difficult to invent the hours I would like to put into all of this, but here is what I have done on the General with the time I’ve had so far. Obviously much, much more to come on this guy, including wig, ponytail, finish everything below the knees, shoulder ornaments (not sure what they’re called :p) and a sword. It’s quite symmetrical at the moment because I plan on making him real-time ready. I’ll break up the symmetry for a hi-res, posed version. Hope you enjoy and would love to hear any helpful C&C.
[[attach=166096]TheGeneralWIP1.jpg[/attach]]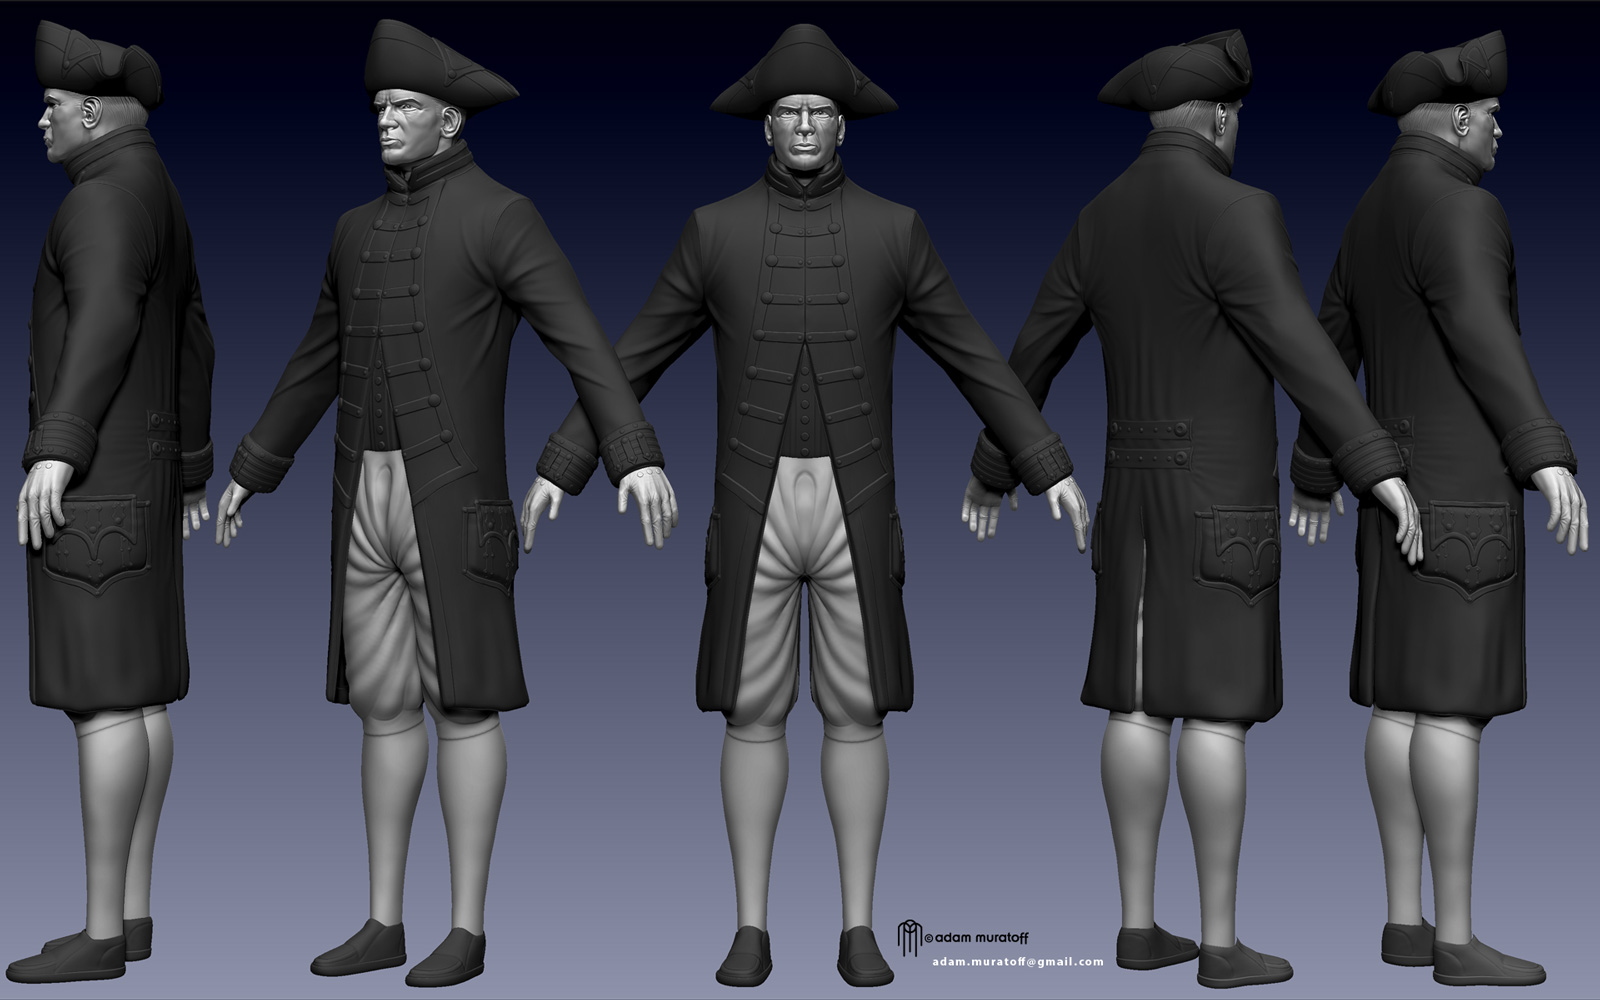
Just another view, a little closer up. This shows the parts that have been given the most attention so far. More to come soon. Thanks for looking. C&C welcome.
[
](javascript:zb_insimg(‘166102’,‘TheGeneralWIP2.jpg’,1,0))Hey love the concept. I am a big fan of the old school wooden ship navy myself, actually always wanted a tri tip hat. Anyway, the model is looking really good so far, just a few little things that stood out to me. The wrinkles around the arms look pretty good, could probably use a little more work, but overall can pass as believable in a stylized work. However, something seems a little off about the upper back/shoulder section on the jacket. I am still trying to figure it out, maybe the cloth needs to be pulled out more to emphasize the back muscles, or push the lower back cloth in more, can’t seem to figure it out at the moment, but just looks a little too flat, even for hanging cloth. Also the wrinkles around the pants seem strange. I’m guessing this is to emphasize the futuristic look, and will probably develop more with the refinement of the character, just noticing that at the moment they don’t reach the level of believablitiy that the other wrinkles do because they are so poofy. On the lower legs, the calf muscles seem to be too high on the leg, and the ankle/heel/tendon section is too thin. Needs to be fattened up to match the big calves. The feet look too small as well, not just in length, but in width. Making the feet and legs bigger would help give the figure a more balanced, solid feel, especially with the stern face and angular, heavy upper body accessories. Looks great, can’t wait to see it completed!
OctoBoom: Thank you for the feedback. :lol: As I had mentioned, everything below the knee, I haven’t really done anything with yet. Perhaps I should have just blurred it out as not to attract attention to it. I do appreciate the comments on the cloth and will consider those when refining those areas. Thanks for taking the time to write. Cheers.
Wow I’m sorry Muratoff, for some reason when I read it I read wig, ponytail, and skipped straight to shoulder ornaments. That doesn’t usually happen to me, my bad. I understand how frustrating it can be when someone comments without actually reading the previous posts. I just figured it was simple proportion stuff you missed from being too close to it for too long. Well good luck, hope to see more updates soon!
OctoBoom: No worries at all… not frustrating in the least. Thanks again for the crits. I should have quite a bit more done on this fellow in the next days and look forward to sharing. Cheers.
Had a chance to do a small amount of updating on The General and just wanted to share the progress. Much more to come in the next few days. Cheers.
I started some of the detailing on the parts already in place, while I begin building out base meshes for accessories and environment. This is just a small update and I probably won’t post on this character again until there is much more significant progress and additions. Thanks for looking. 
It’s been a while since I’ve had time to do any updates to my work, but here is some finally to share. I removed the pics from the last few posts, as it just didn’t seem significant enough to keep up. Sorry about the huge images, but here is the final version of The General. Hope you like it! Cheers.
[[attach=176400]TheGeneral_Pose2.jpg[/attach]]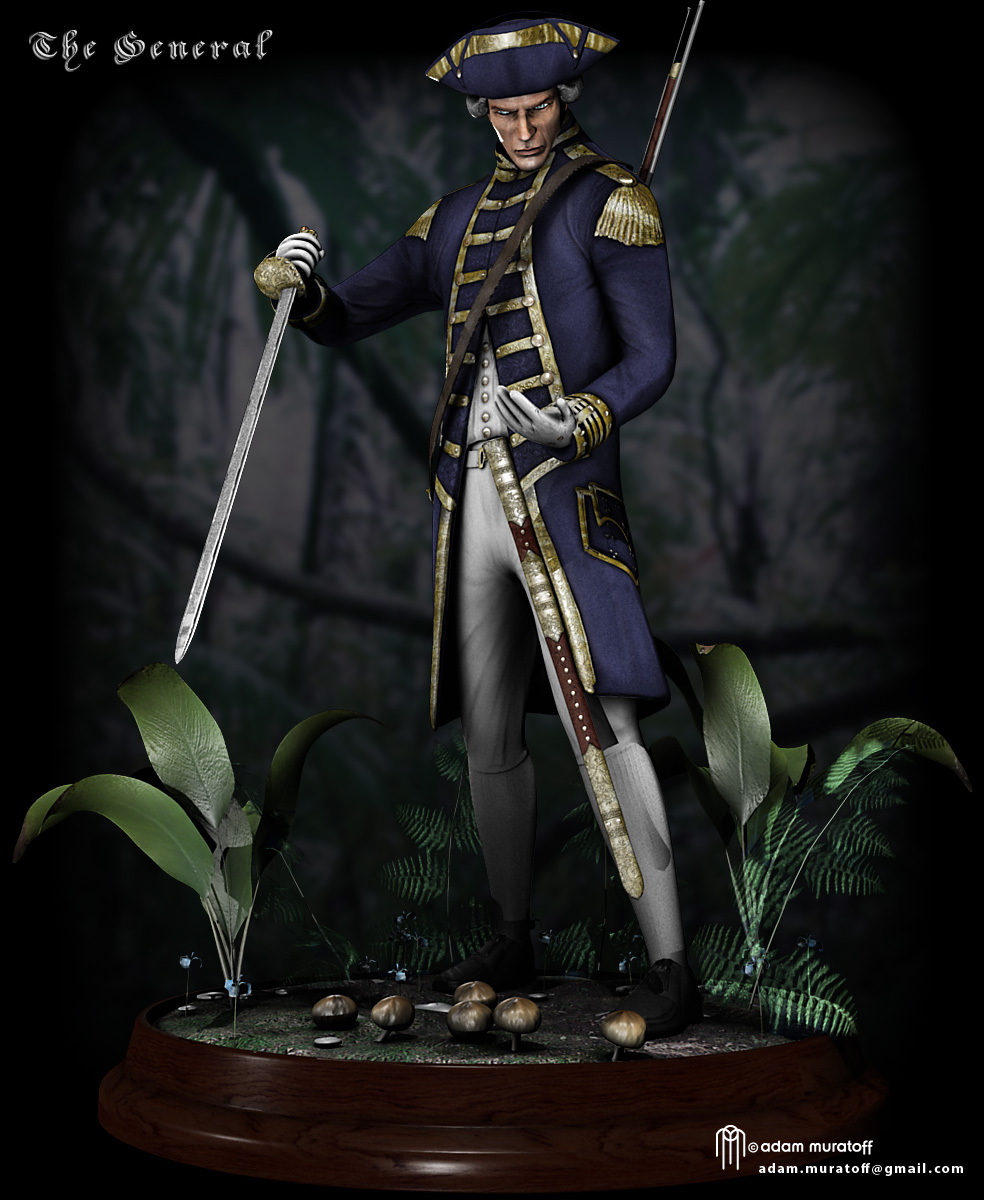
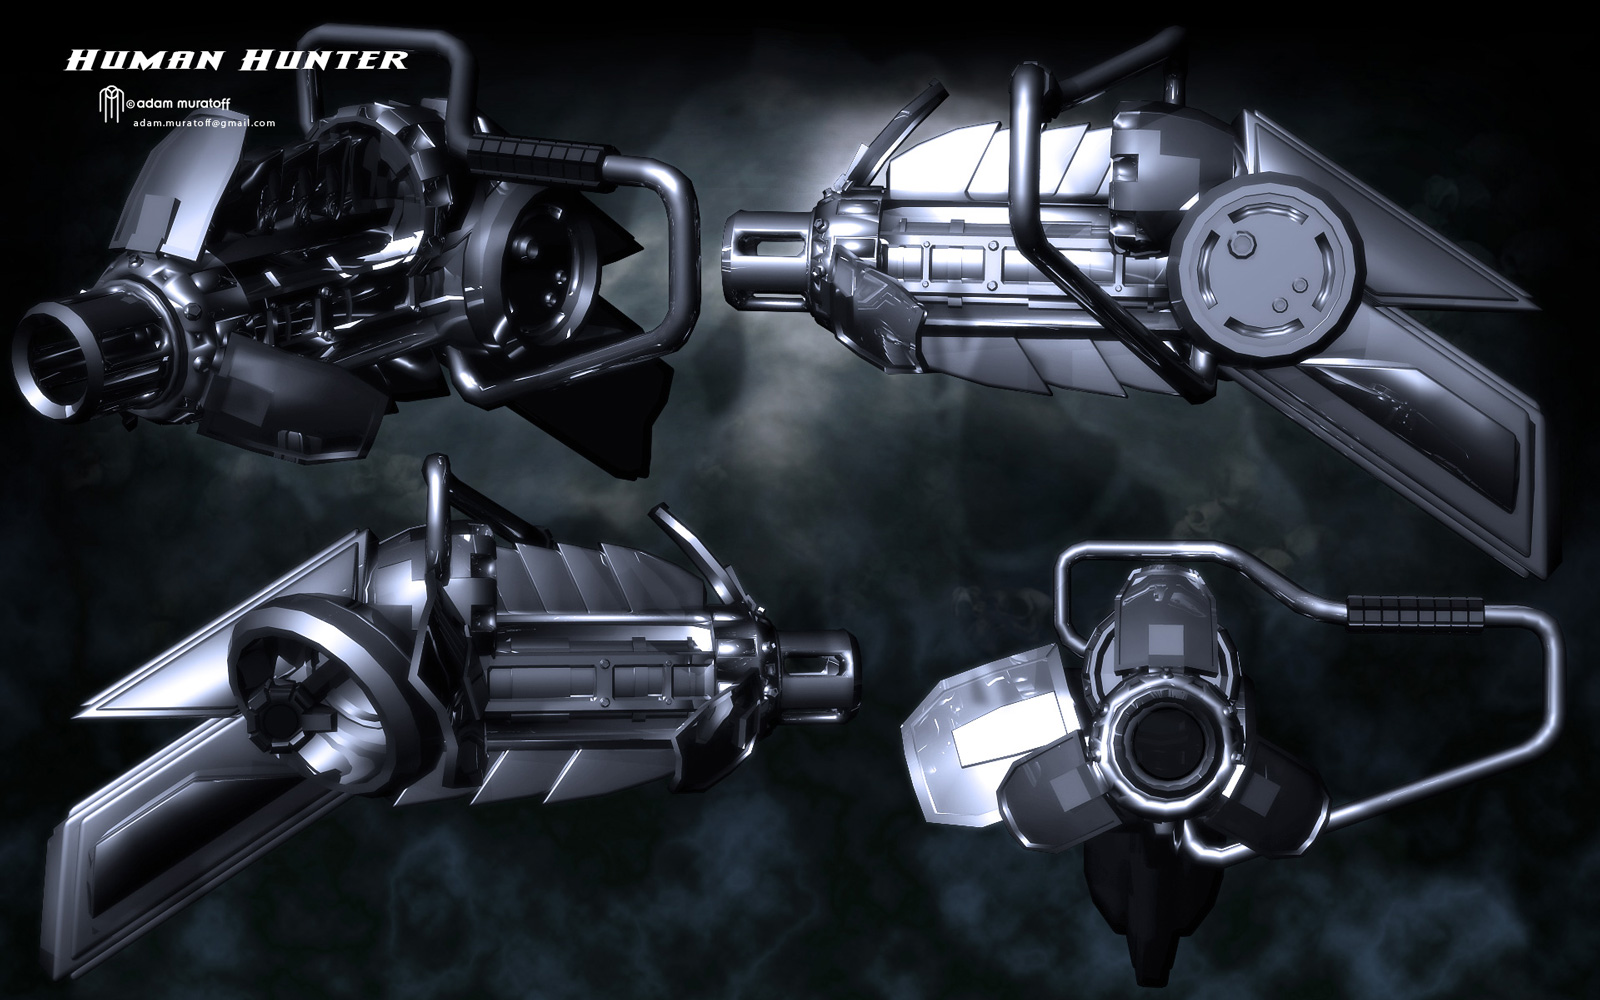
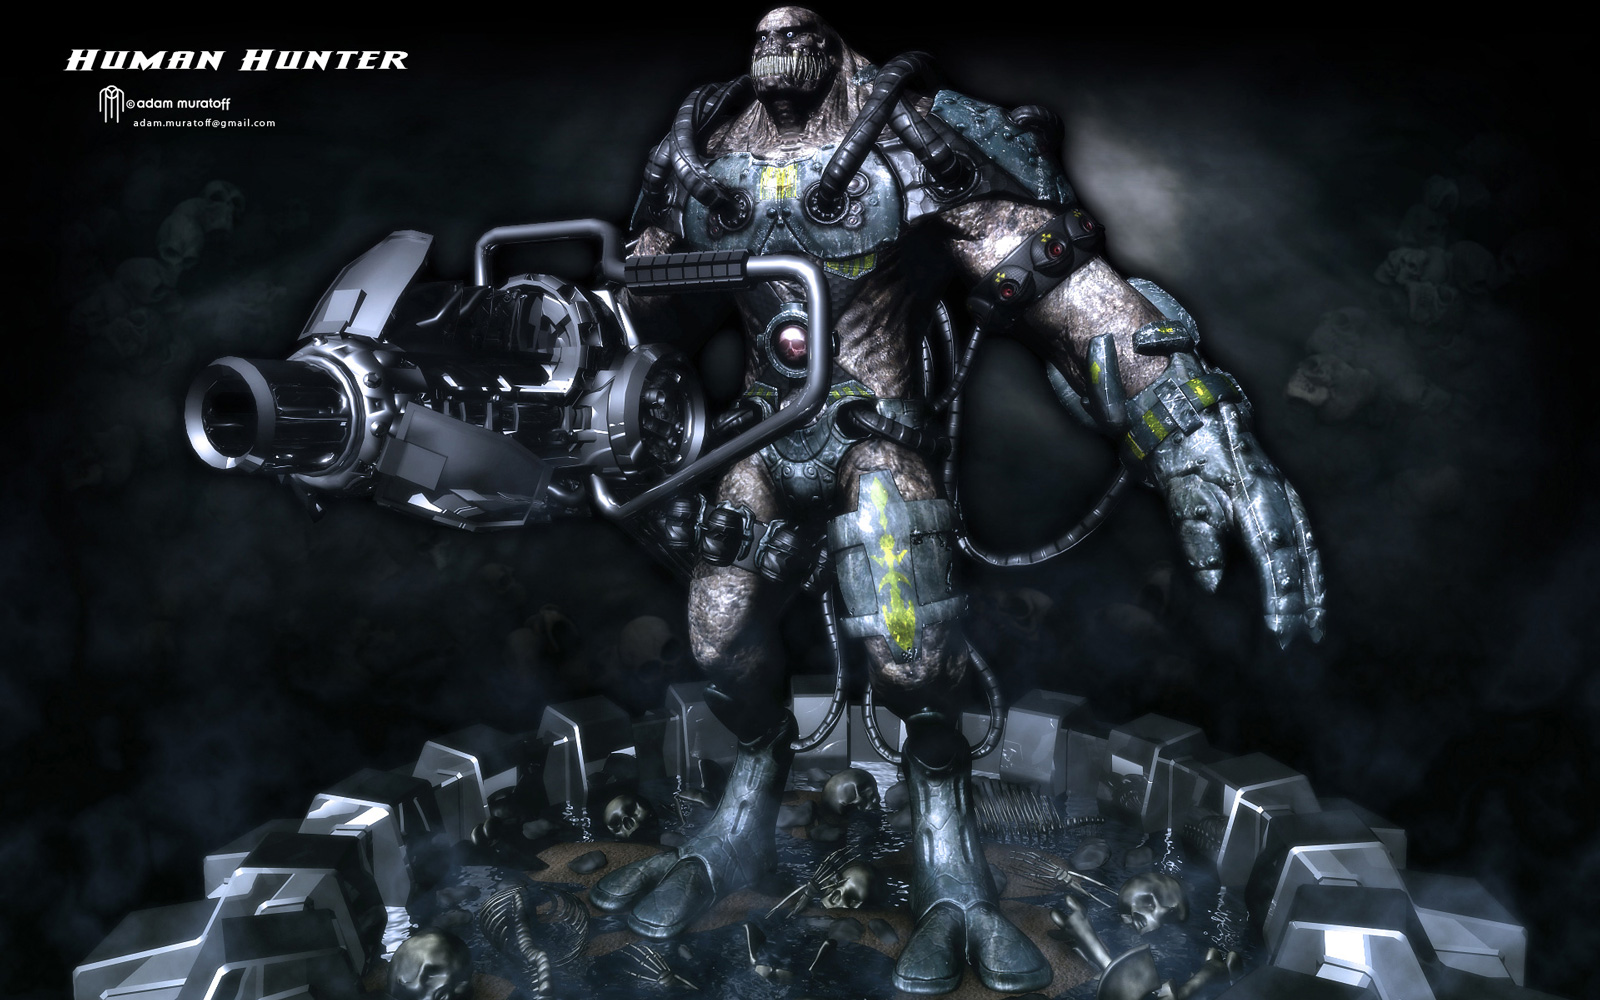
Here is another Character that I’ve had time only recently to finish. Formally know as Ooypitus, here is Human Hunter, a work largely inspired by Gears of War, Dominance War and the works of Vitaly Bulgarov. Hope you like the finished version. Cheers.
[ ]
]
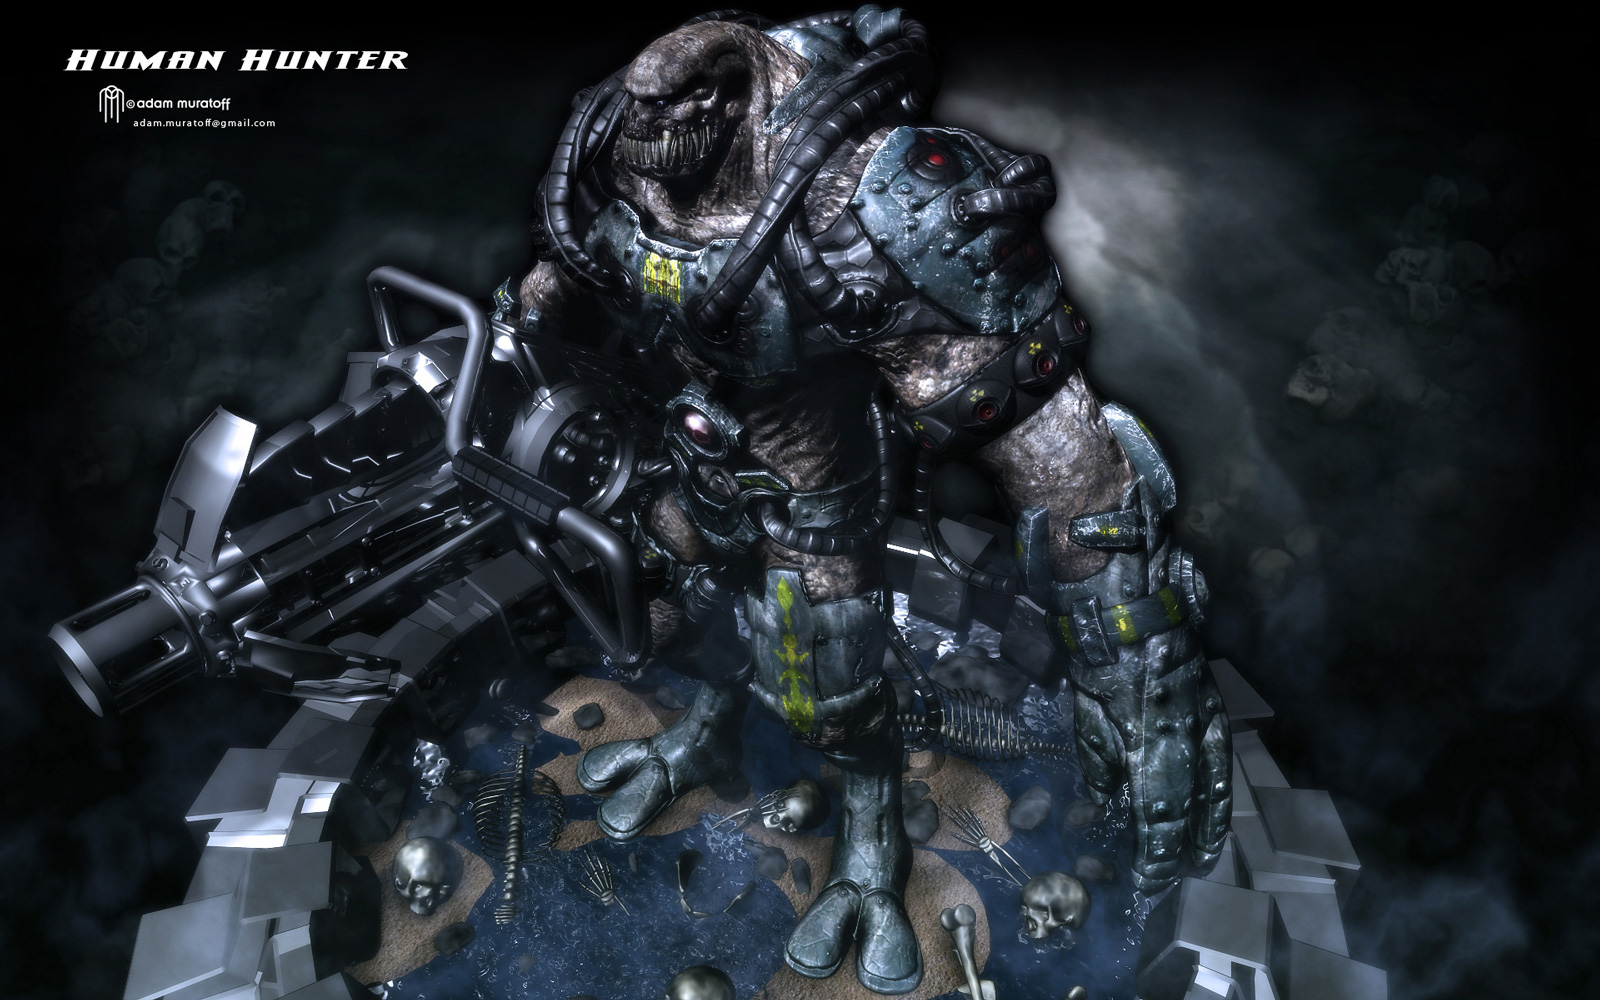
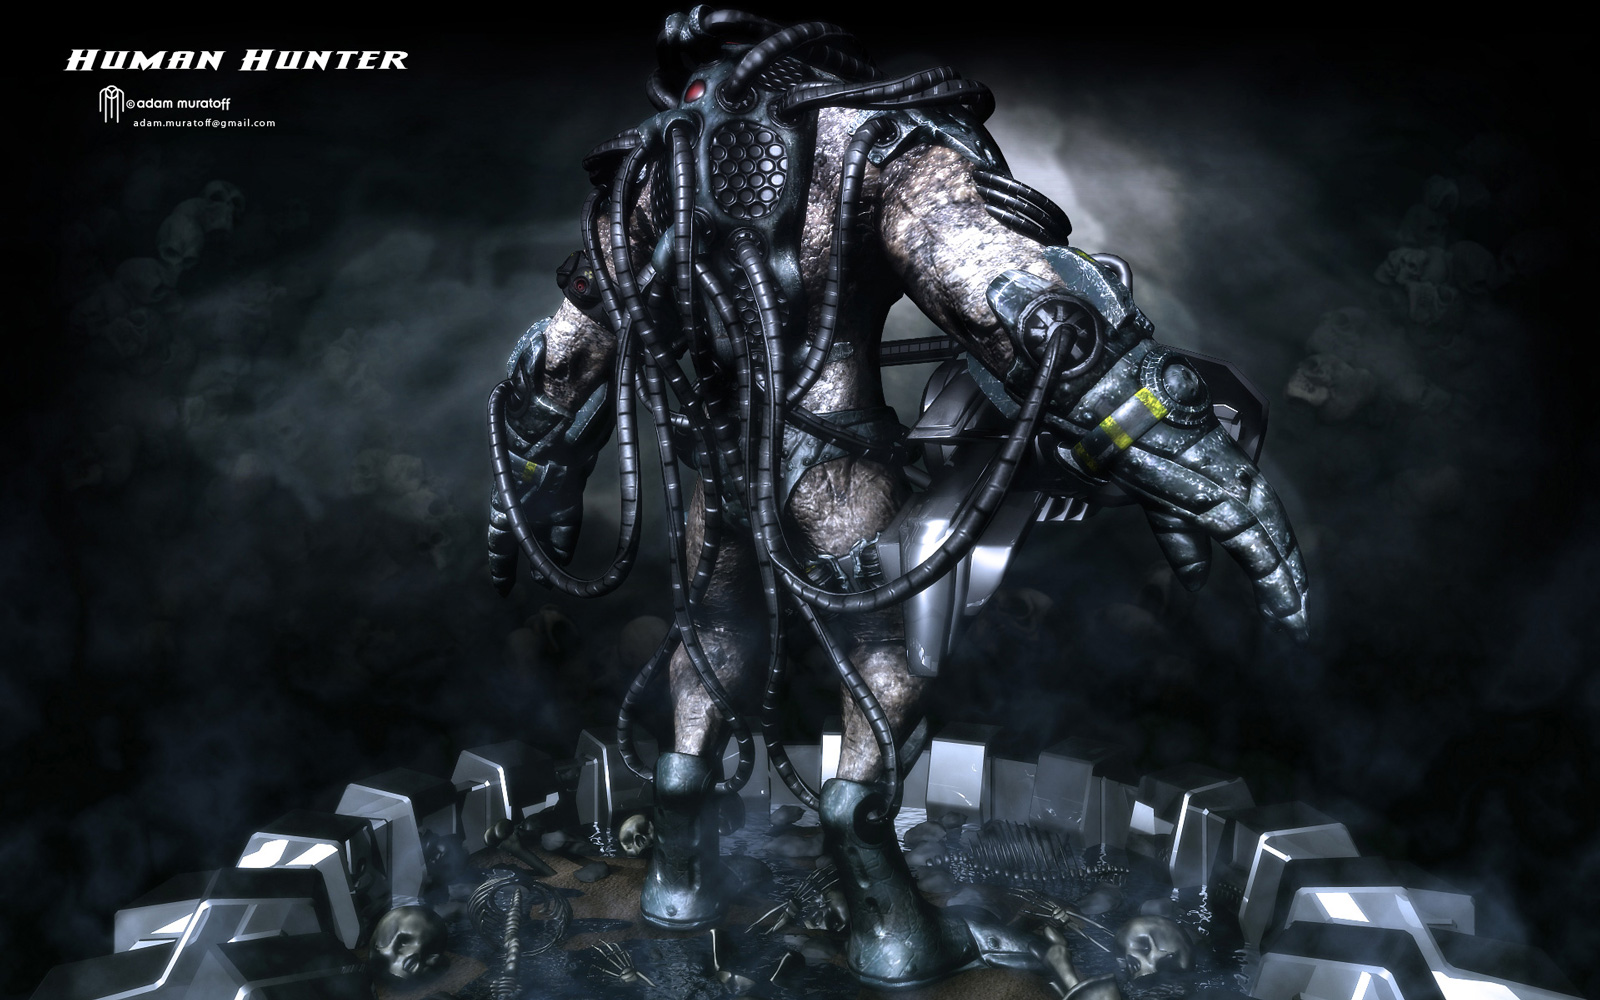
I’ve got another character that I will be reworking and posting in the next few days. I’m trying to get some of my best material together so I can hunt for work and any feedback would be much appreciated. Cheers. 
Hi Everyone, This is a Zbrush 3.2 Render of a new character I started working on in my spare time. I created the base meshes in Maya and brought it into Zbrush for detailing and polypainting. Continuing forward with the pipeline, I’ll get things into Maya and Photoshop. More to come soon. Comments and Crits welcome and appreciated. Cheers.
[ ]
]
Muratoff, Adam this is really nice work so far. No crits on the sculpt, I think the white is a bit too distracting, if it were a little blended or less pure white it may help (in my opinion). Looking forward to seeing this develop. 
Hi Aberrant, Thanks for the feedback. The reason for the whites being so blown out at this point it that I had planned to bake out the poly painting to textures that I could then use as a base or even just as masks inside of photoshop/maya. I went for the maximum contrast for this reason and is why it appears harshly contrasted… you won’t have that with the final maya rendered version. Thanks again for taking the time. Cheers.
I believe this is Skeletor from the He-Man Cartoon in early 80’s. I was planning to do this my self some day lol I gotta quit planning on doing things and just do em lol.
But very nice work my friend love the look keep at it Please continue to shows screens of your work flow on this guy really looking forward to how it renders out in Maya will you be using MR for the rendering? And if so will you be doing SSS for the skin?
Love the Work Keep it going I got my eye on this thread.
Hi Converse, good to hear from you. Although it was not intended to be Skeletor, there are undeniable similarities. I had actually just finished playing Assassins Creed 2 and wanted to do my own version of a more evil assassin… like a death cult assassin. Like I said, he’s intended to be a low-poly, game-res character, but I will be getting some Maya/MR renders of him. Don’t think I’ll be using SSS on him… the blood runs pretty black through this guys.  I’ll be sure to post more about him in the next days. Thanks.
I am so happy to hear that it isn’t Skeletor now I still have a chance to do my own version of him :D. Really looking forward to seeing this Rendered in MR can’t wait, Continue the good work and don’t forget to take snaps shots of your work flow on it.

